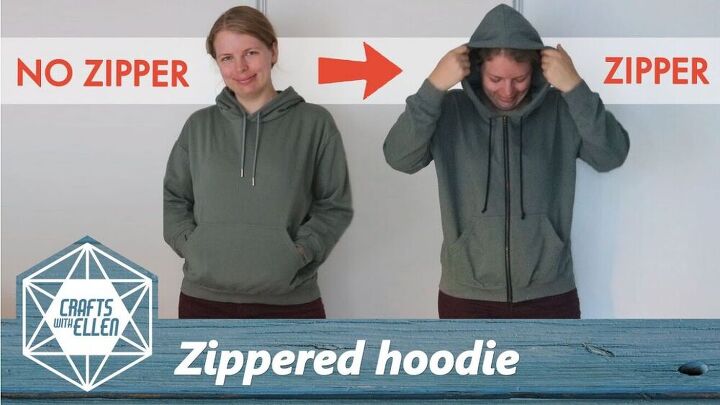
Sew a Zipper Hoodie With This Incredible Tutorial

Has this ever happened to you? You go out looking for the perfect zipper hoodie only to find that the one that fits perfectly is without a zipper. Do you buy it? If this has ever happened to you, don’t fret! I have a quick and easy tutorial for you! I will show you how to attach a zipper to a hoodie. So before you think twice about buying that favorite hoodie, read this tutorial first!
Tools and materials:
- Heat erasable pen
- Hoodie
- Ruler
- Zipper
- Safety pin
- Scissors
- Sewing machine

Mark the center
Lay your hoodie out flat, measure the center and mark a straight line with a heat erasable pen and ruler.
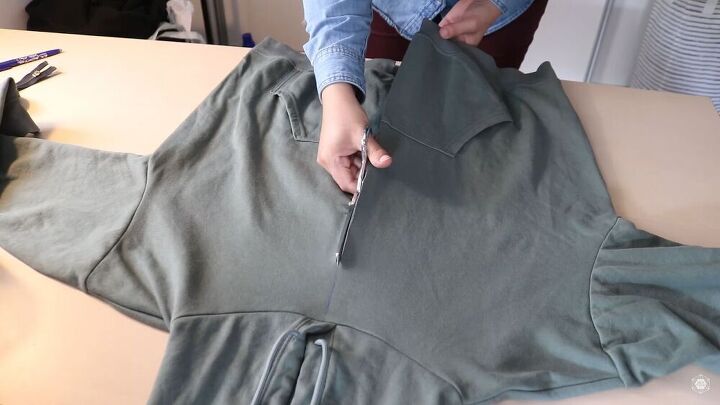
Cut the center
Once your center is marked, cut the front.
Use a seam ripper to carefully unstitch the top part of the hoodie. My hoodie is made from stretchy fabric, so it won’t unravel; meaning I won't have to do anything to protect the raw edges.
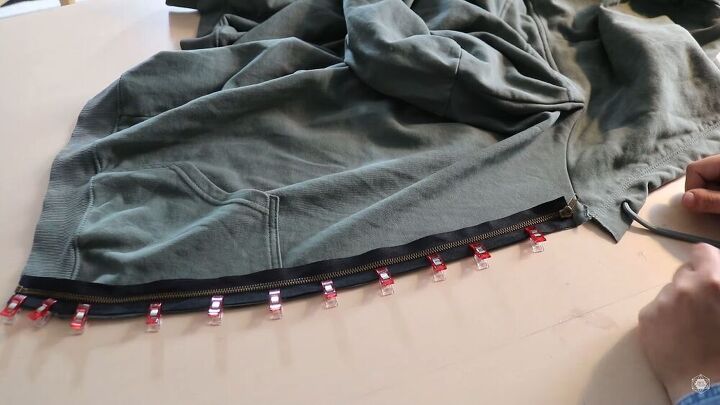
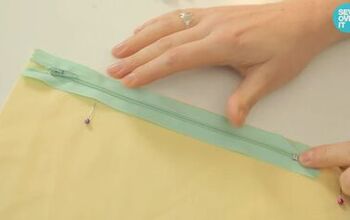
Attach the zipper
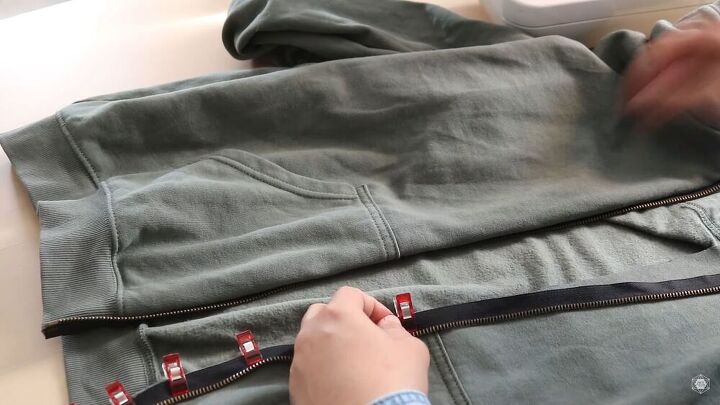
Start by placing the zipper, right sides together on top of one side of the hoodie.
Make sure it’s placed in a straight line. Clipt it in place.
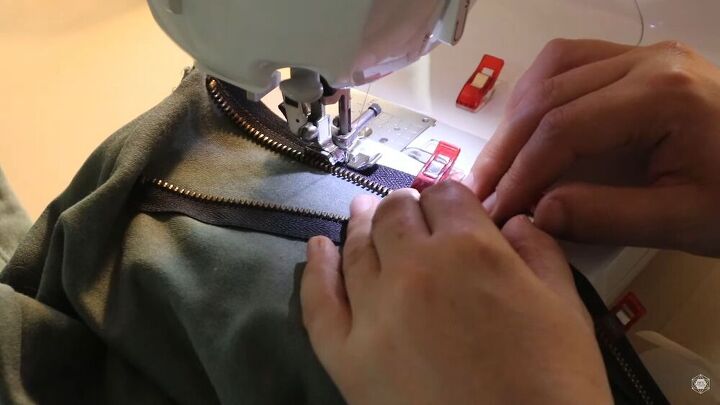
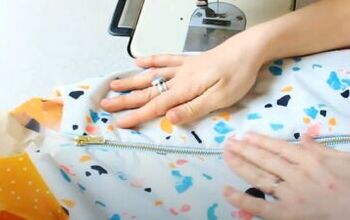
Use a zipper foot and sew close to the zipper’s teeth.
Repeat the same on the other side; place the zipper right sides together and make sure it lines up on both the top and bottom.
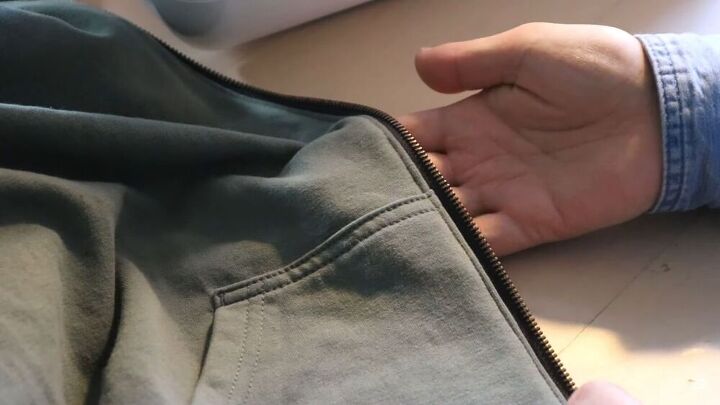
Flip the zipper to the inside of the hoodie and sew a second line of stitching close to the fabric’s edge. By doing this, the zipper line will be flattened. Notice that the big pocket That I had in front is now two separate pockets? That’s what you aim for when doing the second stitch should your hoodie have a front pocket like mine.
Fix the top edges
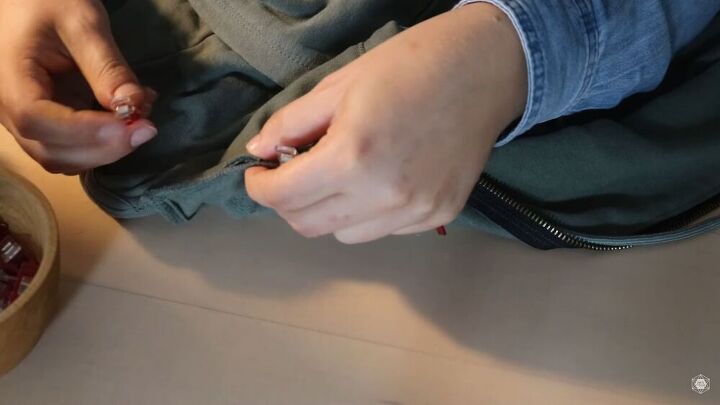
The edges on the top are too big and overlap. Easily fix the raw edges on top of the hoodie by opening up the seams a bit more and adding a pleat in the hood, on both sides. Clip them so they stay in place.
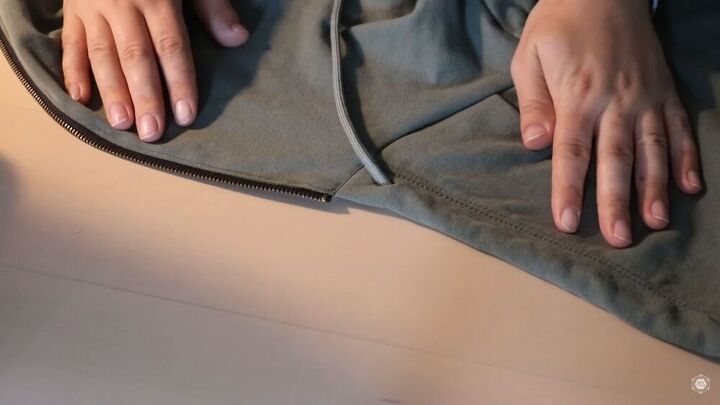
As you can see, the front lines blend nicely with the new zipper hoodie.
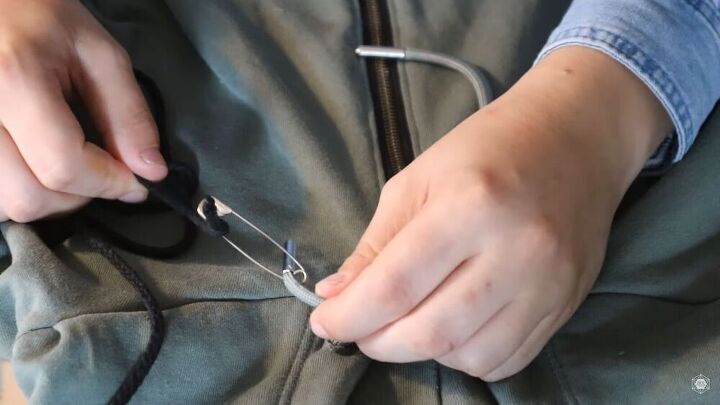
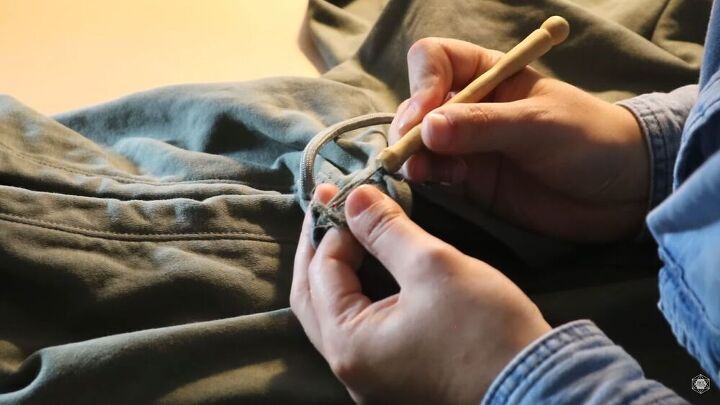
Optional- replace the drawstring
Because my zipper is black, I decided to replace the drawstring with a black one. I wanted the whole zipper hoodie to blend in nicely. To do this, use a safety pin and tie the old drawstring on one side and the new on the other. Then, simply pull the other end of the old string so that it all goes into place in just a few seconds.
There you go! If next time you can't find what you’re looking for, you can find something close enough and make it work! This tutorial is so simple, it’s really like a magic transformation. No one would ever guess this zipper hoodie was once a full-piece hoodie.
The author may collect a small share of sales from the links on this page.


Comments
Join the conversation
I did this once years ago with a sweatshirt that I had laundered a few times, after adding the zipper, when it was zipped up, it buckled the material.
I suggest washing and drying both prior to doing this project.
Time consuming to fix afterwards.
How often have you seen hoodies without zippers on sale and wished they had zippers? Thank you for an easy way to convert them.