Triangle Bralette Tutorial & Pattern * UPDATED
I remember when I started to sew, one of my first attempts was sewing a bralette. After many tries and tests, I’m sharing today with you a bralette pattern and tutorial, that I wrote several months ago.
Since it’s my first, I know that it’s not perfect and I welcome any tips or suggestions you may have.
I tested the pattern many times and I got great results on my body. It fits well and I prefer it without darts. I suggest everyone to test it with some leftover fabric you might have, to see if it fits your size and if you need to make the triangle bigger or smaller. The pattern has 1 cm seam allowance and it’s size S-M.
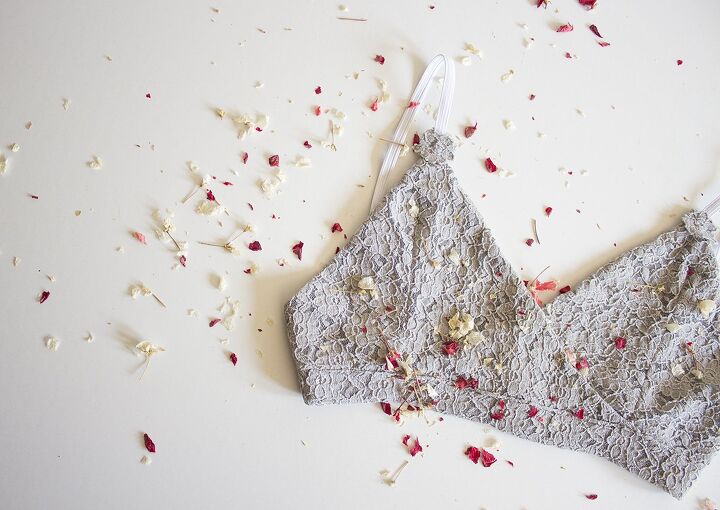
To make the bralette, I used this grey flower lace shirt I seldom wore but you can use any type of fabric that contains stretch.
You can download the bralette pattern HERE.
For the tutorial you’ll need:
• Your favorite stretch fabric
• Lining fabric (I used the one the front of the shirt had)
• Cotton thread to match your fabric
• Pins
• Sewing machine
• Scissors
• Elastic
• Triangle lace bralette pattern
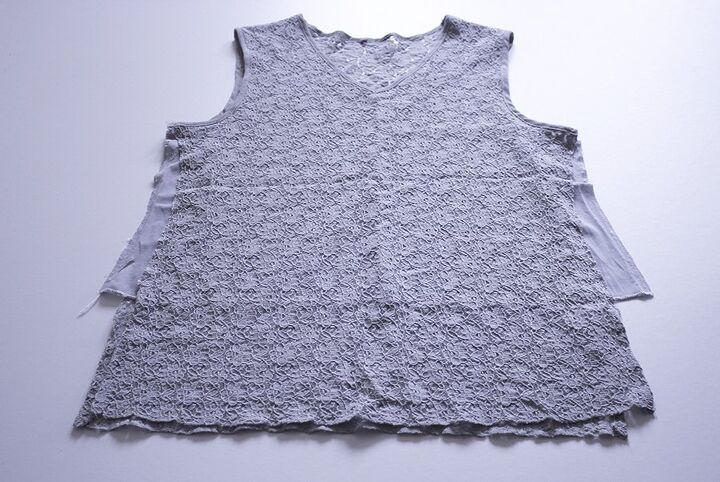
First, a look of the shirt I used.
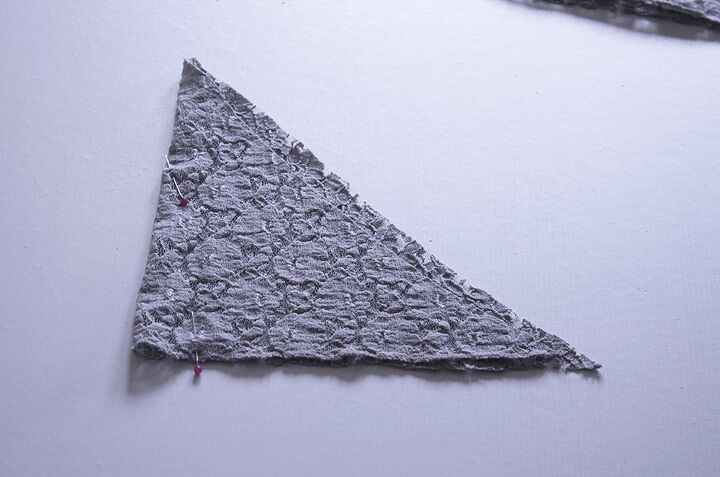
After you print the pattern, cut and pin it to your chosen fabric. You’ll need four pieces, two lace pieces and two lining pieces. You can make the bra without the lining, if you like. Don’t forget that the cups you cut should be mirror images of each other.
If you choose to add the darts, fold the lace triangle almost in half. Take a ruler and make a mark on cm 2 on the folded side, and measure vertically 10- 15 cm from the bottom.
*(you can sew the bralette without darts too)

Add pins to secure and sew the dart.
Repeat for the three other pieces.
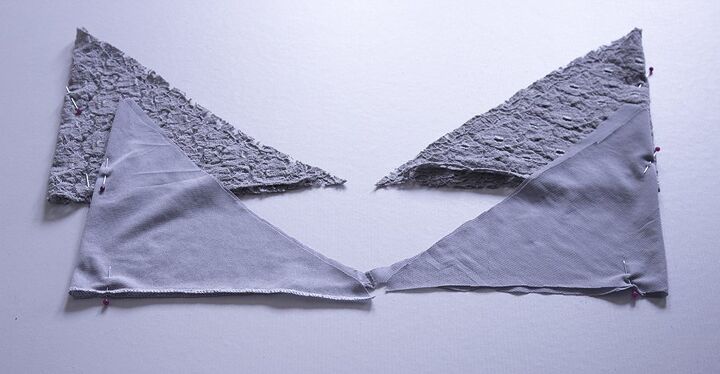
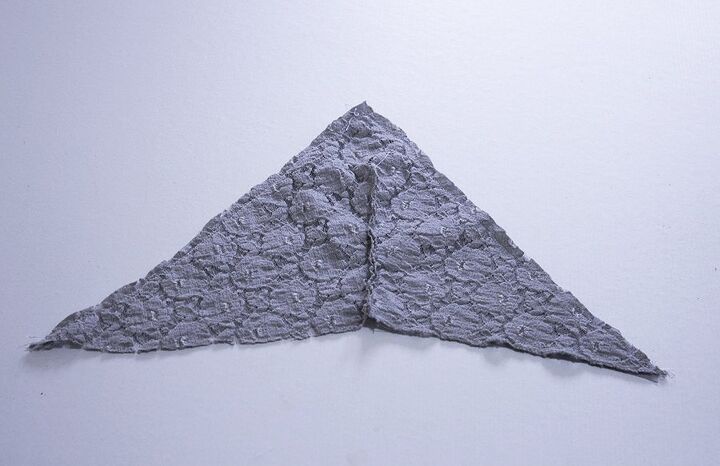
Here’s a photo after sewing the darts of the lace piece and the lining.
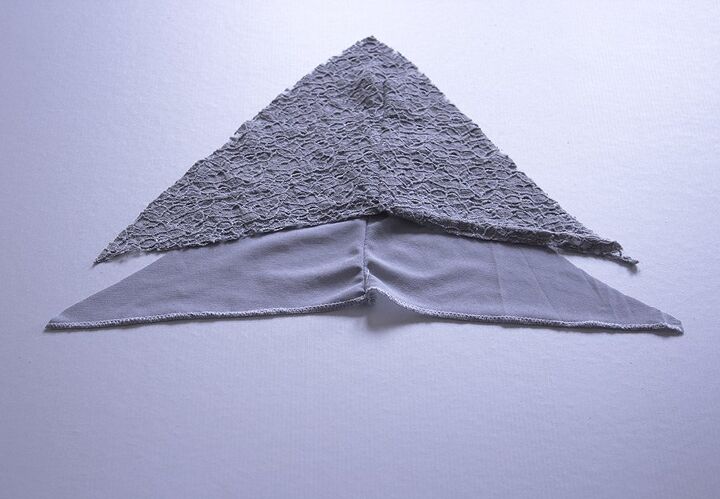
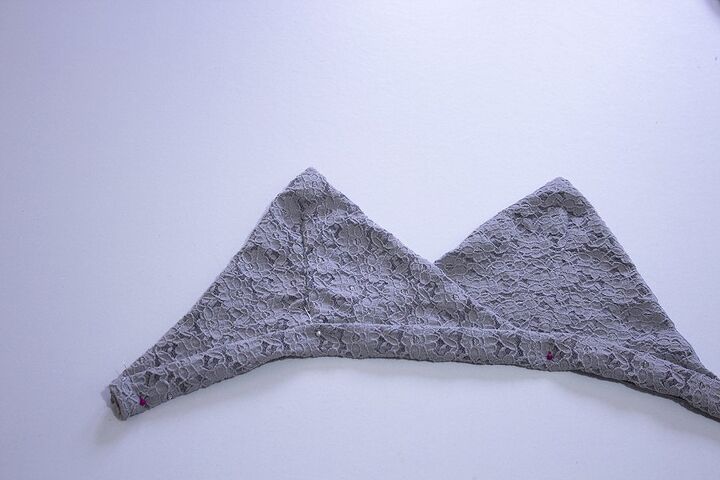
Pin the two pieces together, right sides should face each other and sew only around the sides, leaving the bottom without sewing. Repeat the same steps for the other cup.
After you finish, place the triangles so that the end point of triangle 1 meets the dart of the triangle 2. Of course that the underneath point of triangle 2 should meet the dart of triangle 1.
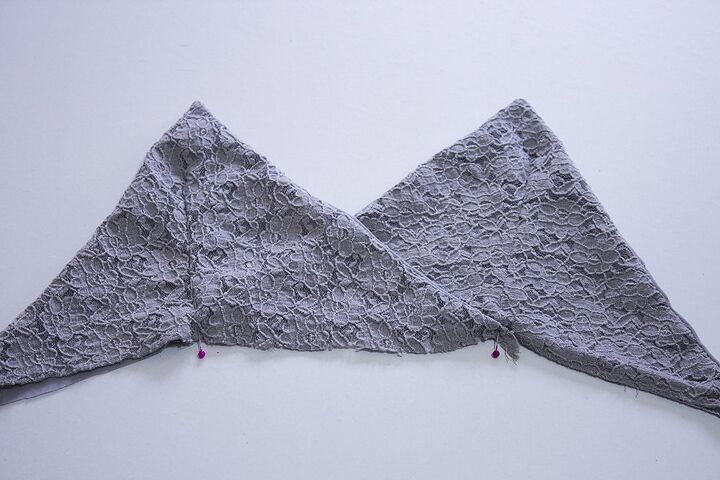
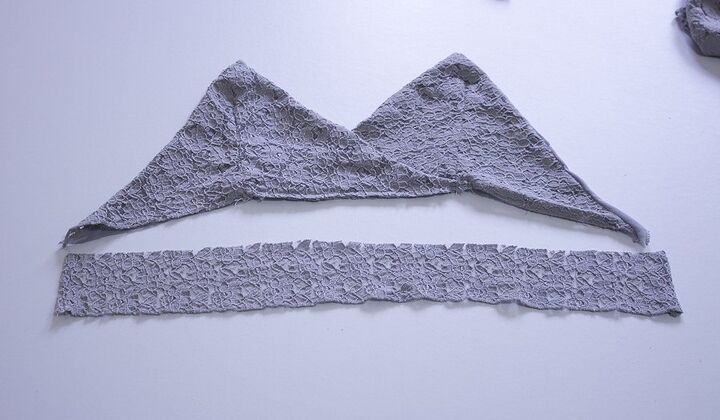
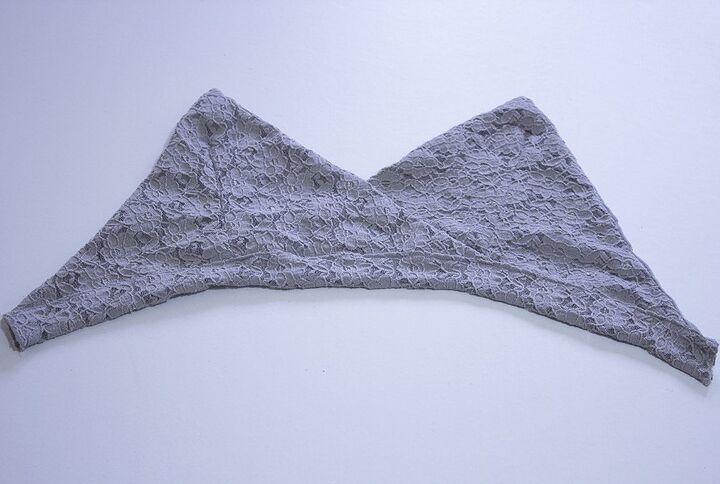
Sew around the bottom from dart 1 to dart 2 to secure the cups. Cut a band with the width of your choice but as for the length, it should be the same as the cups.
After sewing the band, use pins to line it up with the bottom edge of the lace cups and topstitch on the edge of the band.
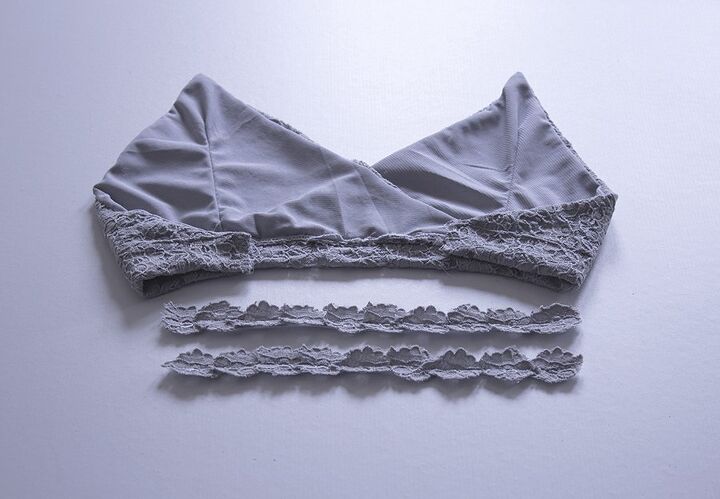
Here’s how it looks after you finish sewing the band.
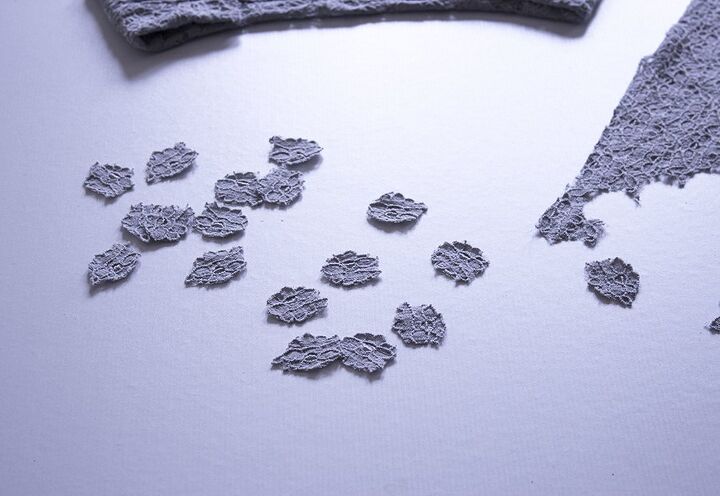
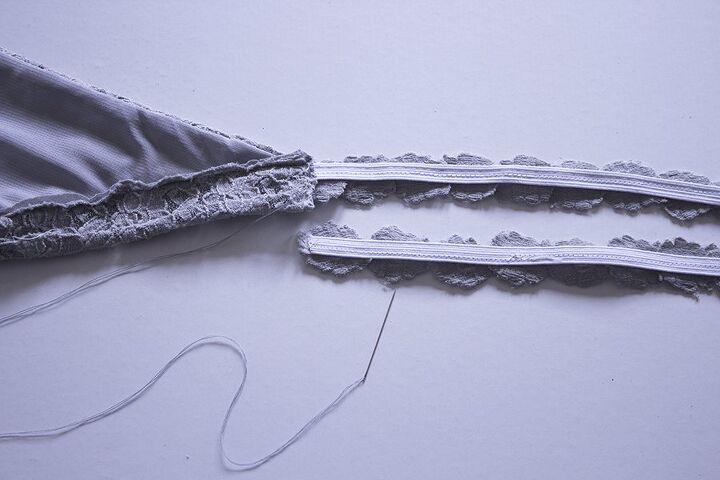
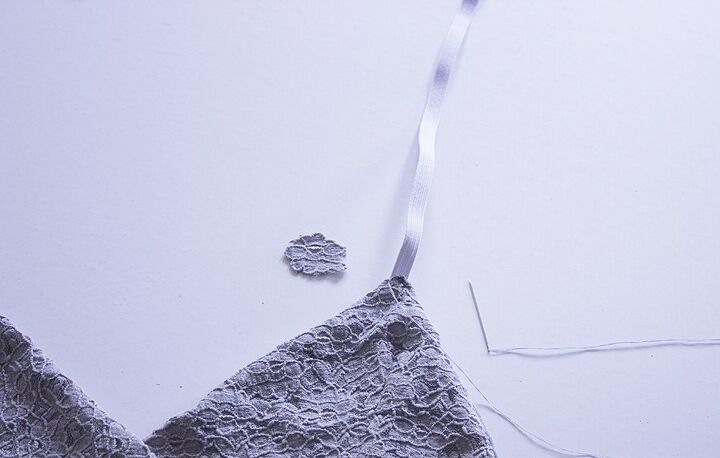
If you are using lace with flower texture, you can cut some of them to decorate the elastics of the bralette.
Adding the back elastic. Before sewing the elastic to the bralette, attach the elastic with pins and make a test. See if it’s long enough, and if you feel comfortable on it, of course it needs to be slightly tighter for support. My elastic was 25 cm long at first, but I shortened it to 22 cm. You’ll need two elastics.
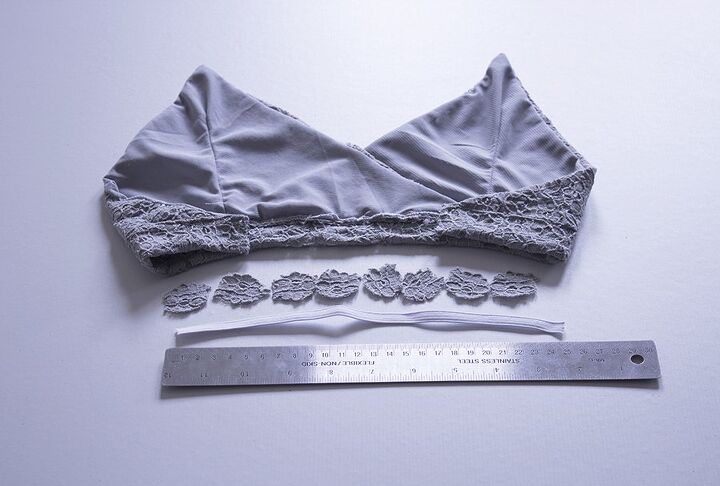
If you decide to add the lace flowers on the elastic, sew them one by one with a sewing machine.
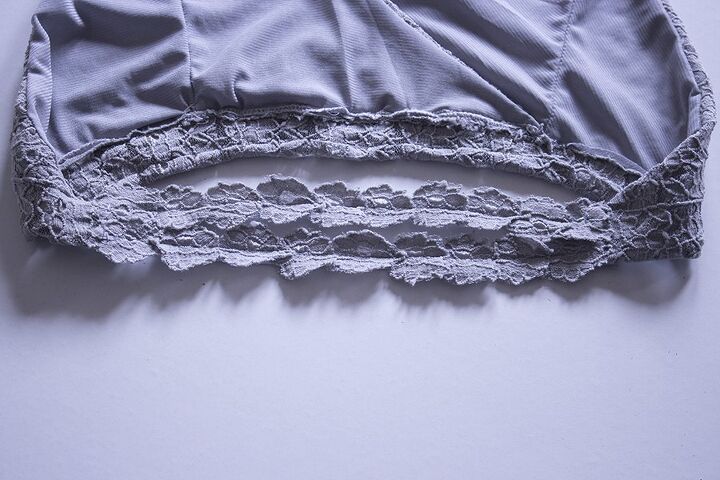
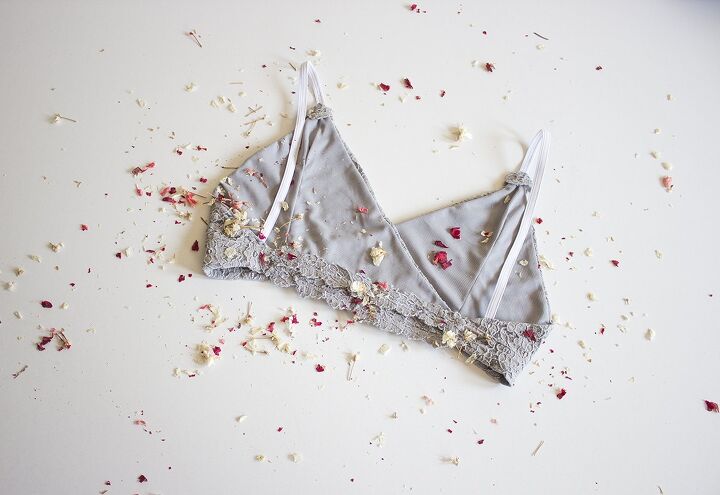
Hand stitch the two elastics, on both sides.
When you finish you’ll have a lacy flower back, which looks very pretty.
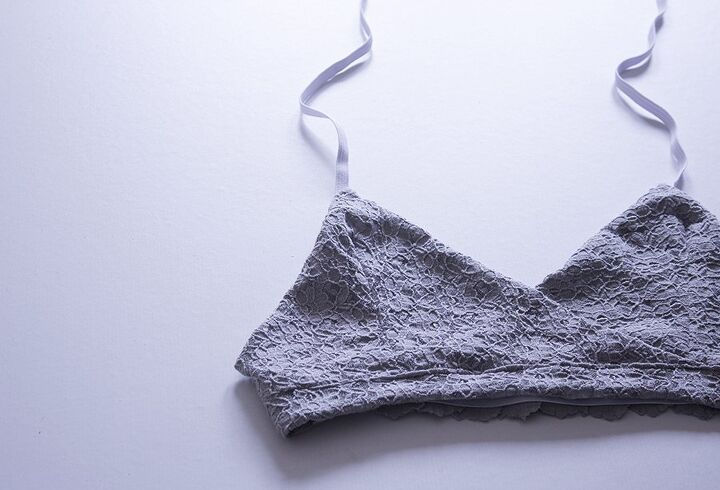
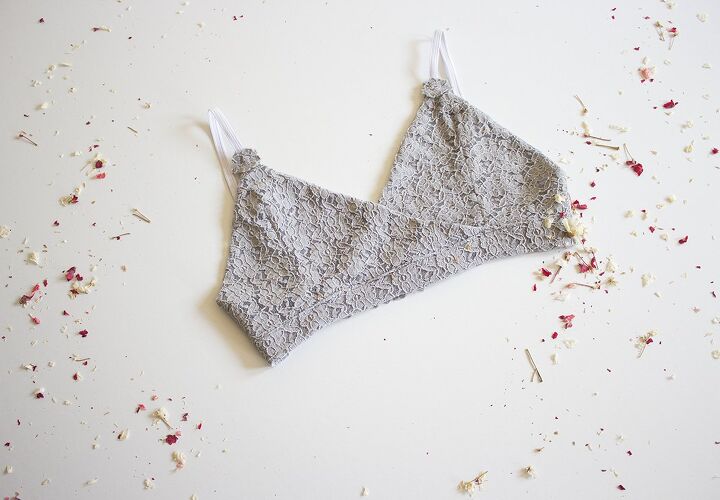
Adding the straps. Use your own bra to approximately cut both straps the same size and leave an extra cm allowance. Position the straps as you like.
I would love to see pictures if any of you use this pattern. Thank you all for visiting Diyclothes and happy sewing!
Tringa
The author may collect a small share of sales from the links on this page.


Comments
Join the conversation
Brava ! That is so beautiful. Sexy and comfy.