Make a Stunning Bustier Top With a Plain T-shirt

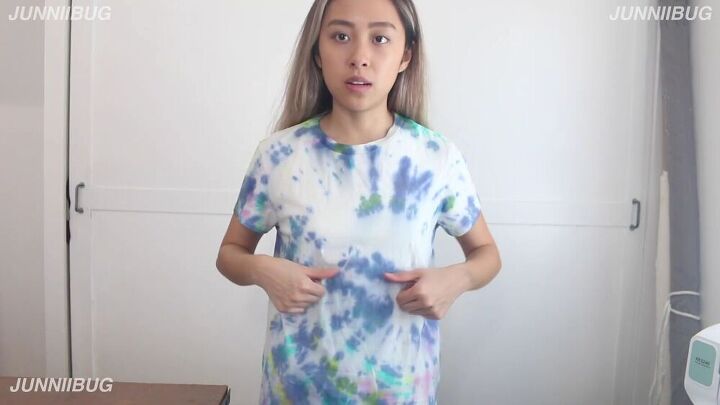
Did you know you can make a bustier top from a t-shirt? In this tutorial, I am going to show you how to make a bustier top quickly and easily. If you have an old unused t-shirt lying around, you can transform it into a spectacular bustier top. It’s pretty straightforward to recreate, and the result is amazing. Scroll down to learn more!
Tools and materials:
- T-shirt
- Scissors
- Sewing machine
- Measuring tape
- Ruler
- Chalk
- Pins
- Thread
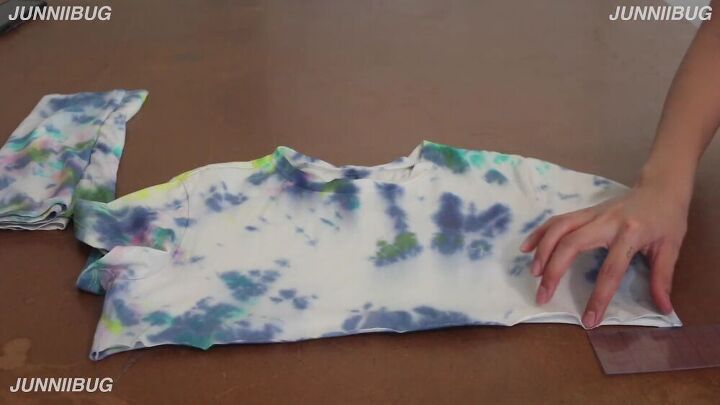
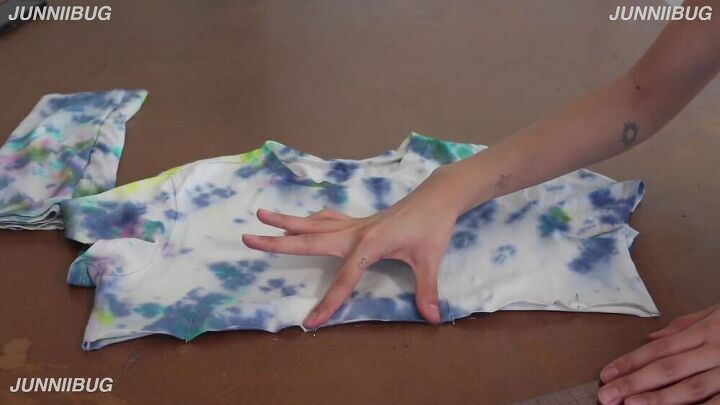
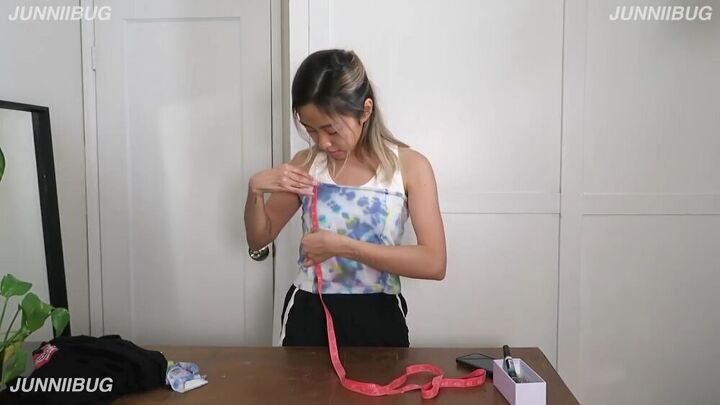
Cut your shirt
Wear your top and pin your top right under your bust.

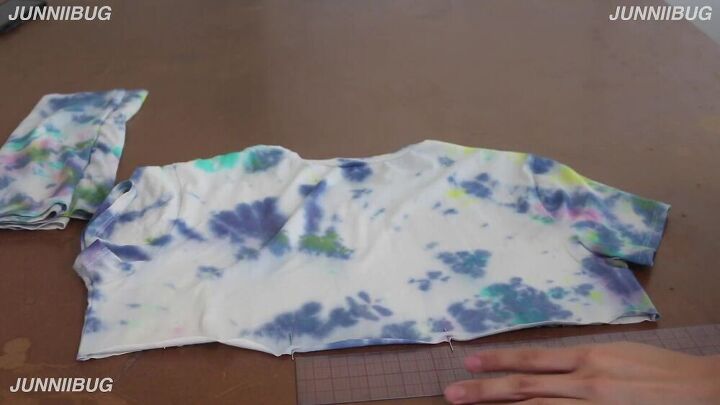
Then, cut it straight across.
Shirr the t-shirt
With a ruler, measure 3 inches from the sides and pin.
Next, measure 3.5 inches across the top, and add pins. You will be shirring the second side portions.
Measure the center back, and shirr 4 ½ inches in the middle. So make sure to mark this with pins, so you have a guide on where to start and stop shirring.

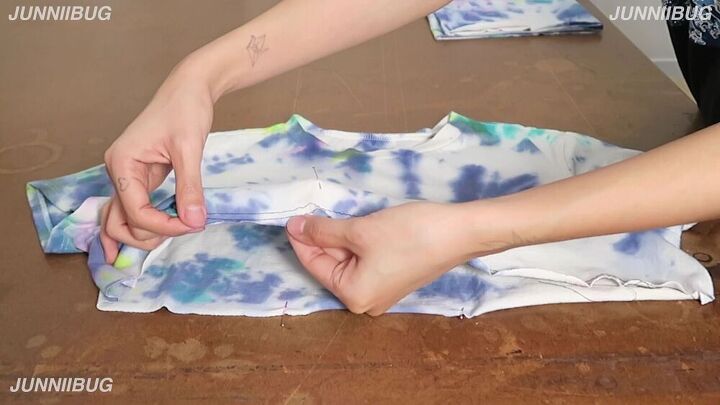
Set your stitch to the widest possible length on your sewing machine and stitch the respective portions. All in all, stitch two parallel lines about a ¼ inch away from each other.
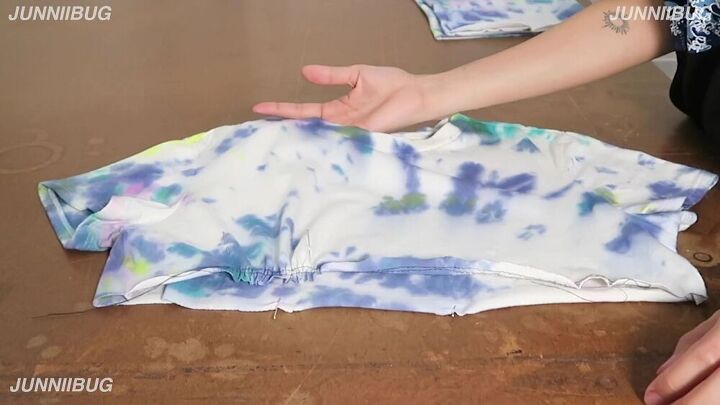
Now, pull the top two threads slowly so that you create a small gather effect on the shirred sections. You should have small gathers right underneath your bust. Also, go ahead and do the same for the shirred portion at the back.
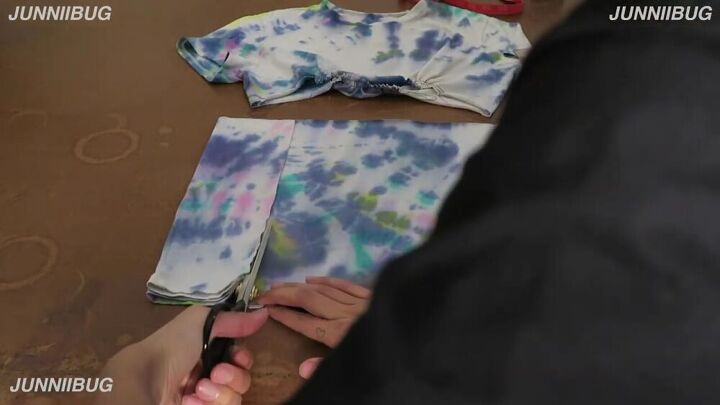
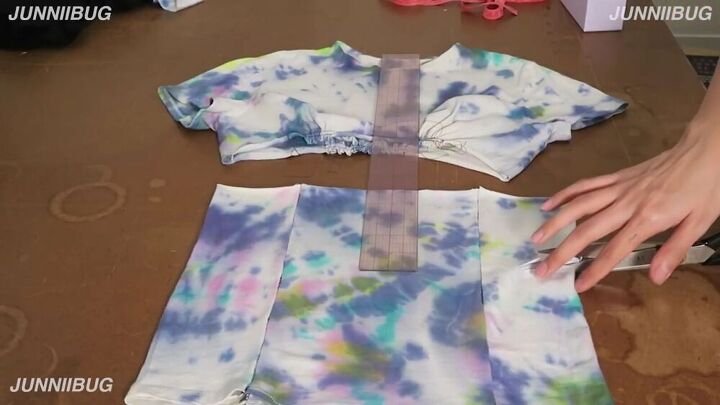
Make the bottom section
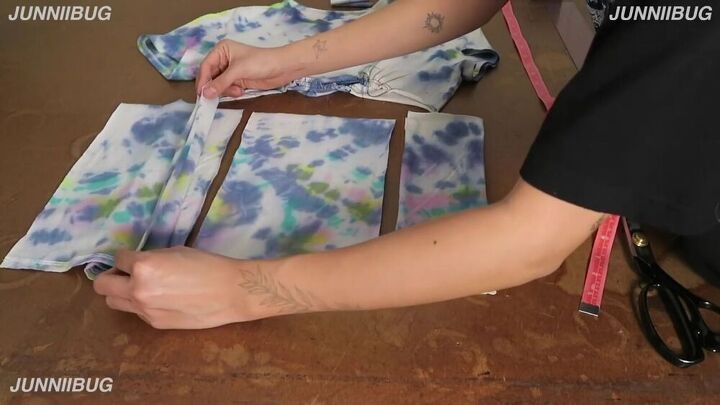
Measure your waist. Then, take the bottom panel of the t-shirt and cut it into three sections. To do this, measure 3 ½ inches on either side of the panel and cut through those marks. The middle panel should be wider than the sides.

Fold the middle panel in half as shown and mark 3 ½ inches from the side all the way across the panel. This will give you a total of 7 inches when you open it up.
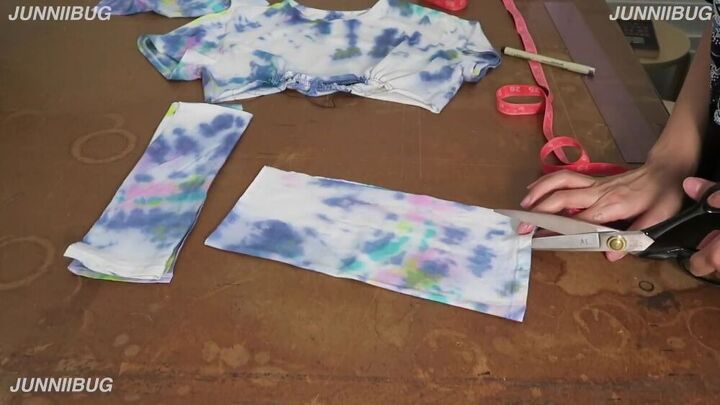
Then, cut along the 3 ½ inch line you just drew. Repeat this process for the back panel, too.
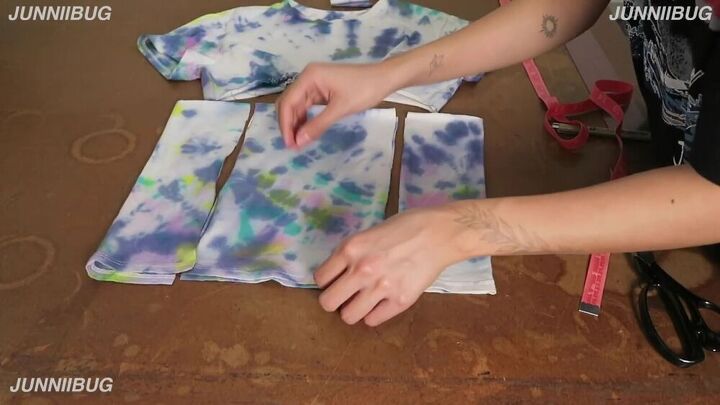
You should have two side pieces and a back and front panel.
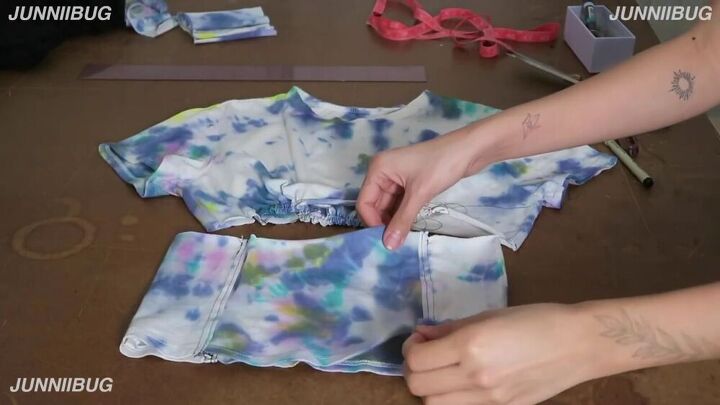
Assemble the DIY bustier top
Attach the middle front panel to one of the side pieces. Make sure both pieces are right sides facing.
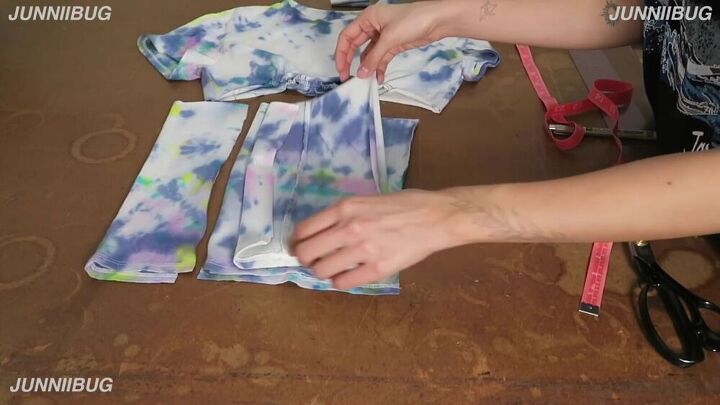
Then, flip the otherside inside out and attach it to the other end of the front panel. When that’s out the way, go ahead and do the same for the back piece.
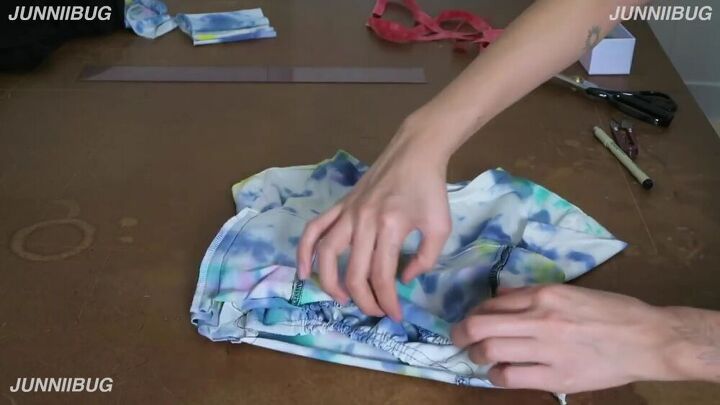
This is what it should look like.
TIP-
Overlock the seams so that you have a nice finish. It also prevents fraying.
Turn it right sides out and wear the bottom section to see how it fits. I decided to cut out the top part because there was excess fabric. Do the same if you feel it’s necessary. Measure out how many inches you’d like to do away with and cut the panel accordingly.
TIP-
Don’t go too low as you’ll need some seam allowance to attach both pieces.
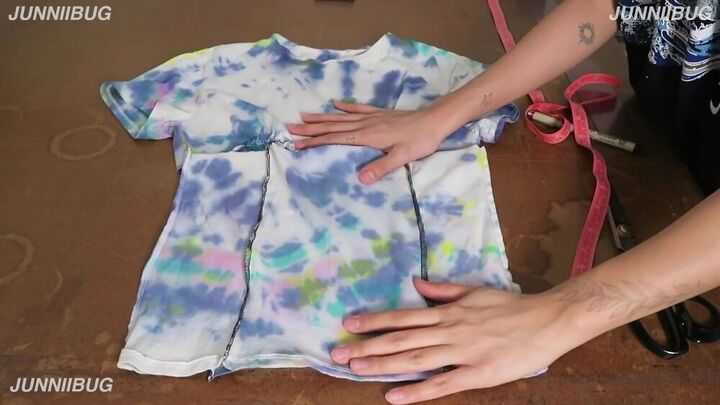
Before attaching the panels together, go ahead and topstitch every seam for a lovely, cleaner look. Topstitch each seam on either side, giving your DIY bustier top some stunning detail to it.
Attach the bottom of the top panel to the top of the lower panel. Be sure to align the seams accordingly. Sew all the way around, and you are done!

How lovely does this look? It’s fitted, elegant, and unique! I love how easy it is to sew a bustier top from a t-shirt. It’s also a fun process and of course, a worthwhile one! I hope you enjoyed this bustier top tutorial! I hope you bust out some sewing moves on your t-shirts to make them trendy and on fleek!
The author may collect a small share of sales from the links on this page.


Comments
Join the conversation
Very pretty, great job👍
Who knew a t-shirt could look so cute. Great job.