Bedazzle Your Closet With This DIY T-Shirt!

Have a t-shirt lying around and don't know what to do with it? I have just the solution! Why not make a stunning bedazzled DIY t-shirt? It's fun and pretty simple to make, too. Adding some funky multi-colored embellishments solves any problem! So, follow my bedazzled t-shirt tutorial as I guide you to make this easy DIY t-shirt so that you stand out from the crowd and rock your glamorous new look! Let's start bedazzling!
Tools and materials:
- Plain t-shirt
- Glue
- Glue gun
- Embellishments
- Scissors
- Cardboard
Cut the t-shirt
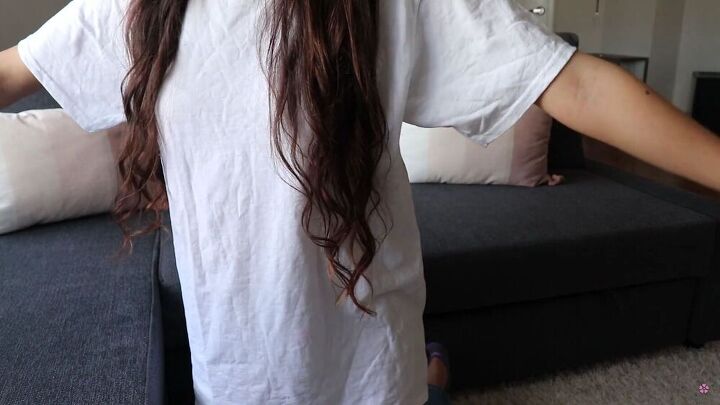
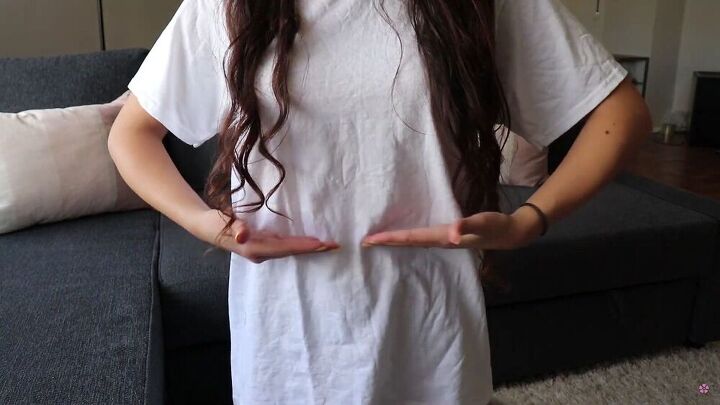
This step may be relevant for you, but if it's not, go ahead and skip it. I found a big white plain t-shirt that still had tags on it! Because it was big and bulky, I cut it to size and transformed it into a crop top. If you want to do the same, simply wear the t-shirt and mark your desired length. I also cut the sleeves a little.
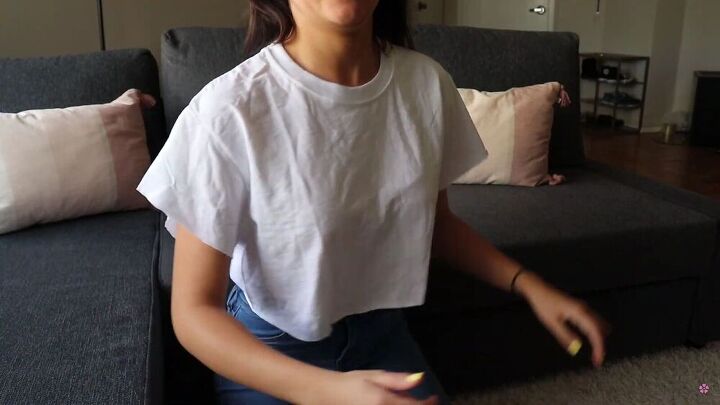
This is what it looks like post-transformation!
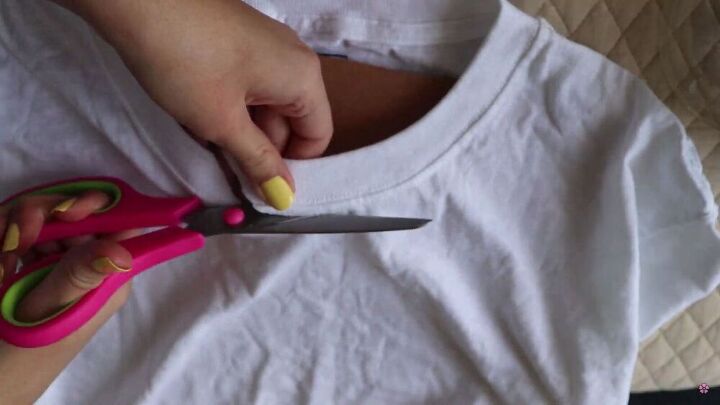
Modify the neckline
If you have the same neckline as mine, go ahead and cut it off. If you bedazzle the neckline area, it won't be able to stretch and go over your head. So with my trusted pair of scissors, I cut out the neckline right by the seam.
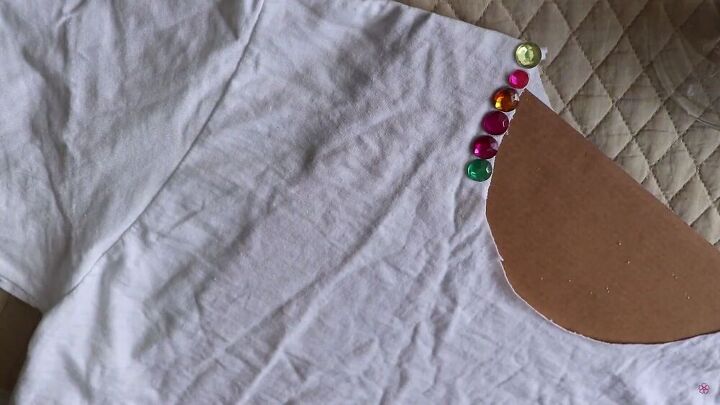
Start bedazzling!
Now for the fun part, adding some shine and glitz to bring your DIY t-shirt to life! Get your funky embellishments on hand together with your glue gun, and start bedazzling, baby! As you can see, I started around the neckline. I didn't have a particular design in mind; I simply glued on some random-sized stones and colors.
TIP-
Add cardboard in between the shirt so that the glue does not seep through to the other side.
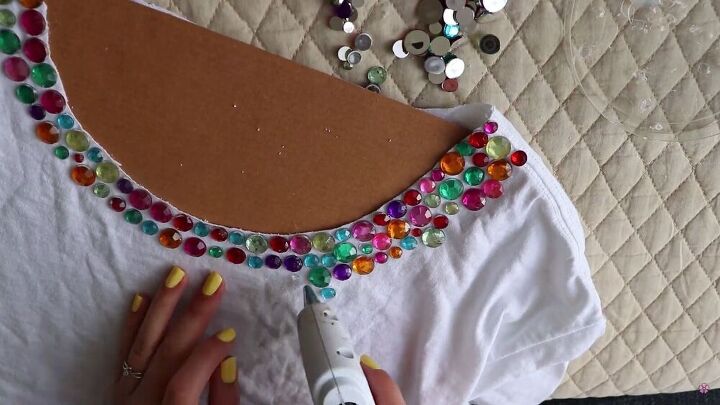
Carry on across the edge of the neckline and do ⅔ more rows for a nice, thick line.
Make some modifications
I highly suggest wearing the bedazzled DIY t-shirt to see what other modifications can be done, so it comes out perfect. For me, I realized I had to fix the jewels on the neckline ( some jewels were out of place). For this, simply add in a few more jewels, so it looks even and fuller.
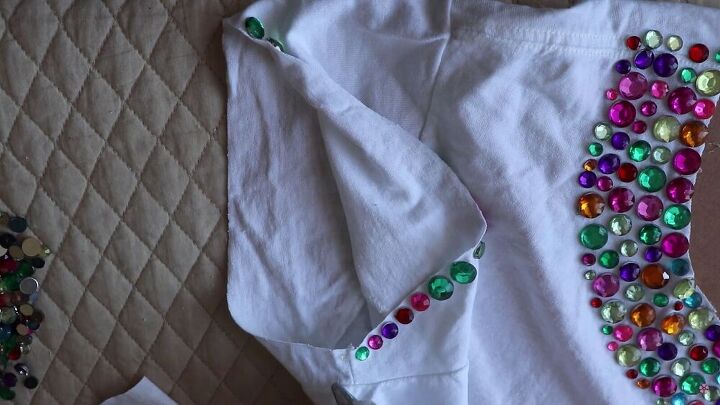
Also, I decided to cut my sleeves a little more and bedazzle the sleeves' edges. I glued on the jewels all around the rim.

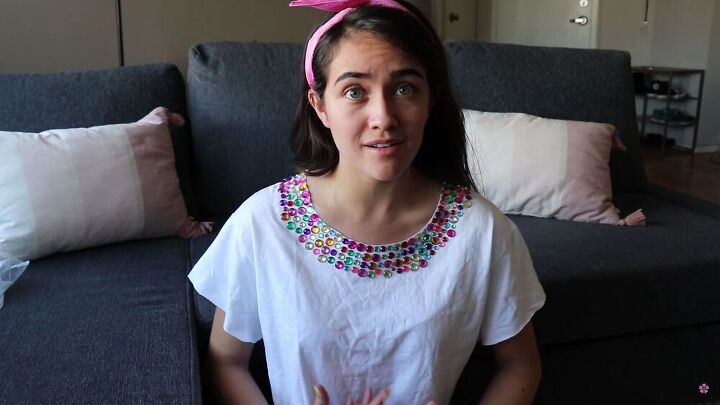
Yay! We're done! How cute does this DIY shirt look? I love the result, and I know you will, too. Remember, to make a DIY t-shirt doesn't have to be with jewels; you can use studs, pearls, flowers- anything really! I hope you got some fabulous inspiration from the DIY shirt tutorial, and the next time you have a mundane t-shirt lying around, go ahead and make it sparkle! Thanks for tuning in!
The author may collect a small share of sales from the links on this page.


Comments
Join the conversation
How will you be washing your embellished t-shirt? I would love to show my granddaughter this tutorial and have an afternoon crafting session with her. I think she would love the shirt.
You can buy glue that is washable and is meant to glue things onto fabric. I got mine at Fabricland