How to Upsize a Shirred Top (a Batwing Shirt Refashion)
See that fabulously embroidered rusty orange shirt below? It began life as a boringly beastly black batwing top.

Here’s how to upsize a shirred top (a batwing shirt refashion):
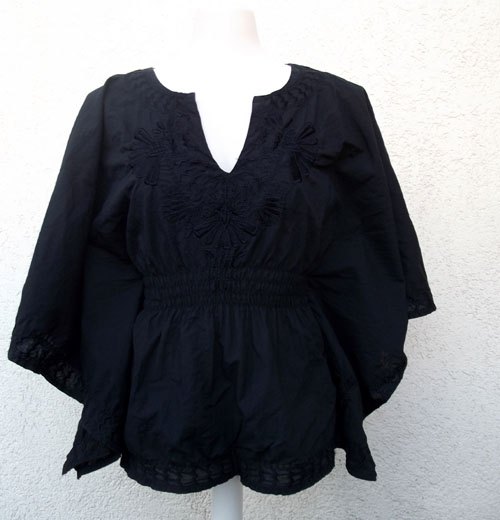
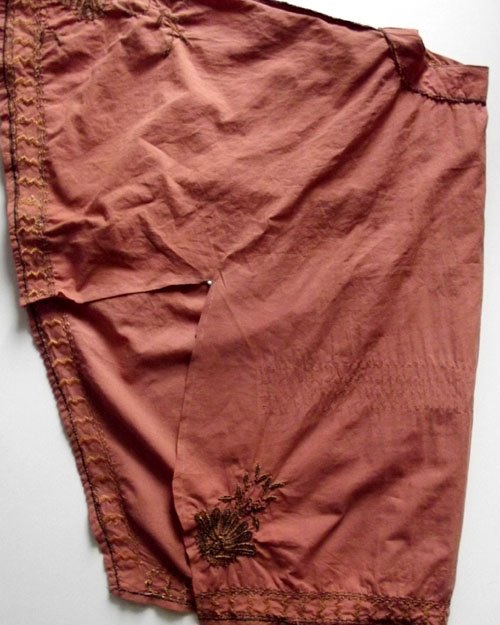
Ugh! A too tight shirred waist, annoying flappy sleeves and nearly invisible embroidery!
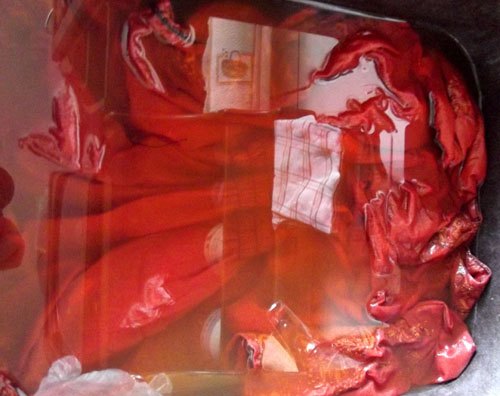
I really wanted to take that embroidery out of the shadows so I gave the shirt a 30 minute bath in bleach.
Get my top tips and techniques for bleaching garments here.
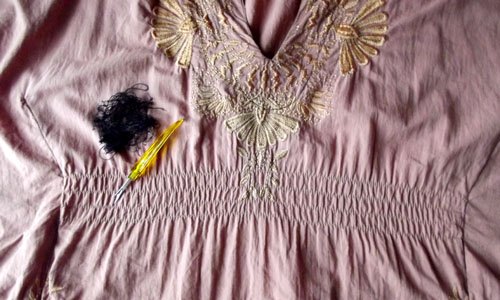
Once laundered, I flipped it inside out and carefully removed that tight shirring at the waist and side seams with my trusty seam ripper.
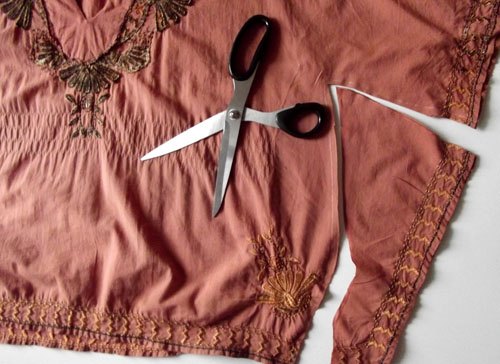
I then stitched the front and back together again to create a new side seam and a much improved sleeve shape (+ salvage some more of that lovely embroidery that was previously hidden by the annoying batwing sleeves)
Then folded the shirt evenly in half and used the first finished seams as a template for the other side.
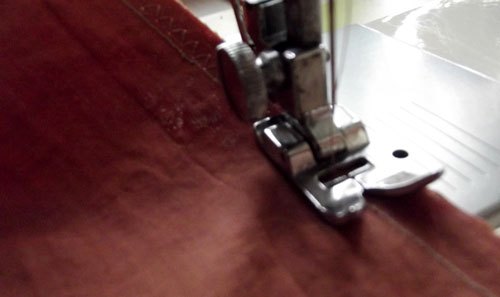
Once the new side seams were created and all of the excess fabric chopped off I zigzagged the interior seams for extra strength + to help prevent fraying and my groovy new top was nearly complete.
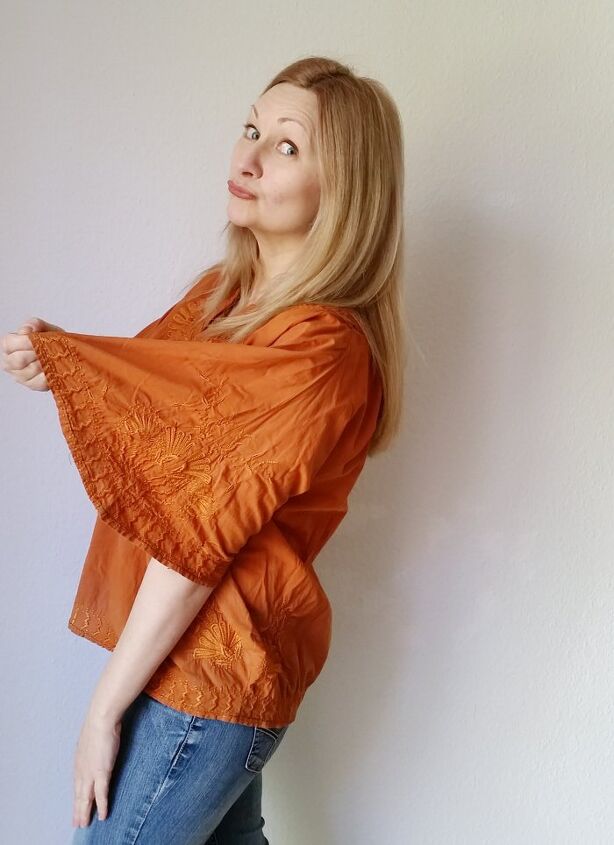
A second bath in rusty orange dye finished it off! Check out that (now visible) fab embroidery!
Snag my tips and tricks for dyeing fabrics here.
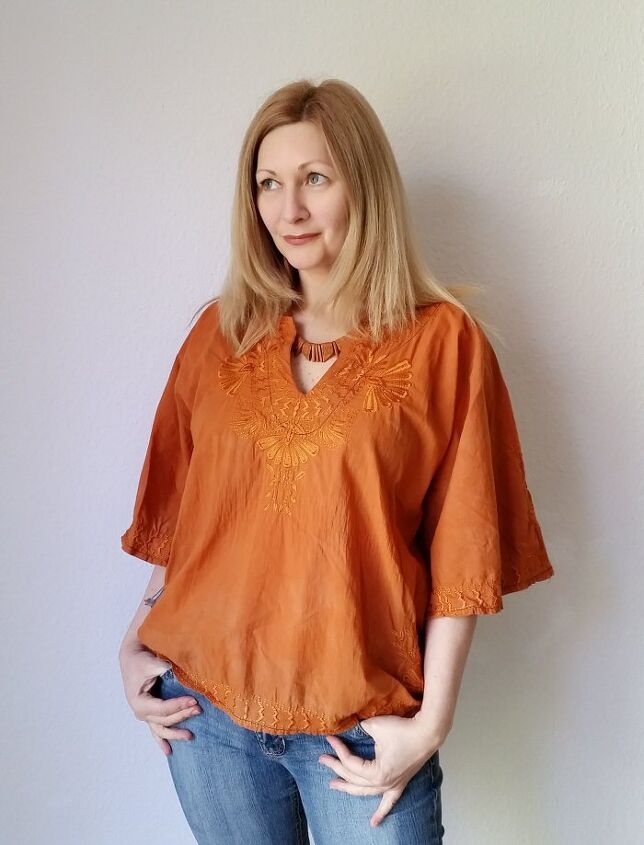
That too tight flappy sleeved top is now transformed into a loose and breezy wardrobe fave!
– Be sure to check out my upsizing tutorial category for more groovy fixes –
The author may collect a small share of sales from the links on this page.


Comments
Join the conversation