Design Your Own: Crop Top

If you like sewing, this is the tutorial for you. It’s a great video that will teach you how to transform a t-shirt into a simple crop top that you will love. If you're looking for more staple pieces, follow along!
Tools and materials:
- T-shirt
- Safety pin
- Tape
- Scissors
- Sewing machine and/or needle and thread
- Thick thread
Cut your shirt
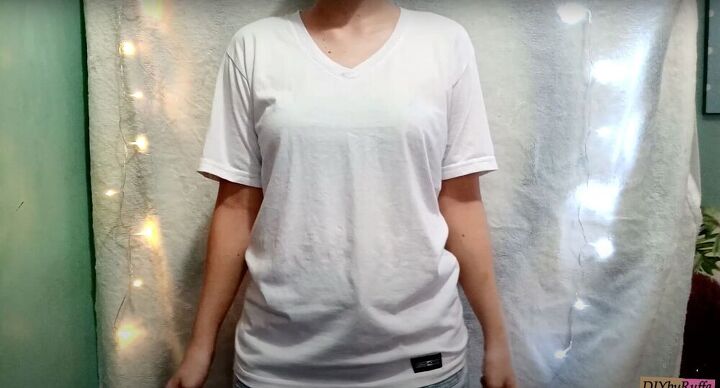
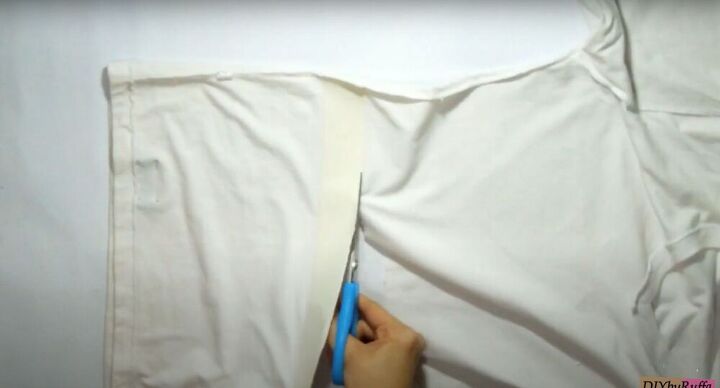
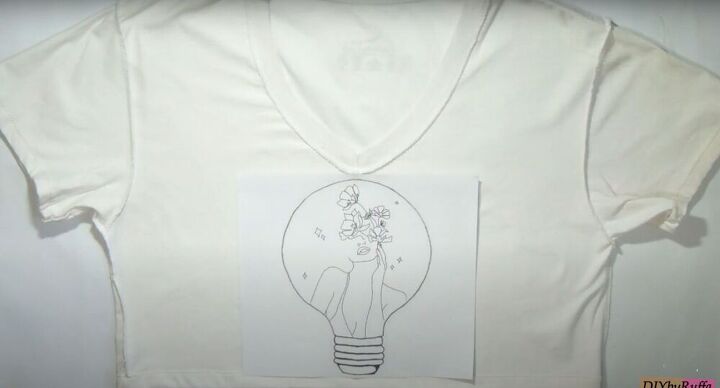
First things first, scour the internet (preferably Pinterest) for your own aesthetic sketch. Copy this look into Microsoft Word and print it out. You will use this as your shirt design. (Feel free to get creative with this - I mixed two designs to make it my own!). Next, to begin the shirt refashioning, put it on, find where you want to crop the top, and add a safety pin to mark the length. Take the shirt off, mark the area with tape, and use scissors to cut across.
Shorten the sleeves
With the shirt inside out, double fold the edge and pin it down. Sew the folds down with a top stitch. (If you don’t have a sewing machine you can do this by hand sewing). For the sleeves, you can leave them as is or make them shorter as I did. To make them shorter, cut off the hemmed edge and then double fold the sleeves, hemming them the same way we did the bottom edge. (This is where I decided to get a little creative and used a different color for the stitch line).
Add your design
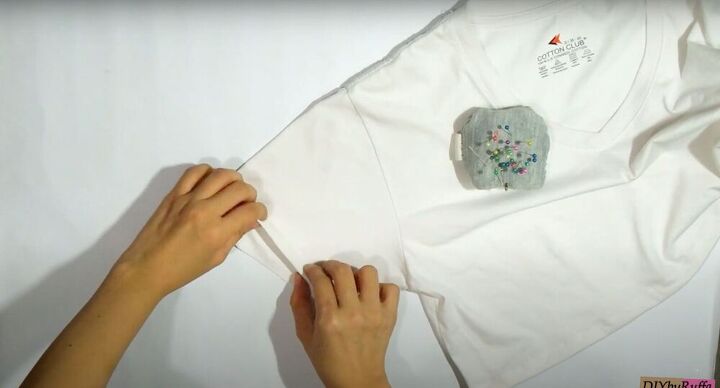
When adding my design, I wanted the shirt to look perfect so I decided to add dots, half a centimeter apart from each other, across the entire design. This step is completely optional though, you can just add the dots without the measurement and it will likely still come out nicely. Next, I folded the paper in half to find the center, turned the shirt inside out and placed the design over it (wrong sides together), and taped it down.
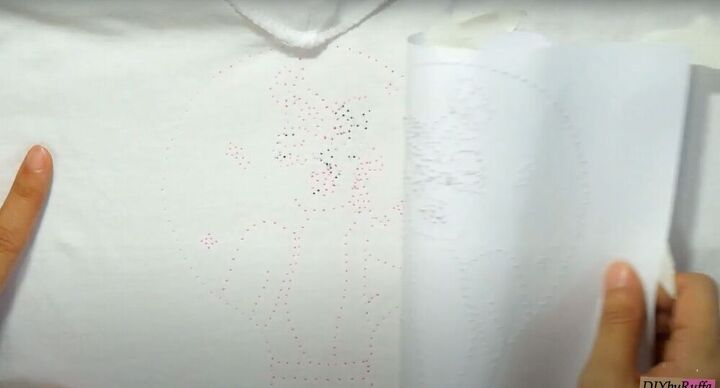
Put a paper sandwiched in between the shirt and then use a pen to transfer the dots from the paper to the crop top. (The paper will keep the markings from transferring where they don’t belong). Once the dots have been transferred, thread some thread through a needle and hand sew the design onto the shirt. Do this using a top stitch process. For the bulb, I used a thick thread and then switched to regular thread for the detailing inside the bulb.
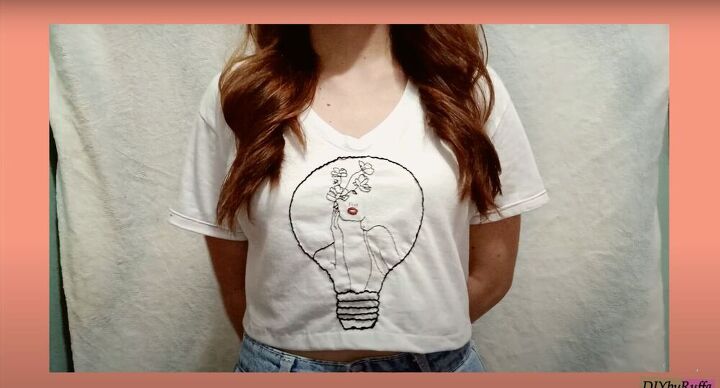
To finish the shirt, erase all the markings and secure your embroidery. This DIY crop top was so fun to make. The pattern was therapeutic and it allowed me to get back into hand sewing. If you (like me) decide to go with a unique, one-of-a-kind decoration, I’d love to check it out!
The author may collect a small share of sales from the links on this page.


Comments
Join the conversation