DIY Shirt Into Crop Top: How to Refashion Your Old Work Shirts

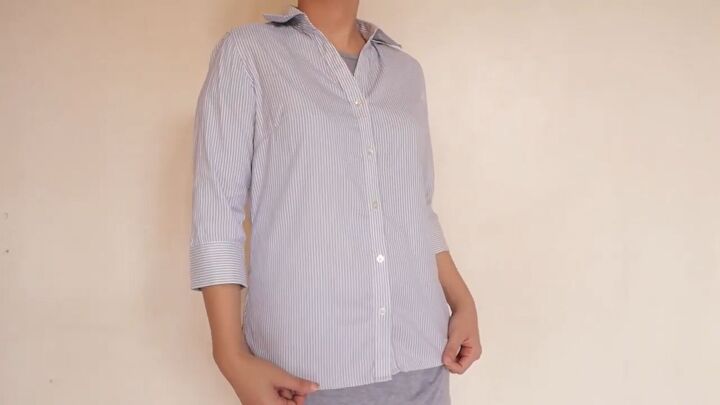
Do you have a button-down shirt that fits you from the Before times (before COVID) that you want to refashion? Do you want to learn how to DIY and make a shirt into a crop top? Then this is the tutorial for you!
Let me show you how to cut a shirt into a crop top that is absolutely adorable and perfect for summer!
Tools and materials:
- Button-down shirt
- Scissors
- Marking pen
- Tailor’s chalk
- Sewing machine
- Serger (optional)
- Pins
- Clips
- Measuring tape/ruler
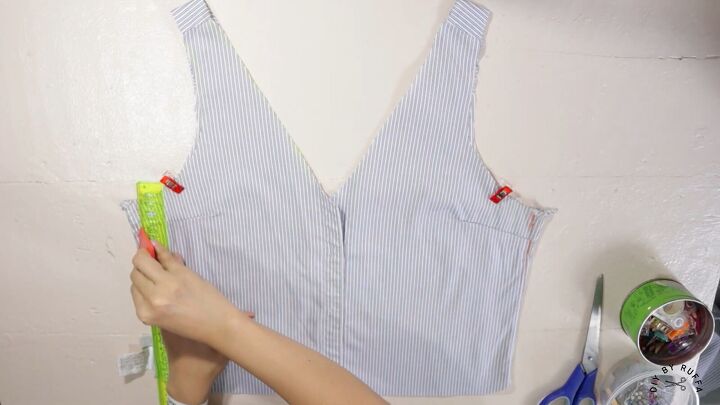
1. Make the pattern
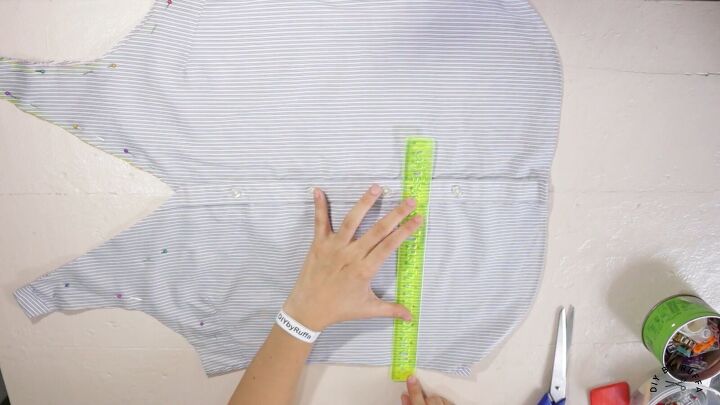
Wear the shirt so you can see exactly where the mark the new neckline.
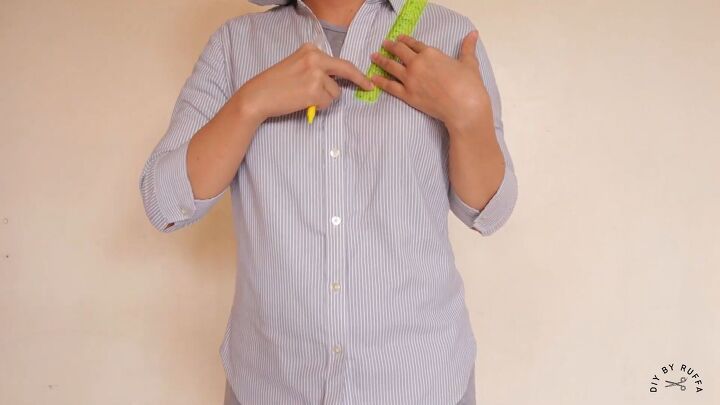
Use a ruler to help you make clean lines.
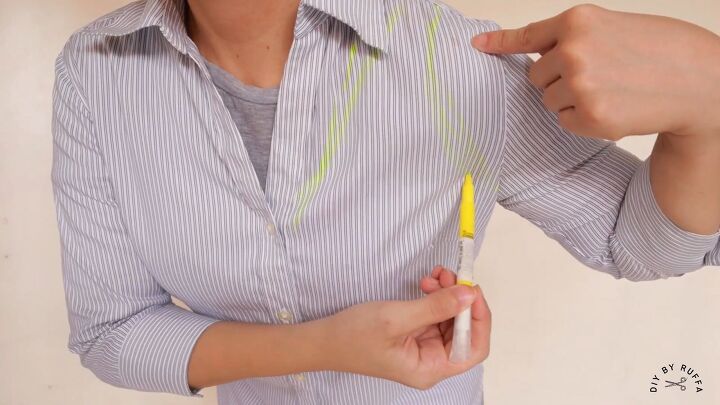
Mark the neckline with a deep diagonal line down and the new shoulder line and armhole.
Mark the new length.
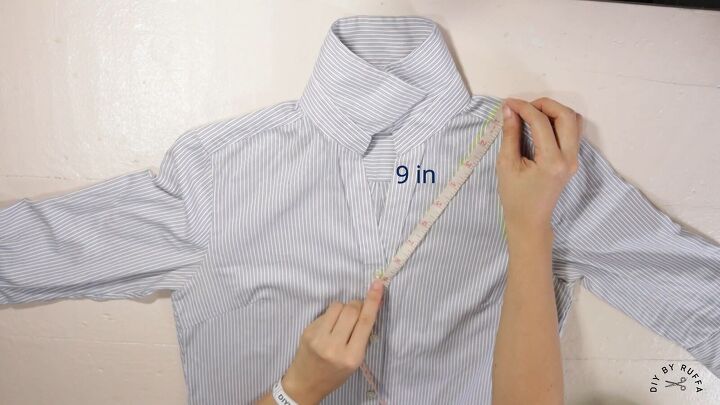
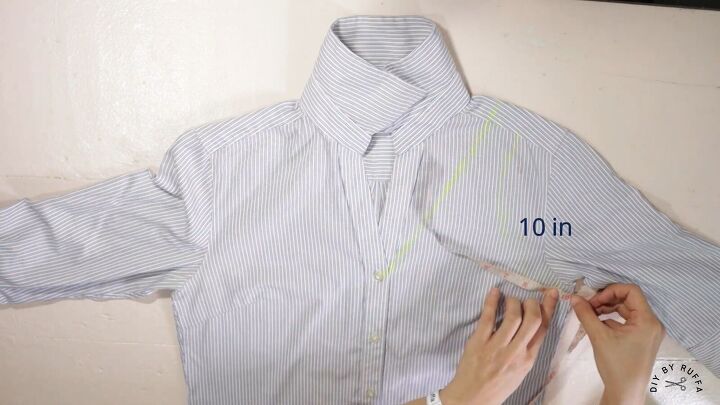
Measure the depth to be 9 inches and the armhole to measure all around at 10 inches.

The width at the top of the bust should be 8½ inches.
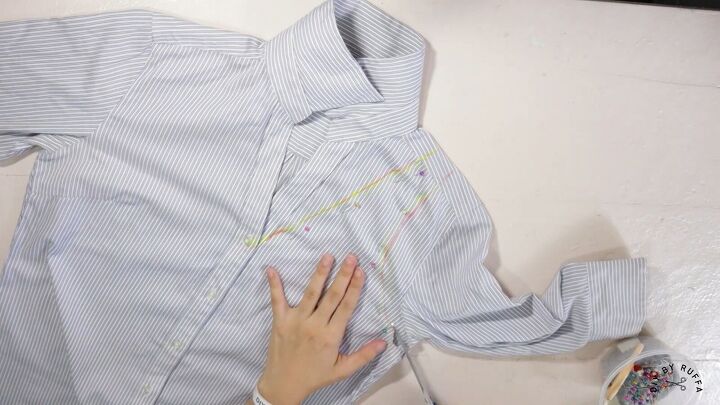
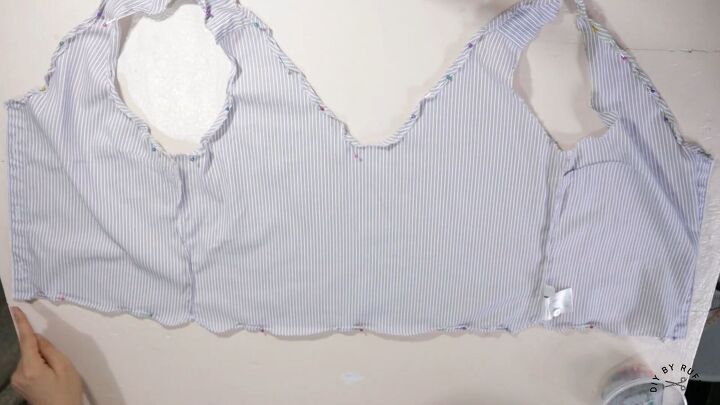
Mark with chalk and pin in place. Cut.
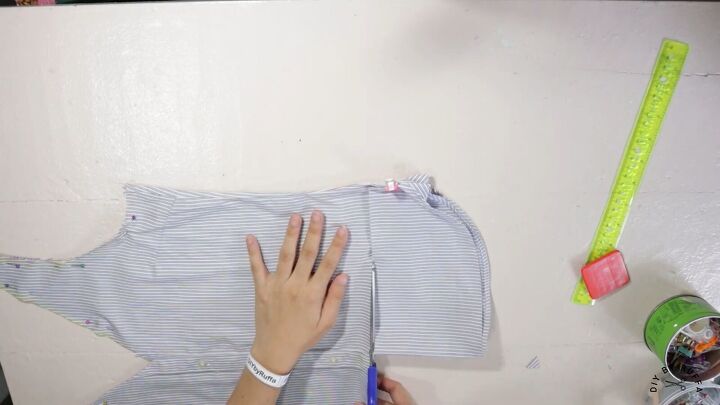
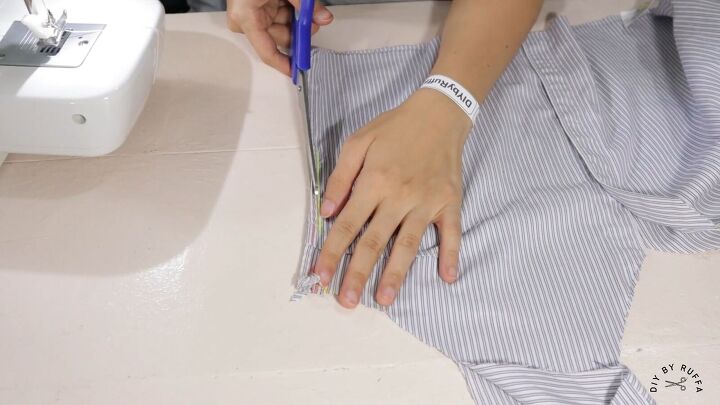
Open the button to cut away the button placket.
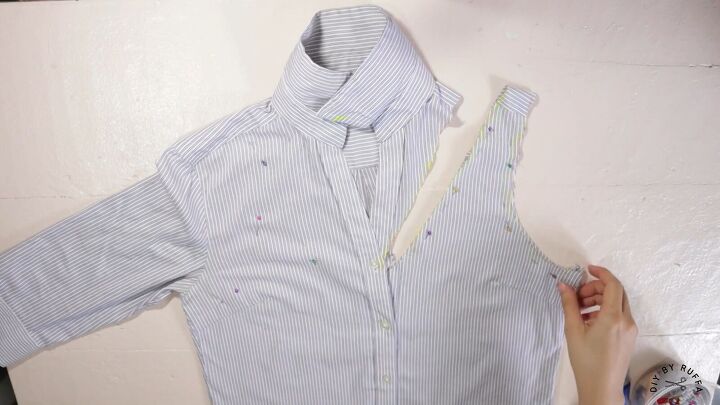
Then close the button.
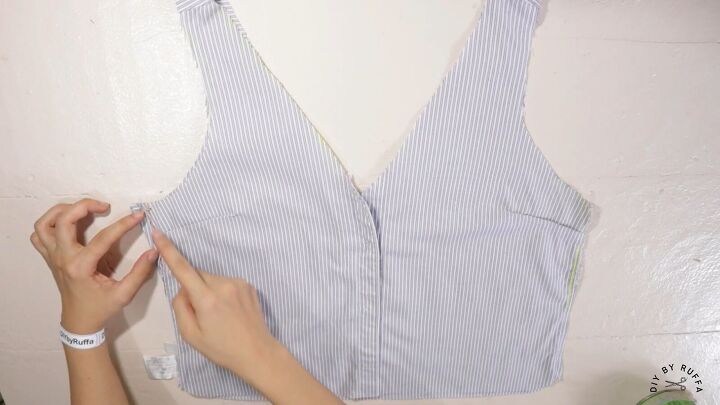
Fold the cut part of the shirt lengthwise so the right sides are together.

Clip in place and pin the pattern together to the other side of the shirt.

Cut.
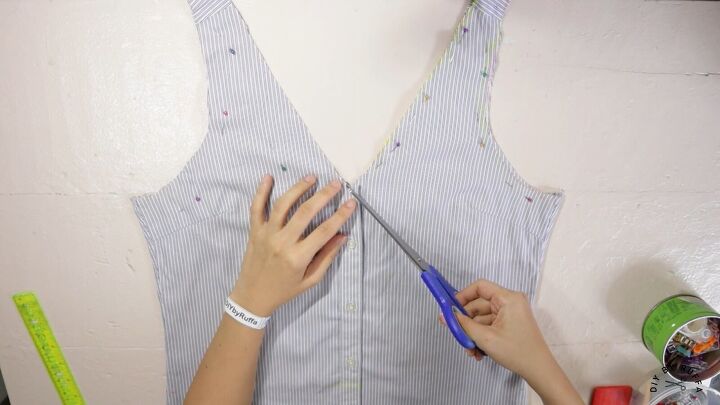
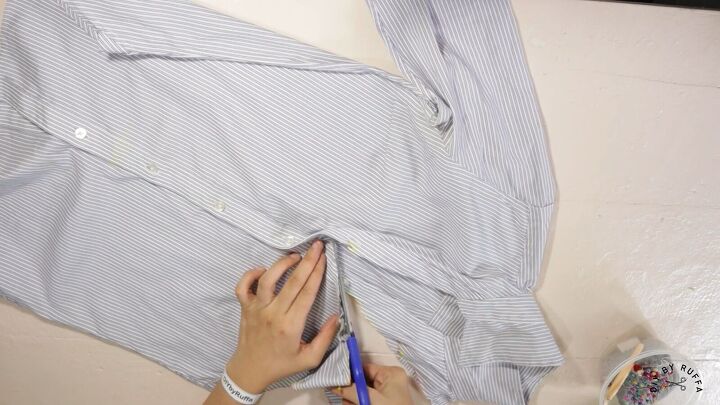
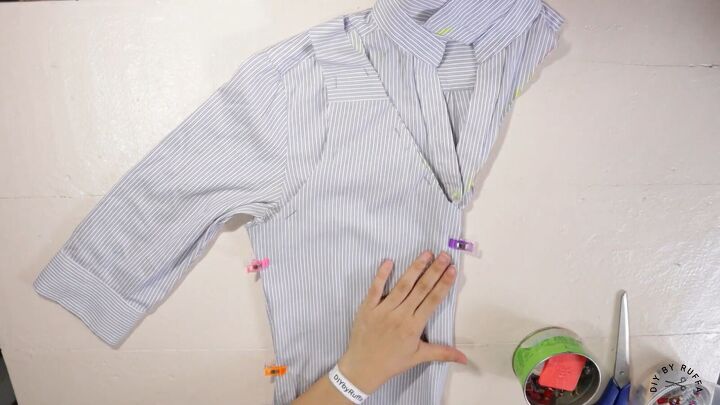
Remove the clips. Cut the button placket so it is flush with the new neckline.
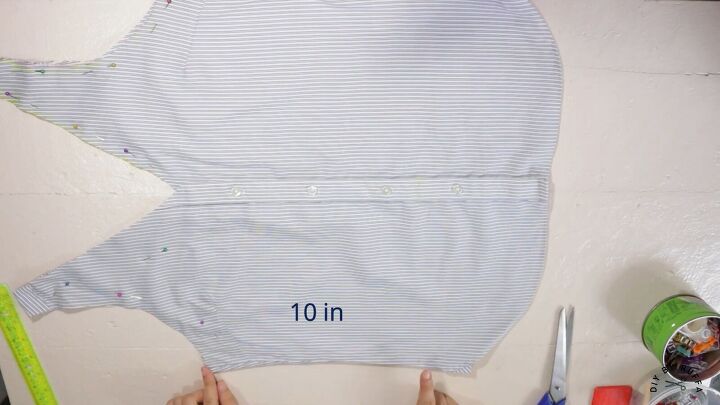
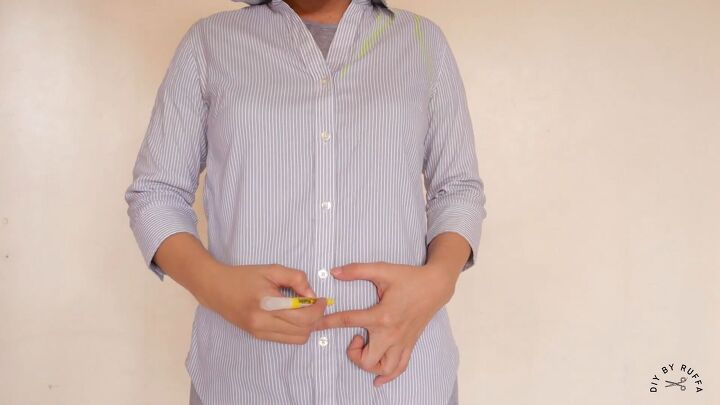
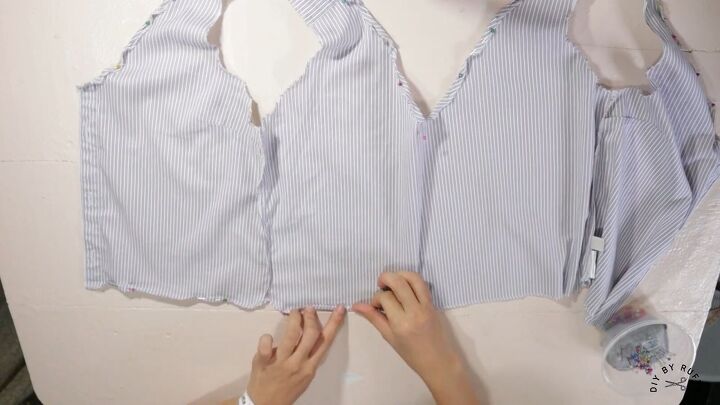
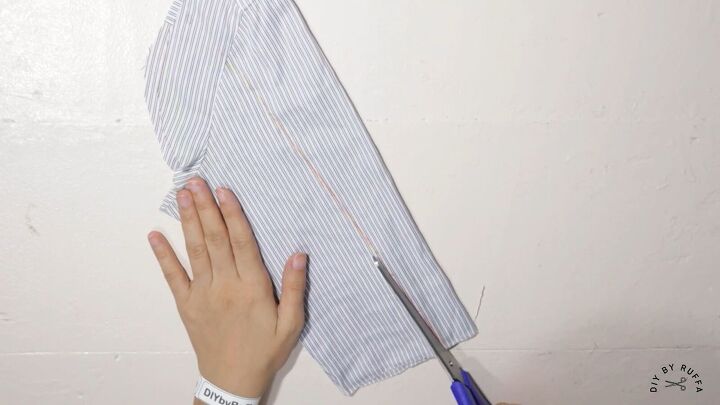
Measure 10 inches down from the armhole bottom.
Mark this new measurement across the width of the shirt.
Cut.
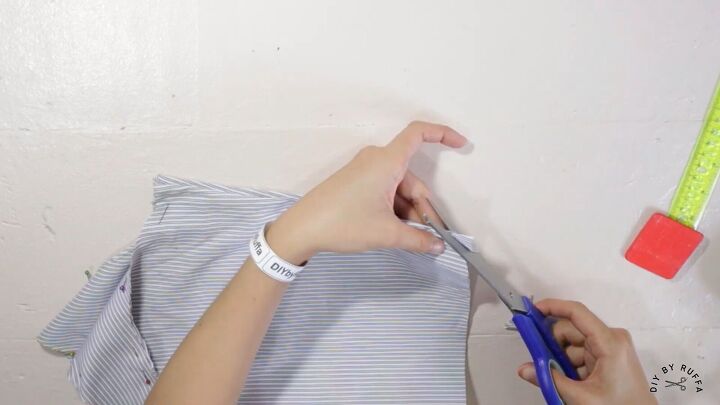
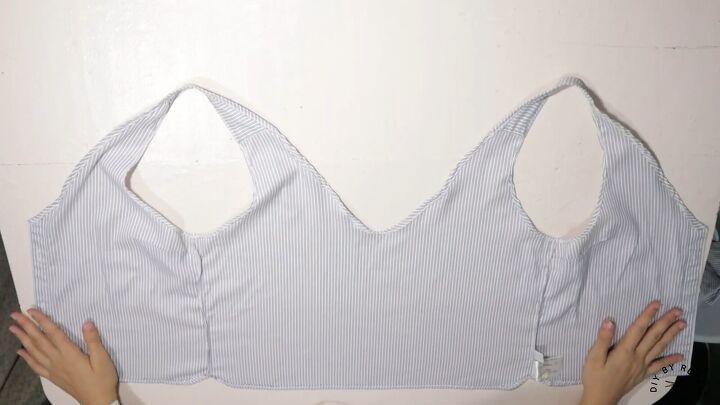
Mark at the bottom corner edge about an inch on the diagonal on both sides. Cut off these little edges.
Set the sleeves, bottom portion of the shirt, and the buttons aside to use later.
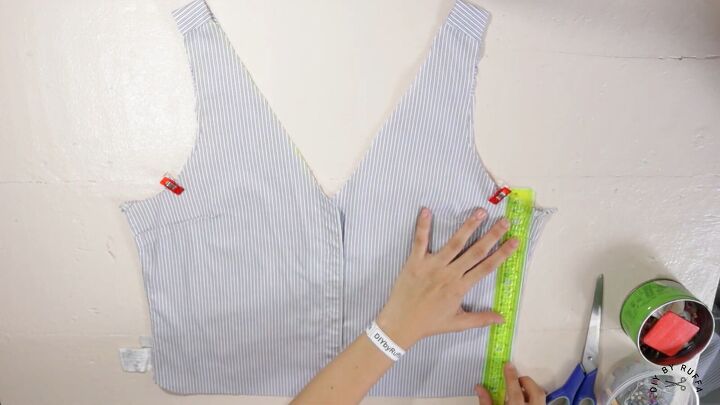
2. Sew the top
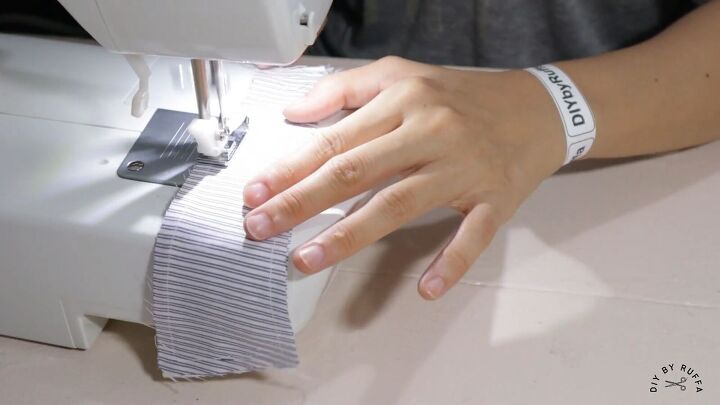
All the sewing is done on the inside (wrong side). First, clip the armholes.
Take in the shirt just under the armholes all the way down to the end on either side. Sew with a straight stitch.
Trim the seam allowance.
Serge or zigzag sew the side seams.
Then serge or zigzag sew all the raw edges of the shirt: neckline, armholes, back, and hem.
After serging, fold all the serged edges and pin.
Once it’s sewn, it looks super polished!
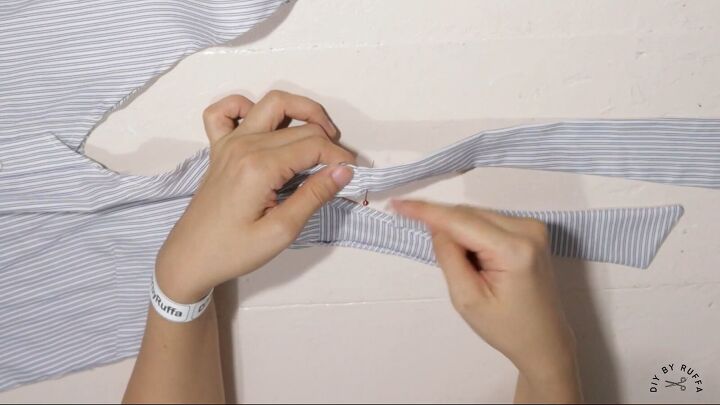
3. Make the shoulder ties
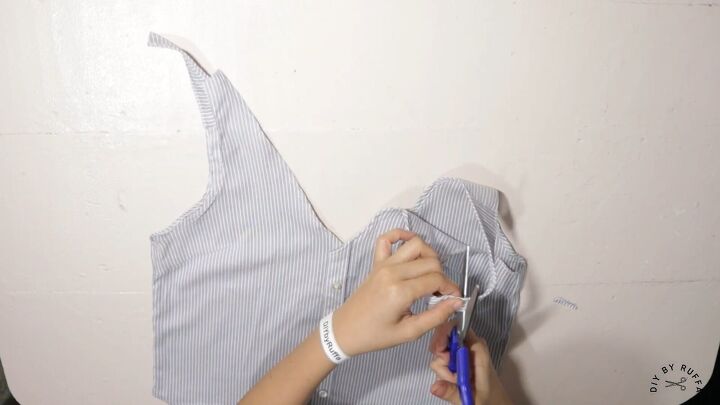
Flip the shirt to the right side and snip both the shoulder seams open.
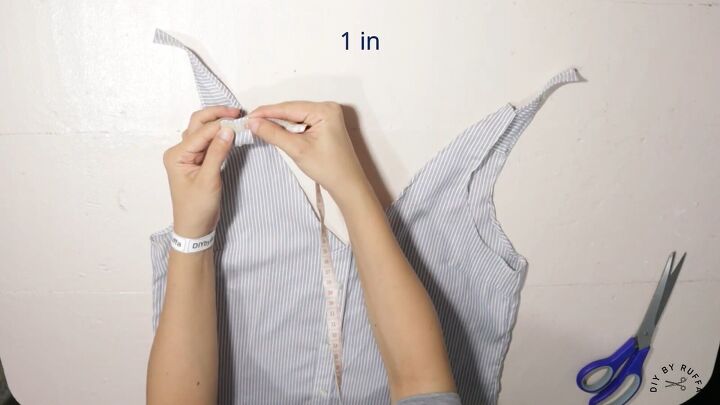
Measure the open seam. It should be about an inch.
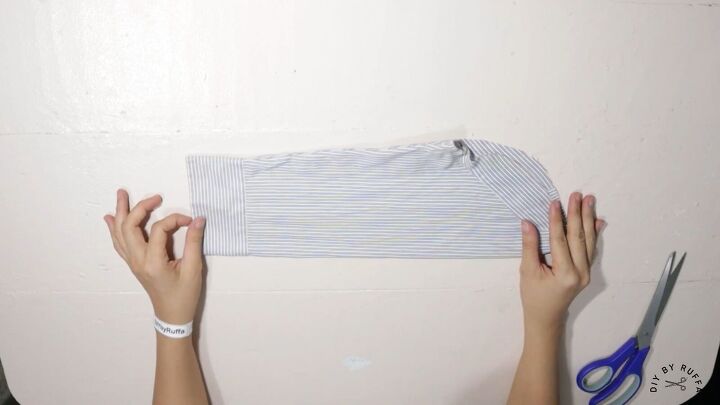
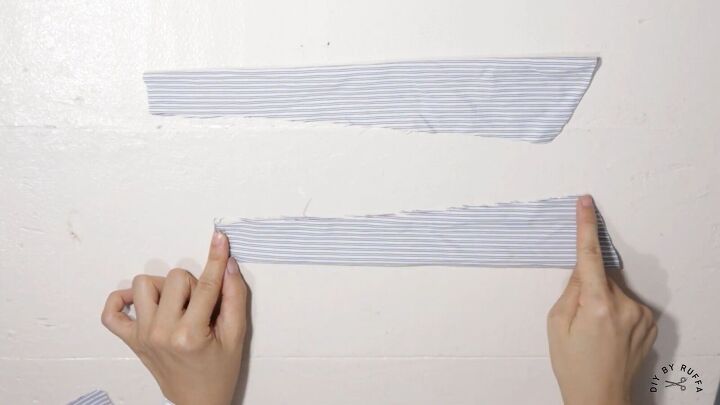
Lay the sleeves flat. Cut off the cuffs.
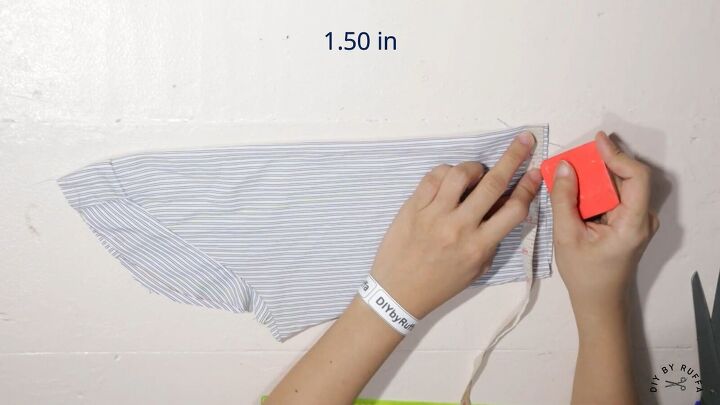
Mark the sleeve in from the cuff edge 1½ inch.
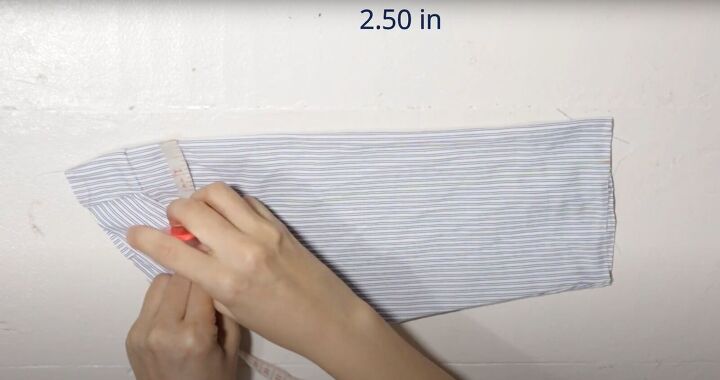
Mark the top width at 2½ inches
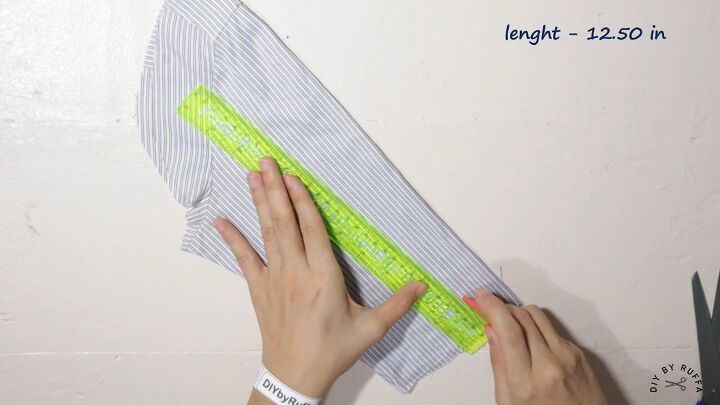
Mark the length at 12½ inches.
Cut. Do the same to both sleeves.
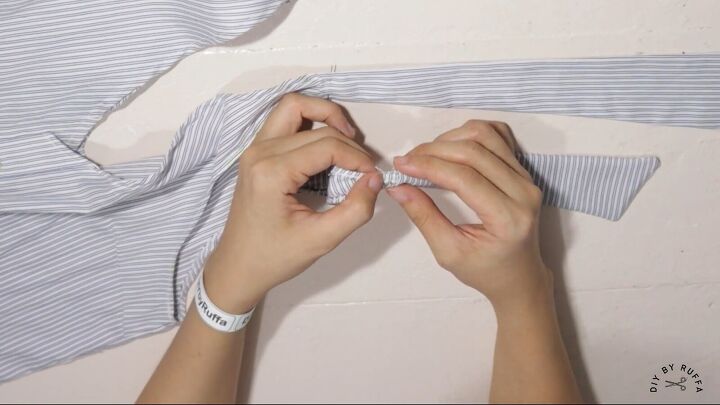
Open the newly cut pieces and fold down the shorter edge to make a hem. Then fold it lengthwise, right side together.
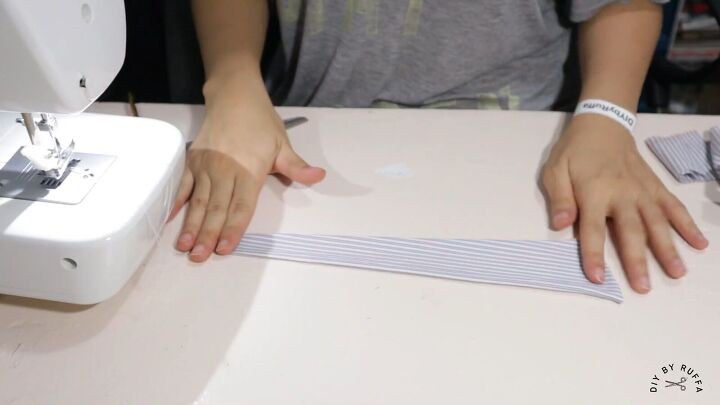
Sew these ties with a straight stitch. Flip to the right side. It will look like this.
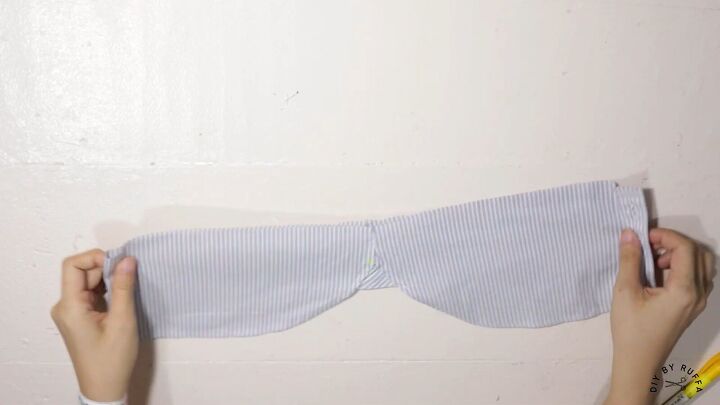
Take the shirt bottom. Cut in half.
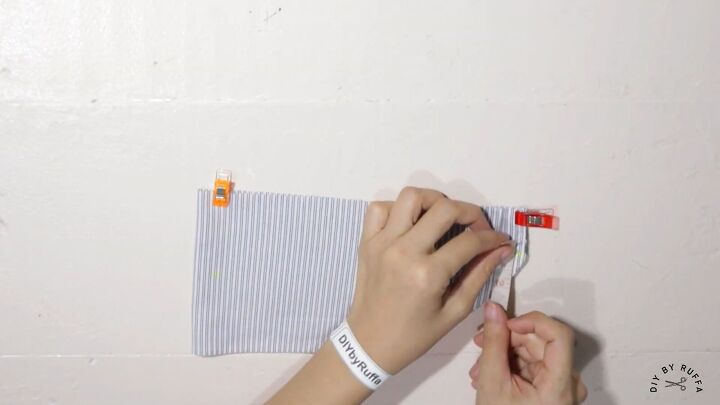
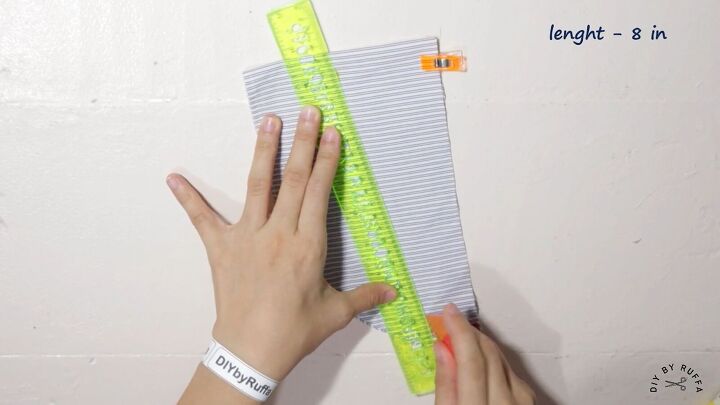
Fold each half and clip in place. Measure 1½ inches at the narrow end and 3½ inches at the wider end. Measure 8 inches for the length.
Mark the diagonal line.
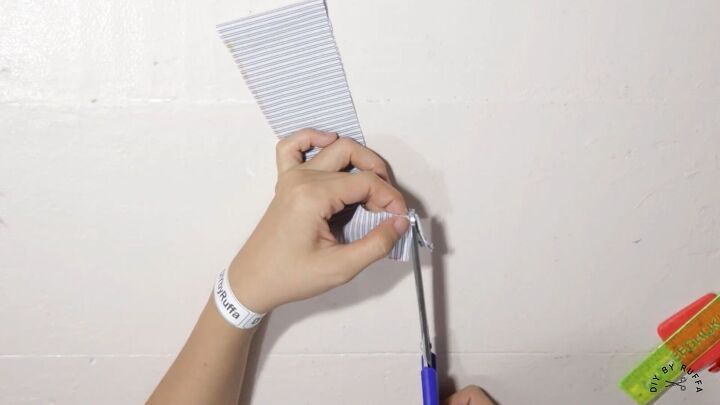
Trim off any hemmed or folded edges.
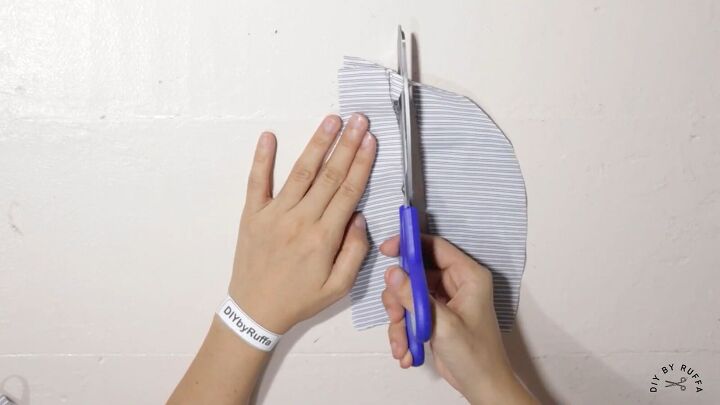
Then cut out the pieces. You’ll have a total of 4 pieces.
Sew each with a straight stitch on the wrong side, leaving the narrow short edge unsewn.
Trim the corners on the seam allowance, then flip to the right side.
4. Attach the shoulder ties
Attach the longer 12-inch tie to the front shoulder. Tuck or fold the front shoulder edge and insert it into the tie. Pin it into place.
Fold the back shoulder piece into the opening of the 8-inch tie and pin into place. Sew them with a straight stitch.
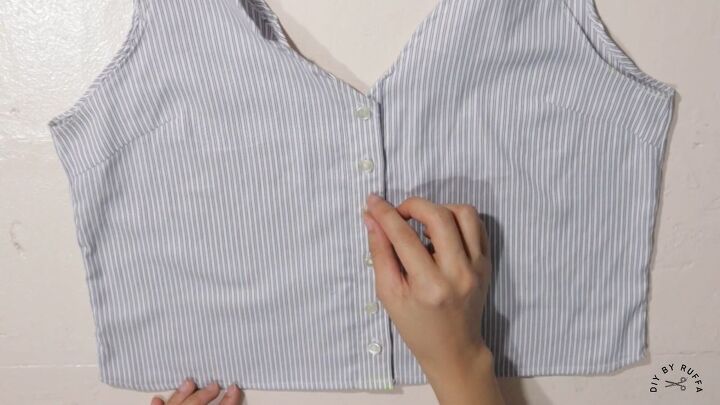
5. Finish the front
Attach a button to the very top of the shirt. Add a buttonhole with your sewing machine. Attach 2 more buttons, without making buttonholes at equal distances down the placket.
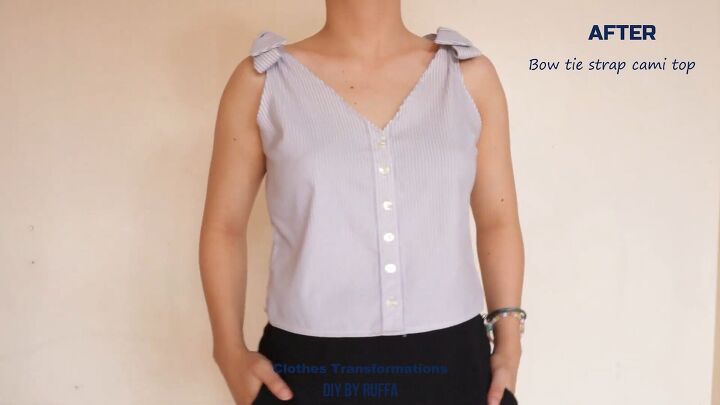
DIY shirt into crop top tutorial
I love my DIY bow tie strap cami top from an old shirt! Let me know in the comments if you’re planning to make DIY crop tops from old clothes. Making buttondown workwear shirts into these beautiful summer tops makes upcycling so much fun!
The author may collect a small share of sales from the links on this page.


Comments
Join the conversation
This was very clever. If you follow it step by step, it's not too complicated! Well demonstrated.