How to Quickly & Easily Make a DIY Christmas Shirt Just Like Santa's

Let’s make a fast and festive project in honor of the Holiday season! You’ll love this upcycled DIY Christmas shirt. I’m going to show you how easy it is to make, and you really don’t need a whole bunch of tools and materials for this. Let’s jump right into it.
Tools and materials:
- Long shirt (preferably red and a velvet-style material)
- Faux fur strip
- Sewing machine
- Thread
- Scissors
- Measuring tape
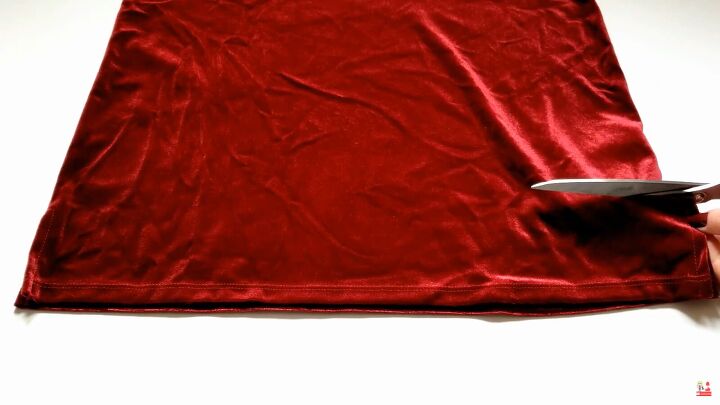
1. Cut your shirt
My shirt is a little too long, so I’m going to cut it to my desired length. If yours is also long, then go ahead and do the same.
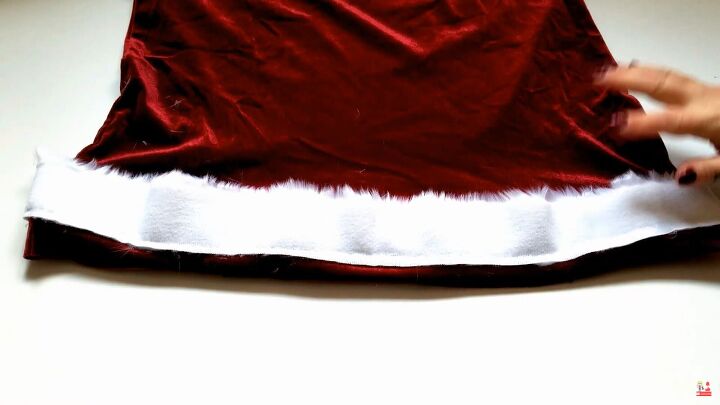
2. Cut your faux fur
Now, go ahead and cut a strip of faux fur to your desired width and length (it should match the shirt’s bottom part). Keep in mind that you’ll need a little seam allowance, too.

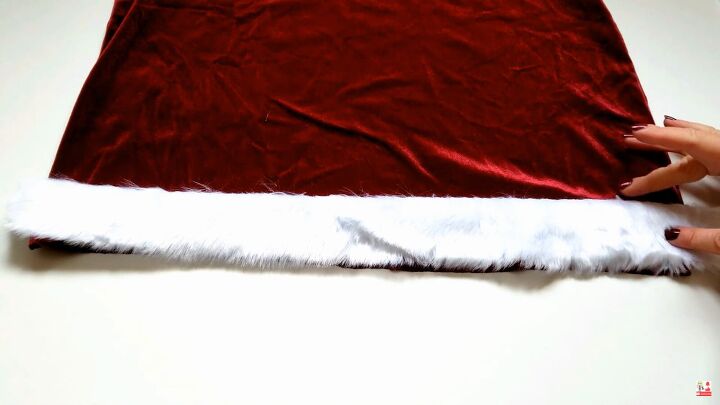
Flip the faux fur piece upward and sew along the rough side. The reason why I’m doing it this way is so that it has a nice, clean edge when it’s flipped back down. Use a tight, wide zigzag stitch.
Tip: If you have stretchy fabric as I do, then stretch the fabric a little as you stitch.
This is what the faux fur strip should look like now that it’s stitched on top.

3. Finish off the cuffs
Now, repeat the whole process on the sleeves, and remember to flip the faux fur right sides in when stitching. This DIY Santa shirt is turning out to look magical!
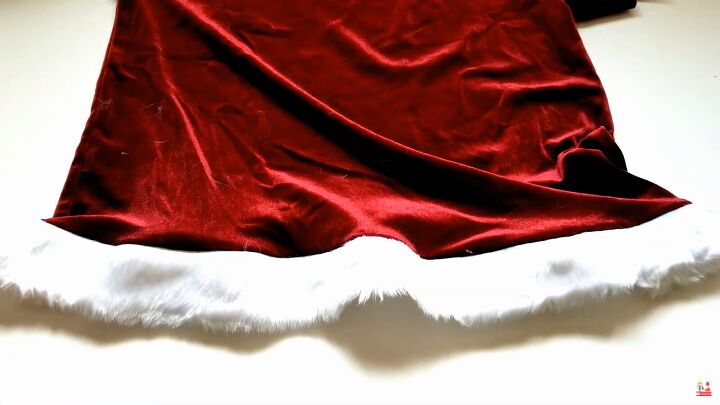
This came out so much better than I could have imagined!

DIY Christmas shirt
You could make these DIY Christmas shirts not only for yourself but for the whole family! I love the result, it’s so festive, and the fur gives it that holiday touch.

I hope this has inspired you to create your own DIY Christmas shirt ideas. Thanks for joining me, and have yourself a fabulously festive holiday!
The author may collect a small share of sales from the links on this page.


Comments
Join the conversation