3 Adorable DIY Crop Tops You Can Make Out of Old Clothes

In this tutorial, I'll show you how to make DIY crop tops out of your old clothes. When I was in lockdown this past winter, I went through all my clothes. It was gray, dreary, and depressing, so I cheered myself up by repurposing and upcycling clothes for the summer.
I took items that didn’t fit me well or I was tired of, and I’m super proud of the results! I upcycled a dress, a hoodie, and a skirt into 3 adorable summer crop tops! I’ll show you what I did and hopefully, that inspires you to make your own DIY cute crop tops! Let’s get started!
Tools and materials:
- Old clothing to upcycle: dress, hoodie, skirt
- Sewing machine
- Needle and thread
- Scissors
- Marking chalk
- Measuring tape
- Paper for pattern
- Pen
- Iron
DIY crop top 1 - Dress to crop top
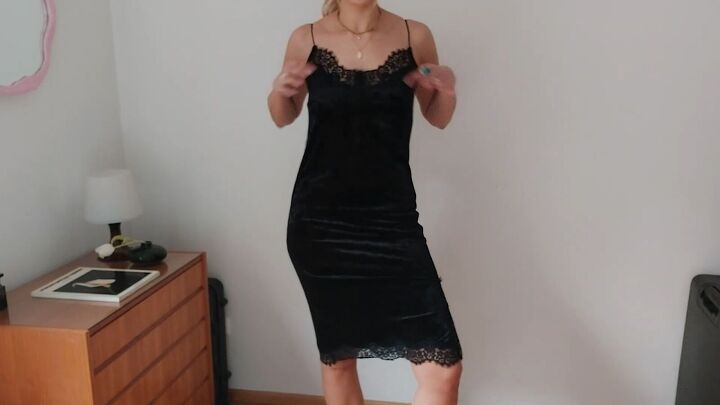
This slip dress is pretty but the fit was unflattering to say the least. Honestly, the hardest part was figuring out how long I wanted the top to be.
1. Measure the top
Put the dress on to see which length works best. I made a mark to know where to cut.
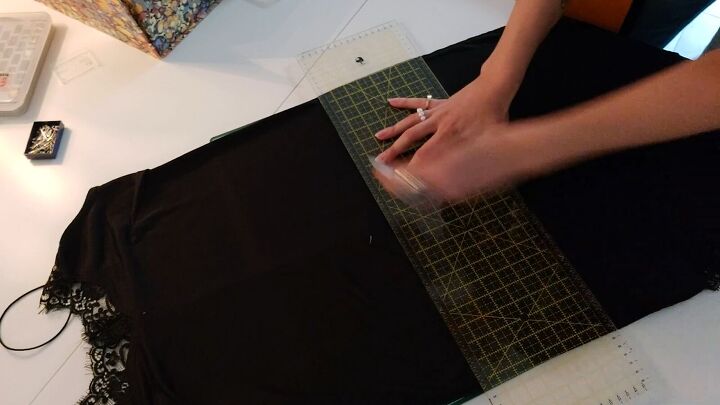
2. Cut
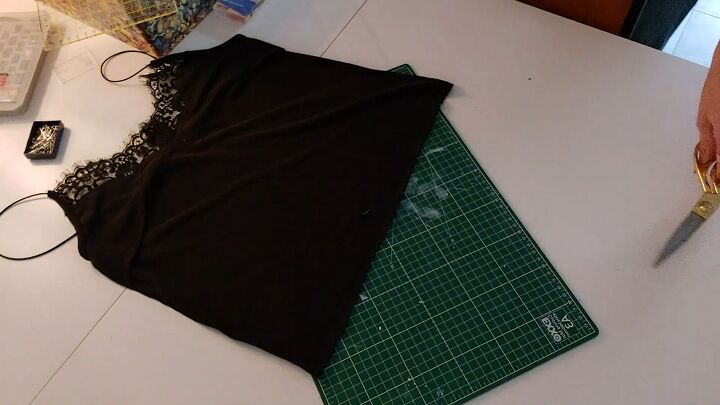
Lay the dress on a flat surface, mark it all around so the cut is straight, and cut.

3. Sew the hem
I did a roll hem to the entire bottom and my top is ready! This took me less than half an hour and is so beautiful!

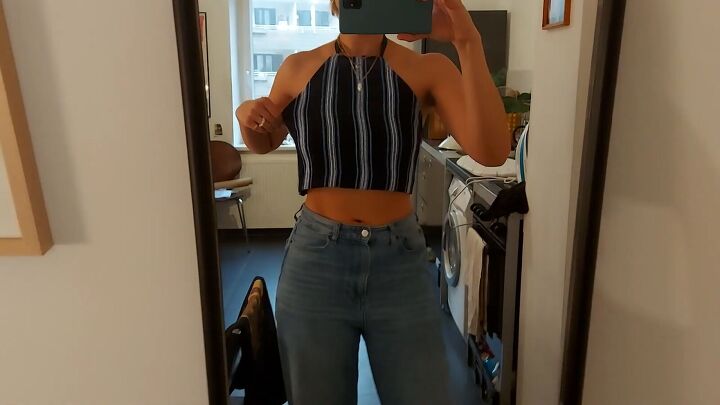
DIY crop top 2 - Hoodie to a crop top
This hoodie’s color and pattern is so pretty but it was so uncomfortable I hardly ever wore it. I decided to make it into a crop top.
1. Take measurements
I took my measurements from my neckline down to just below my rib cage (my favorite crop top length), across a portion of the top of my chest, the front of my waist, and my oblique area on the side.
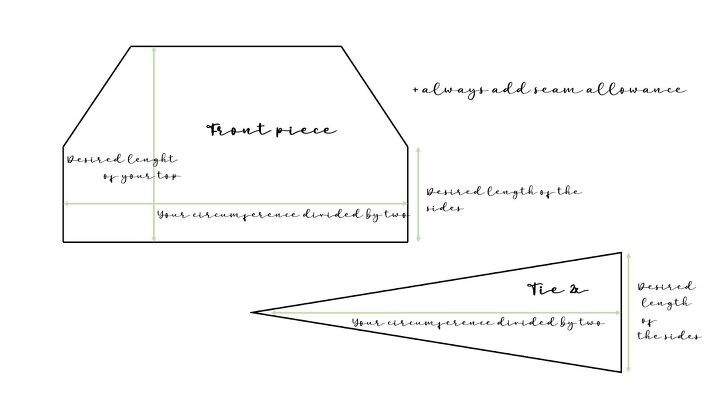
The design looks like this. You’ll need 2 ties. I transferred the measurements and made a pattern with a ½-inch seam allowance.
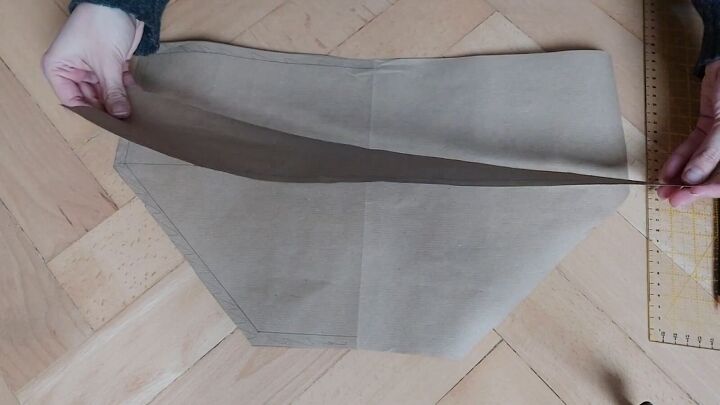
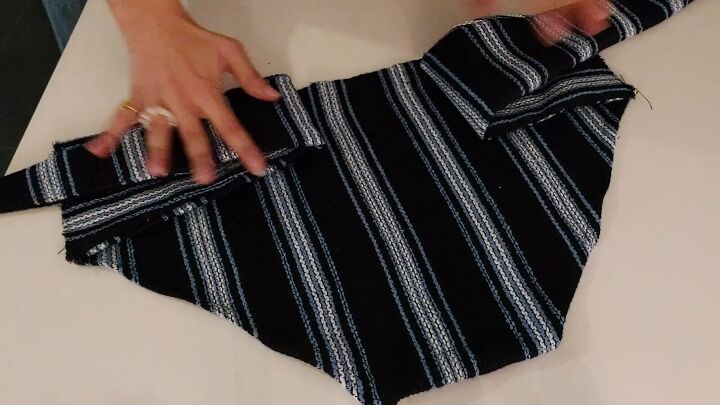
2. Cut the hoodie
Place the paper pattern onto the fabric with pins. Then, cut my hoodie following the pattern.
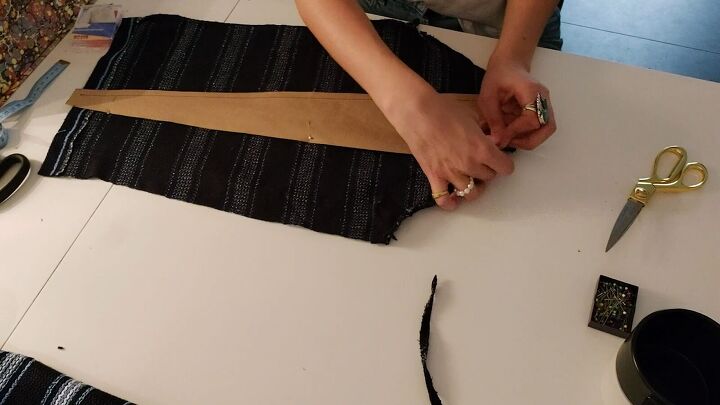
3. Make ties
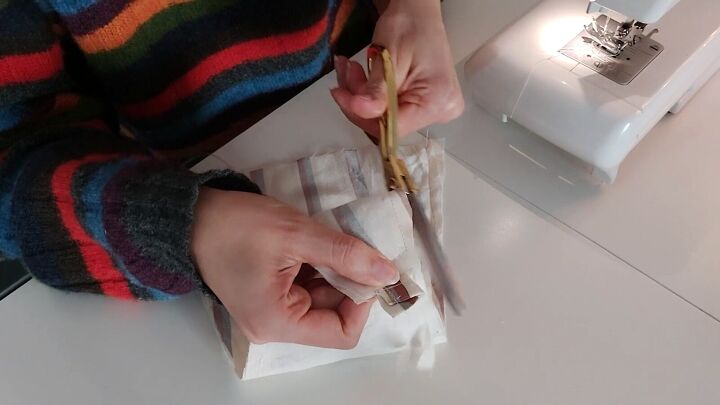
For the ties, I used the sleeves. Cut the sleeves open along the seam.
I used the hoodie drawstring as well. Remove the string from the hoodie and sew the two strings together to make one long string.
4. Sew the crop top
First, I cleaned up all the raw edges with a zigzag stitch. Then, I roll hemmed the front piece.
I folded the front’s top edge to create a tunnel for the string and sewed it down with a straight stitch.
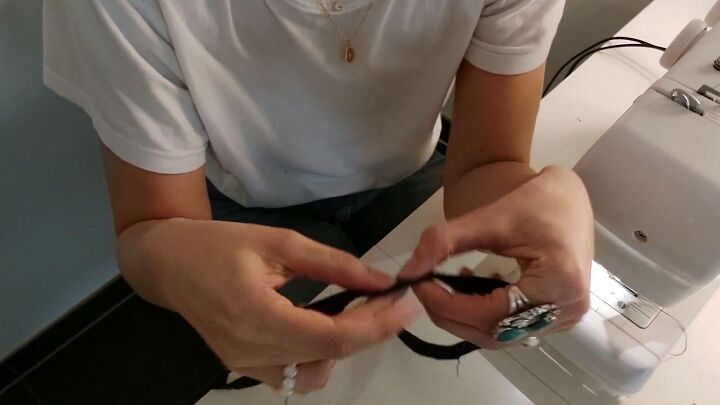
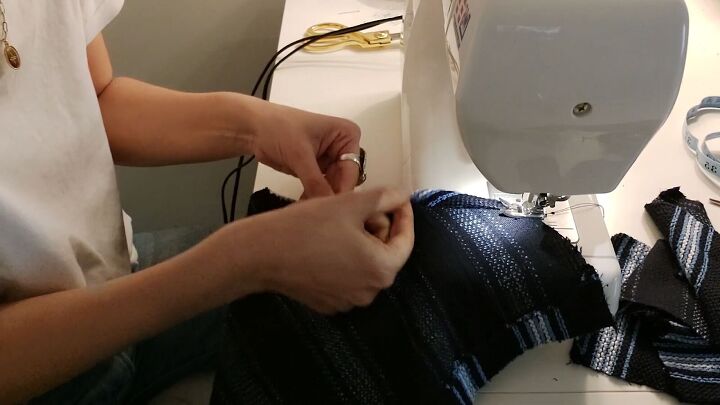
I pinned the tie pieces right sides together all the way around, leaving one side open.
I ironed the tie piece, right sides facing together.
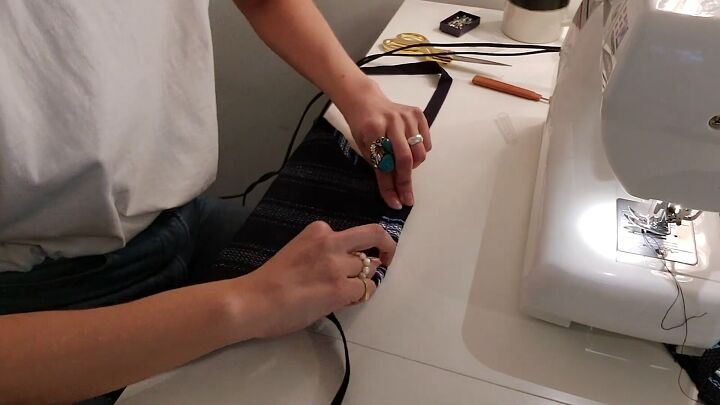
Then, I sewed the tie pieces to the front piece.
Once I sewed all the pieces together, I realized the fit was too loose, so I decided to sew some darts.

Look how cute this is! I will definitely wear this!
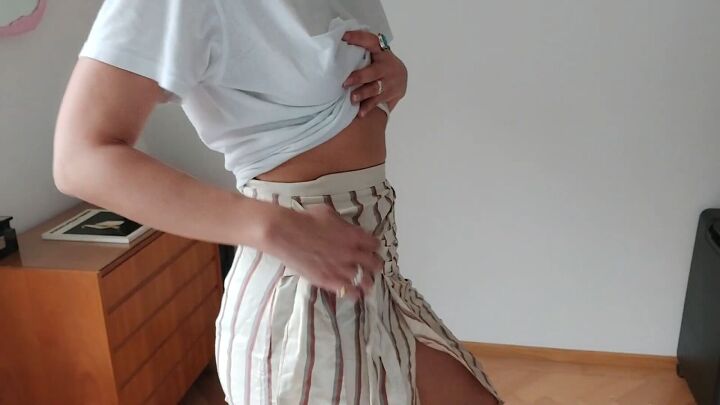
DIY crop top 3 - Skirt into a crop top
I used to wear this skirt a lot but I was getting tired of it. I thought about making it into a cropped halter top. The fabric is a bit see-through, so I’m doubling up the fabric.
1. Take measurements
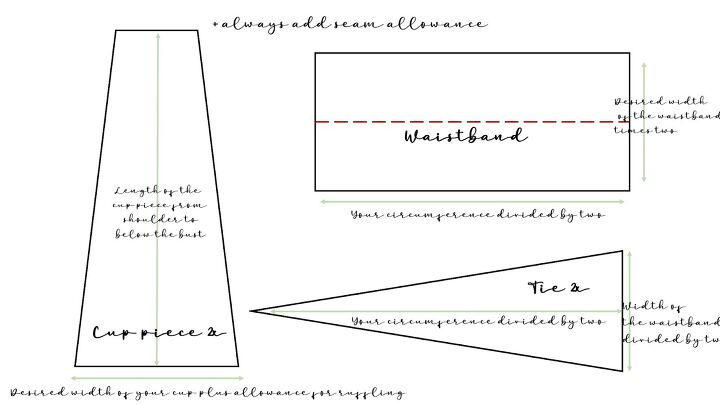
I took measurements from my shoulder to my rib cage, just under my bust, another from below the breastbone to the waist, and then across the waist. I then made this pattern.
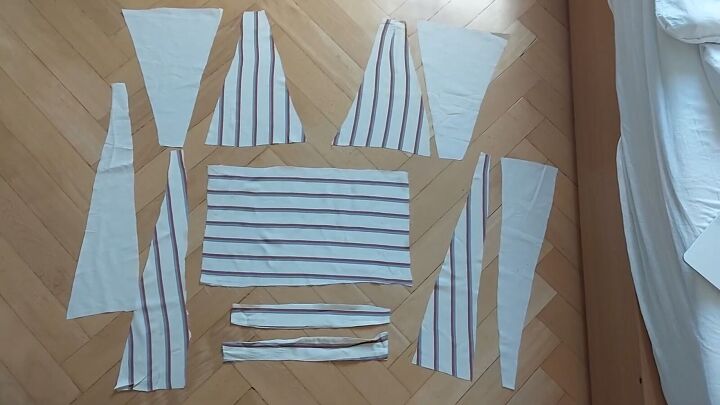
2. Cut the fabric
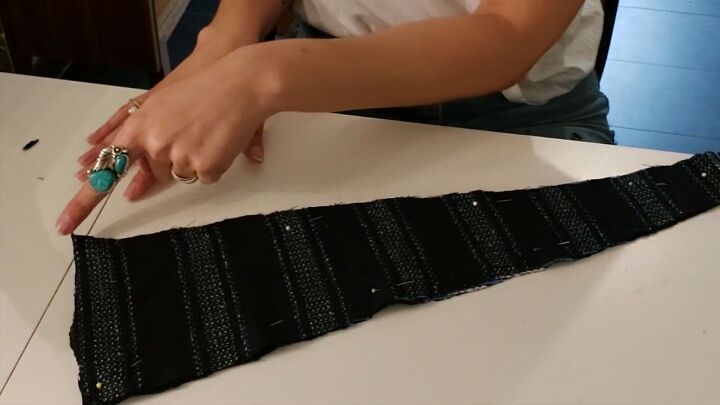
After transferring the paper to the fabric and cutting the fabric, I ended up with these pieces.

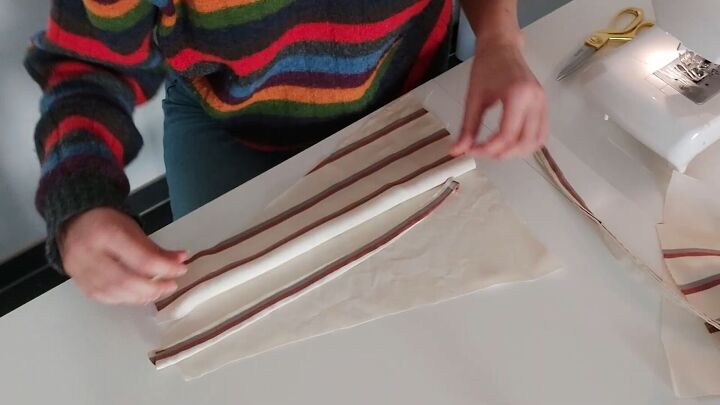
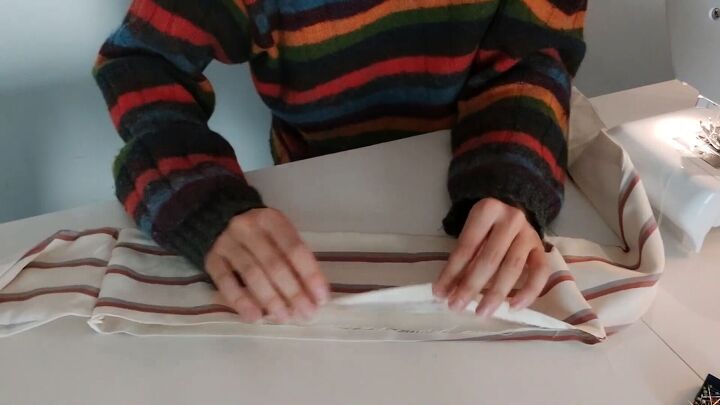
3. Make the halter neck ties
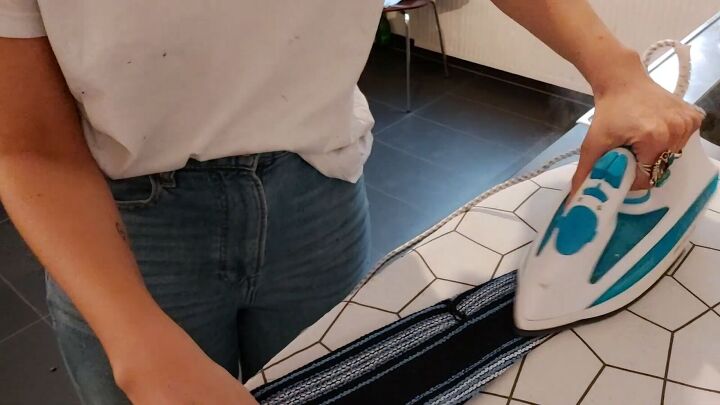
I used the skirt ties to make the halter neck ties. I folded the fabric twice and then ironed it. I know ironing is a bit of a pain, but it really does make a difference in the finish! I pinned and then sewed along the edge with a straight stitch.
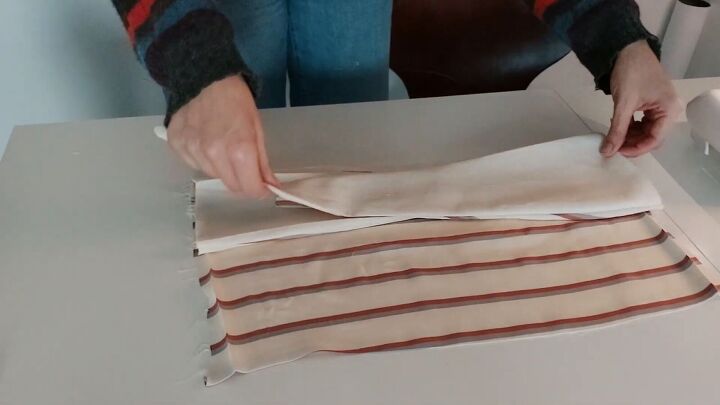
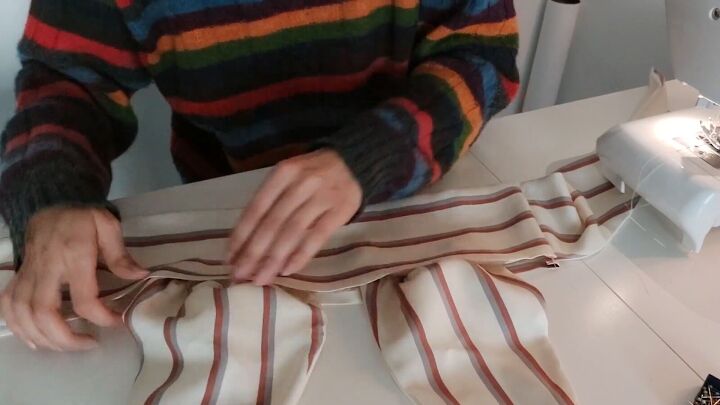
4. Attach the ties to the cups
I sandwiched the ties into the cup pieces or the large triangles. The cup pieces were right facing. I sewed along the edges, leaving the bottom open.
After sewing, I removed any excess fabric from the seam allowance to prevent bulking. I turned it inside out and ironed it for a smooth finish.

Then, I hand-basted the open bottom of the cups for a ruched or ruffled effect. When I was happy with the result, I knotted the thread.
5. Make the waist
First, sew the ties. I pressed the seam for the waist piece for a clean edge. Then, I sandwiched the tie pieces between the two layers with the right sides together.
I sewed the shorter sides together, leaving the top open. When I un-flip it - Ta-Da! It’s super clean and neat.
6. Sew the rest of the top
I then sandwiched the cup pieces in the waist piece. I sewed them together using a straight stitch.

This is what it looks like when it’s done!
DIY crop top tutorial
I hope you enjoyed my DIY cute crop top ideas! Let me know what you decide to create in the comments or even better, share photos of your creations!
The author may collect a small share of sales from the links on this page.


Comments
Join the conversation