How to Make 2 Different DIY Crop Tops Out of 1 Old Shirt

Today, I’m going to be showing you how to make DIY crop tops from an old shirt. I will be creating two different styles: one camisole with shoulder ties and one crossed-front top that can be worn in two different ways.
I hope you enjoy making these super-cute and simple DIY crop tops as much as I did. Let’s get started!
Tools and materials:
- Long-sleeved shirt made of stretchy fabric
- Cropped shirt (to trace)
- Fabric chalk
- Measuring tape
- Scissors
- Seam ripper
- Pins
- Safety pin
- Iron
- Sewing machine
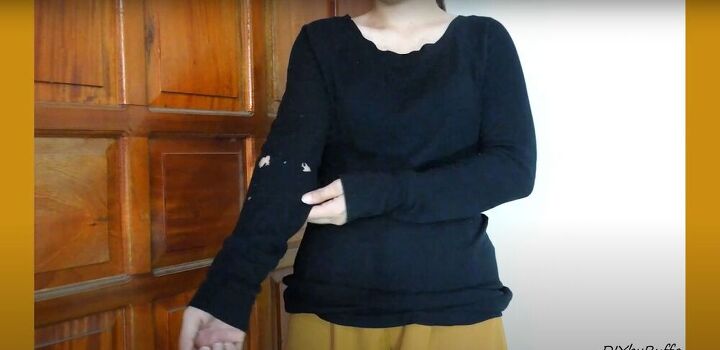
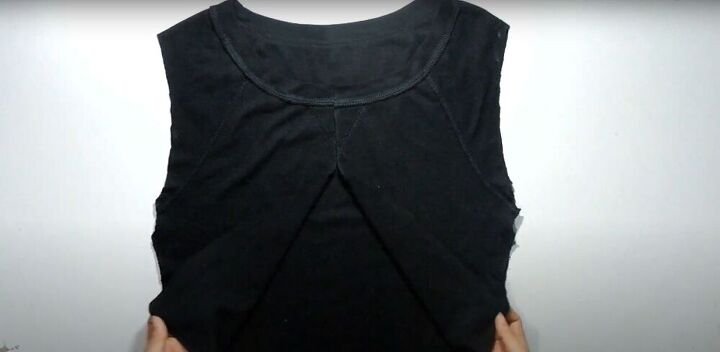
This is the old shirt I'll be using to make the DIY crop tops. It has holes in the sleeve, so I wanted to use the fabric to make something new.
DIY twisted crop top
1. Mark and cut
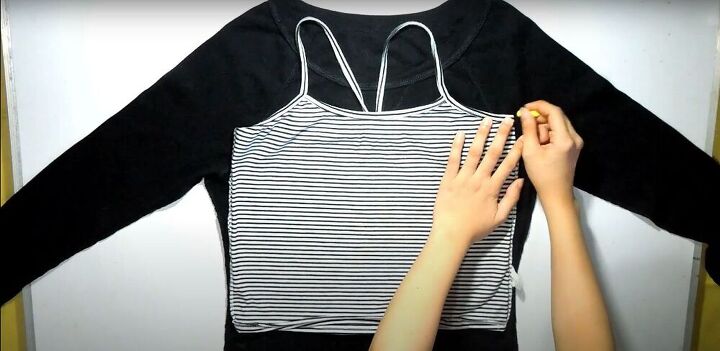
With the top inside out, I laid a cropped tank that fit me well on top of my shirt to use as a pattern. I marked the shirt at each corner of the tank top.
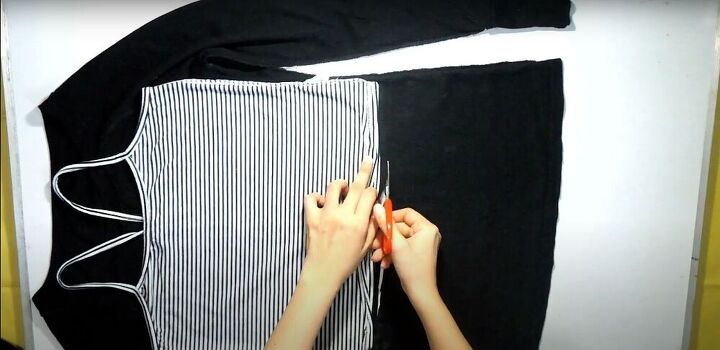
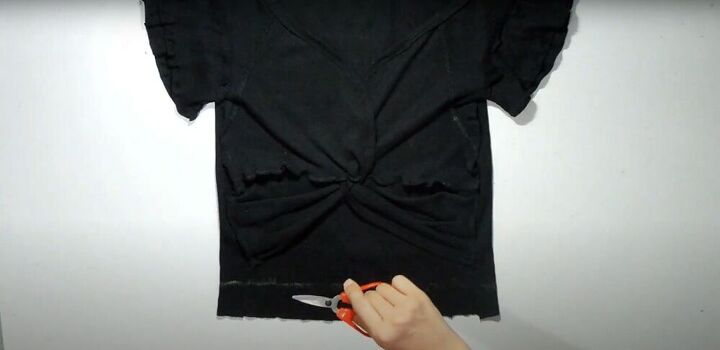
Then, I cut across the bottom of the shirt from one mark to the other.
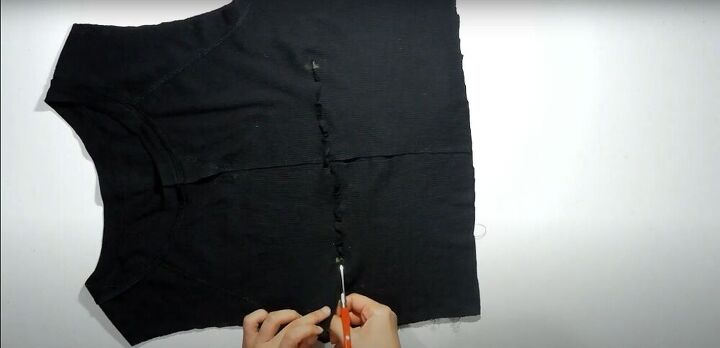
Next, I folded the shirt in half lengthwise and drew a line down the center.
I cut the shirt along the center line, cut off the sleeves, and used a seam ripper to open the side seams.
2. Make the twist
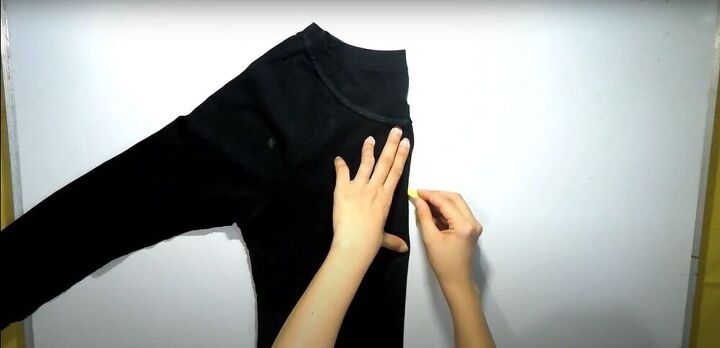
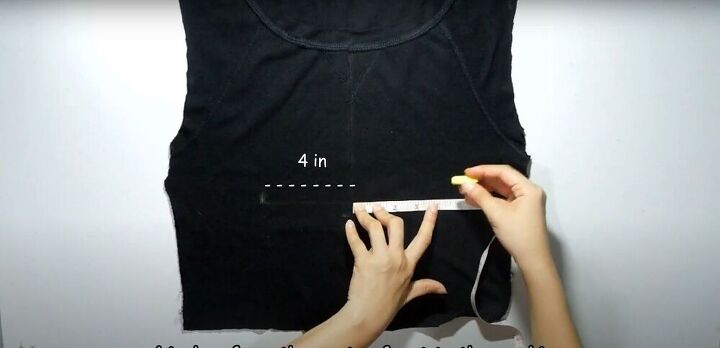
From the center, I measured 4 inches on either side and marked those points.
I made a cut on either side from the side seam to the 4-inch mark.
As you can see in the photo, I made a mistake at first by cutting from the center to the 4-inch mark and had to resew. So make sure you’re cutting from the side towards the center and not vice versa.
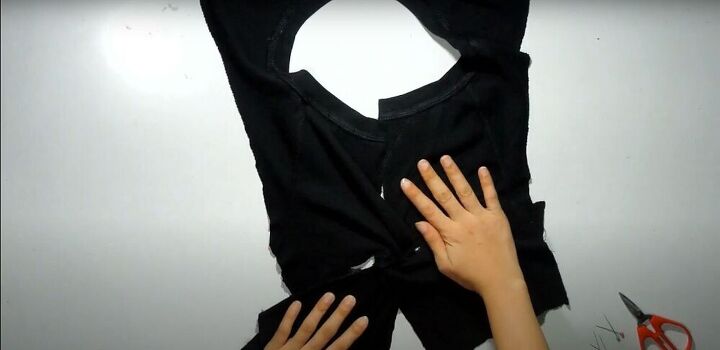
Open the top out and twist the bottom corners over each other. You can watch the video from 2:17 to see exactly how I do this.
3. Pin and sew
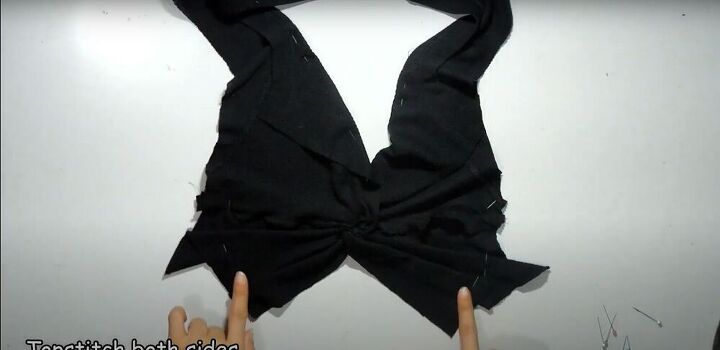
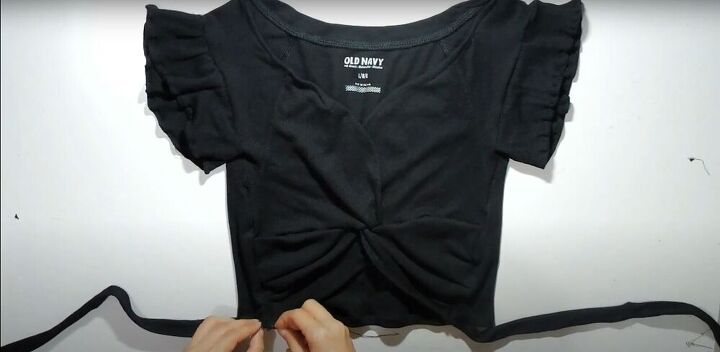
I pinned 3-4 inches of the shirt back together, then folded the neckline inward into a V-shape and pinned that down, as well.
I arranged the fabric below the twist into a few folds, pinned those down, and then topstitched along both sides to hold the folds in place.
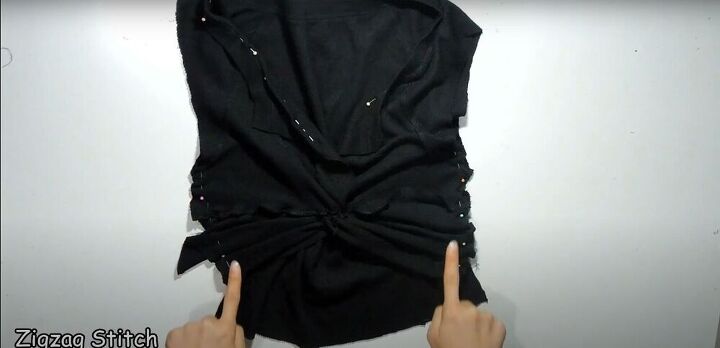
Next, I pinned the side seams together, sewed them with a zigzag stitch, then finished the neckline with a topstitch.
4. Trim the excess
Then I cut the excess fabric from the seam allowances on the neckline and side seams.

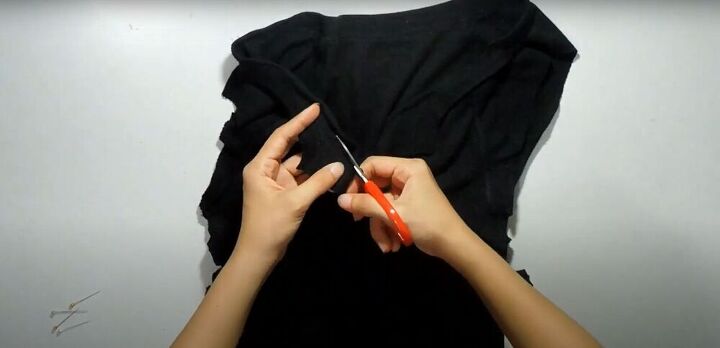
5. Make the sleeves
This part is a bit complicated so it's best to watch the video from 4:19-6:25 for instructions on how to make the sleeves.
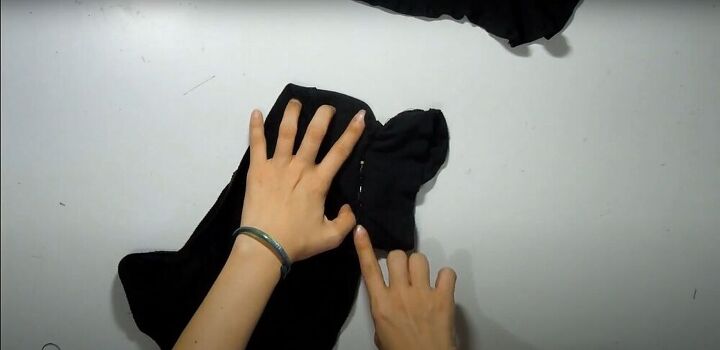
6. Attach the sleeves
I pinned the sleeves into the armholes and sewed them down. At this point, I also hemmed the ends of the sleeves.
7. Hem the bottom of the crop top
I evened out the bottom edge of the shirt, double-folded, and sewed the raw edge to finish it.
8. Make the tie
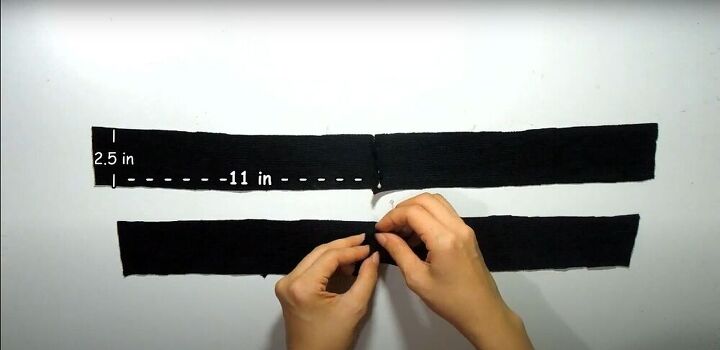
Next, I cut four strips, each 2½ x 11 inches. I pinned them in pairs and sewed each pair together.
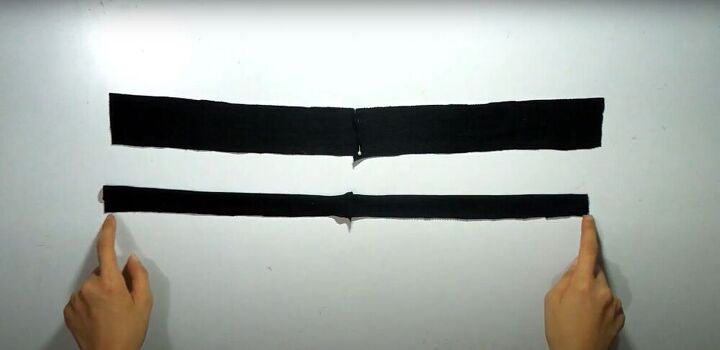
Then, I folded each strip in half lengthwise, sewed down the long edges, and then flipped the fabric so it was right side out.
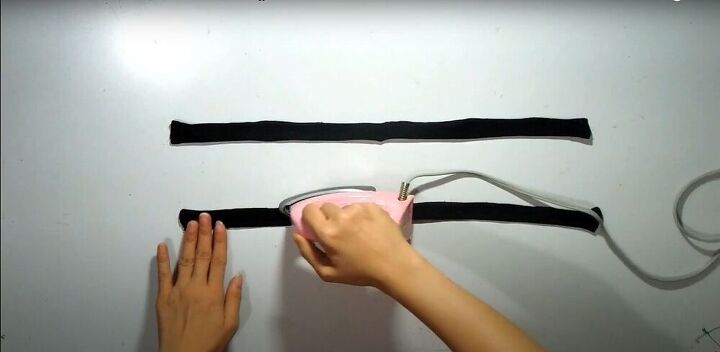
I folded in the raw edges on the sides and ironed the strips flat.
Finally, I hand-sewed these ties onto the front bottom corners of the shirt.
DIY crop top 2

1. Mark and cut
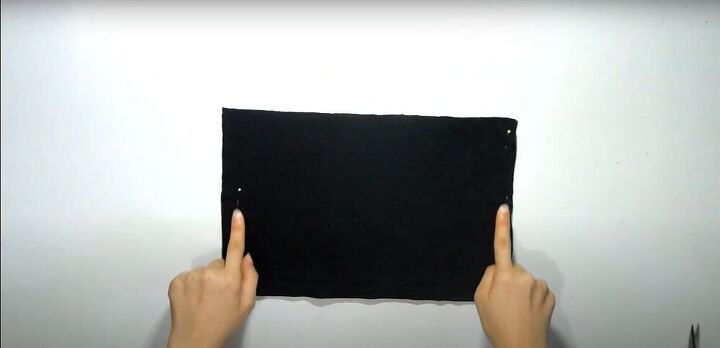
To make the second crop top, I used the piece I had cut off the bottom of the original shirt. I used my tank top to measure how wide it needed to be, marked the width on the fabric, and cut.
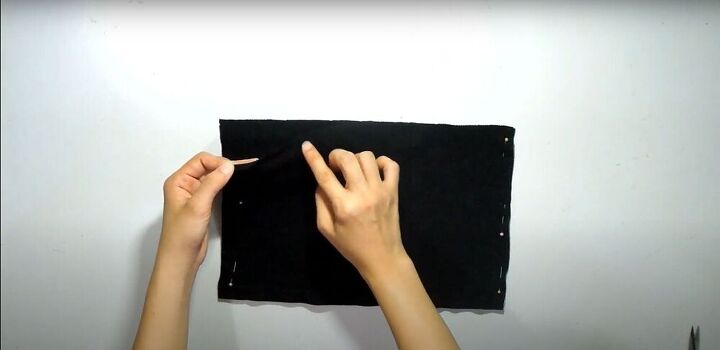
2. Pin and sew the side seams
I pinned and sewed the side seams.
I finished the bottom edge by folding it over, pinning it, and sewing it down all the way around. This created a bit of a ruffle effect.
3. Make straps
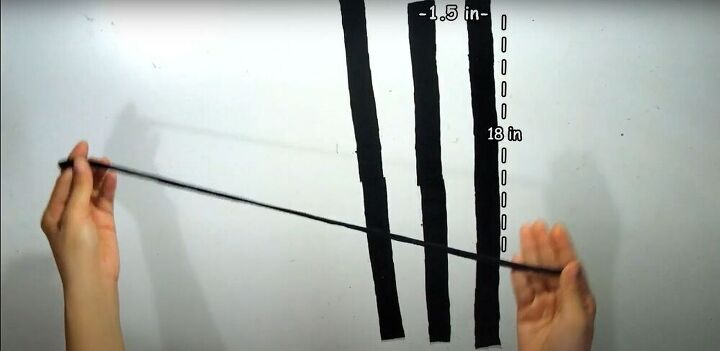
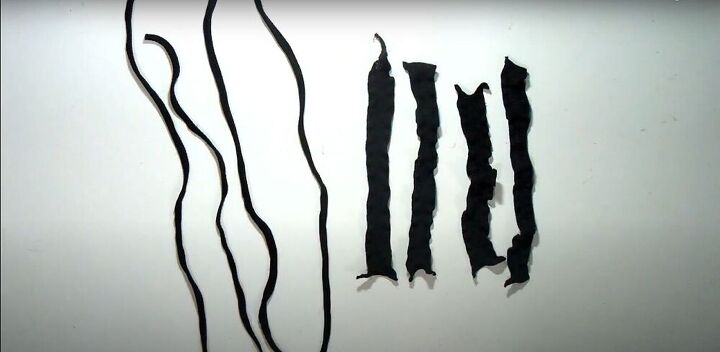
I cut eight strips, each about 9 inches long and 1½ inches wide, and sewed them together in pairs to make four long strips.
I finished them by folding the edges of each strip to the center, folding it over again to hide the raw edges, and sewing.
4. Make ruffles
I made four ruffles by cutting four more strips, each 1½ x 8 inches. I folded in and sewed all their long edges.
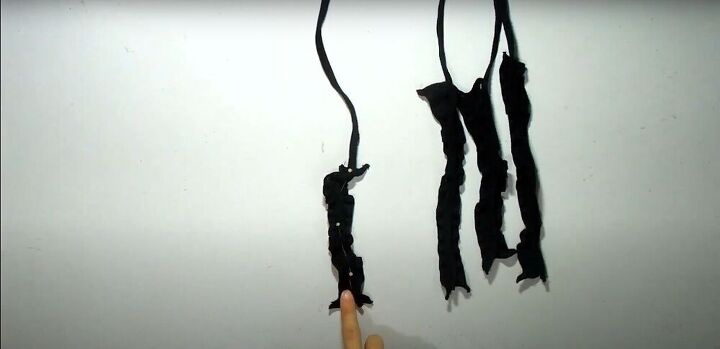
I marked 7 inches up on each strap, pinned each ruffle from the bottom of the straps to the 7-inch mark, and sewed them all down.
5. Attach the straps
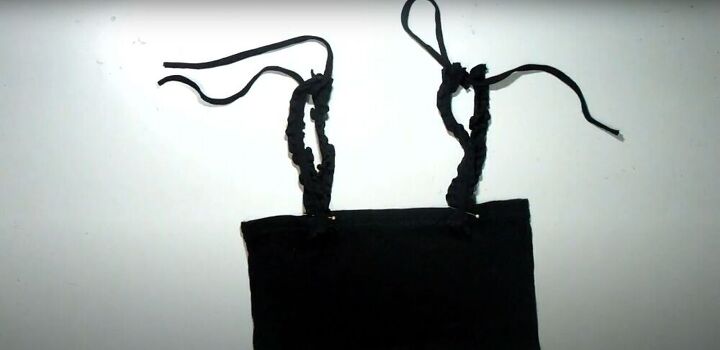
Finally, I pinned and sewed each strap to the top edge of the crop top.
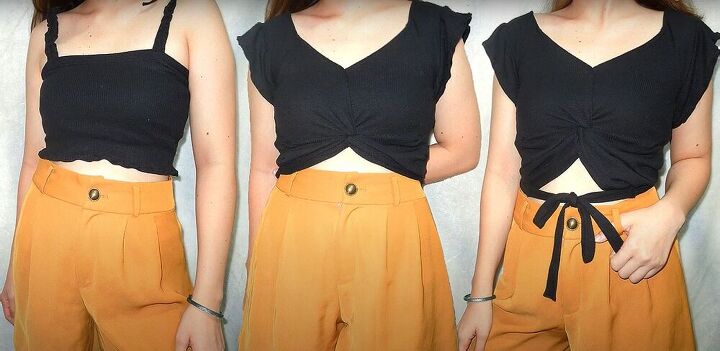
DIY crop tops
Two adorable DIY crop tops from one shirt! What do you think of these transformations? If you use my tutorial to make DIY crop tops of your own, I’d love to see the results!
The author may collect a small share of sales from the links on this page.


Comments
Join the conversation