Double the Fun: How to Make 2 DIY Patchwork Tops at the Same Time

Trendy doesn’t need to be expensive. This DIY patchwork top is easily customized to whatever color and fabric you like.
You may think that a patchwork top is too dear or time-consuming to make, but here, we'll show you how to make a patchwork shirt, and you actually get two patchwork tank tops at the same time!
Let’s get started making a patchwork top you can wear today!
Tools and materials:
- T-shirts for cutting: two different colors
- Your own well-fitting tank-style t-shirt to use as a template
- Scissors
- Sewing machine
- Tailor’s chalk
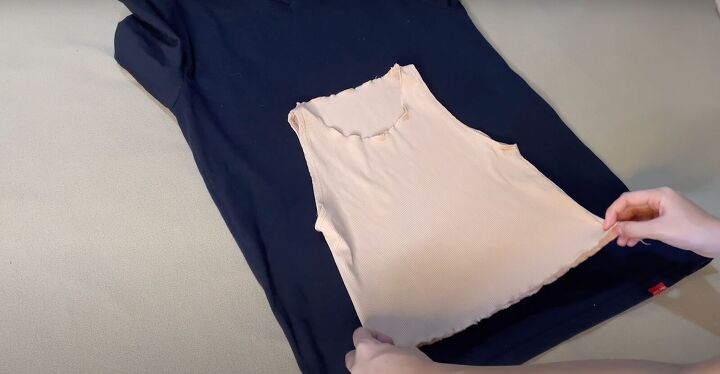
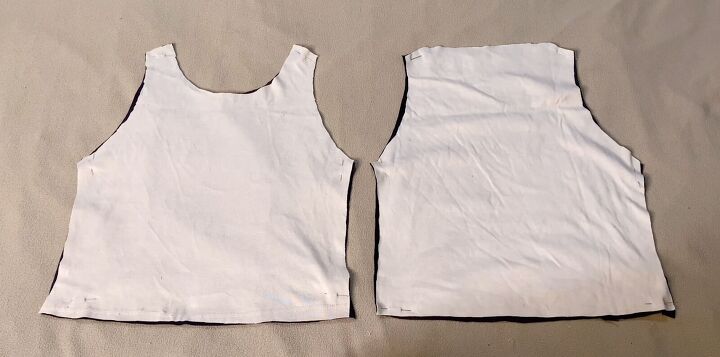
1. Make the pattern
Lay the first t-shirt down and place your well-fitting shirt as a guide.
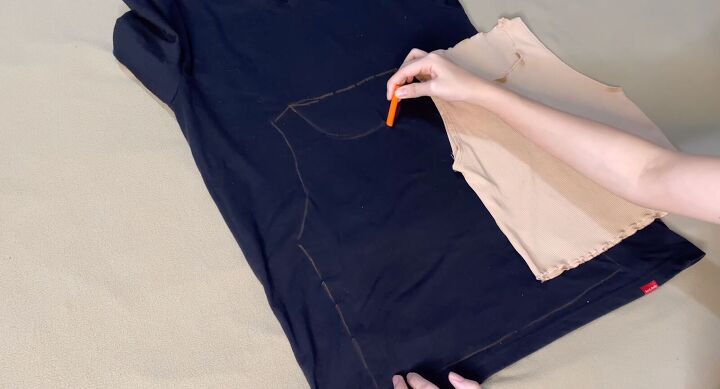
Trace the entire shape of the top but slightly larger than the actual size so you have room for stitching and hemming. Don’t forget to draw the neckline as well.
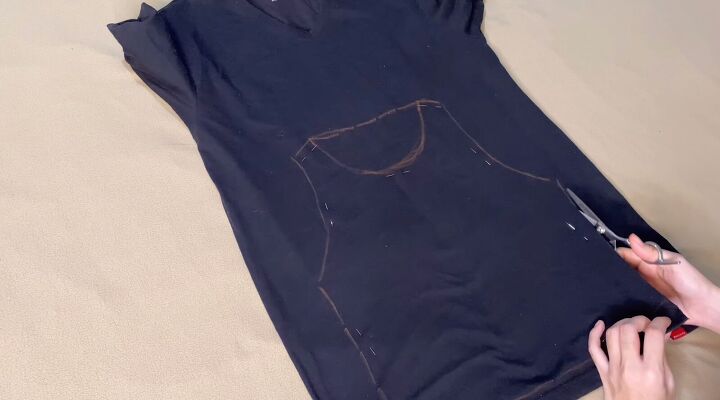
Pin the t-shirt’s together and cut. You’ll have a front and a back piece.

Cut the lower neckline on the front piece.
Repeat this pattern on the other color t-shirt.
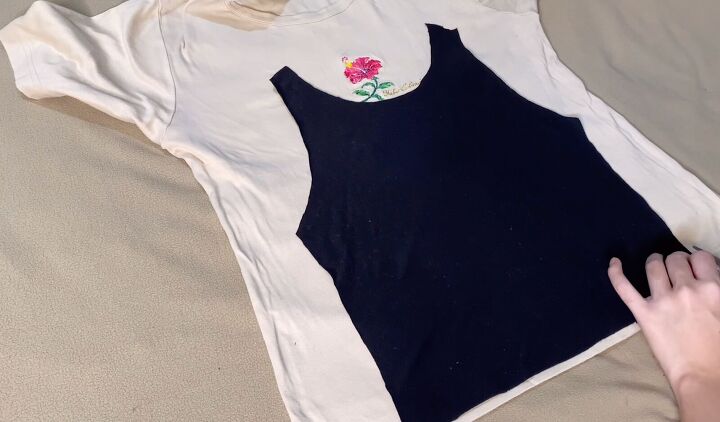
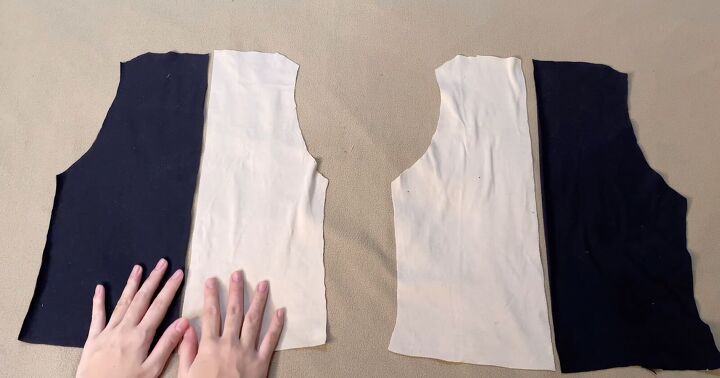
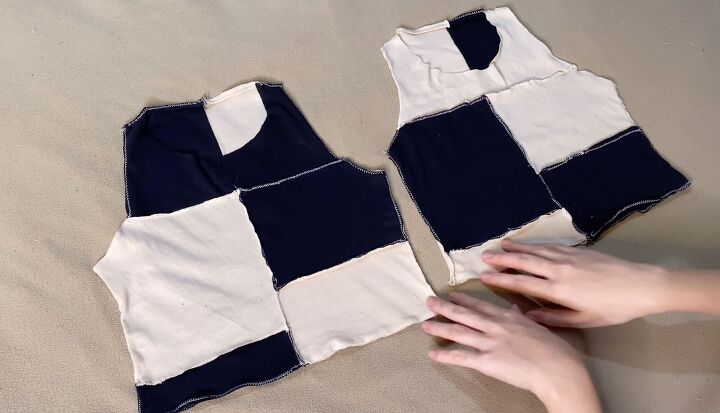
2. Design the patchwork
Place the two front pieces and the two back pieces together. Pin them so the fabric doesn’t move.
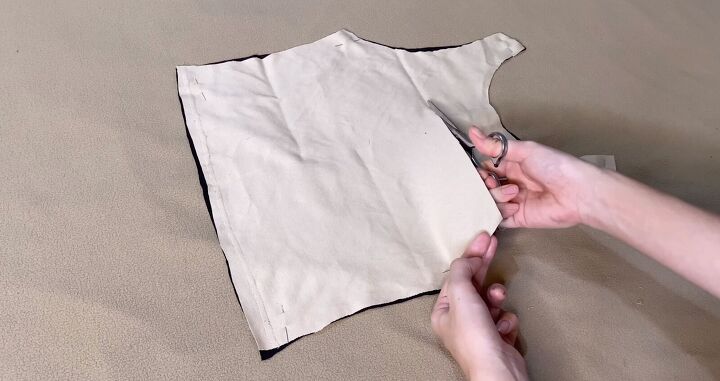
On the front fabrics, randomly trace and cut different shapes. There is no wrong or right way to do this. This is your time to be creative and imaginative!
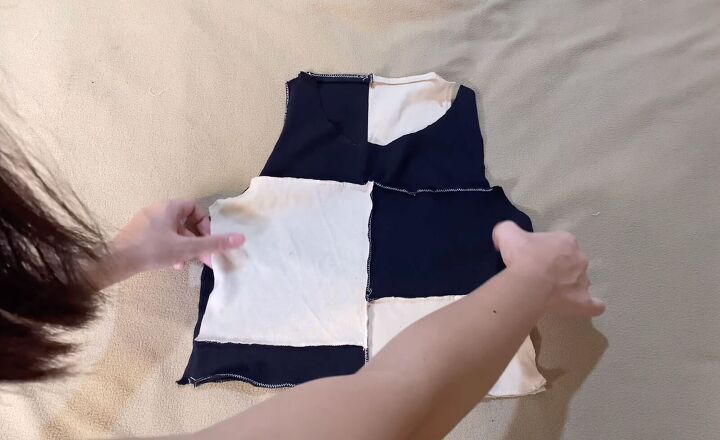
3. Assembly the patchwork tank tops
Assemble the pieces like a puzzle. For the back, match up with the contrasting color.
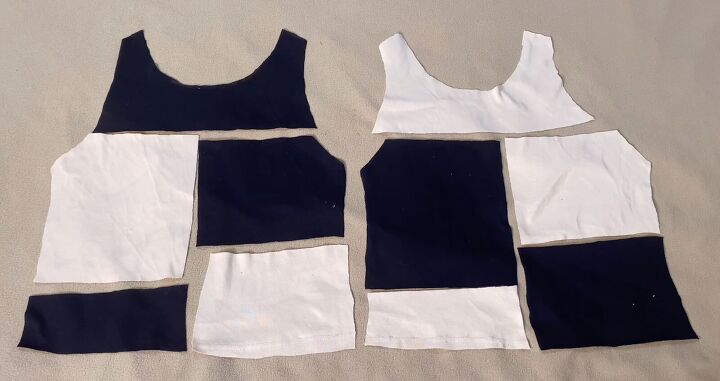
For the front, combine the colors and arrange as desired. Pin everything together so you don’t lose track of the pieces.
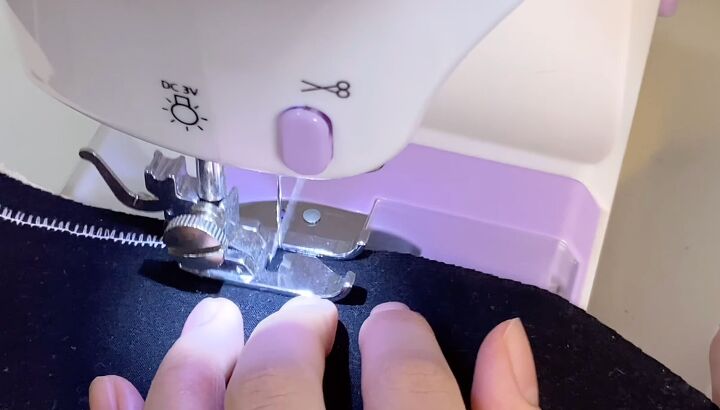
4. Sew the DIY patchwork top
Prepare your sewing machine for a zigzag stitch. In this tutorial, we used a zigzag stitch with the tension set to 9 for a tighter finish.
Sew all the pieces together. Sew the armholes, hemline, and neckline.
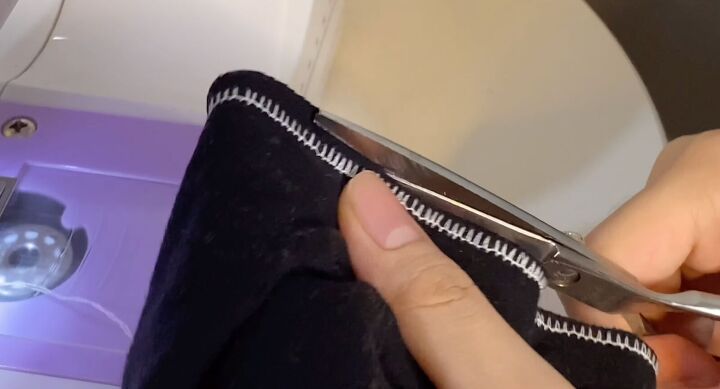
Trim any excess seam allowance on the back piece.
Place the front and back pieces right sides together.
Pin in place and them sew them together by the shoulder straps and the side seams using a wider zigzag stitch.
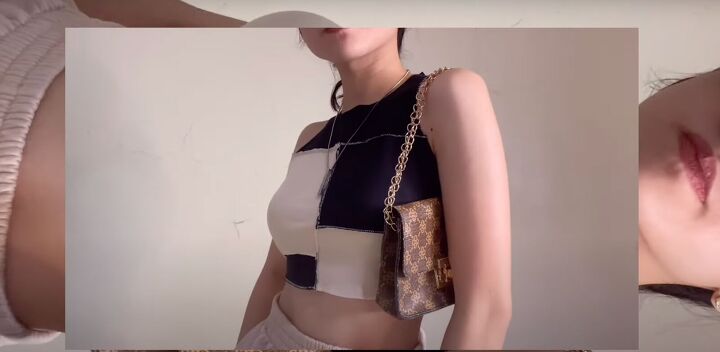
There you have it! A super trendy and fashionable DIY patchwork top you can wear today!

DIY patchwork top tutorial
Please let us know in the comments how much fun this was to make and even better, share photos of you wearing this cute patchwork top!
The author may collect a small share of sales from the links on this page.


Comments
Join the conversation