Transform an Old Shirt Into an Adorable Gingham Crop Top

Today I’m going to be transforming an old shirt into a cute, new crop top. The original shirt has some charm on its own, but I think the style is a bit outdated, so I wanted to turn it into a trendier piece. If you’d like to see how I made this simple gingham crop top, keep reading!
Tools and materials:
- Oversized button-down shirt
- Fabric chalk
- Measuring tape
- Pins
- Scissors
- Safety pins
- Iron
- Sewing machine

Mark
I used safety pins to mark the preferred length for the shirt and the sleeves.
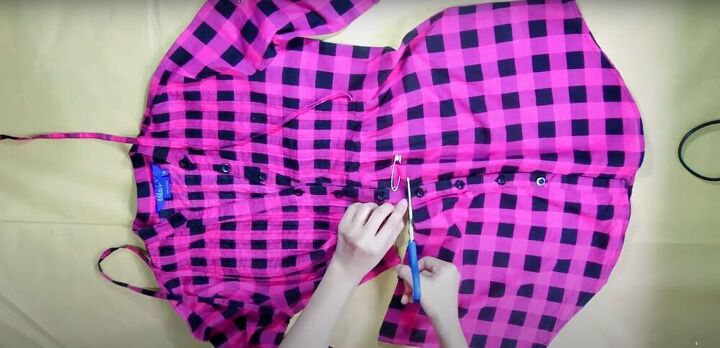
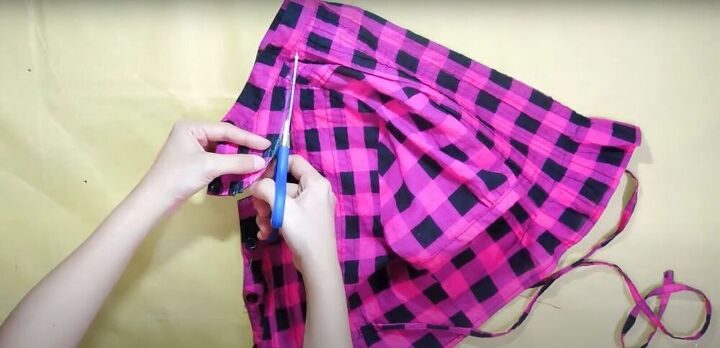
Cut
I cut the shirt and the sleeves at the lengths I marked, plus a half-inch seam allowance.
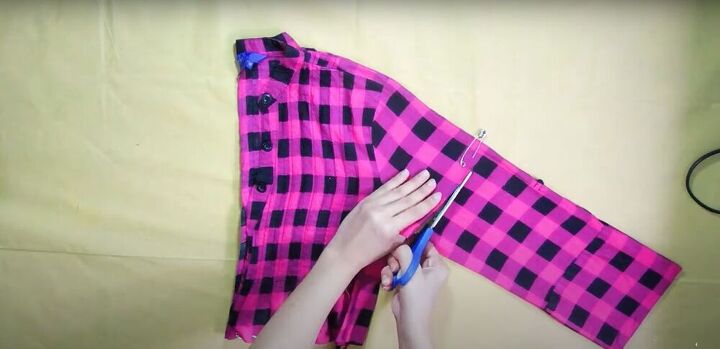
To cut the sleeves, I folded the shirt in half so I can cut both sleeves at the same time to ensure symmetry.
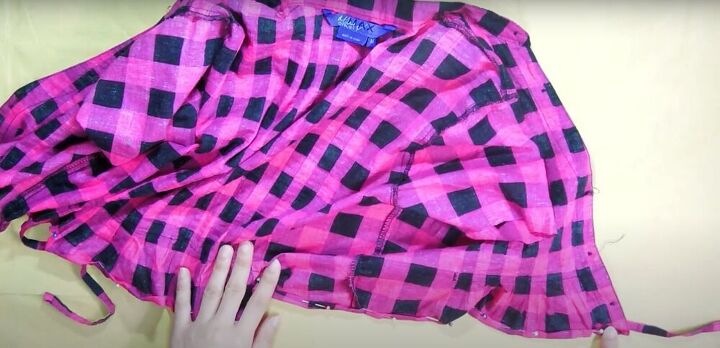
Hem
I turned my shirt inside out, and double folded the bottom to hide the raw edge, pinned it, and sewed it down.
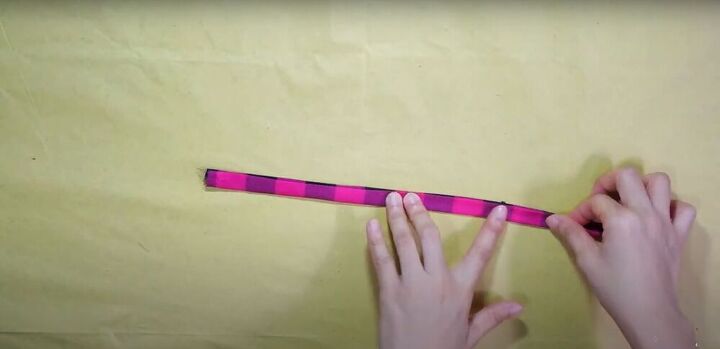
Make bias tape
For instructions on how to make bias tape to finish the sleeves, see the video from 2:34-3:26.
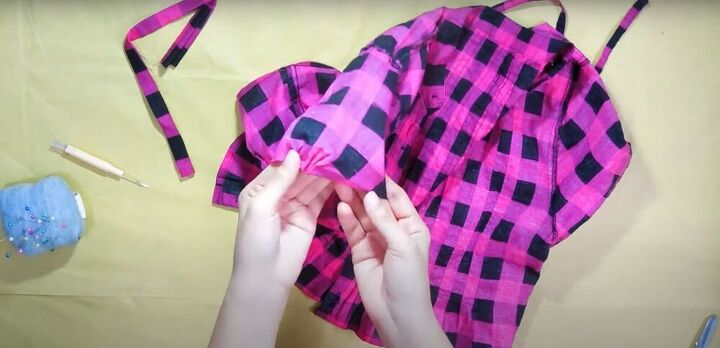
Gather
I gather a small amount of fabric at the top of the sleeve to give it a ruffled look. I didn’t gather very much just because I didn’t have a lot of fabric to work with, but you can make as many gathers as you’d like, as long as the sleeve still fits comfortably around your arm.
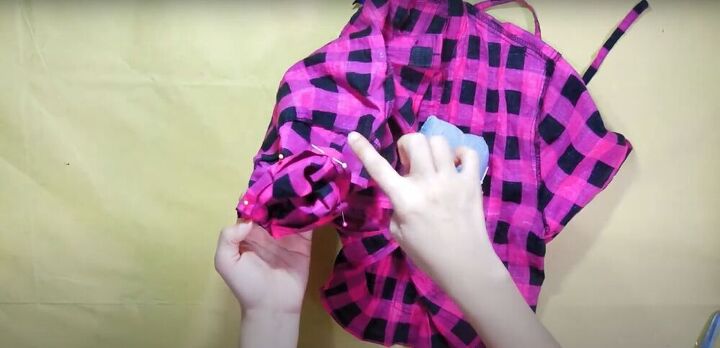
Finish the sleeves
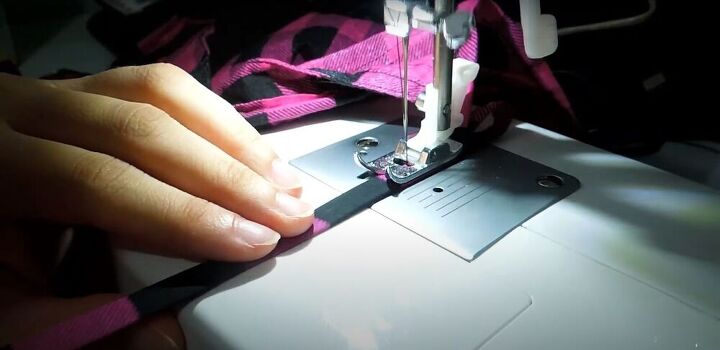
To finish the sleeves, I used a seam ripper to open ½ an inch of the sleeve seam. Then I sandwiched the raw edge of the sleeve in the middle of the bias tape I created previously, pinned, and sewed, making sure to close up the seam I opened, as well.
Cut neckline
To cut the neckline, I marked the shape of the neckline on the right side of the shirt. Then I folded the shirt in half along the front opening, and cut out the shape.
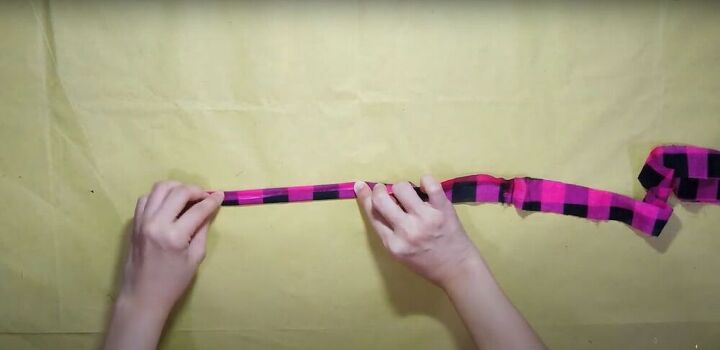
Finish the neckline
To finish the neckline, I measured the circumference and cut a strip of fabric that was twice that length. I folded and pressed it using the same method as I used to create the tape for the sleeves.

Then I pinned the bias tape to the raw edge of the neckline, leaving the two ends of the strip hanging at equal lengths from the top corners of the neckline for the ties.
Sew
Finally, I sewed the bias tape to the neckline, starting in the center back of the shirt, and working towards the front, and down the bias tape to sew the edges closed.

And my easy gingham crop top was done!
What do you think of this transformation? If you make a gingham crop top of your own using my instructions, I would love to see the results!
The author may collect a small share of sales from the links on this page.


Comments
Join the conversation
Wow! That is so cute and unique. I love it! Thanks for sharing such excellent instructions.
Cute top :)