Adorable Knot Shoulder Top Thrift Flip Tutorial

In this tutorial, I will show you how to make a knot shoulder top with a shirred bodice out of a men’s button-down shirt. I love how comfortable and light this shirt is, and how simple it was to make.
Tools and materials:
- Thrifted men’s shirt
- Scissors
- Measuring tape
- Pins
- Elastic thread
- Needle and thread
- Safety pin
- Fabric chalk
- Sewing machine
- Clothing steamer or iron

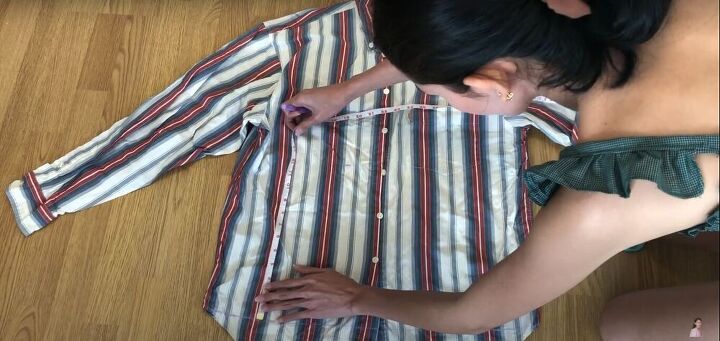
Measure and mark where to cut
I measured and marked 12 inches in length for the bodice of my top. You can, of course, make it longer or shorter depending on your preference.
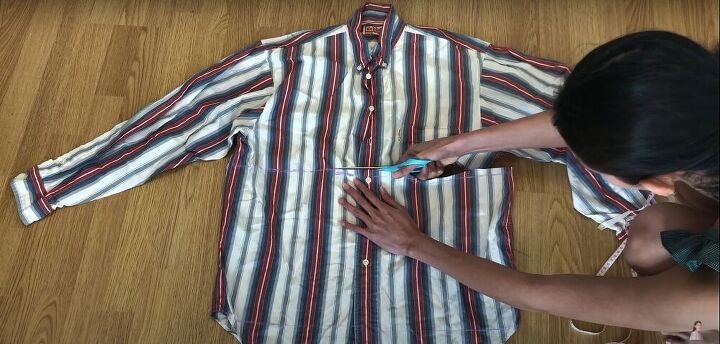
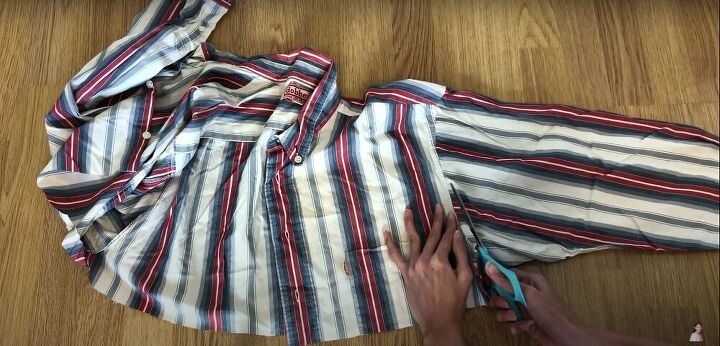
Cut the fabric
I cut across the shirt where I had marked it, leaving a little extra fabric for seam allowance.
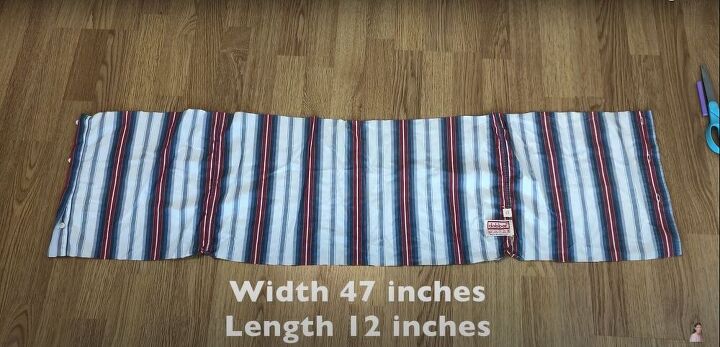
I cut the curved bottom edges off the shirt because it seemed like they’d be hard to work with. The fabric for the bodice of my shirt measured 12 inches by 47 inches. These measurements may differ for you depending on the size of the shirt you’re using, and how much length you prefer.
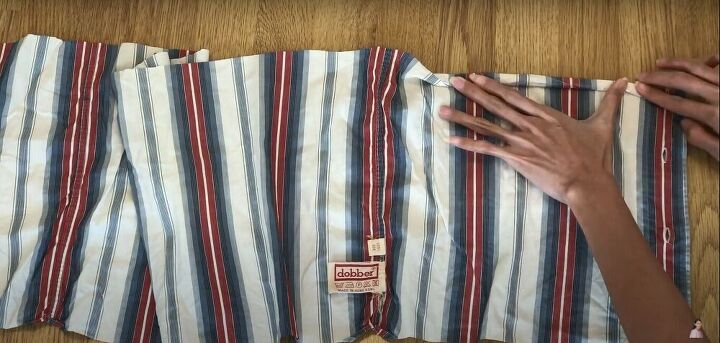
Fold and pin the edges
I double folded and pinned both the top and bottom raw edges.
Then I sewed each hem down with a straight stitch.
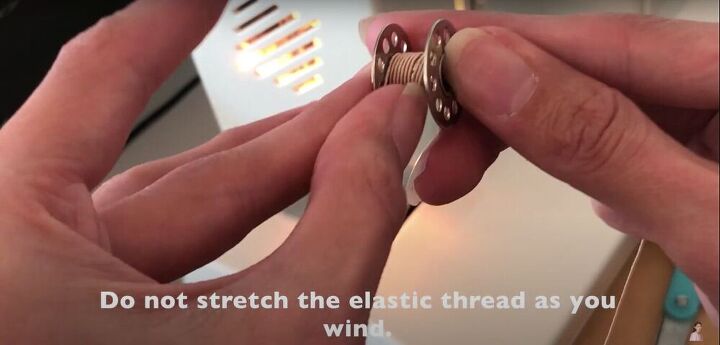
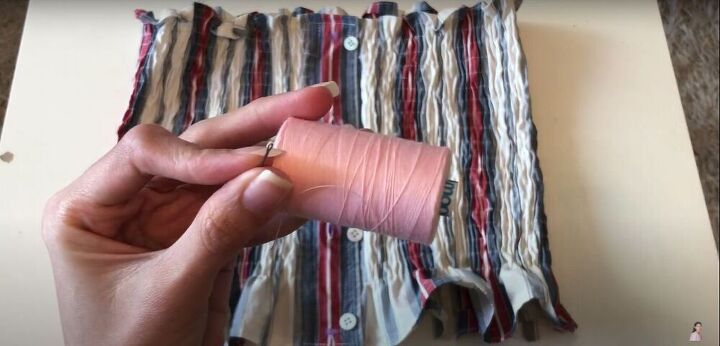
Prepare the elastic thread
I replaced the thread in the bobbin of my sewing machine with elastic thread. Elastic thread must be wound around the bobbin by hand, making sure not to stretch it as it is being wound.
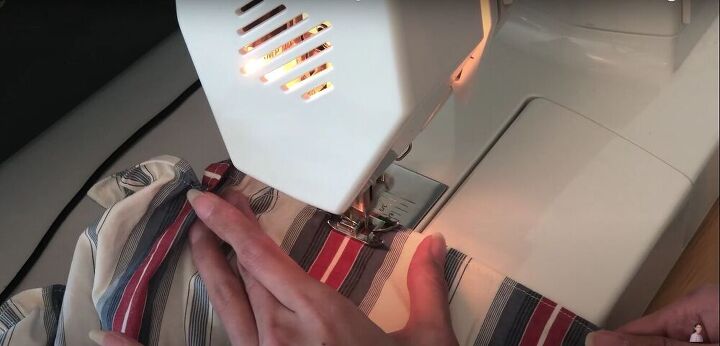
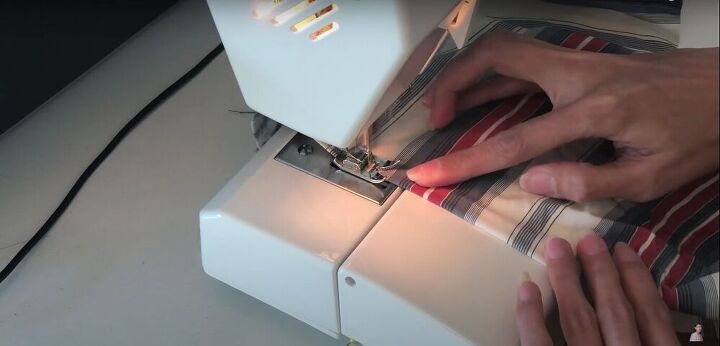
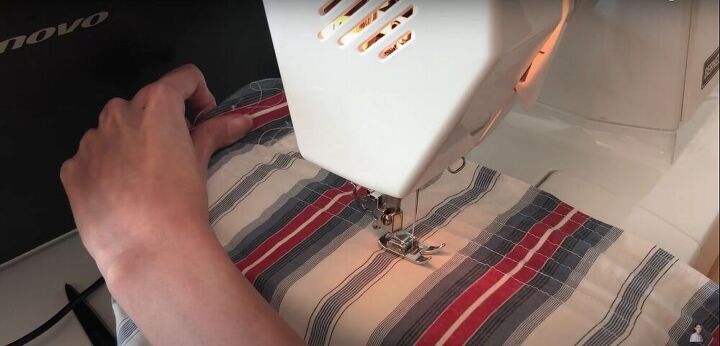
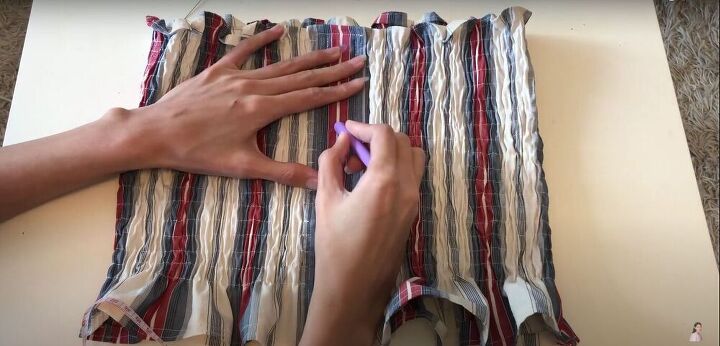
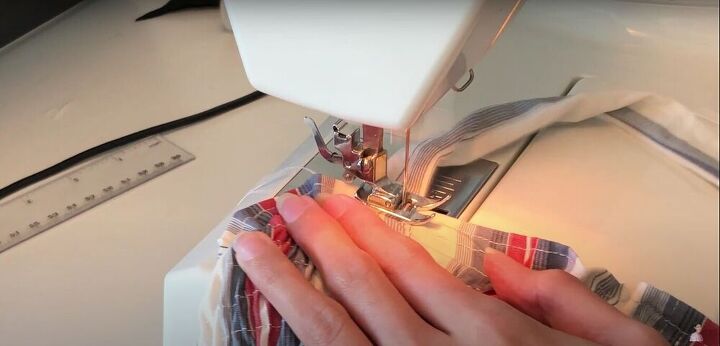
Sew lines of shirring across the shirt
I began stitching the lines of shirring onto the shirt. I stitched across the length of the fabric, leaving out the plackets for the buttons and buttonholes. I chose to separate each line by about one centimeter (half an inch).
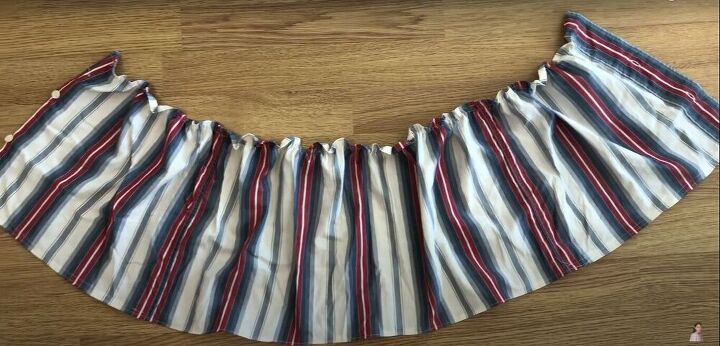
This is how it looked after sewing one line of stitching with elastic thread.
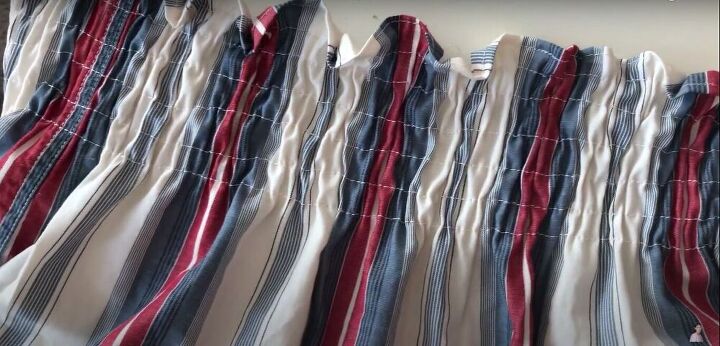
This is how it looked after I sewed a few more lines.
I made sure to stretch the fabric flat as I was sewing.
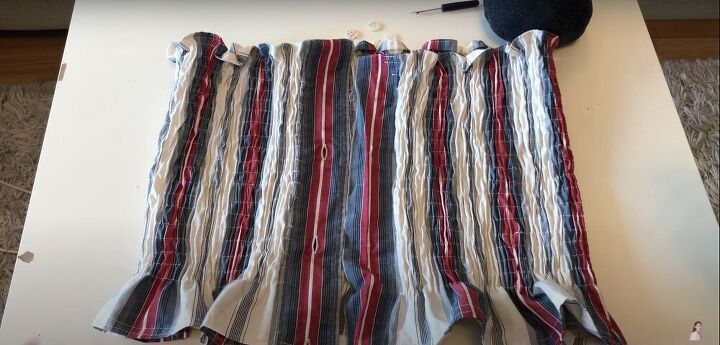
Remove the buttons
Next, I removed the buttons and put them aside for later use.
Pin and sew the plackets together
Once the buttons were out of the way, I placed the plackets of the shirt one on top of the other, pinned it closed, and sewed it down, making sure to keep the back of the shirt out of the way as I sewed.
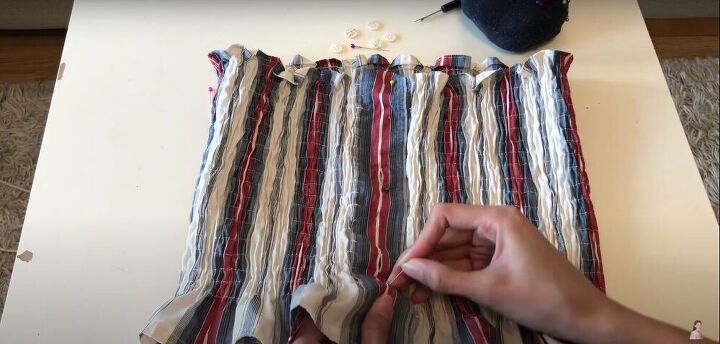
Mark where to put the buttons
With fabric chalk, I marked where I wanted to sew on the buttons.
Sew on the buttons
I hand-stitched the buttons onto the shirt with needle and thread, using the chalk marks as my guide for placement.
Prepare the straps
I decided to use one of the sleeves to make my straps, but you can use any of the offcuts of the shirt.
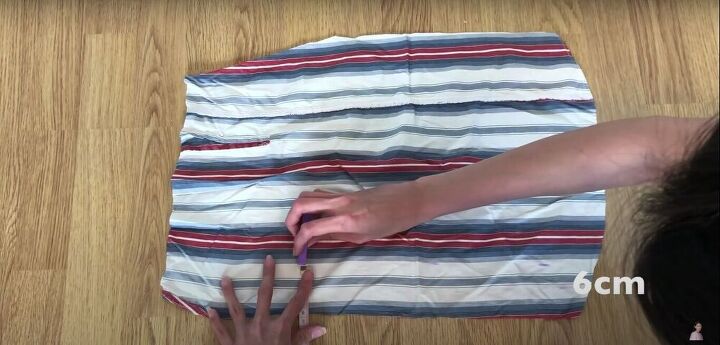
I measured out and marked four strips of fabric, each six centimeters (two and a half inches) wide, and cut them out.
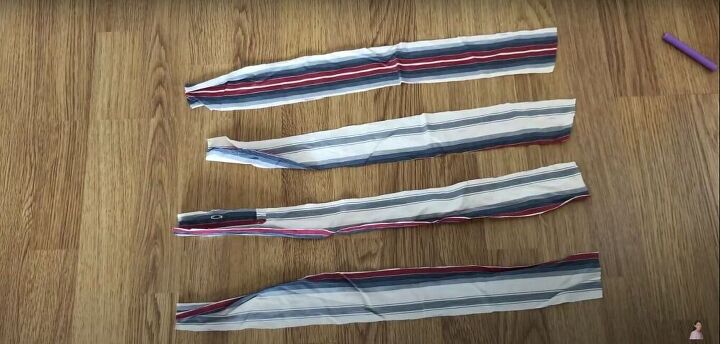
Pin and sew the straps
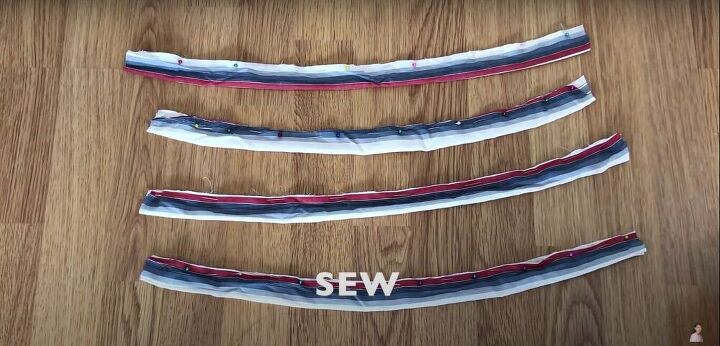
I folded each strip of fabric in half lengthwise and pinned the edges together.
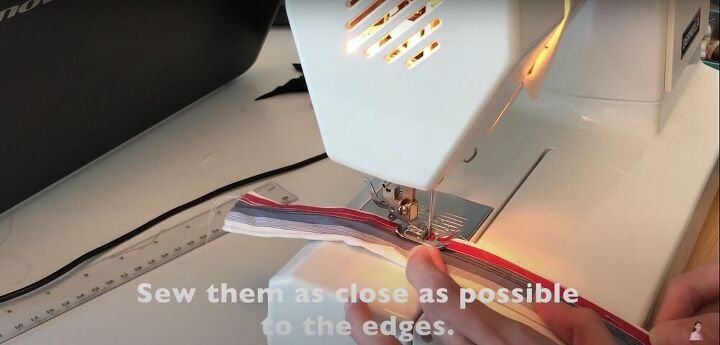
I sewed only the long edges of the straps, leaving the short edges open.
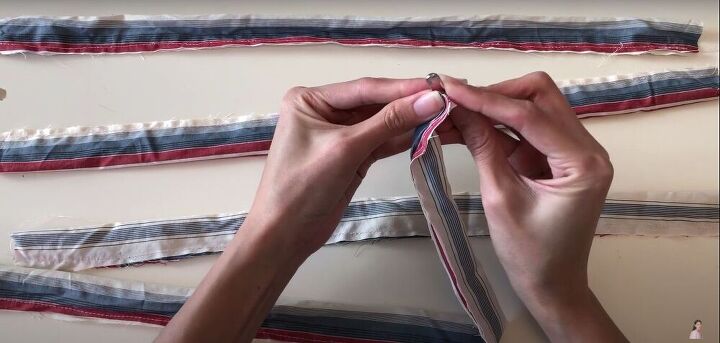
Turn the straps right side out
To turn the straps so the seams are inside, I attached a safety pin to one end of the fabric and inserted it into the opening on the end of the strap.
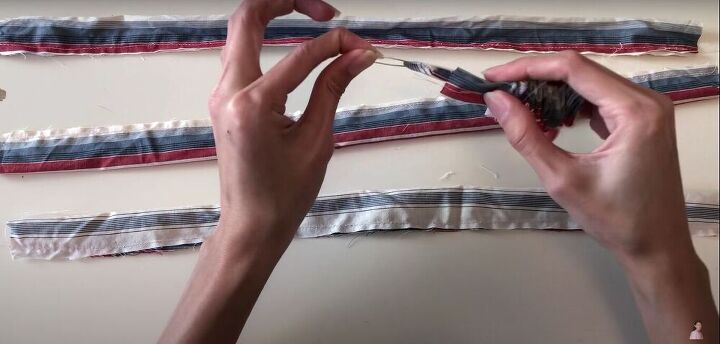
I worked the pin through the fabric by bunching the fabric over the pin and pulling it along inside the strap until it came out through the opening on the other side.
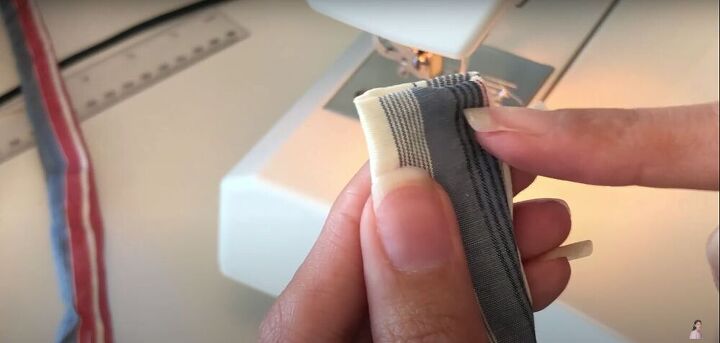
Stitch the ends of the straps closed
I tucked the raw edges of the straps inside the openings on either end and sewed each end closed.
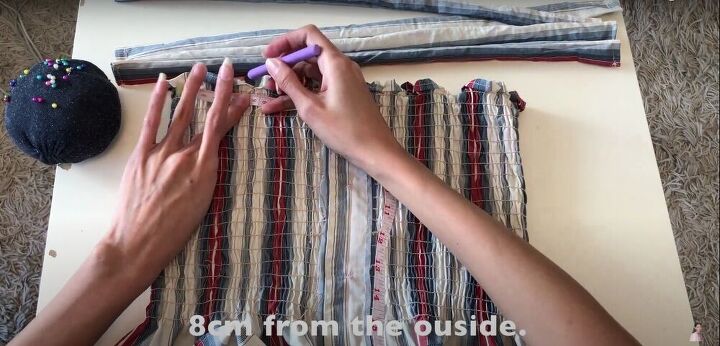
Mark where to place the straps
I measured eight centimeters (three inches) from the sides of the top edge and marked it with fabric chalk. I did this on both the front and the back, and both the left and right sides of the shirt.
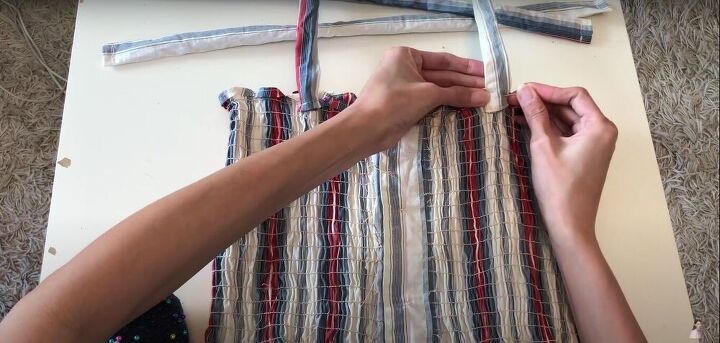
Pin the straps in place
I pinned the straps in place where I had marked the shirt. For an extra professional touch, I aligned the pattern on the straps with the pattern on the shirt.
Sew the straps on
I sewed all four straps into place.
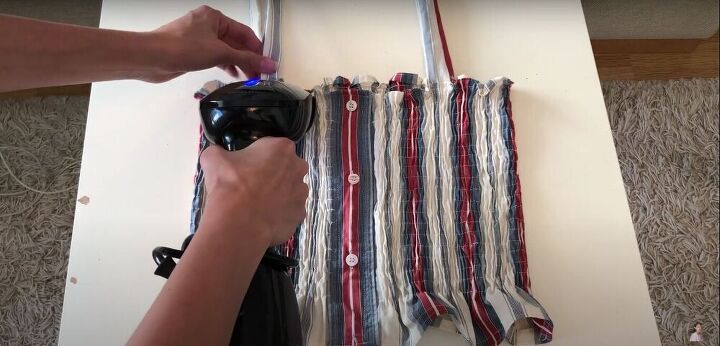
Steam or iron the shirt
I steamed the shirt to get rid of any unwanted wrinkles and folds.
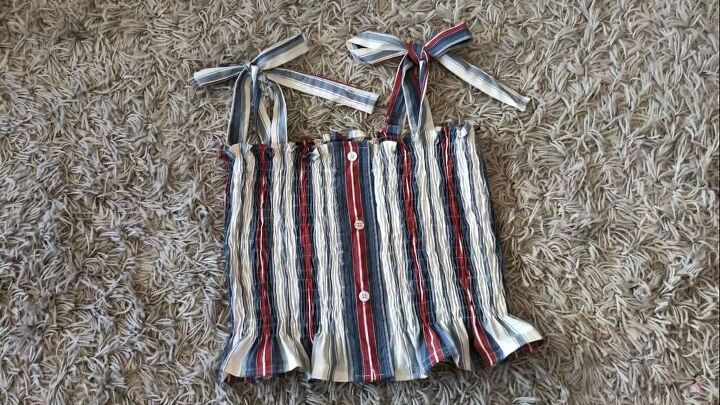
And my shirred knot shoulder top was complete!


This is a fantastic summer shirt. I styled it with a pair of cut-off shorts and a layered gold necklace. How would you style this beautiful top?
The author may collect a small share of sales from the links on this page.


Comments
Join the conversation
Very cute! Perfect for July 4th :)
This tutorial is amazing! I appreciate all the step by step images - they really help a lot. And this turned out so cute!