7 Simple Steps to Sewing a Corset Top (With Boning & Eyelets)

Sewing a corset top sounds a little challenging, right? But it’s actually pretty easy. In this DIY corset top tutorial, I'll show you how to sew a corset top with or without boning, using this corset top sewing pattern (size small) by Kiana Bonollo.
Tools and materials:
- Lightweight, oversized top
- Sewing machine
- Pins
- Thread
- Scissors
- Pattern
- Interfacing
- Shell fabric
- Eyelets
- Boning (or thick zip ties)
- Eyelet tool
- Ribbon
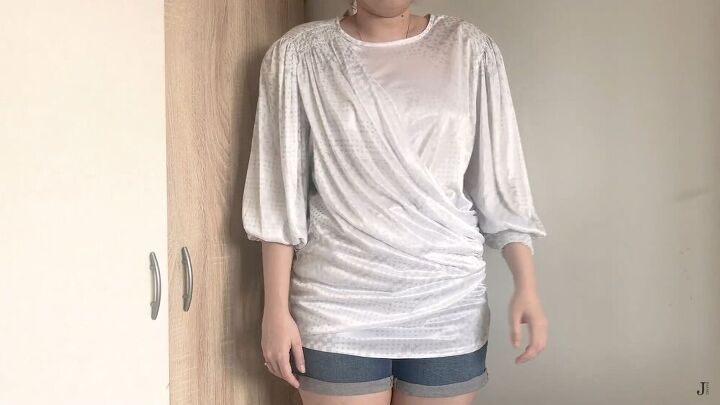
This top, as it is, is not something I’d wear, but there’s nothing like a good upcycle, right? So, let's get this transformation on the road!
1. Prep your top
Start by taking out the shoulder pads- if you also have these. Don’t discard them though, you can save them for later.
Next, cut the whole top up at the seams. Like this, you can see how much fabric you have to work with, and this was what I got out of it. Quite a lot!
Now, lay your pattern pieces on the fabric to see how they would all fit together.
2. Create a mock-up
I used some scrap fabric to create a mockup of the pattern; as you can see, it fits well.
3. Cut the pieces
I cut each pattern piece three times, one for the interfacing, main fabric, and shell fabric.
Now, iron the interfacing to the back of the shell fabric; this is how it should look.
And, of course, your main fabric pieces.
4. Assemble the corset top
First, sew up the cup pieces, then connect them to the center-side.
Next, sew all the vertical seams.
Repeat the same process for the whole fabric, and then pin the main fabric, right sides down, to the interfacing. Then, sew the side seams together.
Then, fold the side seam allowance to the lining, and sew it down.
Pin the top and bottoms sides of both pieces so they do not move.
5. Apply the bias tape
It’s time to apply the bias tape. Make sure the strip is long enough for the whole corset top, and press in each side to the middle, as shown.
Tip: I used a bias tape maker for my bias tape, but you can do it manually if you don’t have one.
With right sides facing, sew the bias to the top.
Fold the end of the strip inward, right by the corner. Then fold the excess bias tape twice over to the other side.
6. How to sew corset boning
Draw three lines on the back sides of the corset top. These will be for the boning and eyelets.
Tip: I used a thick zip tie for the boning since the boning I had was kind of flimsy.
Also, mark two lines on either side of every seam. Next, stitch along these lines to create channels.
Insert the boning into the channels, as shown.
Next, apply the bias tape to the bottom of the top.
7. How to add eyelets to a corset top
Now, mark where your eyelets will be.
Then, apply the eyelets, as shown.
Now, make a long strip to feed through the eyelets at the back of the corset top.
Sewing a corset tutorial
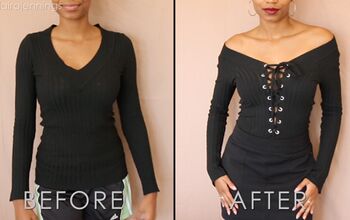
That’s it! from old and oversized to trendy and super stylish! What do you think of this amazing DIY corset top transformation? I love how it looks, and it’s perfect for those occasions where you need to dress up.
Now that you know how to make a corset top, why not try this out for yourself?
Enjoyed the project?
Suggested materials:
- Lightweight, oversized top
- Sewing machine
- Pins
- Thread
- Scissors
- Pattern
- Interfacing
- Shell fabric
- Eyelets
- Boning (or thick zip ties)
- Eyelet tool
- Ribbon
The author may collect a small share of sales from the links on this page.


Comments
Join the conversation