2 Fun & Easy Thrift Flip Ideas: Making Matching Sets From Old Clothes

Today, we’re doing two thrift flips in one tutorial. These are clothes I’ve had for years that I’ve decided to revamp, but if you don’t have anything similar stashed in your closet, this is thrift-friendly!
If you need some thrift flip ideas or if you just love seeing thrift flip transformations, this is the tutorial for you!
Tools and materials:
- Cardigan
- Velvet dress
- Ruler/measuring tape
- Scissors
- Pins
- Needle and thread
- Sewing machine
- Seam ripper
DIY cardigan upcycle
I’ve had this cardigan since sixth grade. I’m going to make three different pieces out of it: a cropped cardigan, a tube top, and a headband.
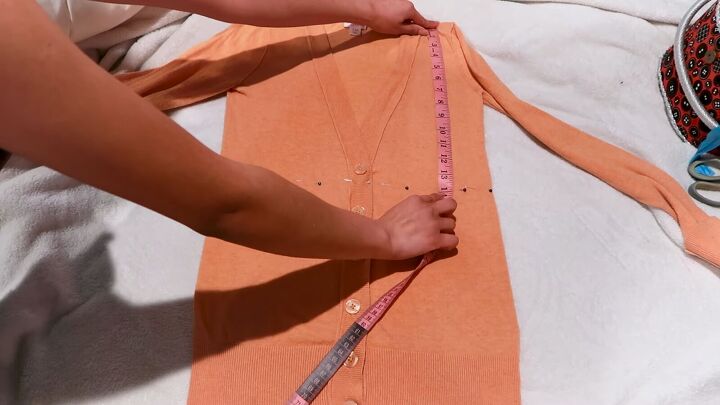
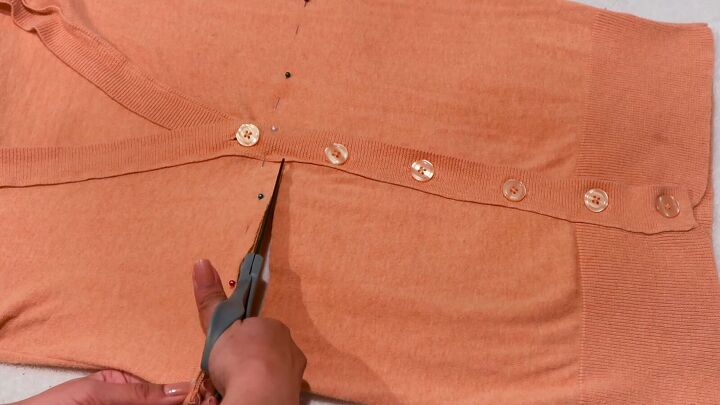
1. Measure and cut
First, measure how short you want to crop it. I wanted the cardigan to be about 14 inches long, so I placed some pins along where I wanted to cut it.
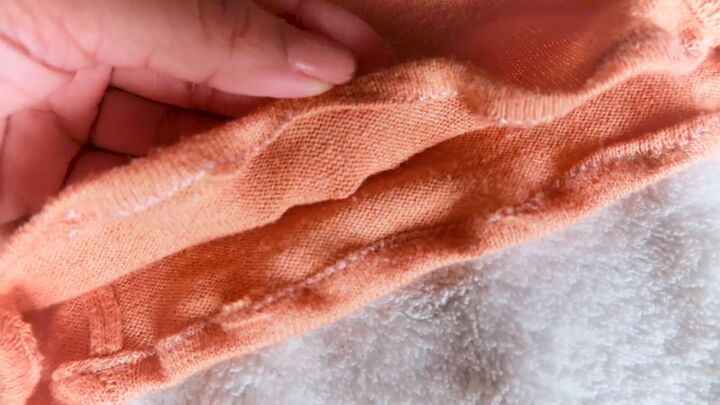
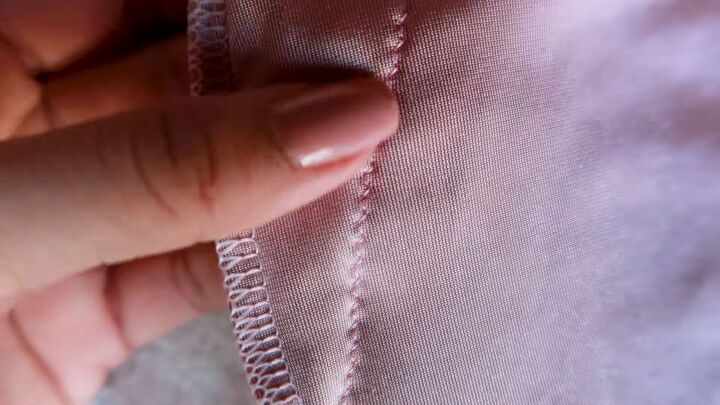
2. Hem
Sew the rough edges for a clean finish. I used a zigzag stitch since the fabric was stretchy.
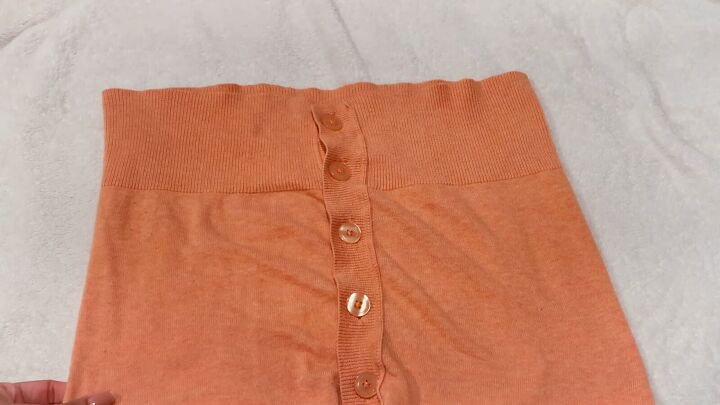
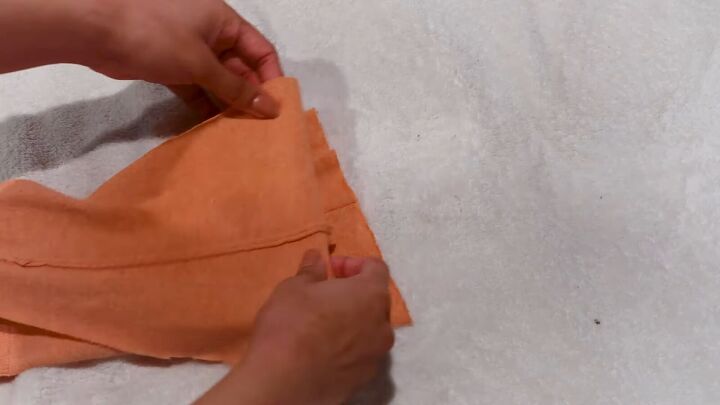
3. Make the tube top
Moving on to the tube top, I flipped the fabric because I wanted the thick band to be the top of my crop top and the buttons to be on the back.
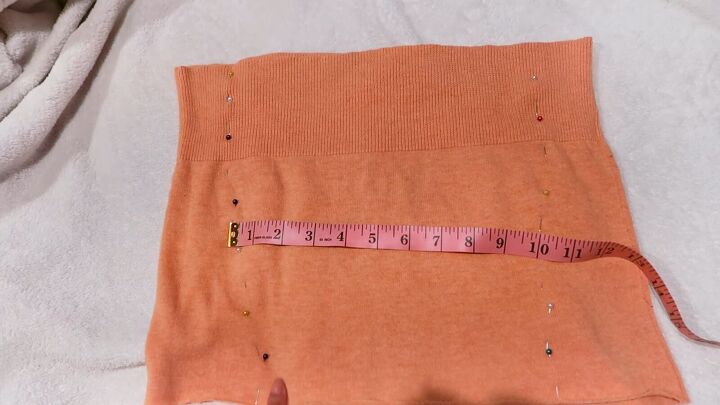
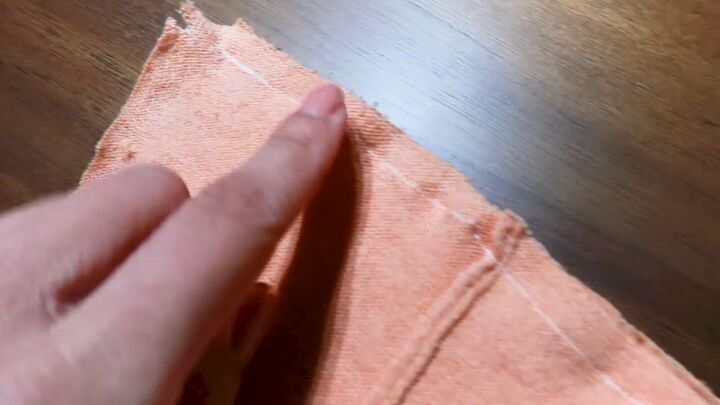
Flip the fabric inside out and pin the new side seams. For me, the top band was 11 inches, the midsection was 10 inches, and the bottom was 9 inches across. Measure to your liking/size.
Sew along the side seams
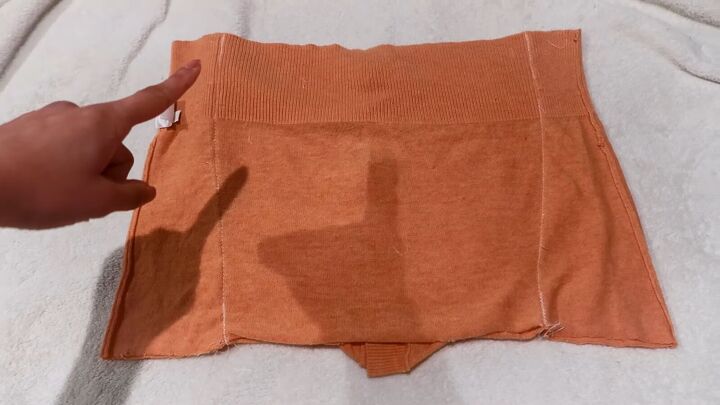
It should look like this.
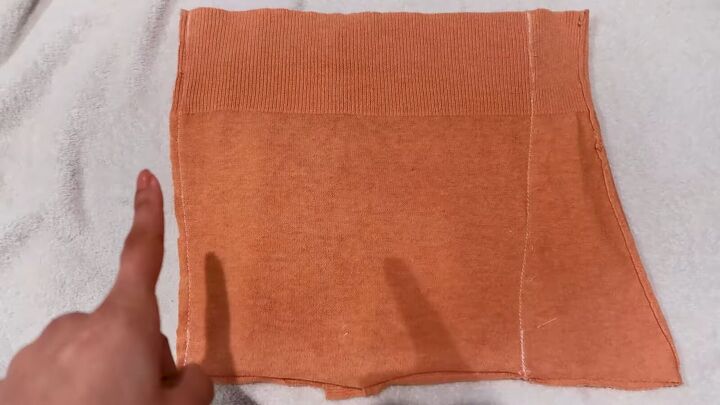
Cut off the excess fabric and flip it right side out.
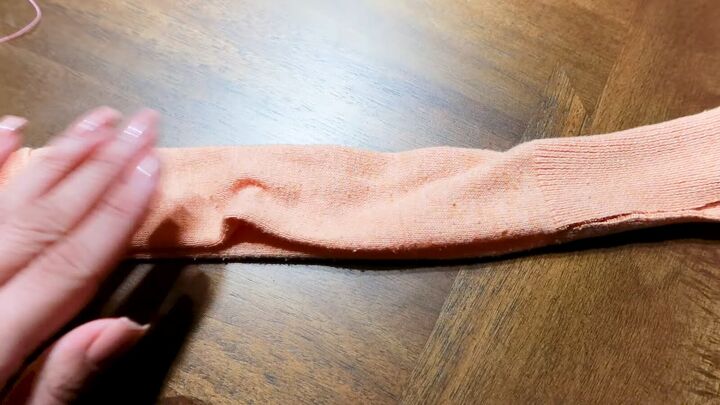
4. Make the headband
Use the excess fabric for the headband. To do this, overlap the “ugly” sides of the fabric together.
The bottom piece should have the seam facing the ground and the top piece should have the seam facing up. Lay them on top of each other and then sew a line across the top.
Fold the top and bottom of the fabric and sandwich them together. Pin in place.

Sew a stitch on the very edge for a nice, clean seam.
I decided not to sew the ends together, so I can tie the ends around my head and it's adjustable.
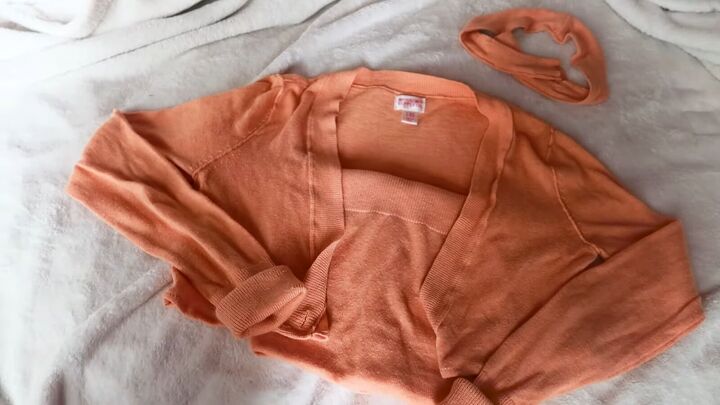
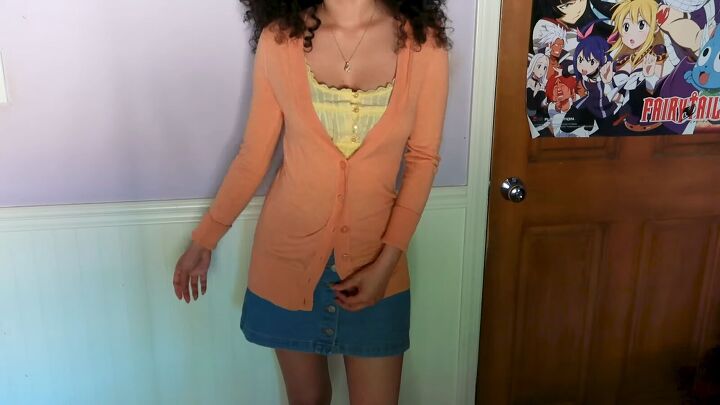
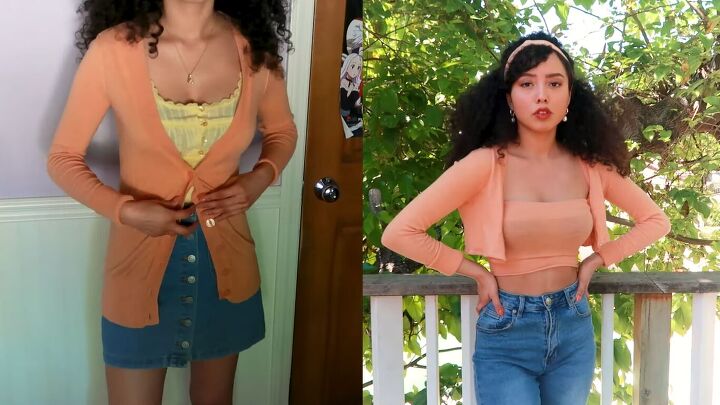
That’s it for this thrift flip crop top, cardigan, and headband! Here’s the final look of the 3-piece set.


DIY velvet two-piece set
Next, I'll thrift flip a velvet t-shirt dress. I got it from my sister and I’m excited to turn it into a crop top and skirt.
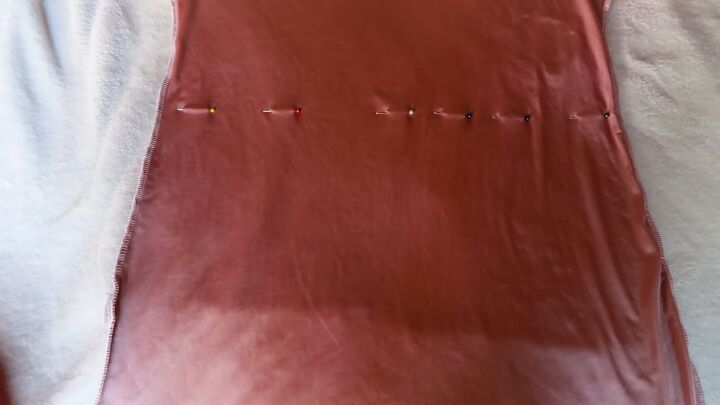
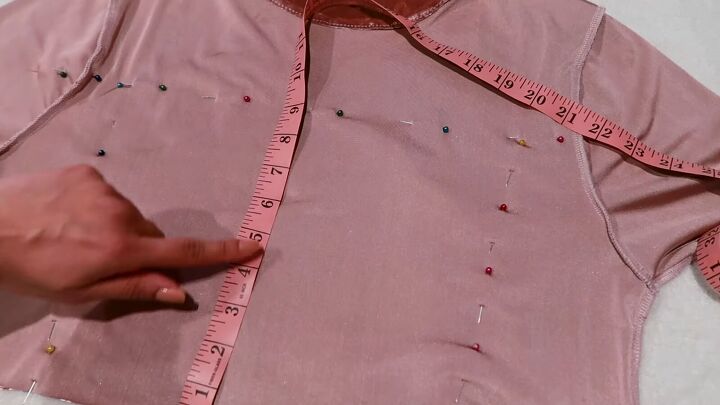
1. Measure and cut the skirt
Turn your dress inside out. Measure how long you want your skirt to be, measure, pin, and cut. For me, it was 15 inches.
Always cut above the pins, leaving a little extra room for insurance just in case anything goes wrong.
My waist is 13 inches across. The bum area is about 18 inches across, and the hem is about 15 inches across. Pin according to your measurements.
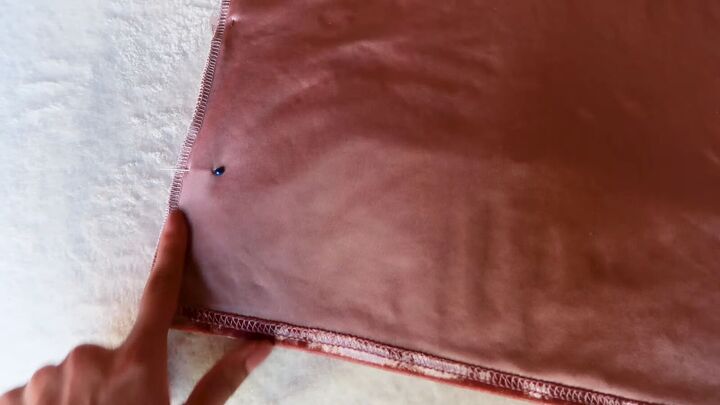
I also added pins where I wanted my side slit to be.
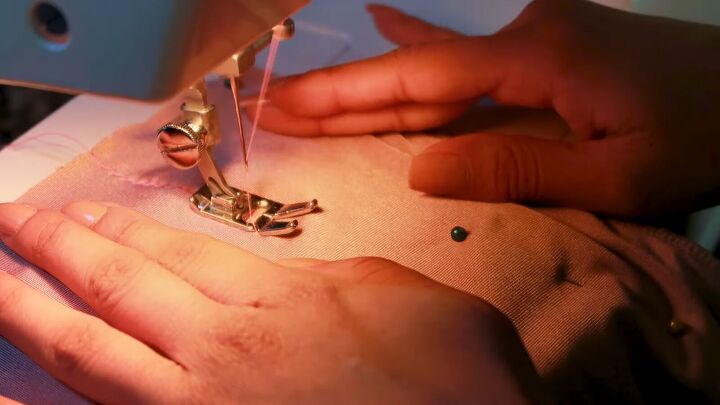
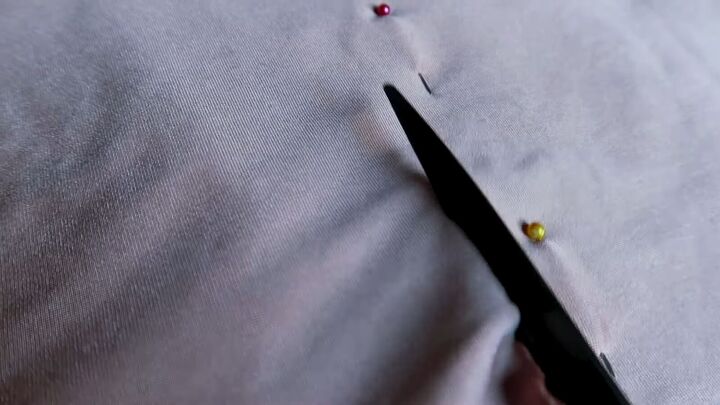
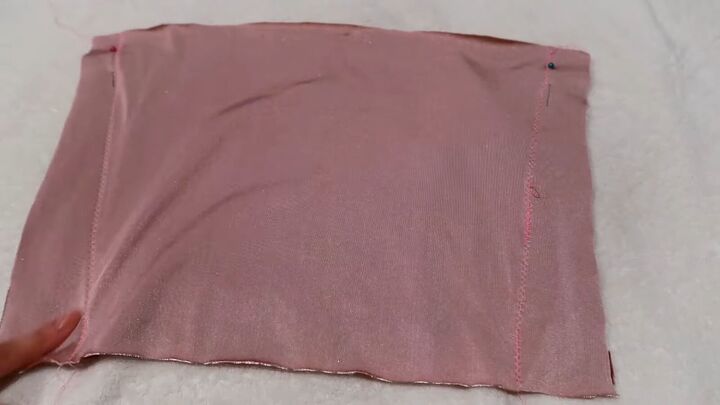
2. Sew
Using a zigzag stitch, sew along the pins until it merges with the original seam.
Be sure to take your time since this line is slightly curved.
Once you’re done, cut off the excess. If you want, leave a bit of extra fabric so you have room to sew a neater seam.
I decided not to sew the top of the skirt, since the fabric I’m using doesn’t fray and naturally curls in for a softer look.
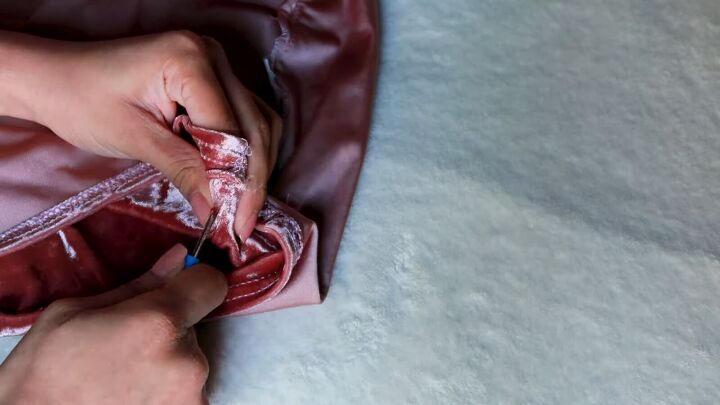
3. Make the slits
The slits are about 4 inches long. Measure, then use a seam ripper to open the side of the skirt.
Tie the thread that remains together and stitch a new seam with the two flaps you created. The skirt is now complete!
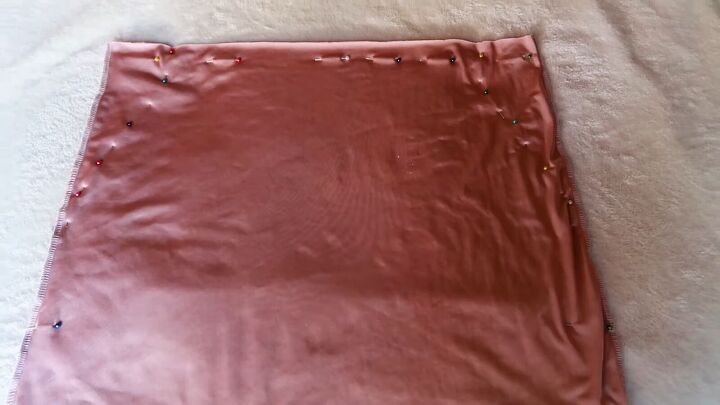
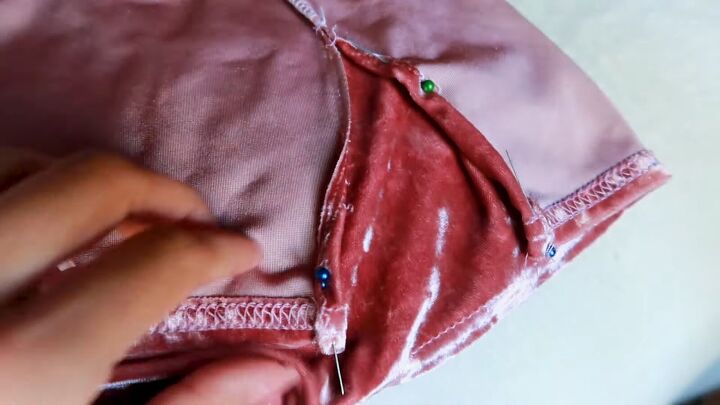
4. Make the crop top
Let’s move on to the crop top. Flip the remaining fabric inside out and pin to your preferred measurements.
For me, the top is 9 inches long, 12 inches across the top, 10 inches across the bottom, and 11 inches along the middle.
Cut and sew along the pins using a zigzag stitch. You can cut off the extra fabric if you like, but I didn’t since it wasn’t bulky and didn’t bother me.
5. Make straps
Using the excess fabric, cut out four strips of whatever length you want. Mine ended up being different lengths.
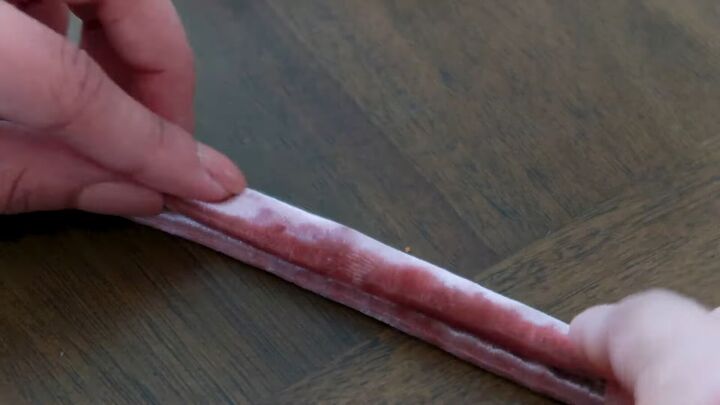
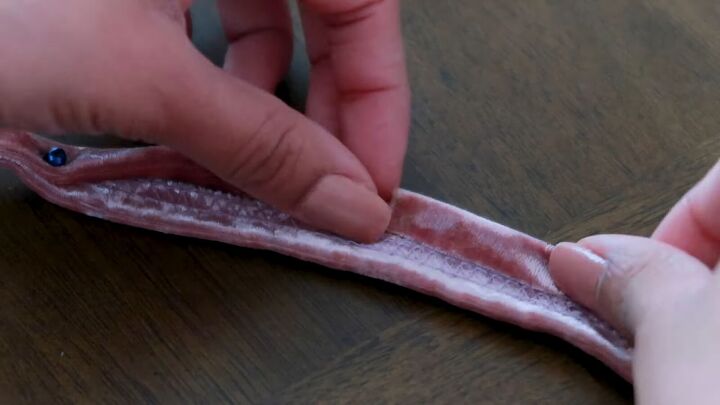
Two of my straps came with pre-existing seams, so I rolled them along the edges like this and pinned them to sew later.
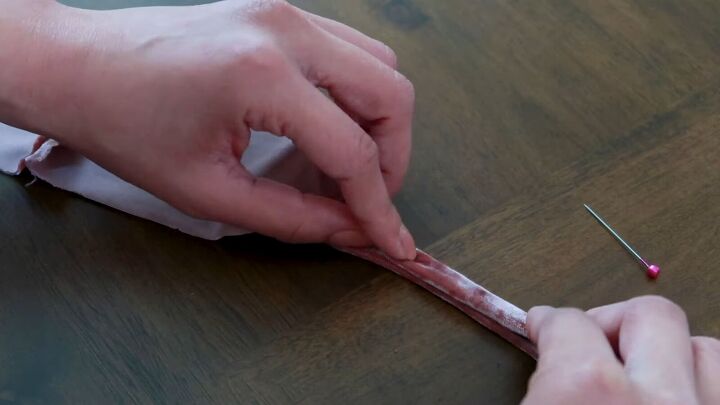
The straps that didn’t come with seams, I folded a bit differently. I folded the top first, then the bottom, and then folded it over itself like we did earlier with the headband. Pin and sew.
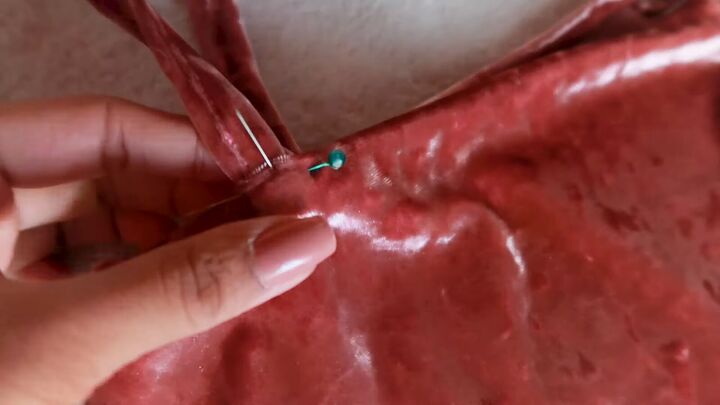
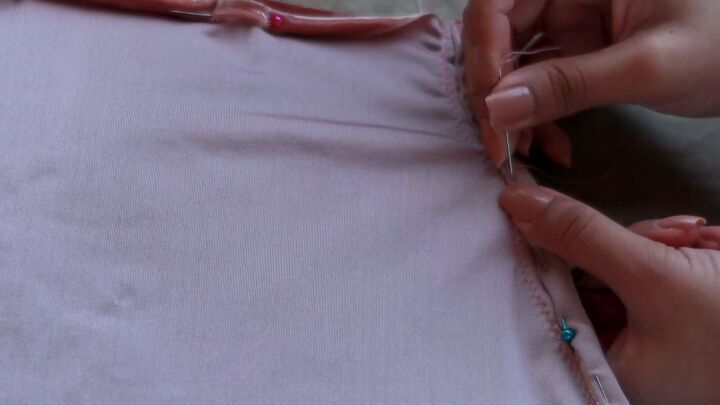
6. Attach the straps
Pin the straps to the crop top and hand-sew in place.

That’s it! The set is complete.
Here are the final results:

Easy thrift flip ideas
That’s it for this DIY thrift flip tutorial. If you try this, let me know how it turns out. Comment down below which look is your favorite!
The author may collect a small share of sales from the links on this page.


Comments
Join the conversation