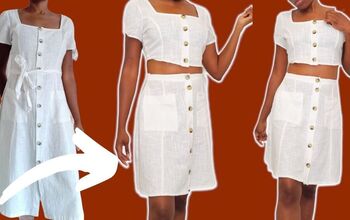
Thrift Flip: Turn a Dress Into a Two-Piece Set

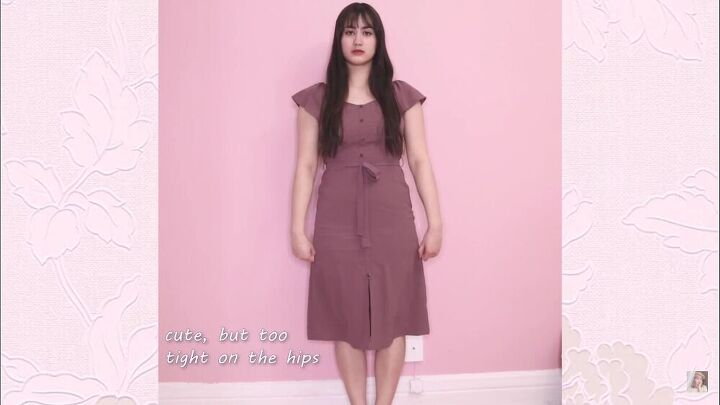
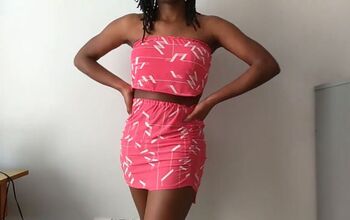
Today I will show you how to sew a two-piece set from a too-small dress for me. I loved the color and the fabric, but they didn’t have any dresses left in my size, so I decided to change the design so it would fit me better. This two-piece lounge set is made up of a crop top and a pair of shorts, each with an elastic waistband. The dress also came with a belt, so I incorporated that into the new design.
Tools and materials:
- Dress
- Shorts (for tracing)
- Elastic band
- Scissors
- Pins
- Paper
- Pen
- Sewing machine
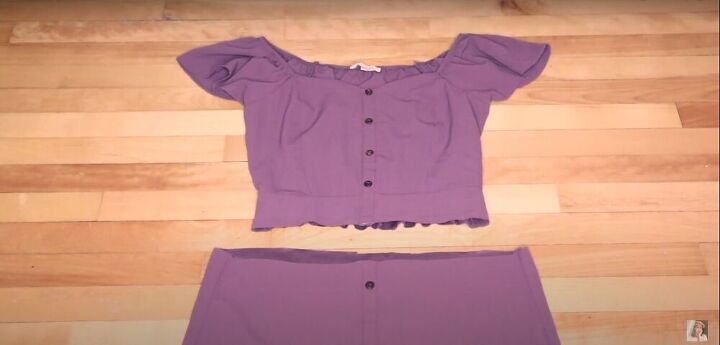
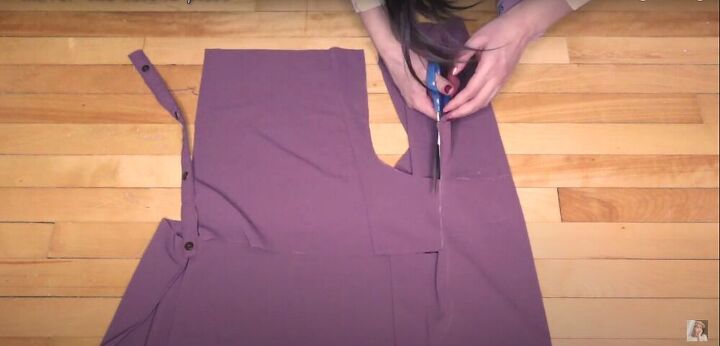
Cut
I cut the top off the dress at 2 inches below the waistline.

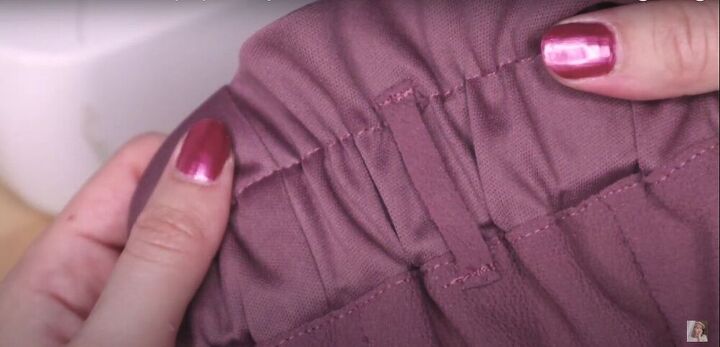
Sew
My dress had a lining, so the fabric was already doubled. I added elastic to the back of the shirt by sewing down either end of the elastic band to the lining.
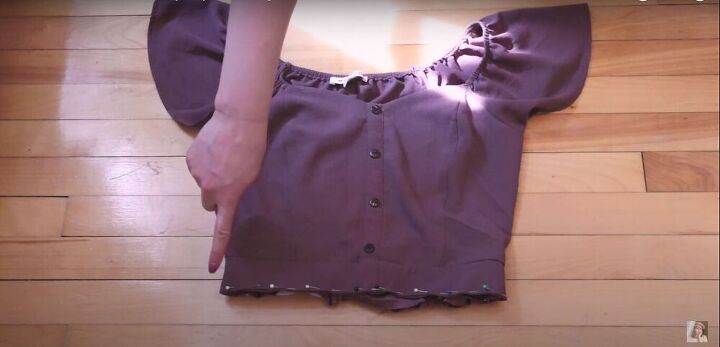
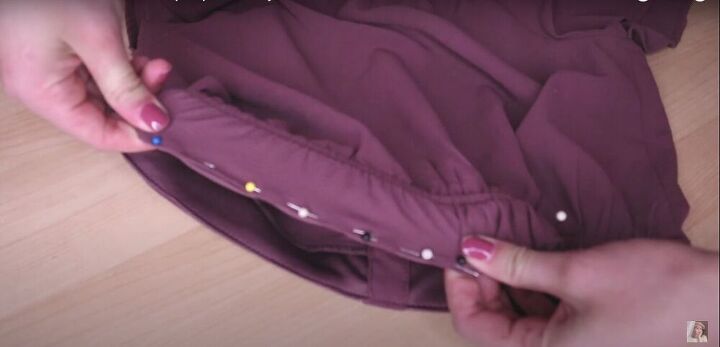
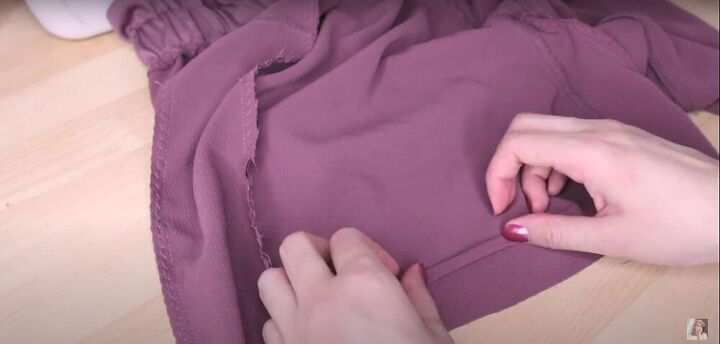
Pin
Next, I folded the edges in and pinned the opening of the waistband closed.
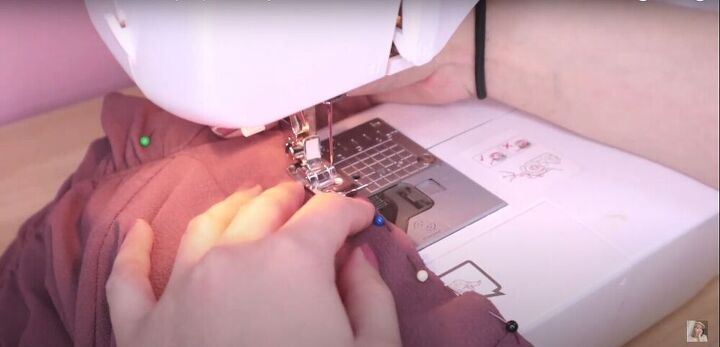
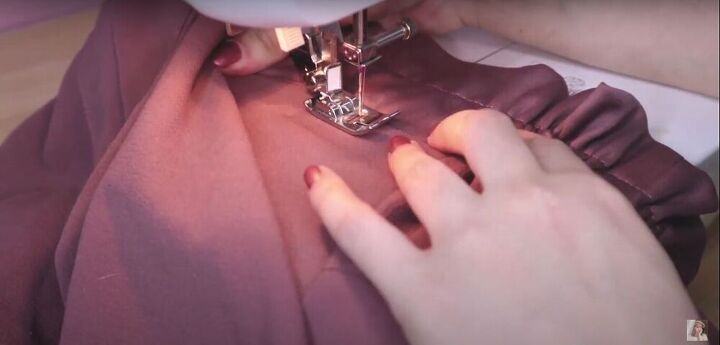
Sew
I sewed the front part of the waistband closed first.
Then, I sewed the back part, making sure to stretch the elastic as I was sewing to keep the fabric flat.
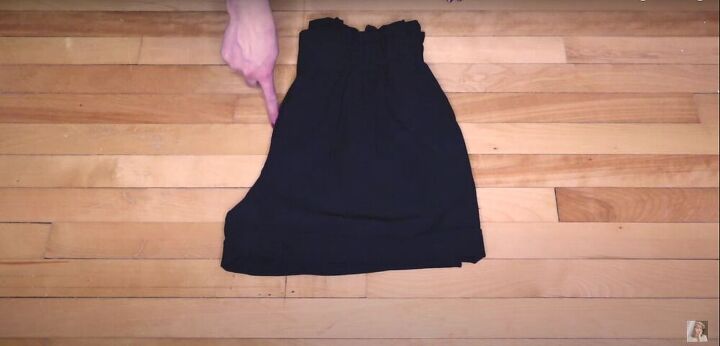
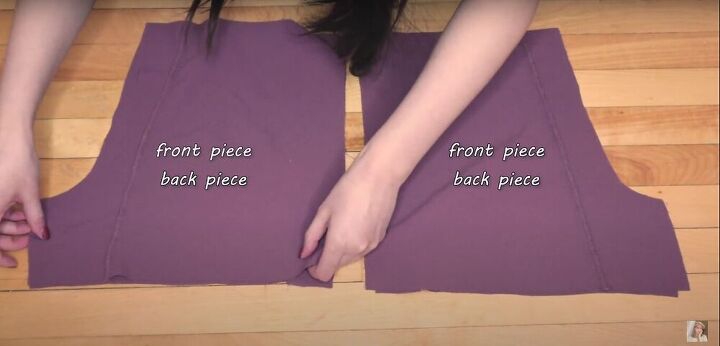
Trace
To make the bottoms, I used a pair of shorts I already own to trace the pattern onto a piece of paper. I folded the shorts so the front was facing out, and traced. Then I folded them the other way, so the back was facing out, and traced.
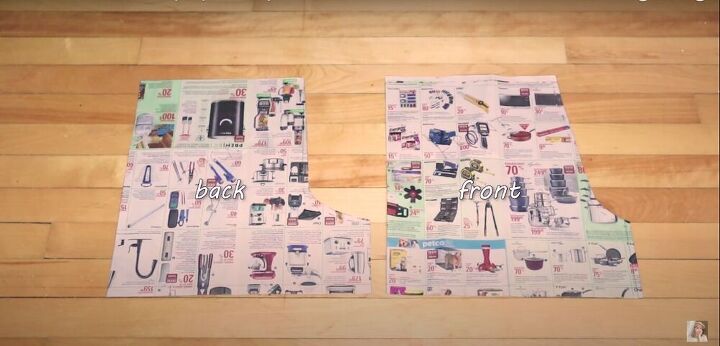
This is what your patterns should look like.
Cut
Then I traced the pattern onto the remaining fabric from my dress, and cut out two of each pattern piece. I actually didn’t have quite enough fabric to cut all the pieces, so I had to sew some of the fabric together to make large enough pieces to cut my pattern.
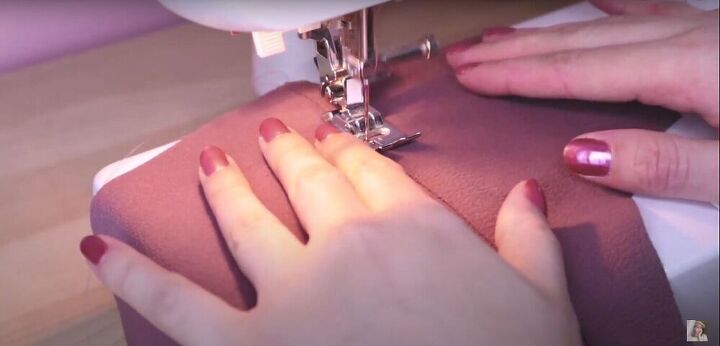
Sew
To make it look more intentional, I top-stitched the seams where I added extra fabric.
I laid the front piece on top of the back pieces and sewed them together at the crotch seam.
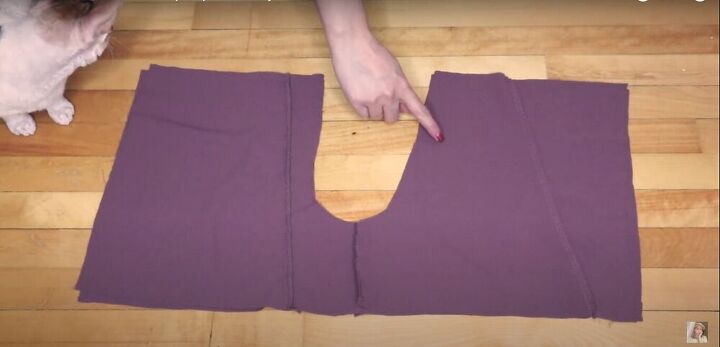
Then I opened up both pieces and laid them on top of each other, right sides together, and sewed along the curve.
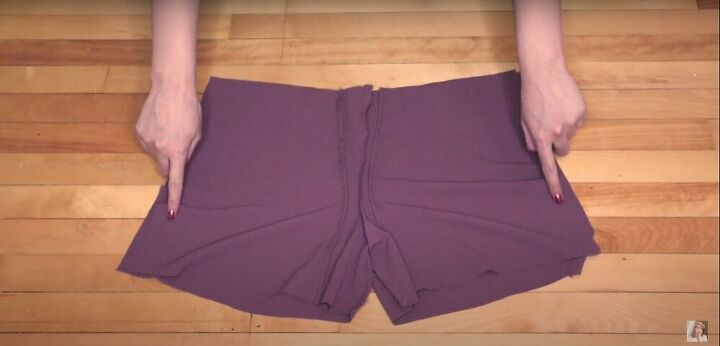
Next, I unfolded the shorts completely, and refolded them at the crotch seam, with the right sides together, and sewed down the side seams.
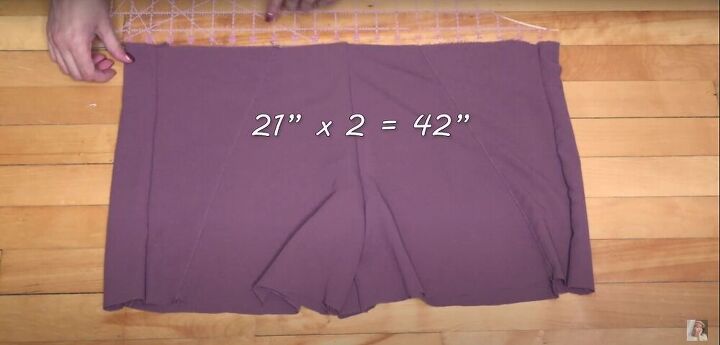
Measure
I measured the waistline of my shorts and doubled that number to know how much fabric I would need for the waistband.

Cut
I used the lining fabric to create the waistband. I cut 5½-inch wide rectangles of fabric and sewed them together along the short edges until I had a loop of fabric measuring 42 inches in circumference.
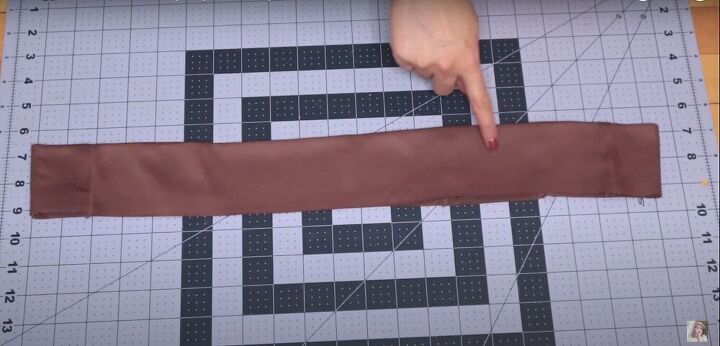
Sew
I folded the waistband in half lengthwise and sewed along the top, 1 inch from the fold.
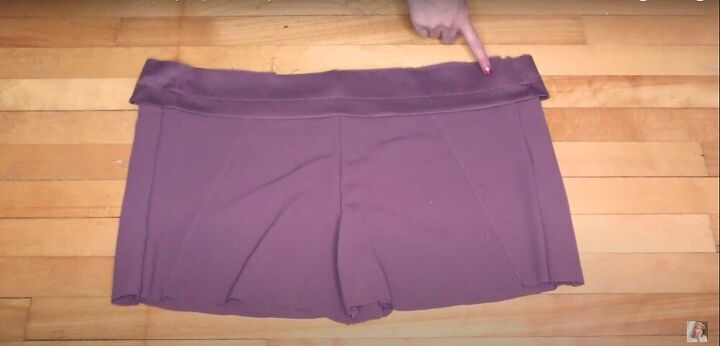
Next, I placed the waistband around the shorts, with the raw edge matched to the waistline of the shorts, and sewed the waistband to the shorts. I made sure to leave a 1-inch gap in the stitching, so I can insert elastic.
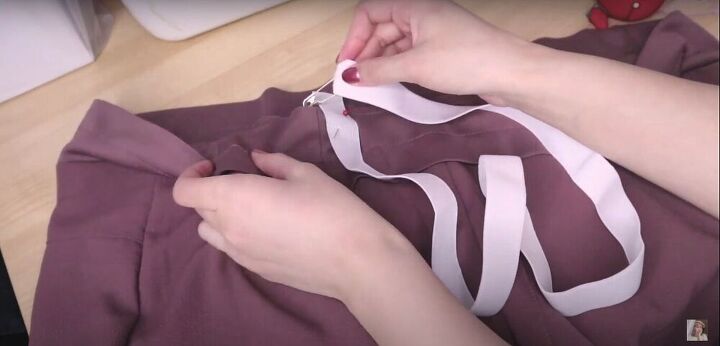
Insert the elastic
I attached a safety pin to one end of the elastic and pinned the other end to the shorts. Then I threaded the elastic into the gap in the stitching and through the waistband until it came back out through the gap.

Sew the elastic
I tried on the shorts to make sure they fit. If they needed any adjustment, now would be the time to make them. Then, I sewed the ends of the elastic together and sewed the gap in the stitching of the waistband closed.
Top-stitch
I added a row of top-stitching right below the waistband to reduce the puffiness of the shorts.
Add belt loops
I repurposed the belt loops from the dress and attached one loop to either side of my shorts. I used the belt that came with the dress to wear with the shorts, as well.
Fold and sew
For the final step, I hemmed my shorts by turning the shorts inside out and turning the hem up twice before sewing it down.
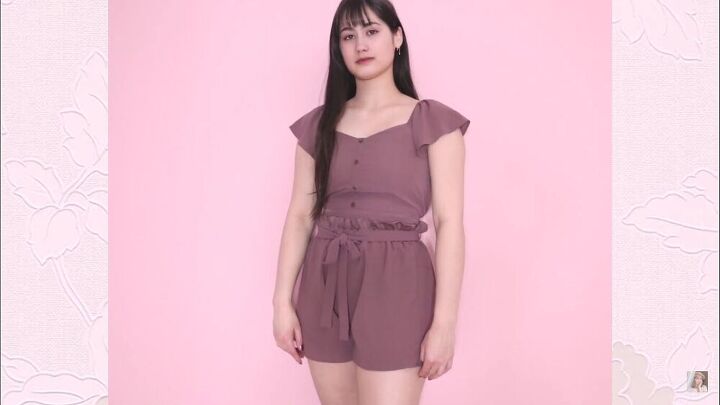
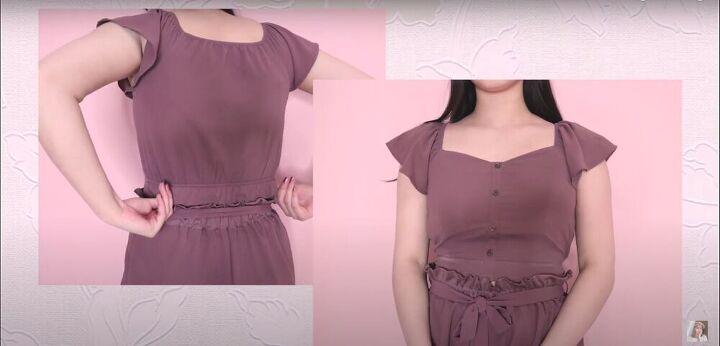
I’m so happy with how this DIY two-piece set turned out! If you use my design to sew a two-piece set of your own, I would love to see your results!
The author may collect a small share of sales from the links on this page.


Comments
Join the conversation
That came out so cute ...what a great job you did on it .....I love it ...