Discover How to Turn an Old Dress Into a Pretty DIY Two-Piece Set

I bought this cute white dress from a charity shop and decided to turn it into a DIY two-piece set! Follow along with this easy thrift flip tutorial for a step-by-step guide on how to make a dress into a two-piece. This quick and fun transformation has given a pre-loved dress a new lease of life!
Tools and materials:
- Dress
- Seam ripper
- Measuring tape
- Scissors
- Pins
- Ruler
- Fabric marker
- Sewing machine
- Iron

1. Undo the waist
First, use a seam ripper to undo the stitching at the waistline. If your dress doesn’t have a waistline, then simply cut where you want the skirt and top to divide.
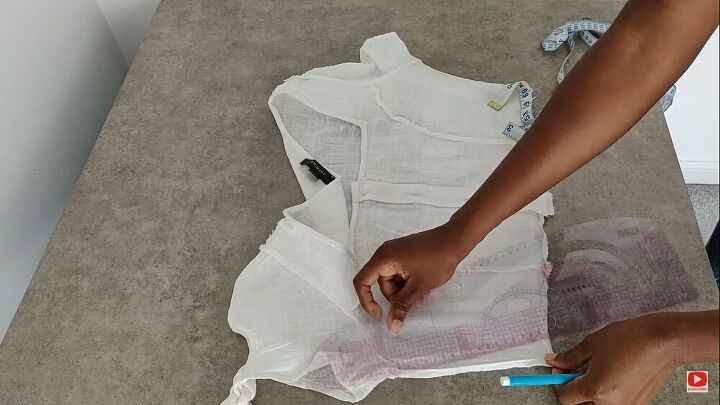
2. Take in the sides
To make the bodice more fitted, take in the sides. Use your own body to gauge measurements or take in by half an inch on each side. Measure half an inch inwards, then draw a line up to the armhole. Pin, then sew off those sections.
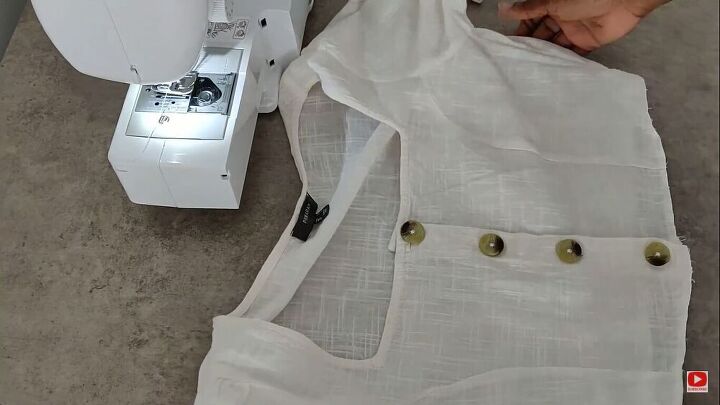
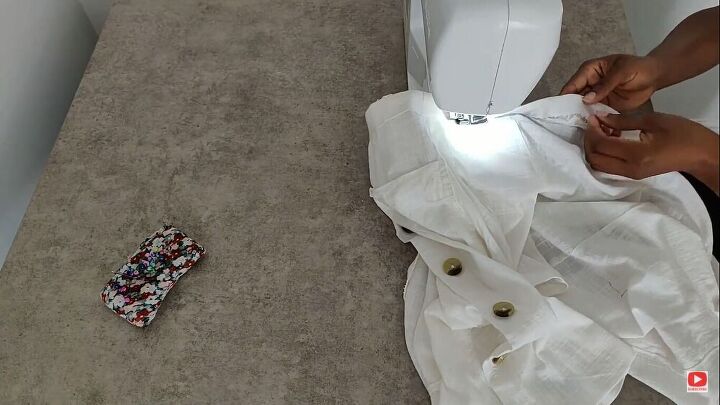
3. Hemming
Hem the top where it was detached from the skirt.
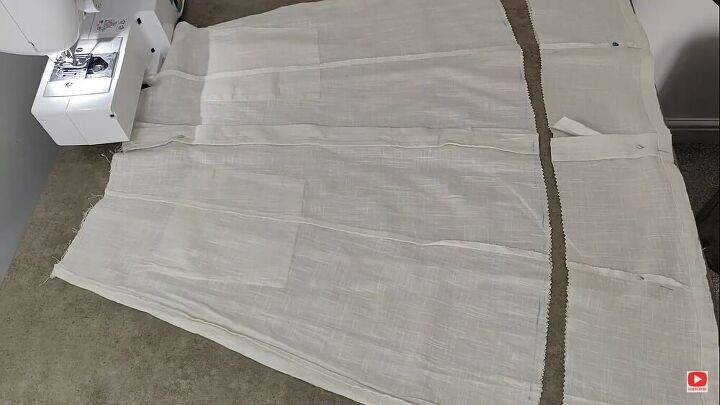
4. Take up the skirt
I took the skirt up by six inches, but this is to your preference. The best way to do this is to pin down the skirt, so that it doesn’t move as you measure. I made six-inch marks along the skirt, then filled in a curved line to join the dots. Cut the surplus section off.
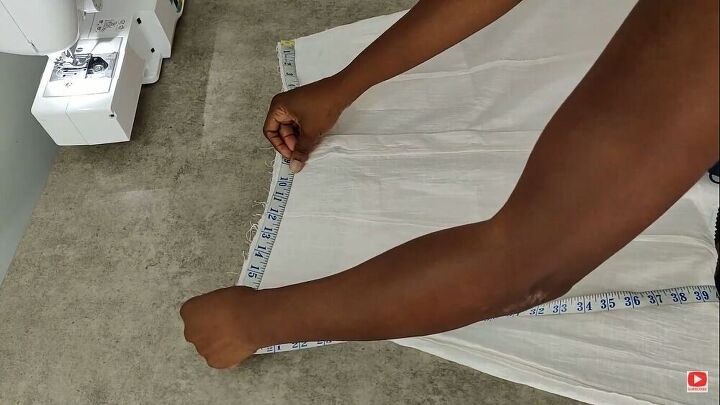
5. Adjust the waist
Next, I measured the waistline of the skirt, then adjusted it to my own waist measurements, for a perfect fit. I marked around an inch inwards, then used my ruler to draw a long line to the edge of the skirt. Pin and sew.
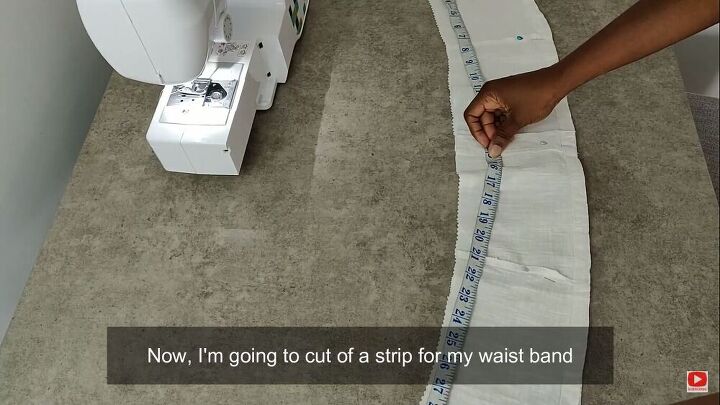
6. Create the waistband
Use the leftover skirt material to create a waistband. I used a waistband that was the length of my waist, with a width of 2.5 inches. Cut the strip and pin to the waistline of the skirt.
Then, fold the waistband over the skirt and topstitch all the way around. You can iron the fold in place to make this process easier.
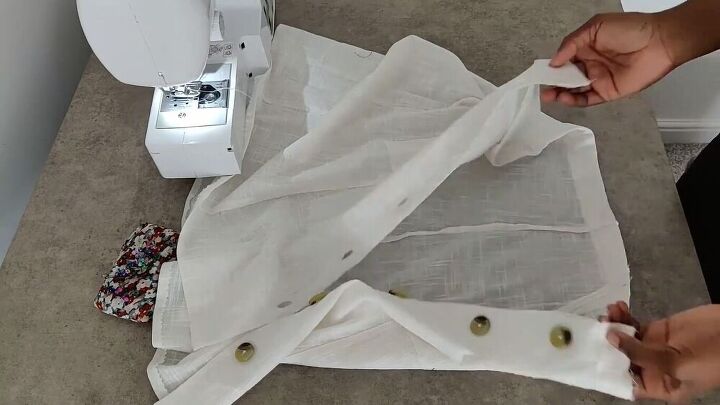
7. Add a button
Add a button onto your waistband if necessary, where the two edges meet. I used the button cut off from the bottom of the skirt. Finally, hem the raw edges.

DIY two-piece set tutorial
The top and skirt are complete! Here are the results of my DIY two-piece set thrift flip! I hope you enjoyed this tutorial on how to turn a dress into a two-piece set. I love the summery look and how easy it was to transform the dress into two separate garments, as well as how I could tailor the outfit to my measurements. Using a button-down dress definitely helped hide the edges.
If you use this tutorial, let me know your results in the comments section!
The author may collect a small share of sales from the links on this page.


Comments
Join the conversation