Sew a Breton Top in Just 6 Seams

I love quick and easy sewing projects! In this tutorial, I am going to show you how to make a Breton top with just six seams. We’ll also be adding a couple of finishing touches to get the perfect end result. Follow this tutorial and let’s get started!
Tools and materials:
- Pattern paper
- Pencil
- Ruler
- Measuring tape
- Scissors
- Pins
- Sewing machine
- Fabric

Measurements and pattern drafting
Before getting started on this DIY Breton top, it’s important to take measurements. The first measurement you will need is the length of your back. Measure from the nape of your neck to your tailbone with a measuring tape.
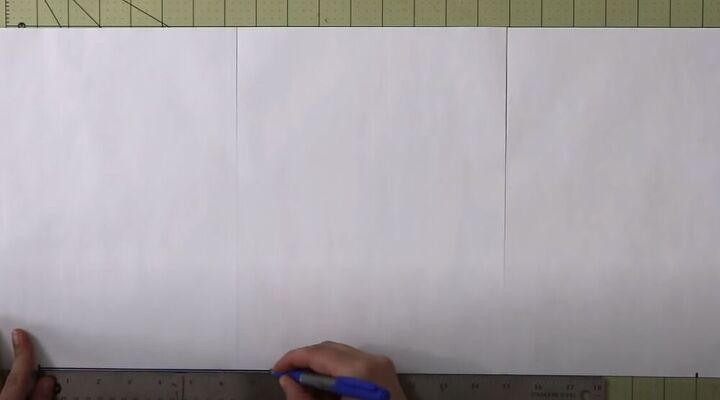
Then go ahead and mark this on your pattern paper. For me, it came to 21 inches.

Next, you are going to take 3 measurements, your bust, your waist, and your hips. You will only be using the biggest of the 3 measurements.
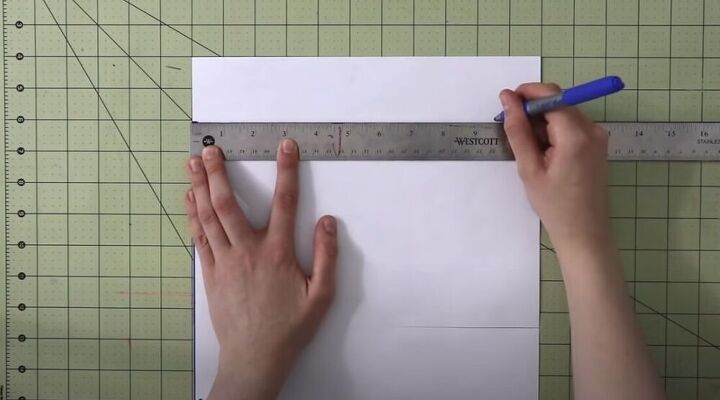
Once you have the biggest of the 3 measurements, divide it by 4 and use it to mark the other side of the rectangle on your pattern paper.
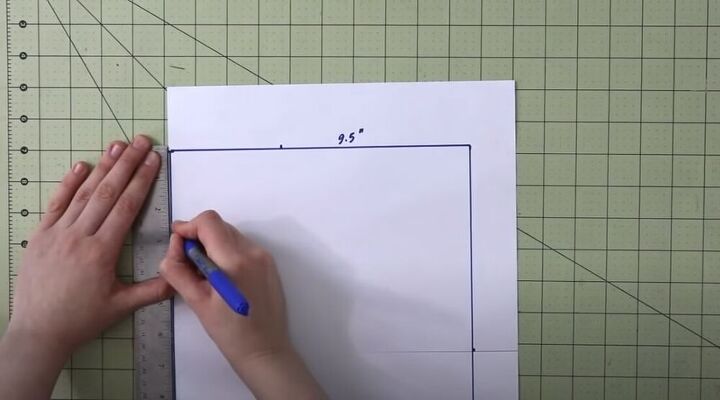
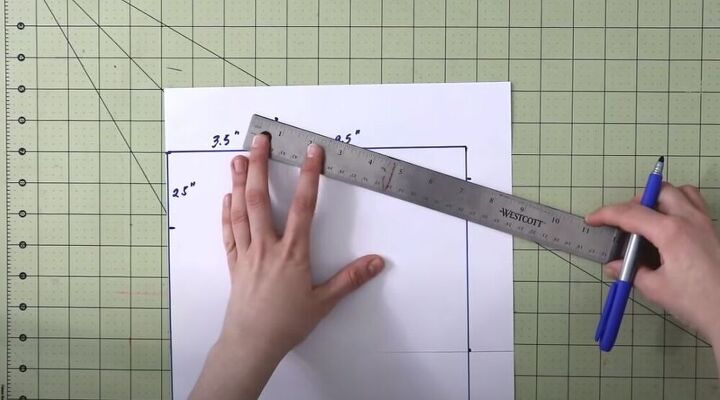
For the neckline, I always mark 3.5 inches to the right and 2.5 inches down. You can always use a T-shirt you really like and copy the neckline but my biggest tip is to start smaller and then cut it bigger if you want to.
Next, from the edge of the neckline mark 1 inch up, and from the edge of the shoulder line mark 1 inch down. Go ahead and connect those two points with a straight line to create a new shoulder line.
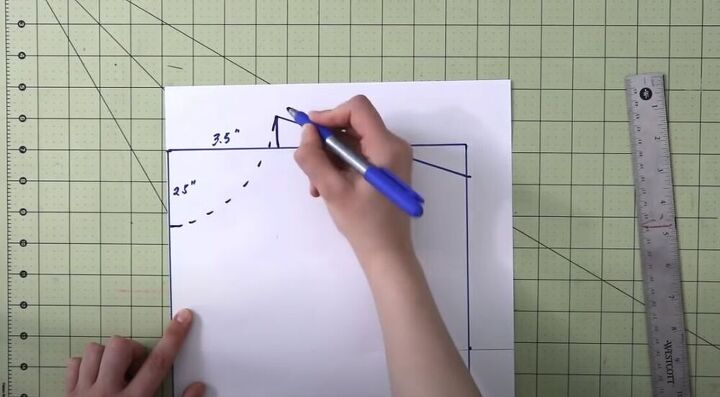
Complete the back and front neckline with a curved dashed line.
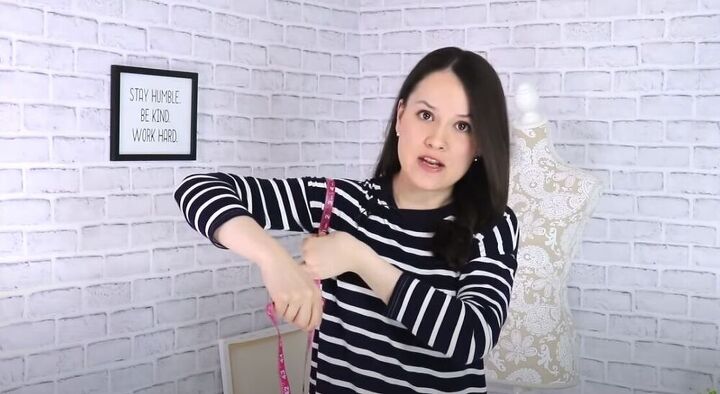
For the armhole, take your measuring tape and measure the width of your arm. Make sure not to make it too tight. For me, it came to 14 inches so I added it to my pattern paper.
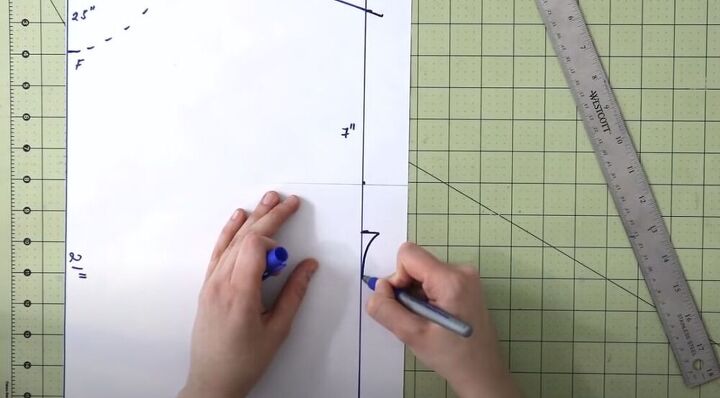
To get the bodice to really flow into the sleeve, I extended the top a little and curved the bottom but you can skip this step if you want.
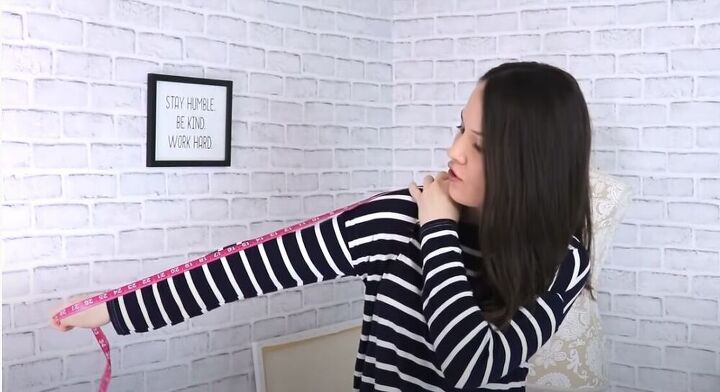
To get the length of the sleeve, measure from the neckline to where you want the sleeve to end. Then take the length you just measured and minus the shoulder length on your pattern to get the actual sleeve length for the top.
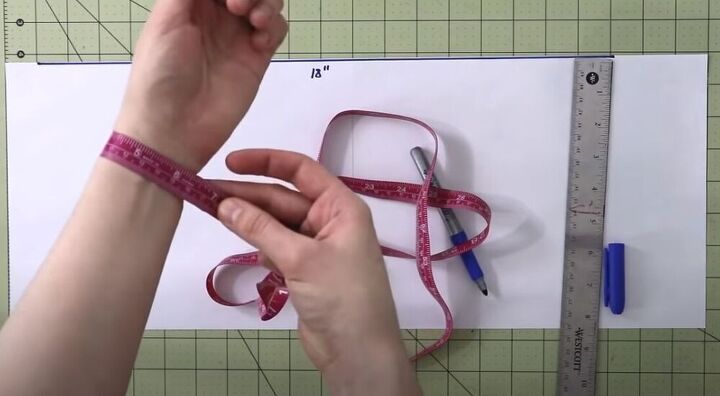
Next, measure around your wrist with a little wiggle room. Tak half that measurement and add it to your pattern.

To complete the sleeve you can either draw a straight line or a slightly curved one.

Cut out the pattern pieces
Start by cutting out the bodice pattern only, then make sure that the sleeve matches the bodice and mark. Now, you can go ahead and cut the sleeve.
Sewing
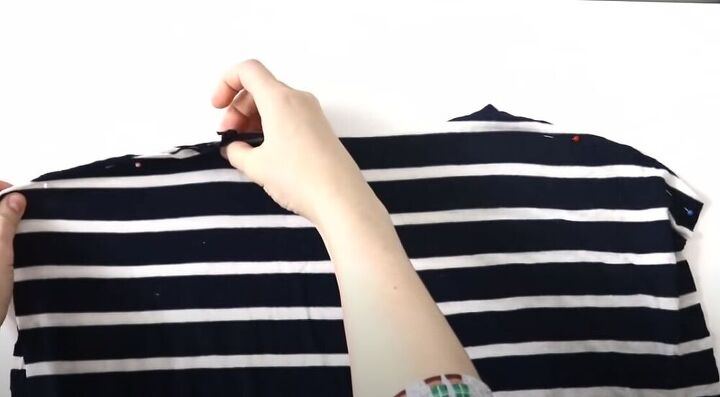
Before you get started on sewing, make sure to add seam and hem allowance to the pattern or add it while you cut. Next, place the front and back bodice pieces together, pin, and sew the shoulder seams.

First, take your sleeves and find the center.
Open up the top and the sleeve, and match the center of the sleeve with the shoulder seam. Pin the pieces in place and sew them. Then go ahead and sew the sleeve and side seam with one continuous stitch. Be careful to make sure the underarm seam matches nicely.
Hem the top
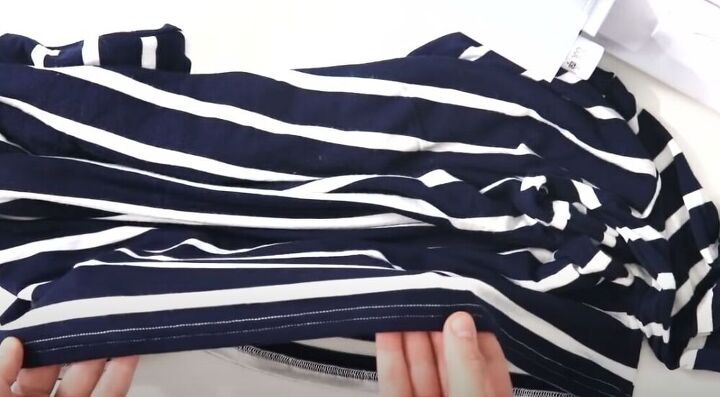
Next, go ahead and hem the sleeves and bottom of the top.
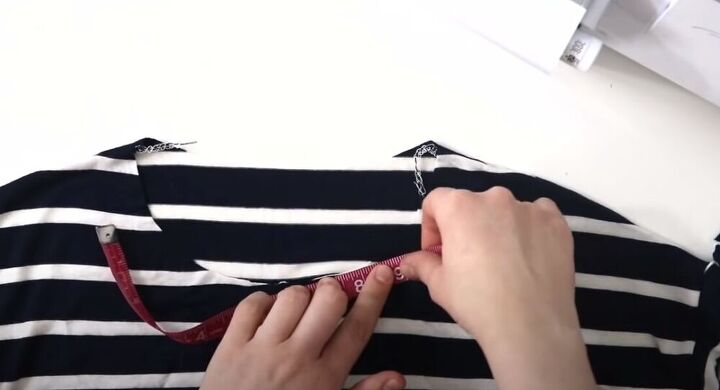
Add the neckband
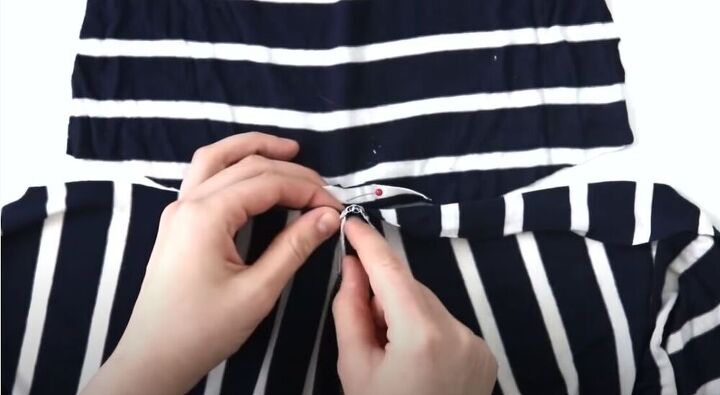
Take your measuring tape and measure around the neckline. Use 80% of that length for the length of your neckband and give it a width of 2 inches. Once the neckband is cut, sew the short side of the neckband.
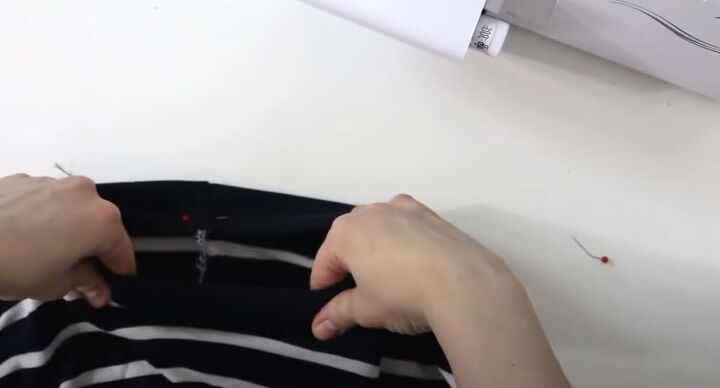
Mark the center front and back of the neckband and line it up with the neckline. Then go ahead and sew on the neckband. Make sure to stretch it as you sew.

Here is the finished neckline!

I love this super classy Breton top! Let me know what you think about this DIY in the comments!
The author may collect a small share of sales from the links on this page.


Comments
Join the conversation
Such a great classic top!