Everything You Need to Know to Duplicate Your Clothing

Dilemma; you have your favorite garment of clothing, and you want to replicate it so that it lasts...forever! Well, nothing really lasts forever, but you can continue the legacy by sewing the exact same garment so that you have two or three versions. In this DIY clothing tutorial, I am going to show you some amazing DIY clothing hacks and tricks so that you can replicate your clothing. Let's get started!
Tools and materials:
- Favorite piece of clothing
- Fabric of choice- I used a bamboo jersey knit
- Sewing machine
- Tracing paper
- Pencil
- Ruler
- Scissors
- Rotary cutter
- Twin needle
- Walking foot
- Optional- Serger
Make the pattern
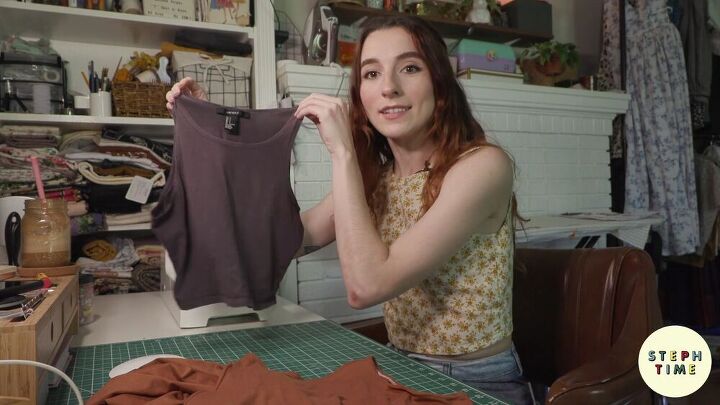
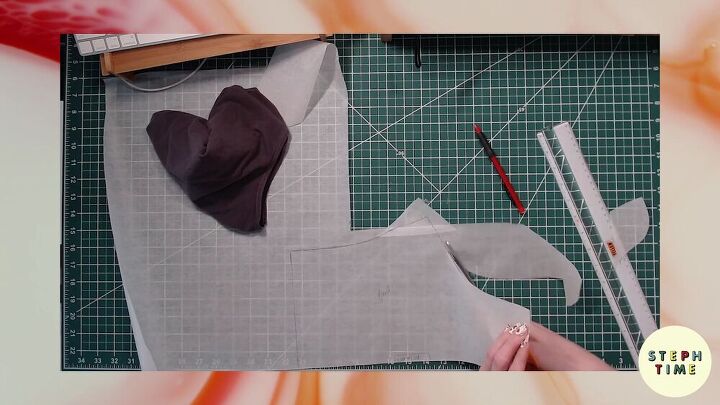
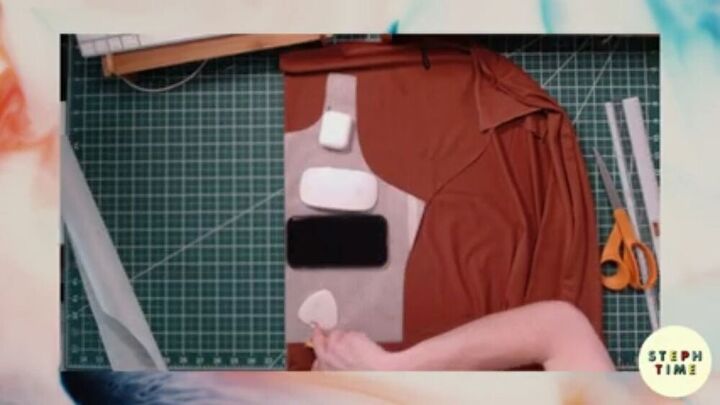
To show you how to make DIY clothing, I will be replicating this tank top.
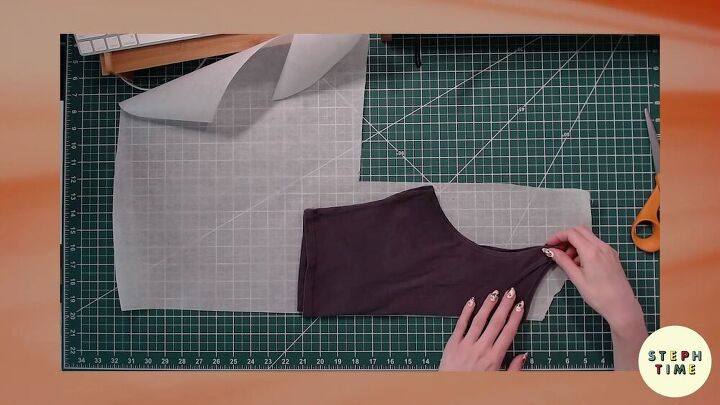
So, start by lining up the shoulder and side seams of your tank top and placing them on your tracing paper. Trace the front and back of the tank top separately as they are not the same, at least by the neckline.
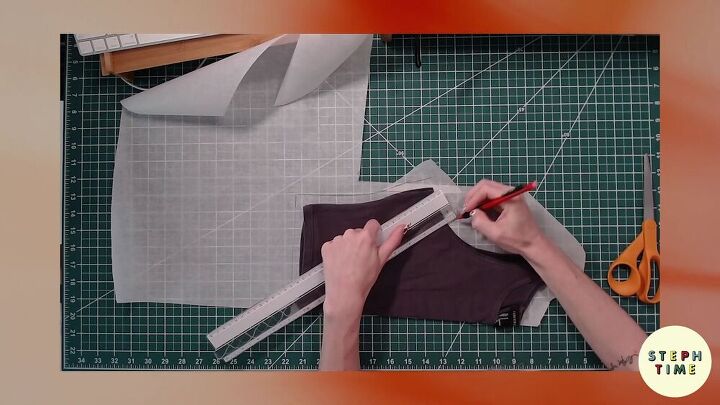
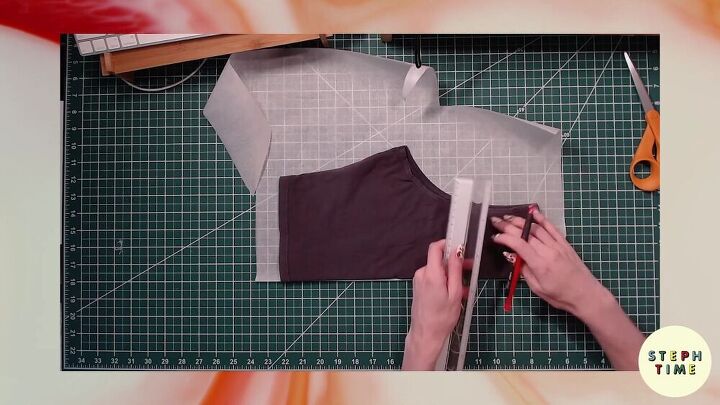
Mark some points all around the shirt and connect them by tracing around your shirt using a ½ inch seam allowance.
TIP-
The most important part of a seam allowance is that you follow it and remember it so that you fold over the same measurement afterward.
When you have your pattern ready, write on the pattern itself that it's the front and that it's on the fold. You can also write the seam allowance for future use.
Now, cut out your pattern.
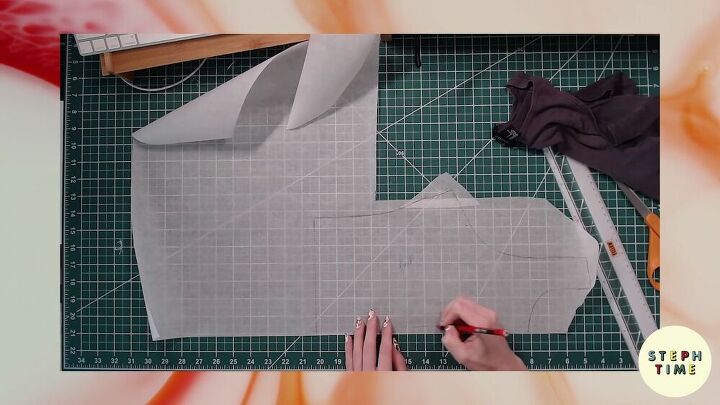
Repeat the same process for the back piece.
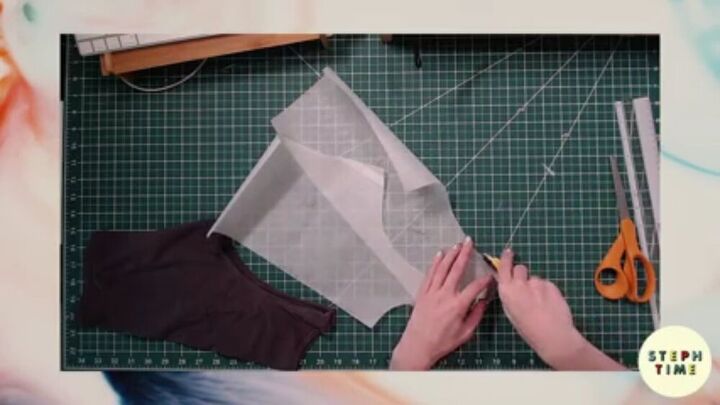
When you have your two pieces, make sure that the shoulder seams match up in size. Also, the armpit to the bottom part is the same. Trim where necessary.
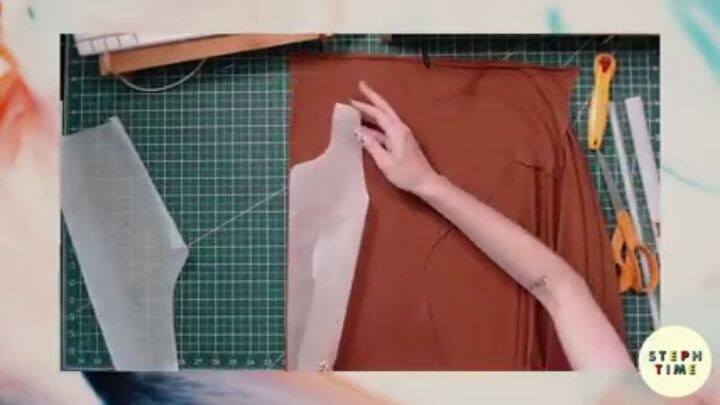
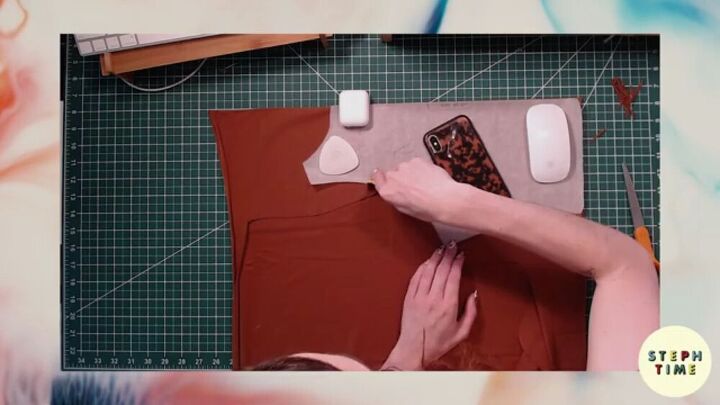
Cut out your fabric
Hooray! You now have two pieces. Now, go ahead and cut out your fabric by placing each piece on the fold, as shown.
TIP-
If you're using stretchy fabric, make sure the stretchiest part flows horizontally.
Place some weights on the pattern and cut it out with either a rotary cutter or a sharp pair of scissors.
TIP-
You can also use pins to pin your pattern to your fabric.
Repeat the same process for the second pattern piece. As you can see, I cut really close to my other cuts. I don't like wasting fabric.
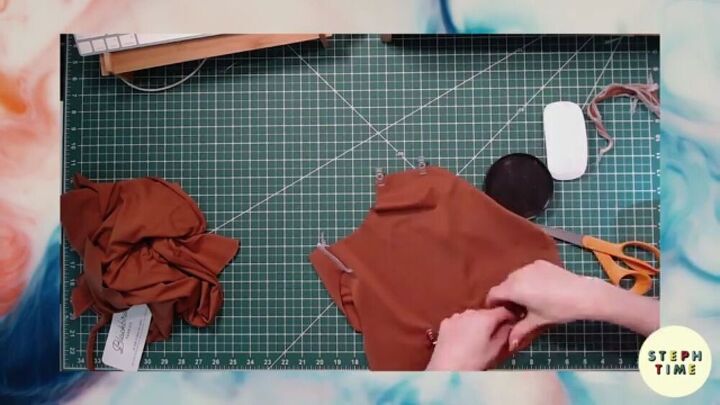
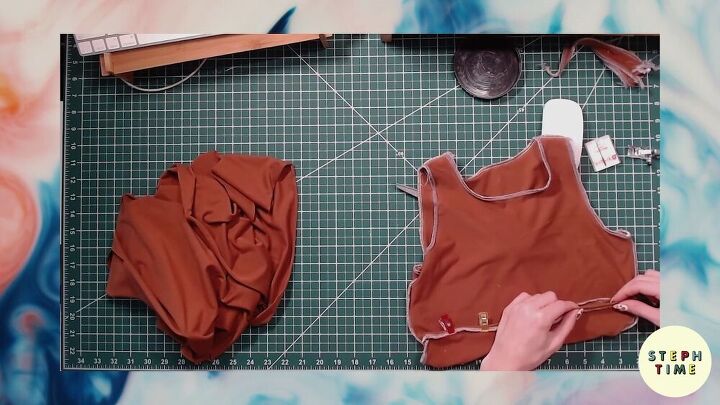
Assemble the top
I'm using some reverse engineering here to determine what areas my original top was sewn. I can see the shoulder seams, and then the side seams were sewn first, followed by the hems. So, let's do the same! Start by pinning the shoulder seams (right sides facing) and sew to secure.
TIP-
You can test out your stitches before stitching the real deal. Grab a scrap piece of fabric and practice!
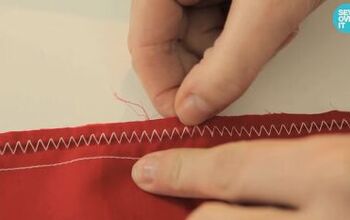
Now, pin the side seams and serge together. (Serging is optional, you can opt for a zigzag or straight stitch). Finally, finish all your raw edges with a serger or zigzag stitch. This will ensure that the fabric doesn't fray.
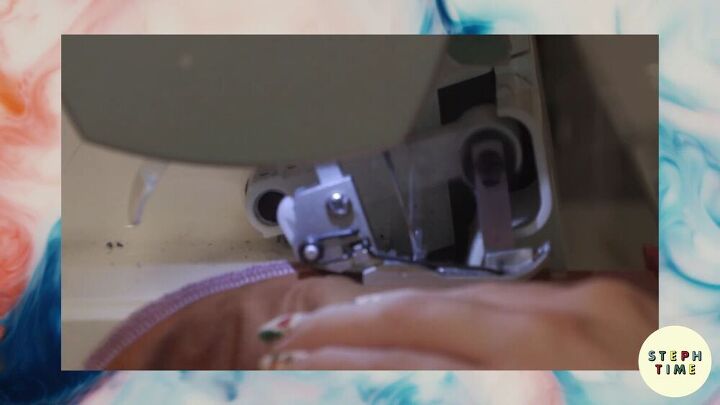
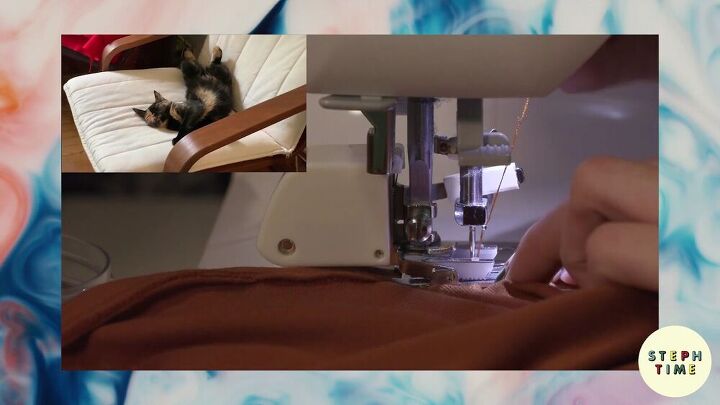
Time to topstitch!
For this part, it's best to use a twin needle and walking foot. If you don't have these tools, you can also finish the seams with a zigzag stitch. Start by pinning your edges by around ½ an inch.
Now, start topstitching! Be sure to backstitch at the start.
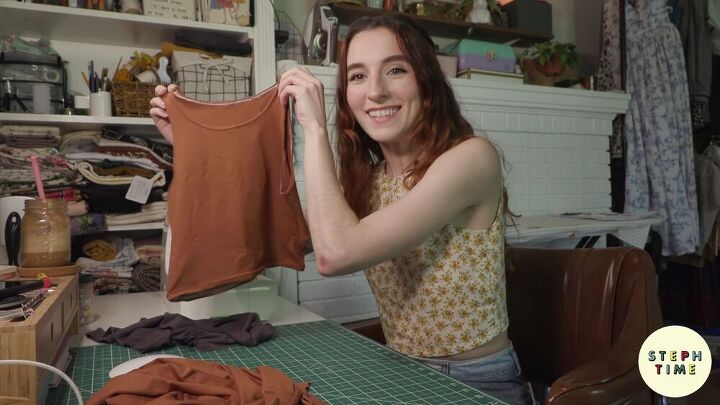

So, here's the final product! It looks a lot like my original, and it fits great, too! Now that you know how to make DIY clothing, what garment do you want to replicate? Remember, anything is possible, and with a few simple DIY clothing hacks, you are on your way to sewing stardom!
The author may collect a small share of sales from the links on this page.


Comments
Join the conversation
Your way of constructing by deconstructing the garment is so munch like what my mother would have done in her day. She is now 93 and can no longer sew but when I see her, she often comments on my clothes and asks me if I had made them. In her early hears, ready to wear clothing was not an accessible thing in Europe of the 40s and 50s. She and her friends would share patterns of each other's clothes so that they could replicate them for themselves. What an ability and craft! Thanks for sharing your skills and gifts.