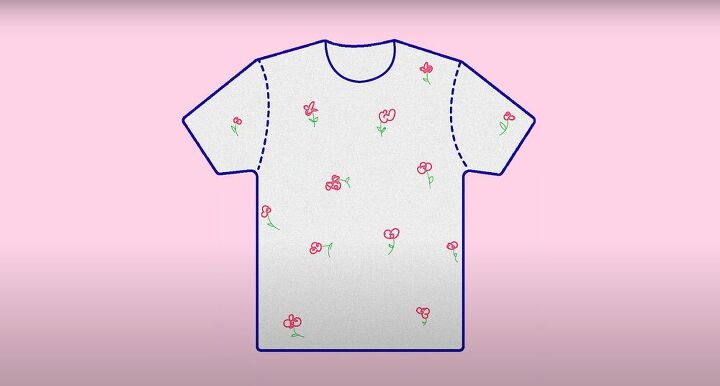
DIY Top Times Two

Recently I found an entire box of clothes that I haven’t seen since grade 11. This means, more than likely, they aren’t great. So naturally, just like every other person on the internet, I made the decision to do a little thrift flip from inspiration I found online. Here’s how to make a DIY top (twice)!
Tools and materials:
- Chalk
- Shirt
- Ruler
- Scissors
- Patterned top
- Plain white t-shirt
- Sewing machine
- Elastic
Cut out the top
Starting off with this top that I used to love, I laid it flat and measured out the length that I wanted - I went for a crop top - traced it out with chalk and a ruler, and cut off the bottom. Once that was done, I grabbed the bottom half and separated the front of the shirt from the back by cutting along the side seams.
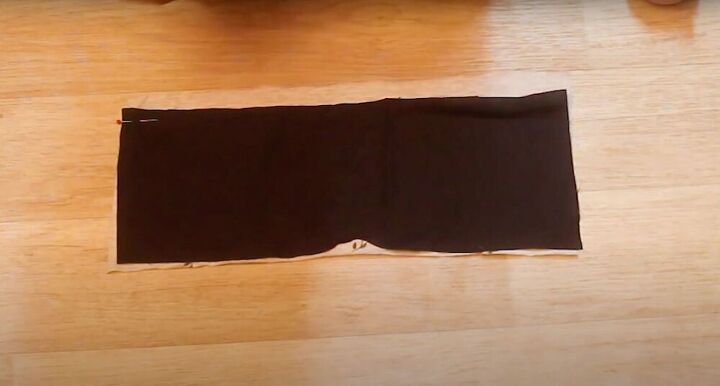
Insert the lining
Cut out a piece of black fabric for the lining of the shirt. To do this, measure it against your bust and cut out the shape of your top. I personally wanted a sweetheart neckline, so this is where I took my chance and traced it out. Next, I lined the lining with the shirt, cut out the shape of the shirt onto my pattern fabric, and pinned the two pieces together, right sides touching. Stitch all around the sides and top.
Build the shirt
Turn the shirt right side out and then pin the bottom piece to the edge, securing it with a zigzag stitch. Next, stitch the back piece to the front piece using a straight stitch, right sides together. Finish off with a zigzag stitch so the fabric doesn’t fray.
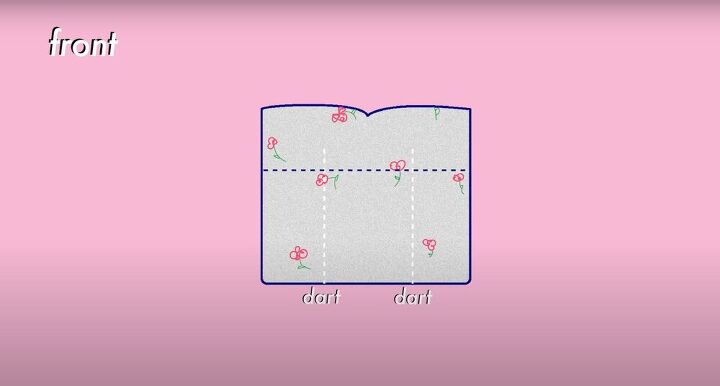
Make the darts
If, like me, your shirt was a little too big, simply add two darts on the back of the shirt to take it in. To do this, simply fold the fabric together, pin it and sew. Repeat this with two more darts on the front.
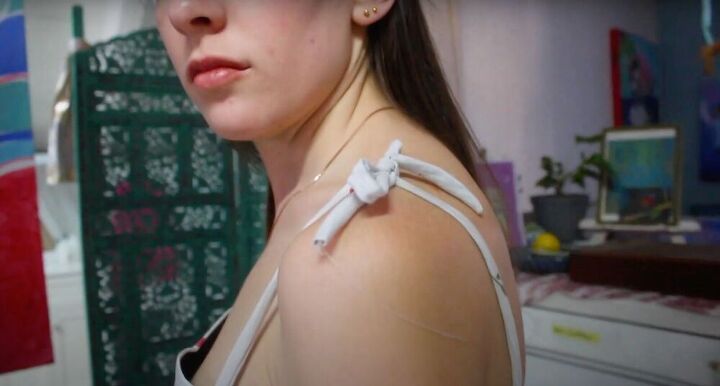
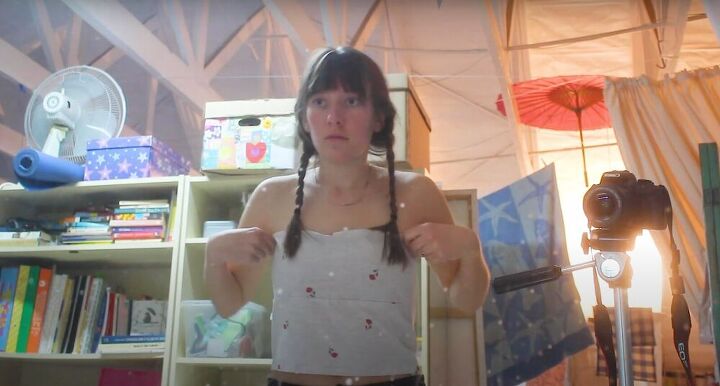
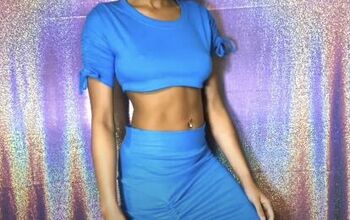
Make your straps
Using the fabric from earlier, cut out two centimeter wide strips and, pin them together, right sides facing, and then do a straight stitch all the way down. These strips will be your spaghetti straps. Once that’s done, turn the straps inside out and attach them to the shirt. I did two straps in the front and two straps in the back, letting me tie little bows on my shoulders.

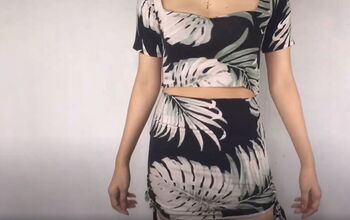
Milkmaid top
After finding a really cute milkmaid-inspired top online, I decided to try and make one of my own. To do this, I started with laying the shirt flat on the floor and cutting off the entire front panel section and the collar in the back. Next, I measured where I wanted the top of the shirt to end, and cut off any excess on the top. I then hemmed the sides of the front panel and the back panel and stitched the front panel back onto the back panel like before.
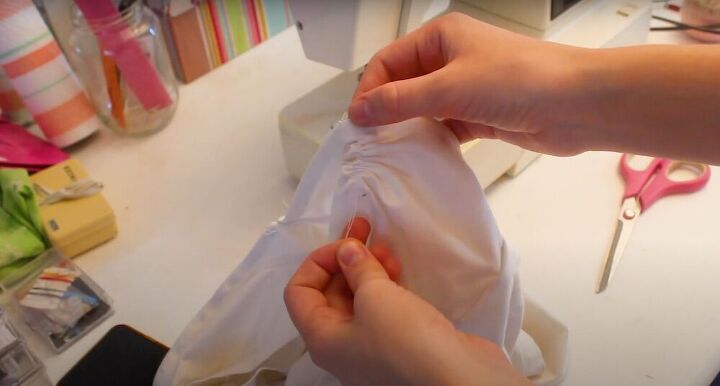
Add elastic
Stitch two straight lines down the front, over the bust. Leave the strings coming out the top and then pull them so they gather and rouche. Next, I sewed some elastic onto the top of the shoulders, pulling it as I sewed so that it would bunch up. And for the arms, I measured the circumference of my arm with elastic, made a loop, secured it, and stitched it to the inside of the shirt while pulling (like before) so that it gathers.
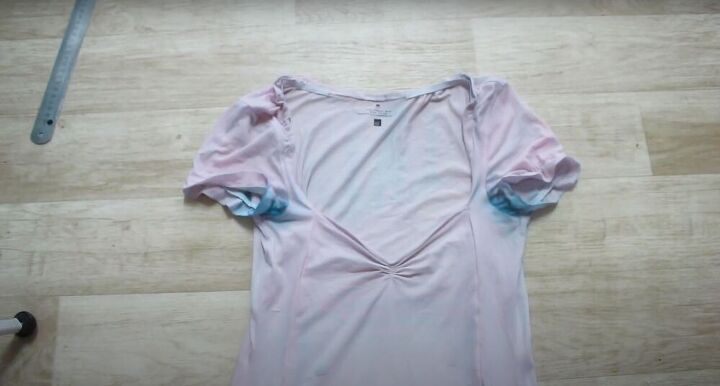
Dye the shirt??
In the last step, I made the mistake of trying to dye it - do not repeat this disaster. Instead of dying it a nice light blue as I wanted, the shirt was splotchy and messy. To fix this, I washed the shirt until the dye came out and left it as was (light pink). Wasn’t what I was going for, but was better than blue armpits.

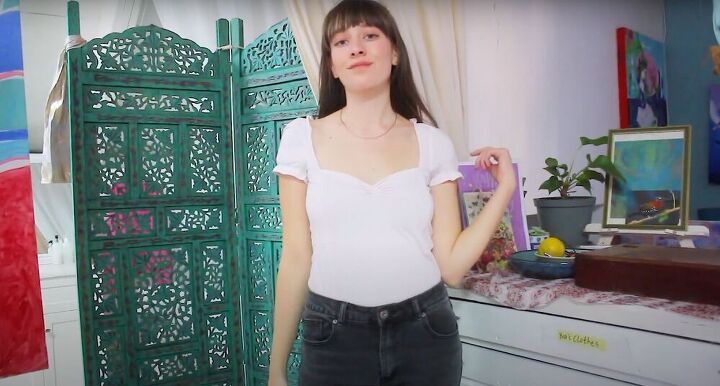
Overall, these projects turned out pretty well. This basic DIY top and the milkmaid top are both things I am going to wear proudly. I may not be the best at sewing, but it turns out I really can hold my own!
The author may collect a small share of sales from the links on this page.


Comments
Join the conversation