This Pretty DIY Wrap & Tie Top is So Flattering & Simple to Make

In this tutorial, I'll show you how to make a DIY wrap top that ties at the front. It's a very flattering silhouette. You can make it any solid color or print fabric you like, and you won’t believe how simple it is to wear!
Tools and materials:
- 120 x 90 centimeters of fabric (47.25 x 35.43 inches)
- Pins
- Scissors
- Thread
- Measuring tape
- Sewing machine
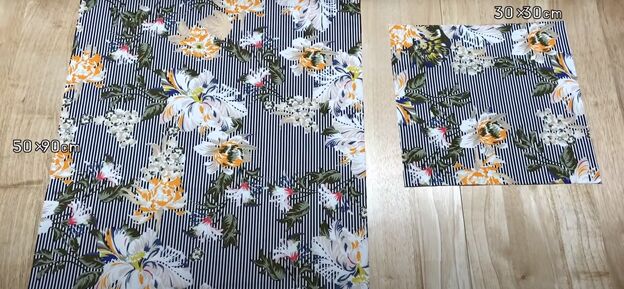
1. Cut the fabric for the ties
Cut one large 50 x 90-centimeter (19.7 x 35.4 inches) piece of fabric for the bodice and one 30-centimeter x 30-centimeter (11.8 x 11.8 inch) piece of fabric for the neckline interfacing.
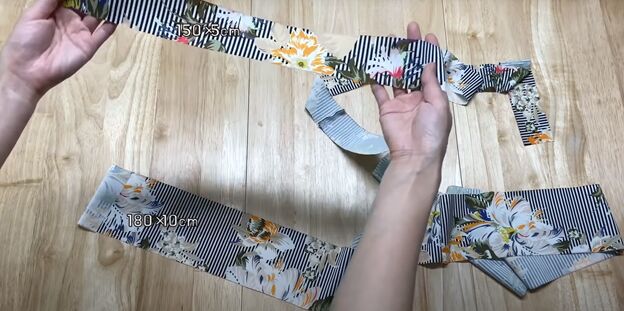
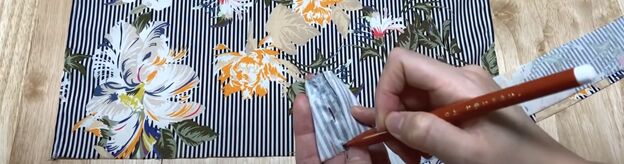
From the leftover fabric, cut and sew together strips to make one 150 x 5 centimeters (59 x 2 inches) strip and another strip that is 180 x 10 centimeters (70.9 x 3.9 inches).
2. Make the bodice
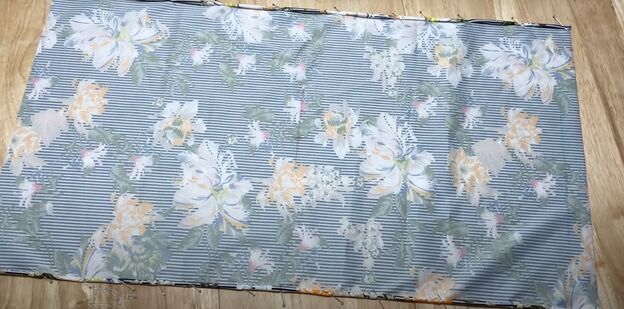
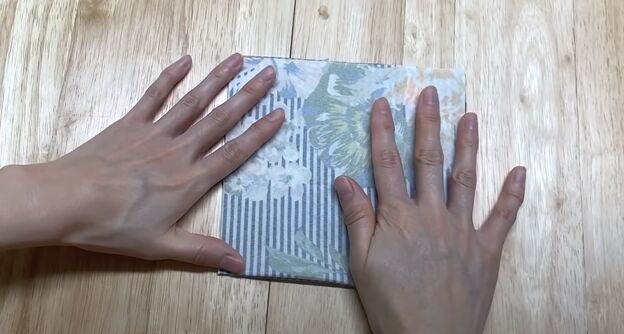
On the largest piece of fabric, double fold, and pin both long edges. Now, sew along the long edges.
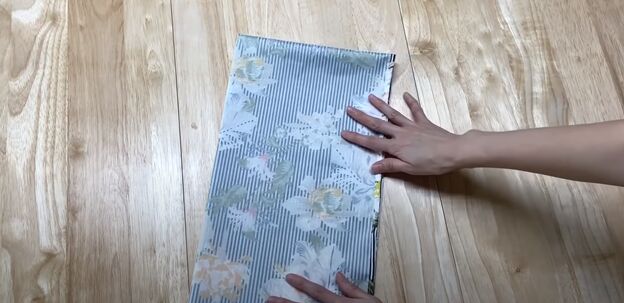
Fold the bodice fabric in half widthwise, with the right side of the fabric facing in. Fold it in half again, the other way.
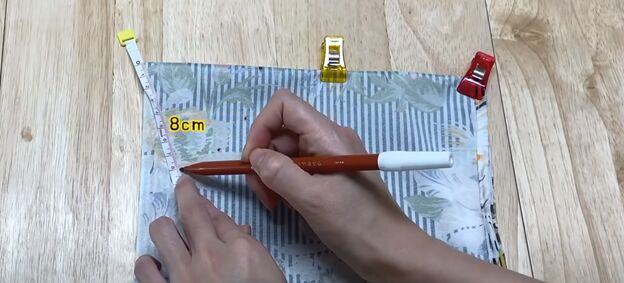
On the corner of the fabric where all sides are folded, mark an 8-centimeter (3.1-inch) quarter circle from the corner.
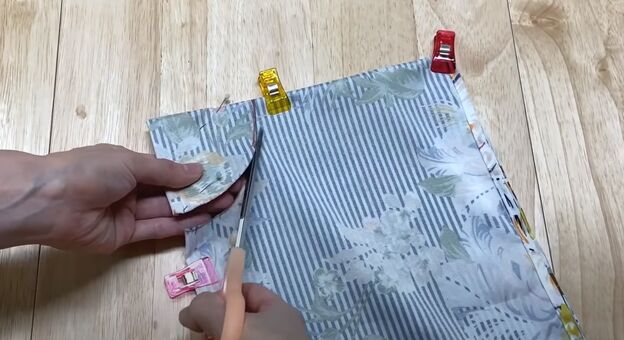
Cut along the quarter circle line.
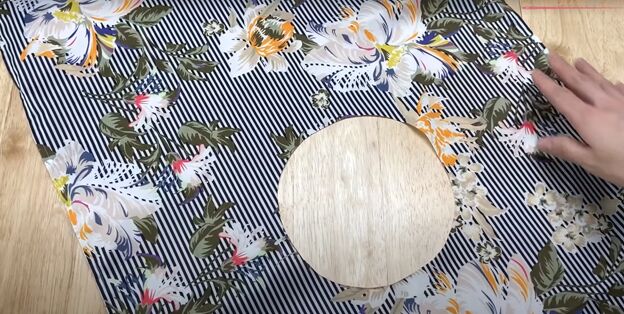
You will now have a completely circular round neck hole when you unfold the fabric.
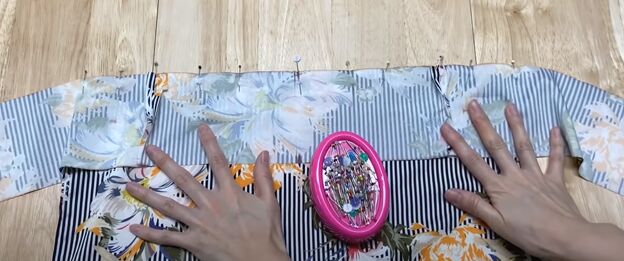
3. Make the neckline facing
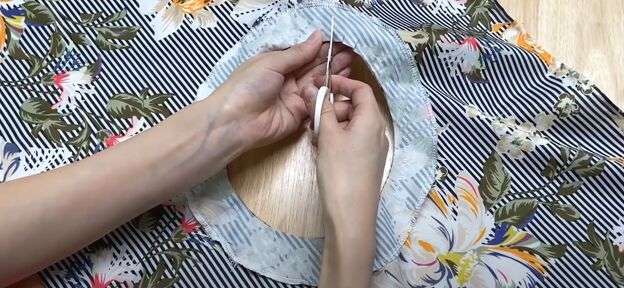
Fold the 30 x 30-centimeter (11.8 x 11.8 inch) piece of fabric in half, with the right side facing in. Then fold it in half again the other way.
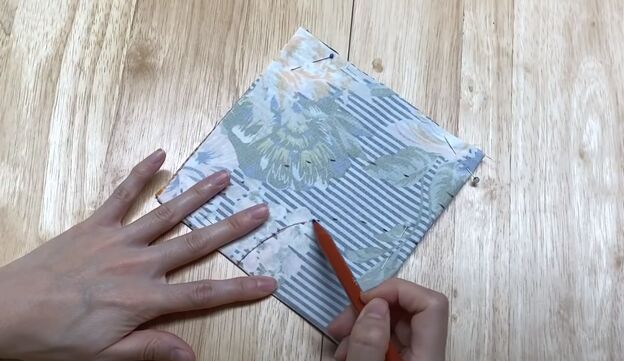
Mark one quarter circle at 8 centimeters (3.1 inches) from the folded corner, and another quarter circle at 12 centimeters (4.7 inches) from the same corner.
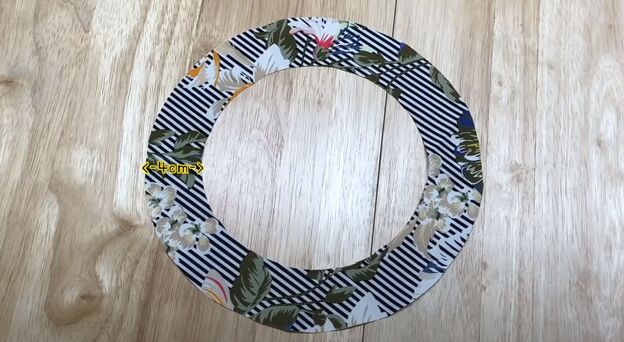
Cut out both quarter circles so that when you open the fabric you have a 12-centimeter (4.7 inch) diameter ring, 4 centimeters (1.6 inches) wide, with an 8-centimeter (3.1 inch) hole.
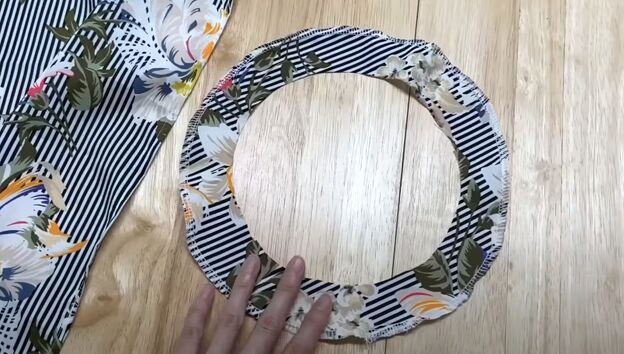
Zigzag stitch along the outer edge of the right side of the ring.
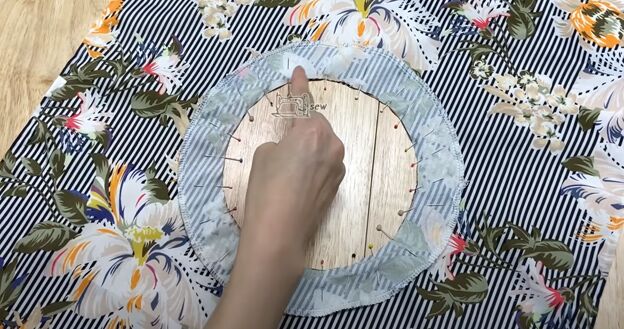
Pin the ring to the neck hole on the large piece of fabric, with right sides facing in. Straight stitch the donut piece onto the large piece at about 0.75 centimeters (0.3 inches) from the inner edge.
Cut some notches into the neck hole between the edge of the fabric and the inner seam so that the neckline will lie flat when you wear your crop top.
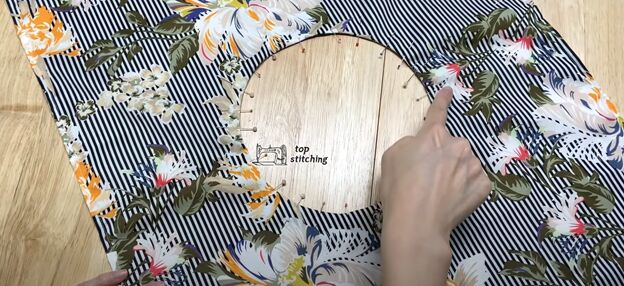
Fold and pin the ring of fabric to the inside of the neck and top stitch around the neckline.
4. Make the front and back ties
Fold the 150 x 5-centimeter (59 x 2 inch) strip of fabric in half widthwise and mark the center point of the strip.
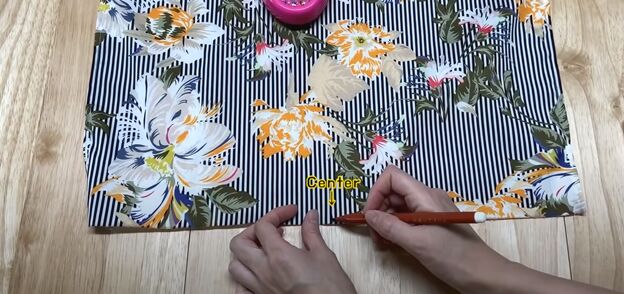
Open the largest piece of fabric and mark the center point along one short edge.

Pin the strip to the large piece, right sides facing in, starting from the center point, and sew it in place on the bodice piece.
Mark the center point of the 180 x 10-centimeter (70.9 x 3.9 inch) strip and pin it, right sides facing in, to the other short edge of the bodice piece, starting from the center points. Sew it in place on the bodice piece.
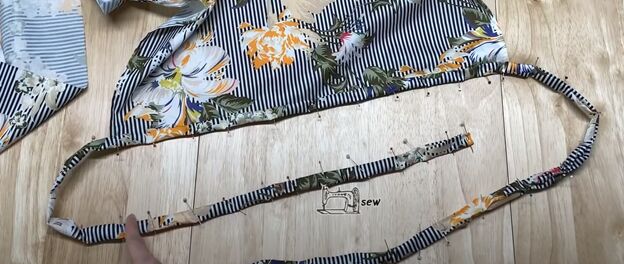
On the 150 x 5-centimeter (59 x 2 inch) strip, fold both long edges to the center, lengthwise, and then fold in half and pin in place. Sew along the folded edge and sew the ends closed. This will be the back tie.
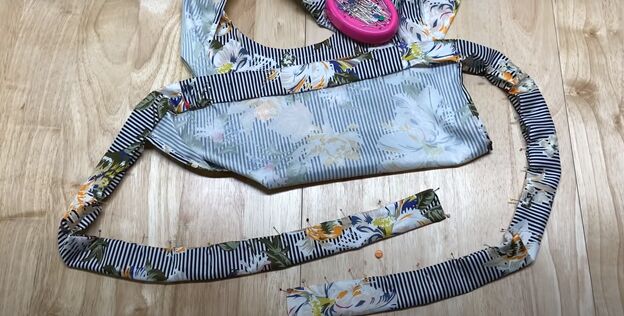
On the 180 x 10-centimeter (70.9 x 3.9 inch) piece, fold each long edge in 0.75 centimeters (.29 inches) and then fold and pin in half. Sew along the folded edge and sew the ends closed This will be the front wrap tie.
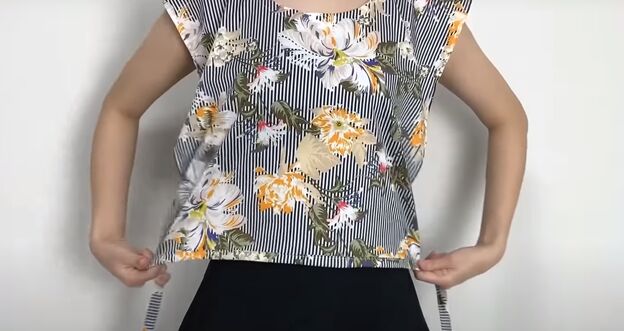
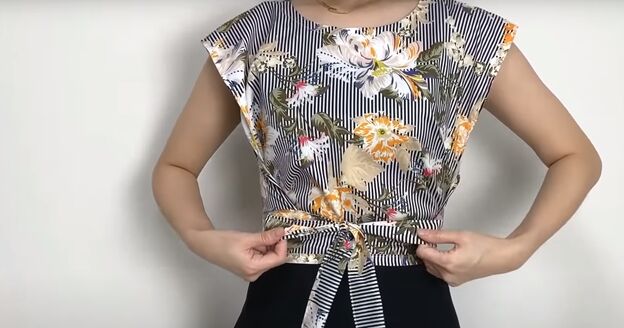
How to wear the DIY wrap and tie top
Put the top on over your head, with the thinner ties in the front and the wider ties at the back. Wrap the thin ties to the back and tie the top closed.
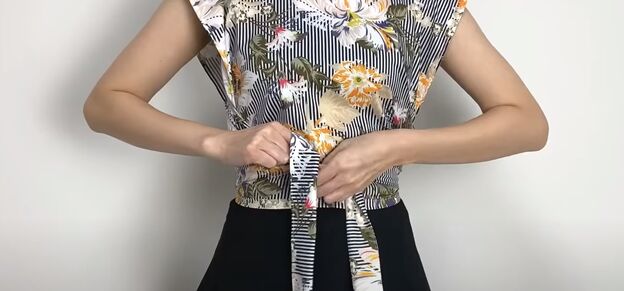
Then wrap the wider tie to the front and make a large bow.
DIY wrap and tie top tutorial
This wrap and tie top is so gorgeous, you will want to make several of them! Leave a comment to let me know how yours turned out.
The author may collect a small share of sales from the links on this page.


Comments
Join the conversation
Absolutely love it. Very simple.
This reminds me of the donut tops we used to make when I was in junior high (1970). The outline was round, so the "sleeves" were longer and floppier. We also made it reversible by sewing the wrong side of two fabrics together and likely pulling it through the neck hole,