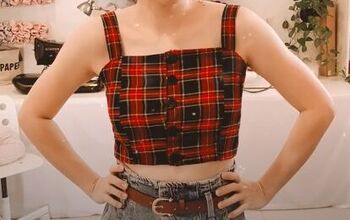
How to Sew a Cute and Easy Crop Top

If you’ve ever wanted to know how to sew a crop top with a lining, this tutorial is for you!
My Stacy crop top sewing pattern comes in sizes 0 - 26. It has some interesting design details, such as diagonal darts and a separating zipper.
I’m going to show you step by step exactly how to sew it, however much of a beginner you are.
Tools and materials:
- Crop top sewing pattern
- 0.75 - 1.25 yards outer fabric
- 0.75 - 1.25 yards lining fabric
- 0.5 yard fusible interfacing
- Paper for pattern
- Separating zipper
- Pins
- Fabric marker
- Scissors
- Zipper foot
- Sewing machine
- Hand sewing needle and thread
1. Cut out the fabric
Download and print out the four pattern pieces.
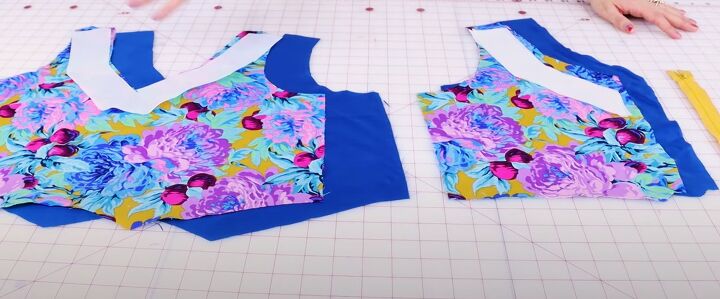
Cut one front and two back pieces from both the outer and lining fabrics. Cut one front and two back neck facings from the interfacing.
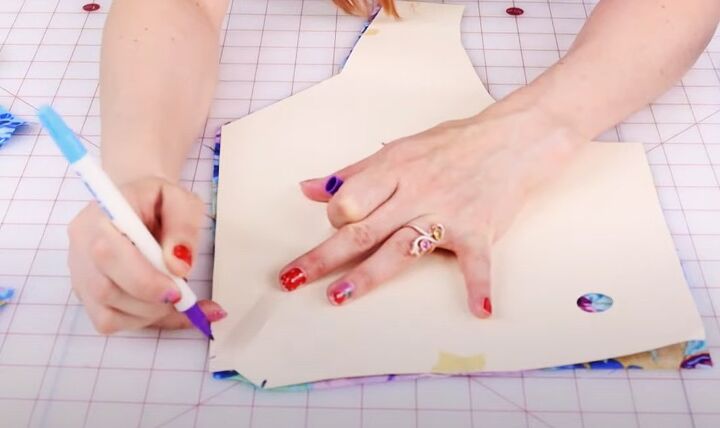
Transfer the markings for the darts and the notches to the wrong side of your outer and lining pieces.
Measure the center back seam so you know what size zipper to buy. Mine is 10 inches long.
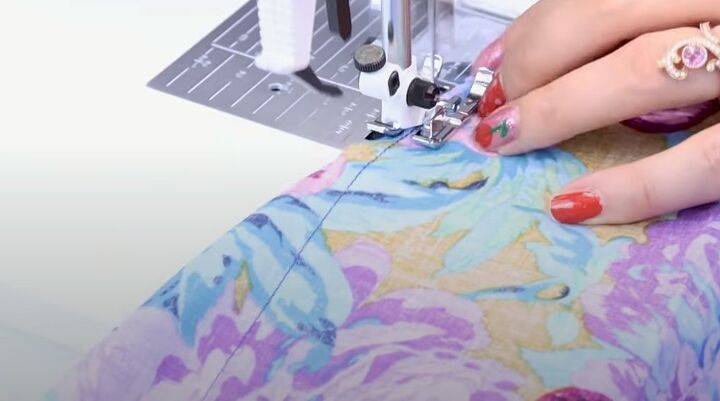
2. Sew the darts
Use the markings to pin and sew the darts on all the main pieces. There are eight darts in all.
After sewing, press each dart outwards towards the side seam.
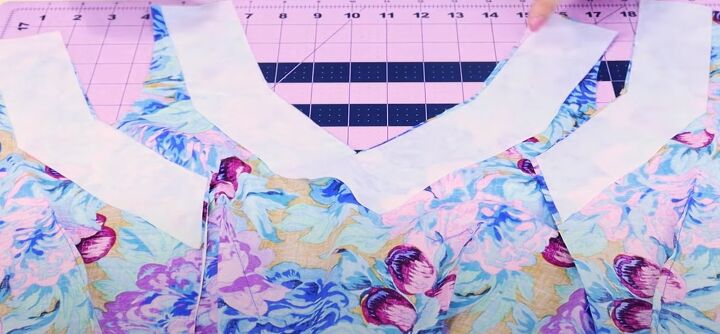
3. Neck facings
Iron the fusible interfacing on to the wrong side of the outer fabric only.

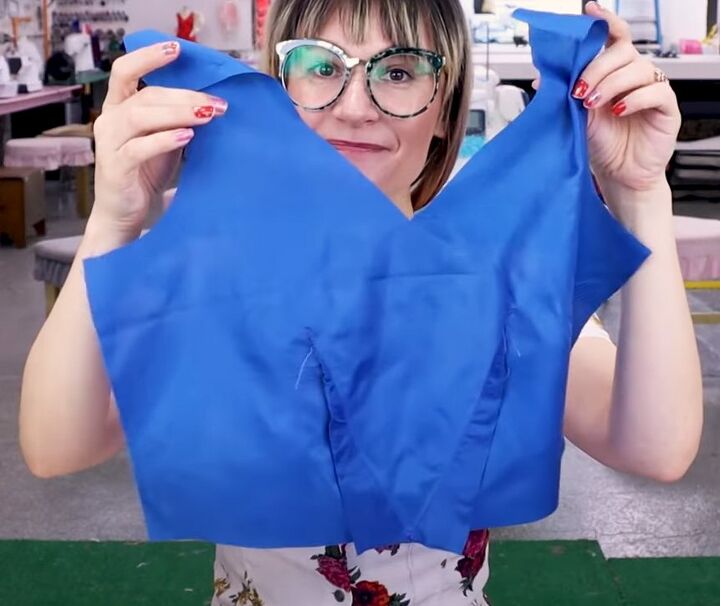
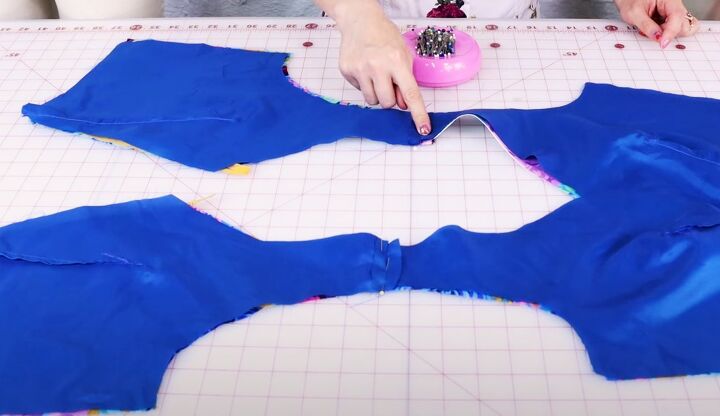
4. Join the shoulder seams
Pin and sew the shoulder seams of the main fabric and the lining separately, with the right sides together.
Take a half inch seam allowance.
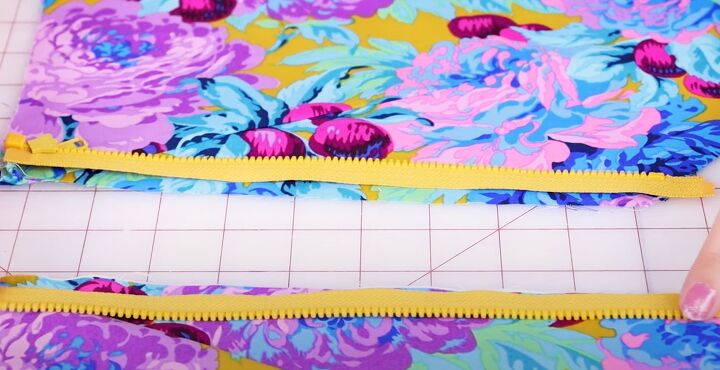
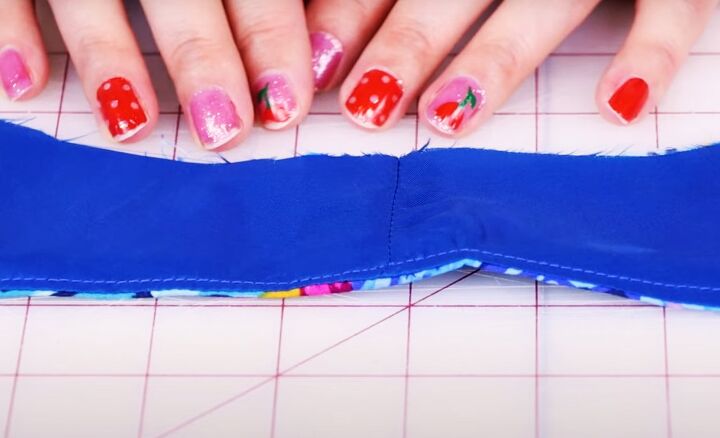
5. Insert the zipper
Separate the two parts of the zipper.
Place it right side down on to the right side of the main fabric at the center back.

The bottom edge of the tape should be half an inch from the lower edge of the back.
Make sure the tape is lined up with the raw seam edge and that the teeth are facing inwards towards the darts.
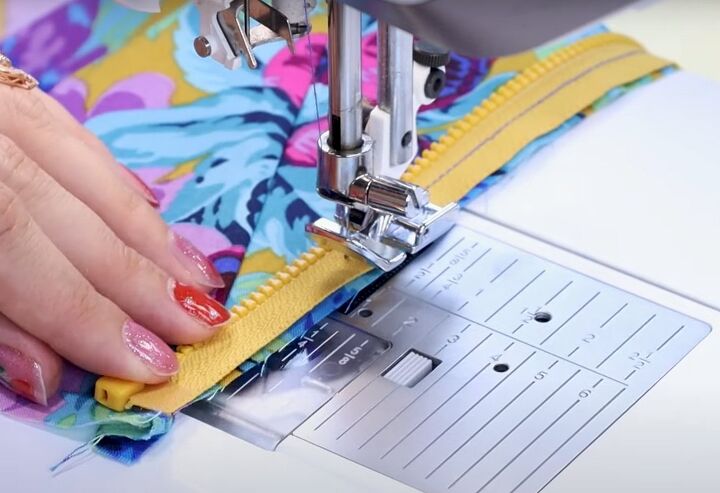
Use your zipper foot to sew the zipper to the center back seam, stitching down the center of the tape.
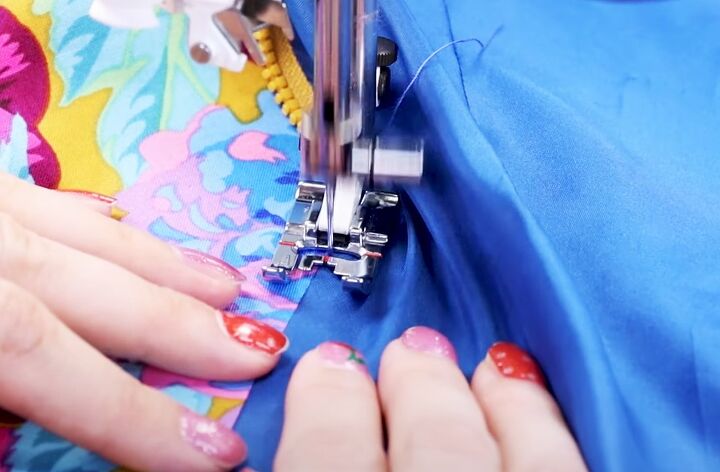
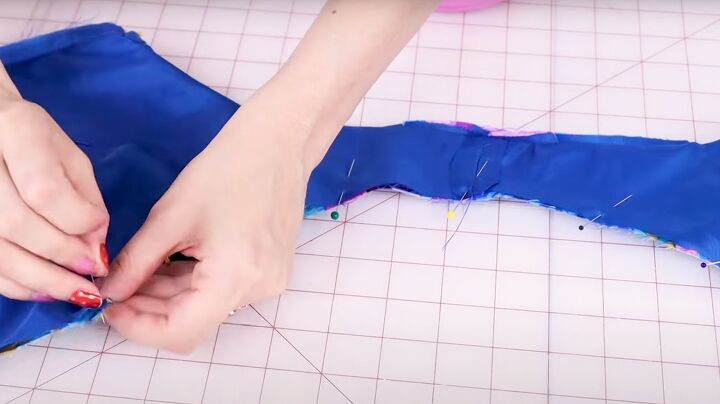
6. Attach the lining
Place the lining pieces on top of the main fabric, with the right sides together.
Match the shoulder seams carefully and pin them together.
Pin the lining and outer together at the center back edges and around the neckline.
Sew them together, taking a quarter inch seam allowance and switching to your zipper foot at the center back edges.
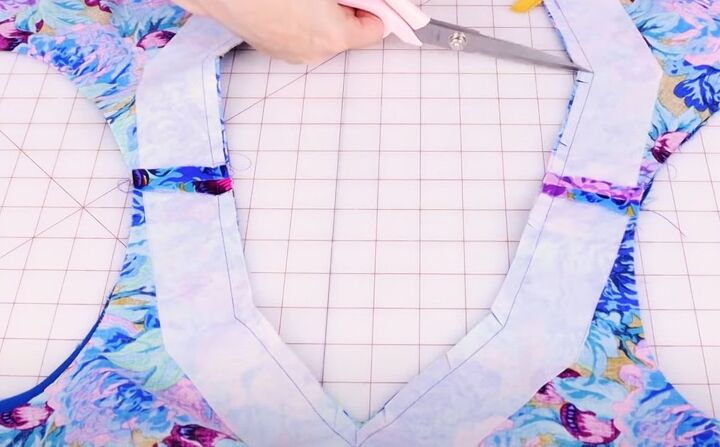
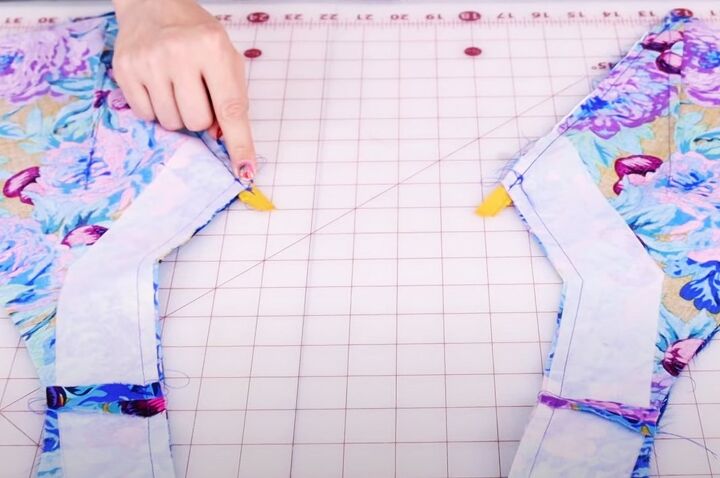
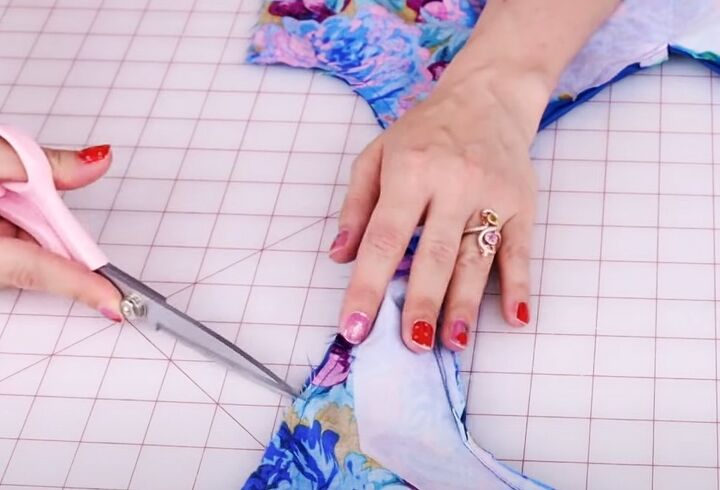
7. Understitch the facing
Snip into the neckline seam all the way around. Cut off the excess zipper tape at the top.
Turn your top right side up and press the seam allowance towards the lining.
Edge stitch on the lining around the neckline as closely as you can to the seam. Make sure you’re sewing the seam allowance to the lining.
Start and finish your stitching about 1 inch away from the ends of the zipper.
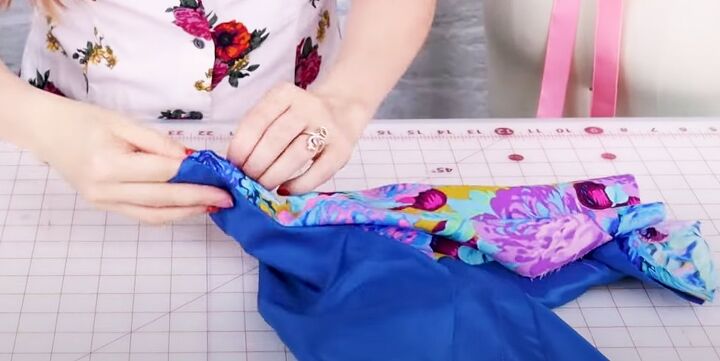
8. Complete the lining
Pin the shoulder seams together with the right sides facing.
Pin the main fabric and lining together around both armholes and sew, taking a quarter inch seam allowance.
Clip each armhole curve as you did for the neckline.
Turn the fabric so the right side is uppermost and pull the back of the bodice through the front at each shoulder seam, so the garment is right side out.
Press the armhole seams.
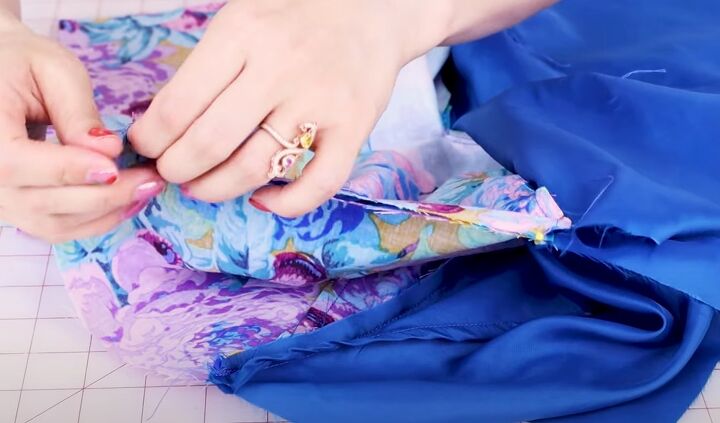
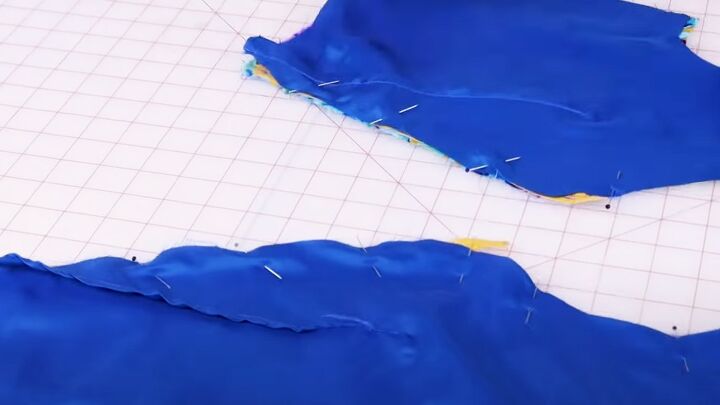
Pin the front and back side seams of the main fabric with the right sides together and do the same for the lining seams.
Make sure the underarm seams are perfectly aligned.

Sew the seams, taking a quarter inch seam allowance and leaving a two inch opening on one of the lining seams.
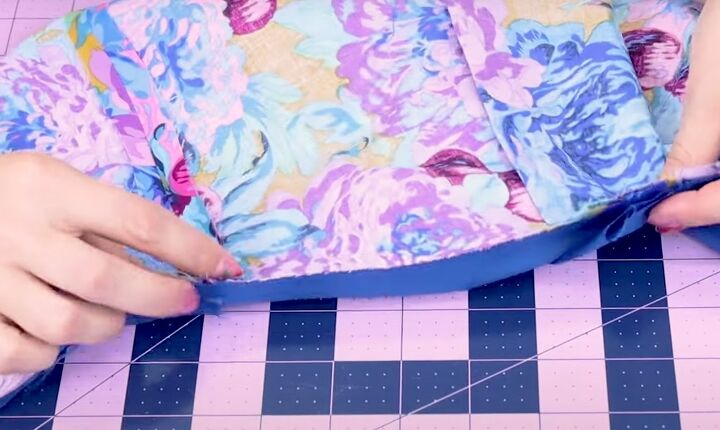
9. Bottom hem
Flip the top inside out and pin the bottom edges of the fabric and lining together with the right sides facing.
Be careful to line up the bottom of the darts and the sides seams.
Sew the bottom seam taking a half inch seam allowance.
Turn your top right side out through the opening in the lining. Press the seam and slip stitch the opening closed.

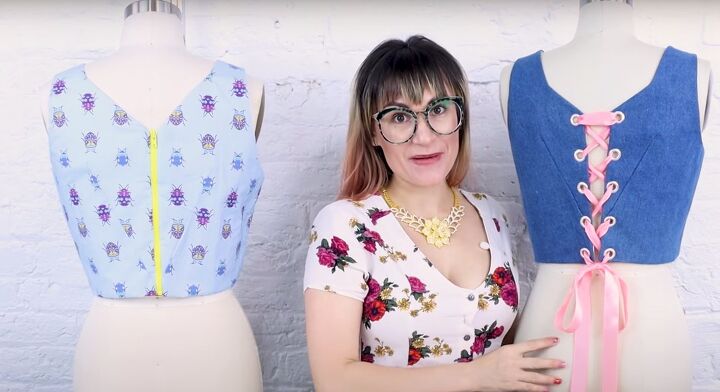
How to sew a crop top: DIY crop top
If you don’t like the separating zipper at the back, you can replace it with grommets and a ribbon or cord tie.
You could also use the main fabric as the lining as well, if you don’t want a contrast lining. There are many ways to make this DIY crop top unique to you.
I’d love to know in the comments what you think of it.
The author may collect a small share of sales from the links on this page.


Comments
Join the conversation