Sew Along Top and Pattern Review

In this tutorial, I sew the Sagebrush top from Friday Pattern Company. This pattern has been in my ‘to sew’ pile for a while now so I am really happy I finally got around to it. Join me as I put together this really cute top! I will also be giving a short pattern review at the end of the tutorial.
Tools and materials:
- Ruler
- Marker
- Fabric
- Scissors
- Pins
- Safety pin
- Elastic
- Sewing machine
- Serger
The ruffles
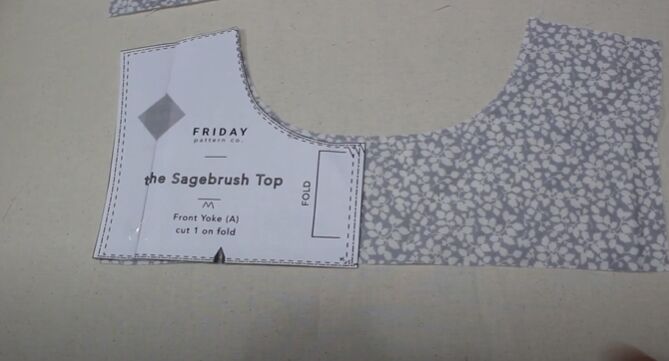
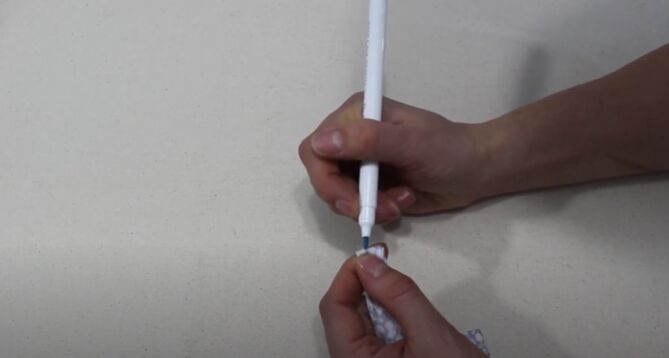
To start off I took the front yoke and staystitched the top neck edges.
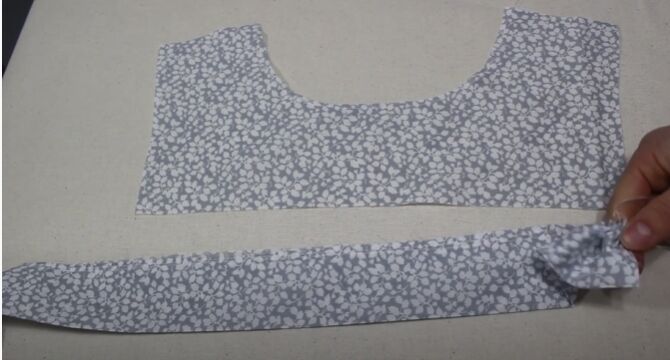
Next, I pressed the gathering piece in half and sewed two rows of stitches. I pulled on the threads to gather the pieces.
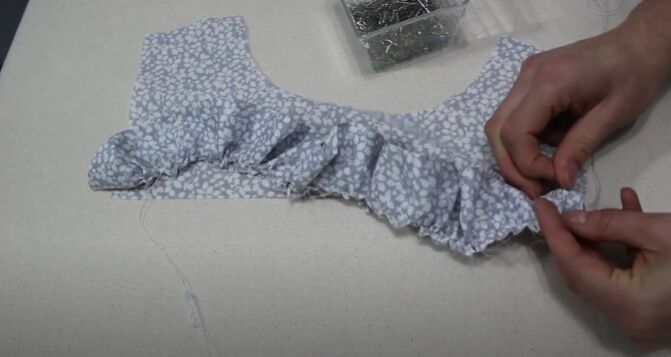
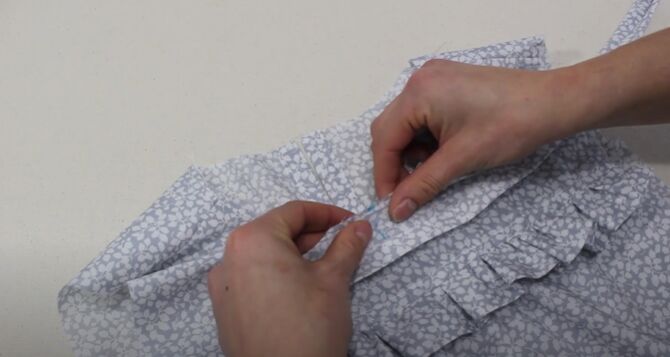
I distributed the gathers evenly making sure the pieces matched the length of the front yoke. I then pinned on the gathered piece. A great trick is to pin vertically because it helps distribute the gatherers evenly.
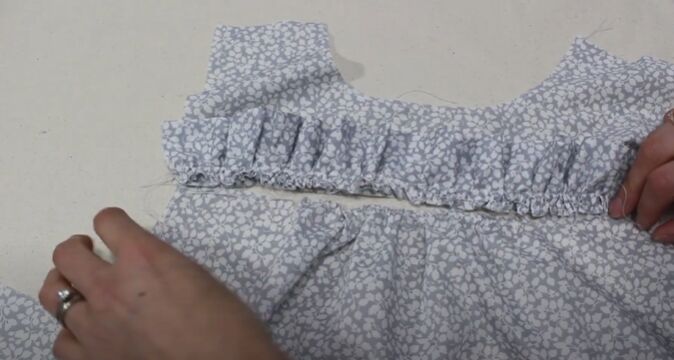
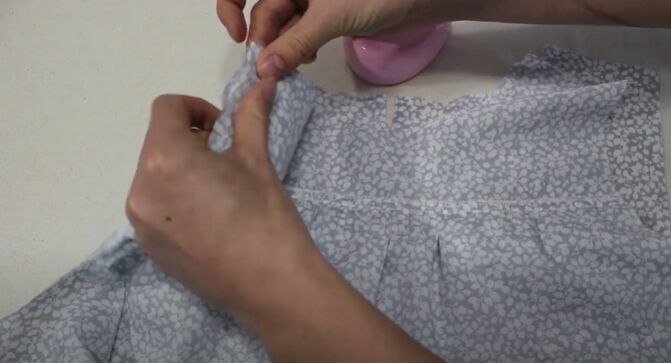
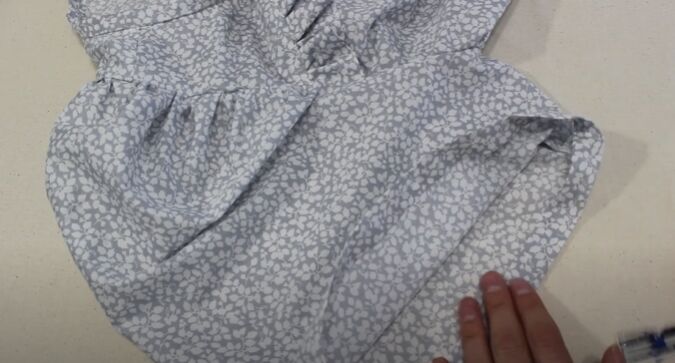
Next, there are some notches on the lower bodice front. I added some stitches and gathered to make the piece nice and ruched before sewing it to the yoke piece. This adds some really nice volume to the blouse. After stitching, I serged to finish the edges.

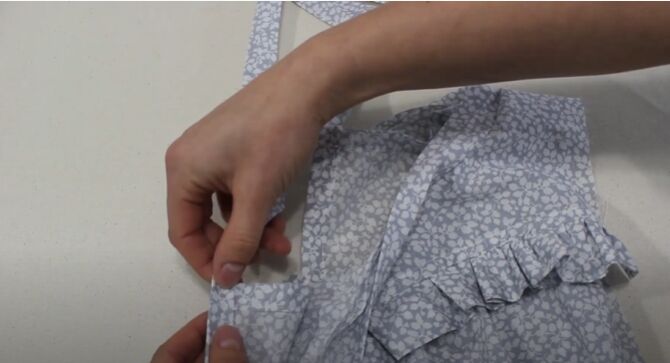
I pressed so that the seam allowance went up and the ruffles went down and then I topstitched that in place.
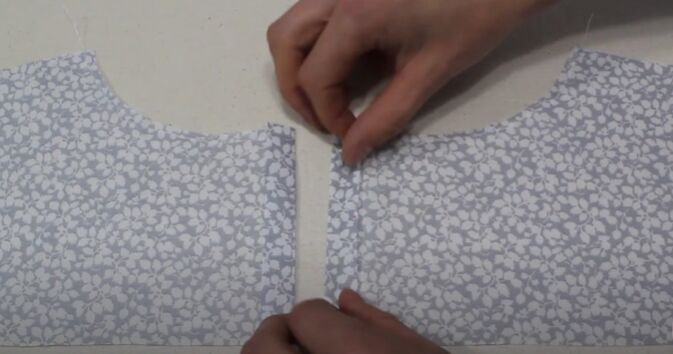
The back yoke
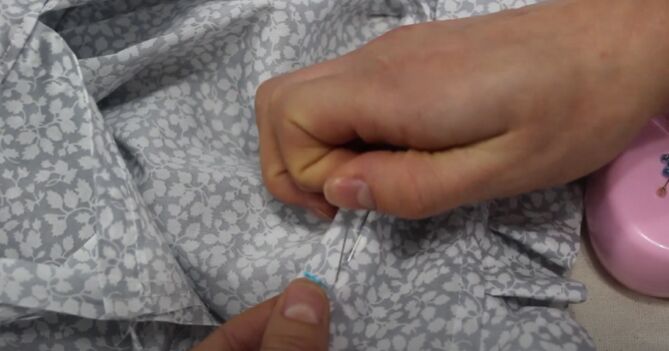
I folded the edges of the back yoke twice on the wrong side to help create the placket.
Next, I pinned the back yoke pieces to the lower back piece using the notches as a guide. I then stitched all the way across. I pressed the seam allowances down, serged the edges, and then topstitched.
The shoulder and side seams
Next, I placed the front and back pieces, right sides together, matched up the shoulder seams, and pinned them together. I stitched that on the machine and took the liberty of serging as well. I then did the exact same for the side seams of the top.
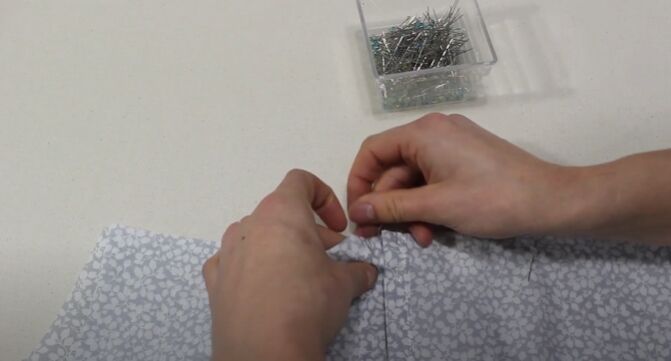
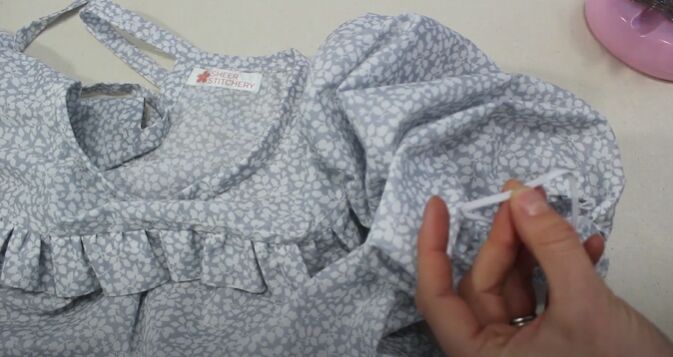
The neck binding and back ties
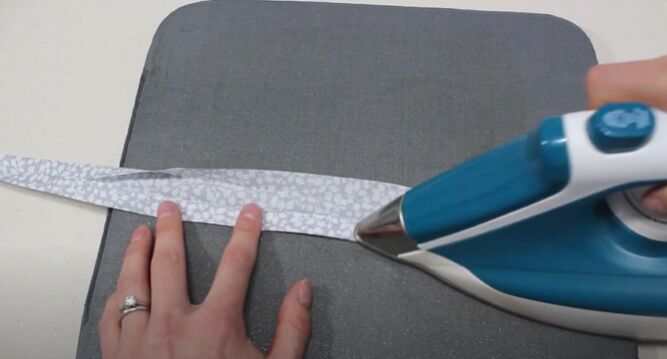
Starting with the binding piece, I folded the strip in half. I then folded the raw edges toward that centerfold. Next, I folded the binding in half again. I made sure to press every fold I made.
Once my bias binding was ready, I marked the center point.
I marked the front of the neckline and matched up the two markings. I folded the binding out and matched up the raw edge of the binding with the neckline, pinning as I went.
I stitched the raw edges and then folded the binding over.
When pinning it in place, I find it better to place the pins in the direction that you’re going to be stitching. For the ends, I clipped the corners of the ends to reduce the bulk.

When I finished stitching the neckline, I backstitched slightly because to stitch the tie, I would need to stitch in slightly.

The sleeves
The top of the sleeve has three notches. I started by sewing gathering stitches and then I left them to move to the side seams. I pinned the side seams, stitched them together, and serged.
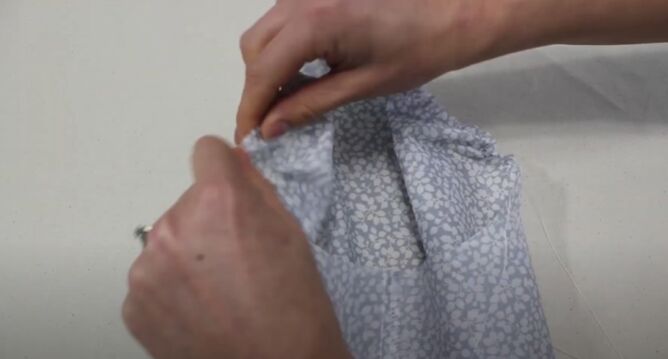
Next, I pulled those gathers.
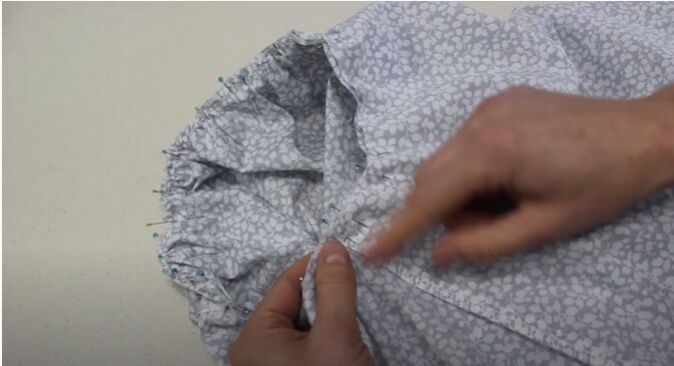
I placed the sleeve inside the armhole and matched up the seams and the notches and then pinned and sewed all the way around the armhole.
I folded the sleeve by about half an inch and then another half inch which creates the casing for our elastic. I marked a gap 3 inches long and then stitched leaving that 3-inch gap open.

I used the safety pin to insert the elastic into the casing.
Once the elastic was all the way through, I overlapped the ends and sewed them. I also sewed closed the gap
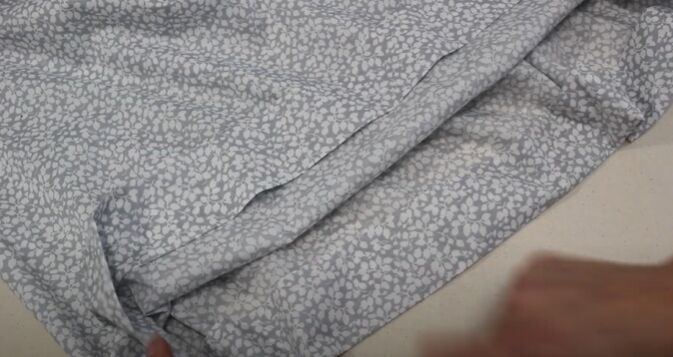
The hem
For this top, I sewed a nice, generous hem, creating a double fold of 4 inches.
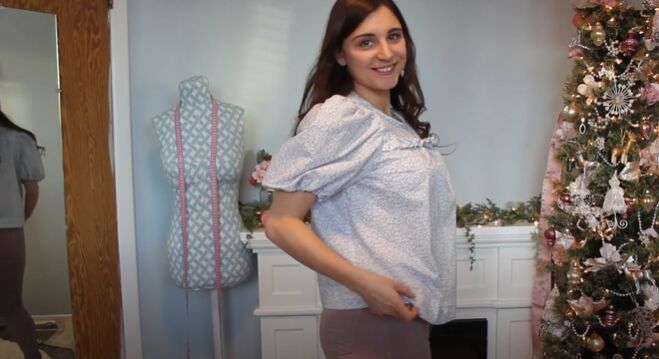
To see what I had to say about this pattern and the top in general after sewing it, go to 10:00 in the video. This top was a breeze to make and is super comfy! Let me know how you would style this puff sleeve blouse!
The author may collect a small share of sales from the links on this page.


Comments
Join the conversation
Really love this fabric