Ridiculously Easy No-Sew Spaghetti Strap Top

Today I will not be showing you how to sew a spaghetti strap top, because this tutorial is totally no-sew and no-glue! And it will only take you ten minutes to complete. I used Lycra fabric for this project because it is self-finished which means that it won’t fray, even if I don’t hem the raw edges. Let’s get started!
Tools and materials:
- One yard of lycra fabric
- Fabric chalk or pen
- Measuring tape
- Scissors
Measure and mark
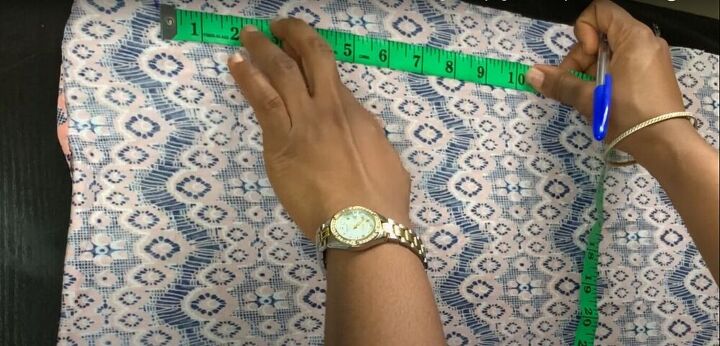
On the wrong side of the fabric, measure two inches from the side edge, and mark it. From that mark, measure five more inches, and mark it. Draw a line between the two-inch mark and the five-inch mark. Then, measure one inch down from one end of the line, and mark it. Finally, connect all your marks, so you have created a 5” x 1” rectangle.
Mark the center of the fabric
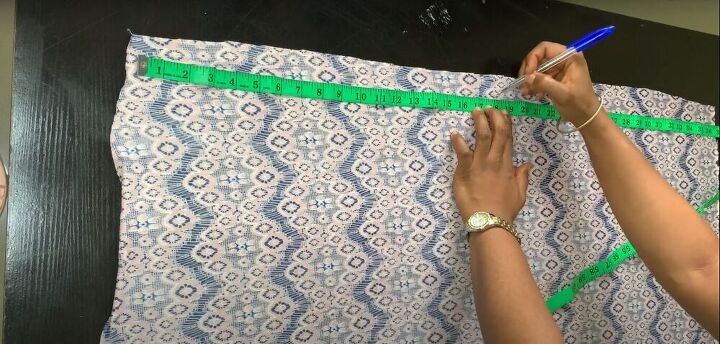
Measure the width of the entire piece of fabric, and make a mark in the center.
Make another rectangle
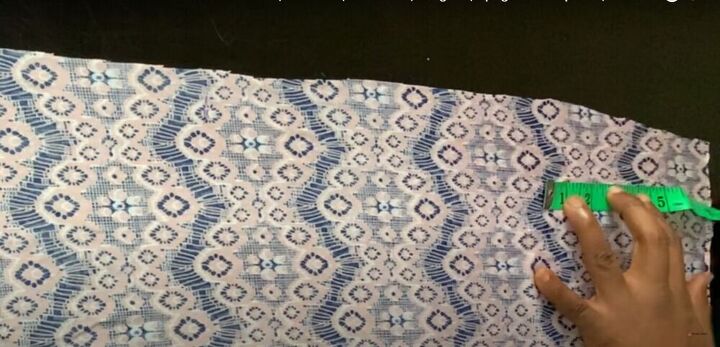
Measure two inches from the opposite edge of the fabric, and repeat the process to create another 5” x 1” rectangle.
Make a rectangle in the center
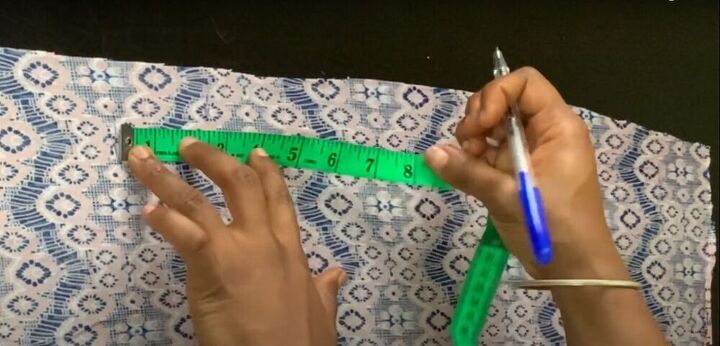
Using the mark you created in the center of the fabric as a guide, make a third 5” x 1” rectangle. To make sure the rectangle is centered, align the 2 ½” mark on your measuring tape with the mark you made in the center.
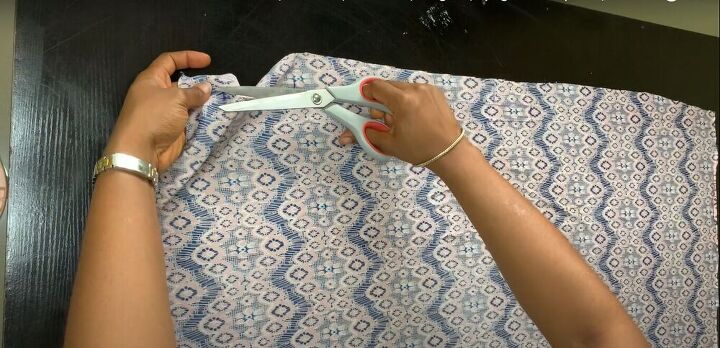
Cut a small hole in the center of the first rectangle
Make a small snip within the marked rectangle area. This will allow you to cut out the rectangle without cutting the edges of the fabric.
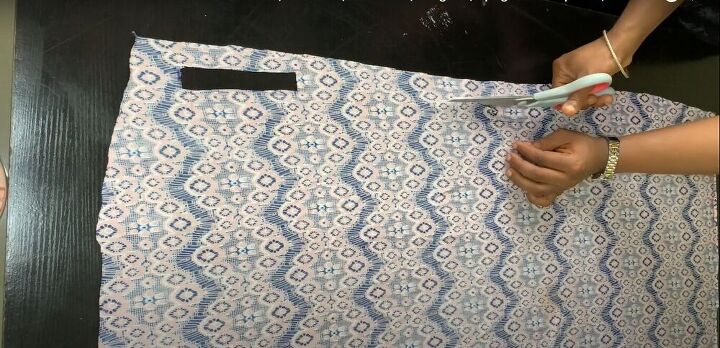
Cut out the rectangles
Insert your scissors into the small snip, and cut away the rectangle you marked. Repeat the process for the other two rectangles.
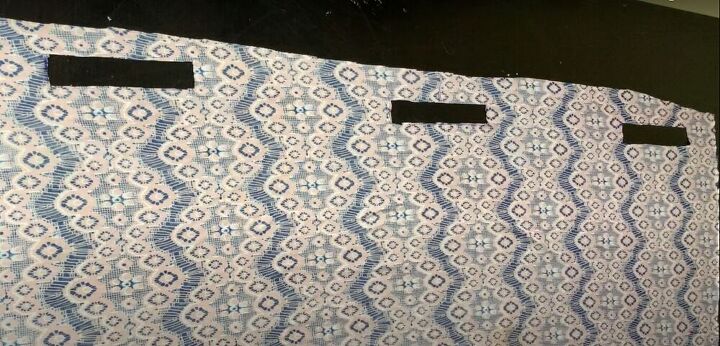
When you’re done, you will be left with a piece of fabric with three evenly-spaced rectangular holes across the top edge.

Put it on
To wear your top, hold the fabric so the wrong side is facing you, and insert one arm into one of the holes in the top corner of the fabric, and one of your arms into the center hole.

Pull the excess fabric around your back until the side edges of the fabric overlap.
Finally, insert your arm into the third hole in the fabric.

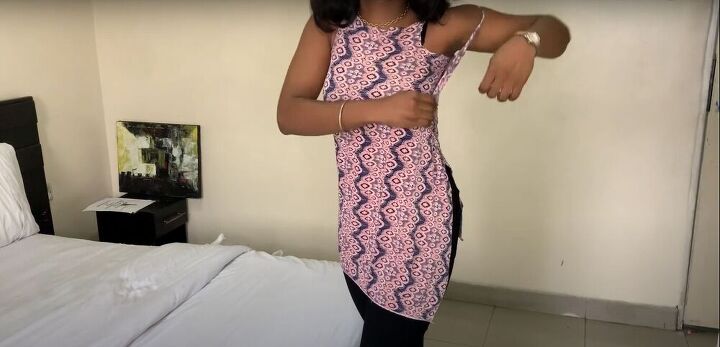
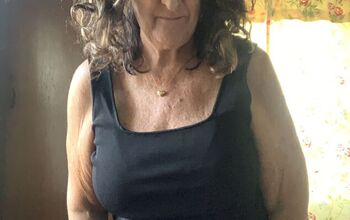
Your tank top is complete!

You can wear it as is, or style it with a belt.

I love how this top came out. The asymmetric look along with the wrap style makes it so unique.
Let me know if you liked this project, and if you want me to do more no-sew projects in the future.
The author may collect a small share of sales from the links on this page.


Comments
Join the conversation
That's so cute! You made a really nice shirt. The way you done it was really cool. That would be nice thing for others to do. You are really great for others to do also.
Very Nice! Thank You for the tutorial!