Do It Yourself: How to Make Your Own Wrap Top

If you’re looking for that perfect shirt to complete your business casual look, then this is the wrap top for you! It’s trendy, it’s unique, and it’s the perfect blend of functional and fashionable. Business attire can still be your own!
Tools and materials:
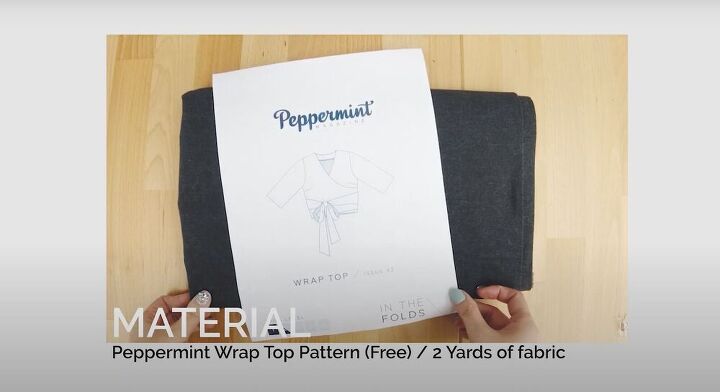
- Free peppermint wrap top pattern
- Pigment bio washing linen ash charcoal
- Sewing clips
- Sewing pins
- Sewing machine
Cut your fabric
As expected, the first step is to print out the pattern and cut your fabric. You should have one back on fold, one pair of front, two sleeves, one back neck facing, and two waist ties.
Staystitch to secure
We’ve got to keep those seams from stretching and distorting so staystitch all those curved edges. This means neck edges and armholes! (Stay inside the seam allowance of an ⅛ inch to 2/8 inch).
Sew darts and add shape
Of course, we want a little flair, so get ready to sew some darts! Fold by matching your marks and pin the fabric right sides together. Sew from the edge in and leave the tails of your thread (this means no backstitching). Grab those tails and tie them together twice. Now press those darts facing down - towards the bottom.
Attach Waist Tie
Using a French seam, sew the tie to the front, wrong sides together. Then sew the seam to enclose it. Press the French seam to one side and sew it down.
Complete the neck
Double-fold the front neck edges the wrong side together. Press down! Then edgestitch the folded edges.
Sew those shoulder seams
Align your front and back and sew them together at the shoulders, wrong sides together. Don’t forget to match the armholes! Next, trim down the seams, flip the shirt right side out and enclose the seams with a French seam right sides together.
Attach back neck facing
Serge the bottom edge of the back neck facing to prepare. Pin the facing around the neck and shoulder seams (that haven’t already been enclosed). Once you’ve pinned it securely, flip the shirt over and sew along the shoulder stitch line. Then, when you hit the French seam, pivot and begin stitching along the neckline (remember to return to the shoulder line for the second side!).
Trim and clip
Trim along the raw edges again and then clip the curved ones. After that, flip the shirt over and understitch the seam to the facing.
Sew those side seams
Serge, pin and sew one side, right side together - remember to leave an opening for the waist tie! Next, press down the seams and edgestitch on each side of it. Then, enclose the other seam by using a French seam, wrong sides together (no opening needed this time). Trim down the seam and sew it closed.
Attach those sleeves
Start by trimming off a ¼ inch off the under seams and armholes. Then pin and sew the under seams right sides together. Don’t forget to serge! After that baste along the sleeve cap (without the backstitch) and use the tails of your thread to make a curve. Pin the sleeves into the armholes right side together. Now use the baste stitch to help you match and fit the sleeves into the hole. Sew the armholes with a ¾ inch seam allowance. And serge!
Don’t forget to hem!
Serge the sleeve hems. Now, fold one inch - wrong sides together - and sew next to the serged edge. Finally, let’s hem the bottom with a double-fold, press, and edgestitch!
Despite my initial fear that this would be difficult and cumbersome, I love this top! I hope the tutorial helped you learn how to make a wrap top so that you can enjoy it as much as I do.
Enjoyed the project?
Suggested materials:
- Pattern (https://peppermintmag.com/)
- Fabric
- Sewing clips
- Sewing pins
- Sewing machine
The author may collect a small share of sales from the links on this page.


Comments
Join the conversation