Quick and Easy Yellow Flower Nails Tutorial for Spring and Summer

Follow along to create the cutest yellow flower nails with me.
This manicure is easy to do at home and the perfect touch for summer.
Let's get into the tutorial.
Tools and materials:
- Protective manicure gloves
- Yellow and taupe gel nail polish
- Nail lamp
- Floral nail stickers
- Tweezers
- Bent nose tweezers
- Nail foil flakes
- Gel top coat
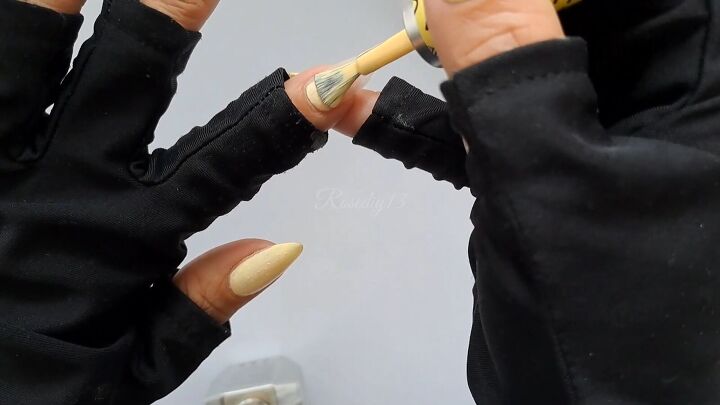
1. Apply gel polish
Wear protective manicure gloves if you’d like. Then apply a gel nail polish in a pale yellow color for the summer vibes.
I’m also applying a taupe gel polish to some of the nails.
2. Cure
Cure the nails for 1 minute under a nail lamp.
3. Apply floral nail stickers
Use tweezers to lift the sticker you like.
Press it onto your taupe nails at the tips and cuticles.
Be sure to press down at the cuticle with your other nail so it sits flat.
Pinch off the excess sticker with your tweezers to match the shape of your nail.
4. Apply nail foil flakes
Use bent nose tweezers to place nail foil flakes on your yellow nails. Make a curved shape at the cuticle.
Then press them down gently with your finger.
5. Apply gel top coat and cure
Apply a thin layer of gel top coat to seal everything in.
Then cure the nails for another minute.
Repeat the process on your other hand. Here’s the final result for this yellow flower nail art manicure:
Yellow flower nails
Let me know in the comments if you will try out these yellow flower nails for summer!
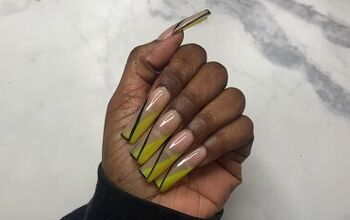
You might also like this glam foil nail design tutorial.
Enjoyed the project?
Suggested materials:
- Protective manicure gloves
- Yellow and taupe gel nail polish
- Nail lamp
- Floral nail stickers
- Tweezers
- Bent nose tweezers
- Nail foil flakes
- Gel top coat
The author may collect a small share of sales from the links on this page.


Comments
Join the conversation