Glam Foil Nail Design Tutorial

Here’s a foil nail design tutorial, using a polygel nail art kit, that will let you use your design imagination.
Whether you’re going for a dramatic, sparkly nail design, or something cute and sparkly, this technique will get you there.
Tools and materials:
- Nail forms
- Slip solution
- Base coat
- Top coat
- Nail file
- Brush
- Poly nail gel
- UV lamp
- Nail glitter and foil
1. Prepare your nails
Start by picking the proper size nail form for your nails.
Check each nail one at a time to ensure you have the correct size that fits properly on your nail bed.
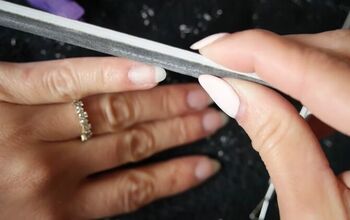
Before applying the nail form, make sure you file and buff your nails.
Clean your nails well with a soft cloth and isopropyl alcohol.
2. Prepare your nail forms
Apple a clear base coat to one nail form.
Choose a variety of nail glitter and nail foil to apply over the still wet base coat on your nail form.
Repeat applying the base coat then glitter and foil to each of your nail forms.
You can make them all mostly the same, make each nail different if you want.
Cure your nail form under a UV lamp for 60 seconds.
3. Apply your nail forms
Pour some nail extension gel (slip solution) into a small bowl.
Next, apply a coat of nail dehydrator to your clean nails.
Then, follow with a coat of clear nail primer.
Finally, apply a clear top coat to your nails.
Cure your nails.
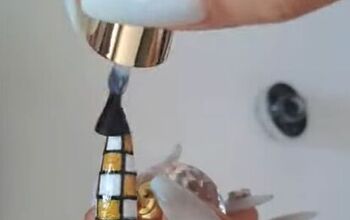
Apply a coat of black gel nail polish to your blinged-out nail form, covering only the section of the nail form that has glitter and foil on it.
Repeat for all your nail forms and cure again.
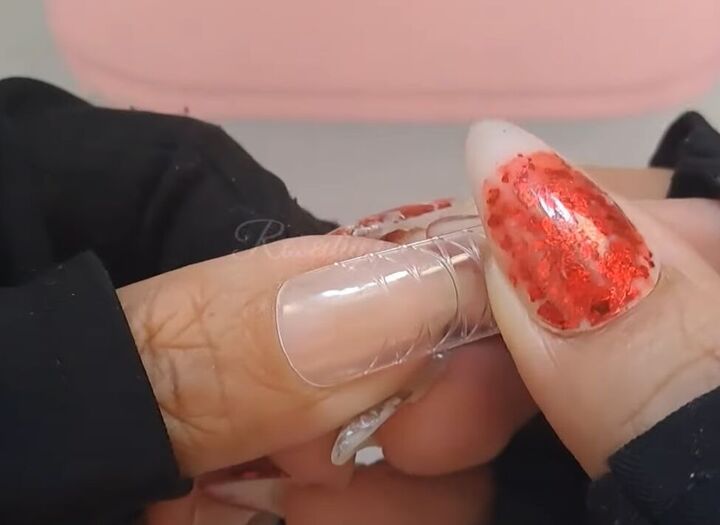
Now, squeeze some poly nail extension gel on the inside of your nail form.
Dip a small brush into the slip solution.
Use the dipped brush to distribute the poly nail extension gel over the section of the nail form that will attach to your real nail.
Apply the nail form to your nail.
Cure the nail you’ve just applied the nail form to.
Repeat for all of your nails.
4. Finish your nails
Twist the end of the nail form to remove the excess form.
File to shape and trim your nails.
Wipe your finished nails with isopropyl alcohol.
Lastly, apply a final clear top coat and cure.
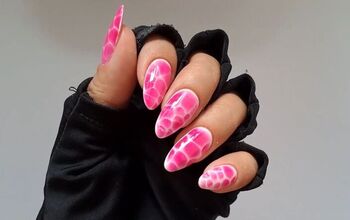
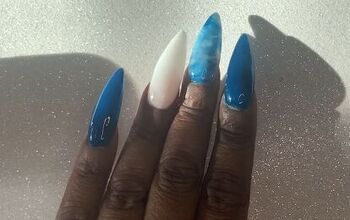
Foil nail design
Now, those are stunning, dramatic nails!
Play around with your own foil nail art design, and leave a comment to let me know how your poly gel nails turned out!
Next, check out my 6 Easy Home Remedies to Make Nails Grow Faster & Stronger.
Enjoyed the project?
Suggested materials:
- Nail forms
- Slip solution
- Base coat
- Top coat
- Nail file
- Brush
- Poly nail gel
- UV lamp
- Nail glitter and foil
The author may collect a small share of sales from the links on this page.






Comments
Join the conversation