Turn a Wrap Dress Into a Wrap Skirt With Ties

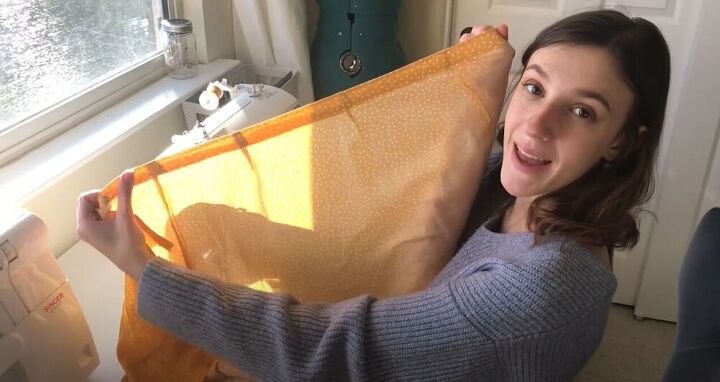
So I have this dress that I have had for years but I just don’t love it. I’ve actually almost gotten rid of it multiple times, only for it to be shoved back into my closet. There are a lot of things about the dress that I hate. I don’t like how the top part sits on me, or the tie around the waist, but I do love the skirt part of the dress. So I decided to chop it up and create a wrap skirt! Follow along with me and learn how you can do this yourself!

Tools and materials:
Wrap dress
Seam ripper
Scissors
Sewing machine
Pins
Adhesive inner facing
Iron
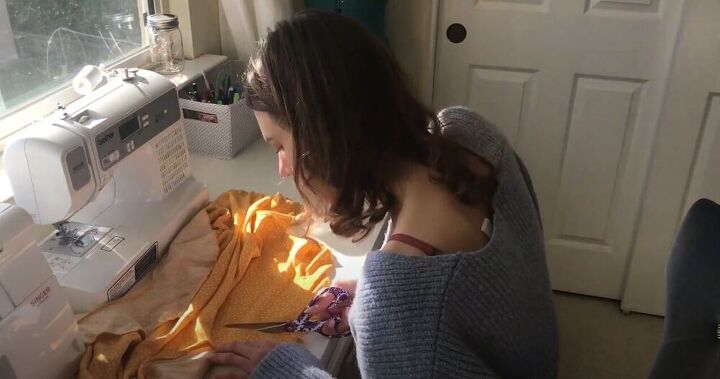
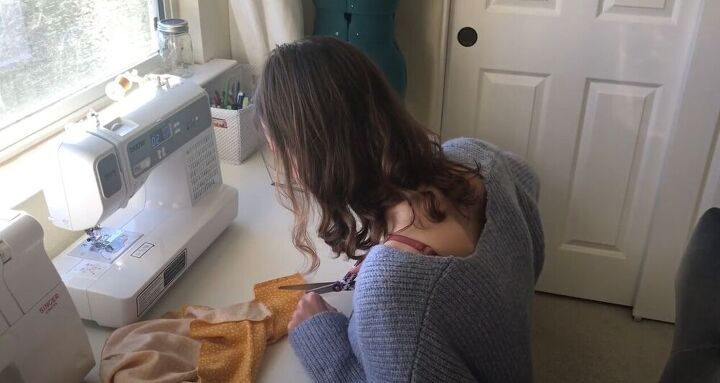
First I determined how long I wanted the skirt to be. Then I cut the dress accordingly. It’s always a little nerve-wracking when you cut into a piece of clothing that you’ve bought, but you just have to go for it! By cutting it apart and repurposing it I’m saving it from lingering in the back of my closet for eternity.

I also decided to keep the ties that sat around my waist in the original dress and repurpose them as ties to close the wrap dress. I’ll show you how I did this a little later.
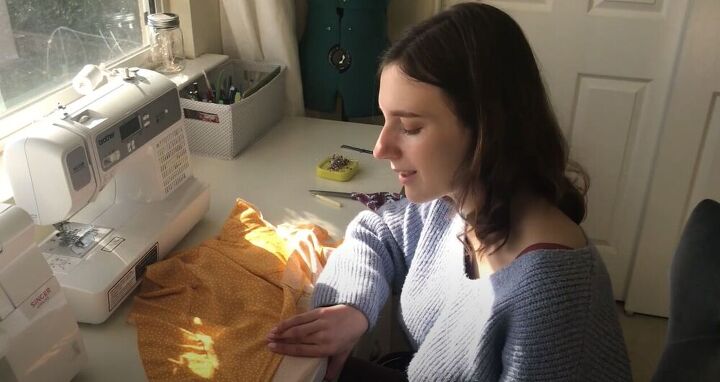
At this point, I was pretty sure I was happy with the length of the skirt. Spoiler alert, I wasn’t, but we’ll get to that in a second. I folded the top of the skirt down twice to create a waistband so that there was something a little bit more substantial than just one layer of cloth.
In the end, I didn’t like the length on me so I cut a bit more fabric off the top and then folded it down half an inch and then a full inch to create the waistband.
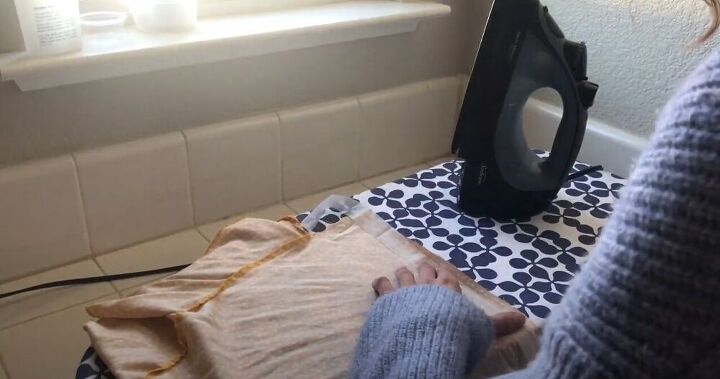
I wanted to stop the waistband from rolling down or being too flimsy, so I ironed it flat and then added an adhesive interfacing. This would make the waistband a bit stiffer.
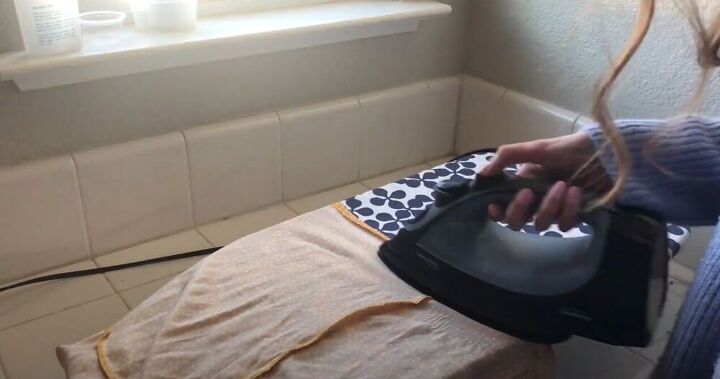
Adhesive interfacing is great and easy to work with, all you need to do is iron it in place and you’re done!
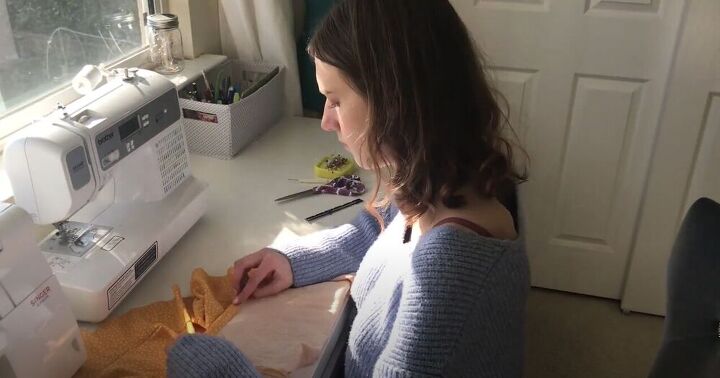
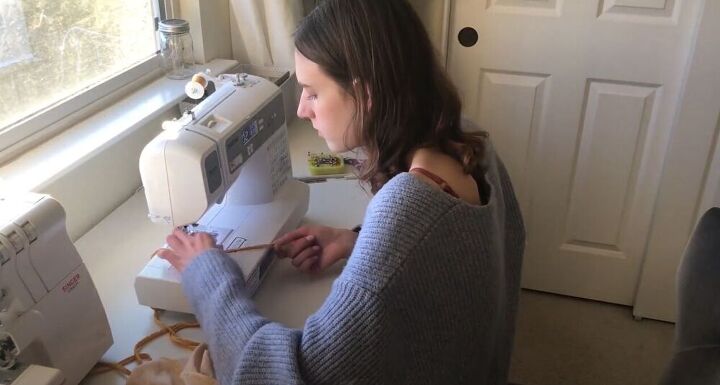
Then I folded the waistband back down and added a topstitch. I just so happened to have the perfect mustard yellow thread for this project and a bobbin that was already made and ready to go! Don’t you just love it when that happens?
With the waistband complete, I turned my attention to the ruffle. I wanted it to sit a bit higher on me, so I figured that if I seam ripped the ruffle back a bit and cut it at an angle, it would do the trick.
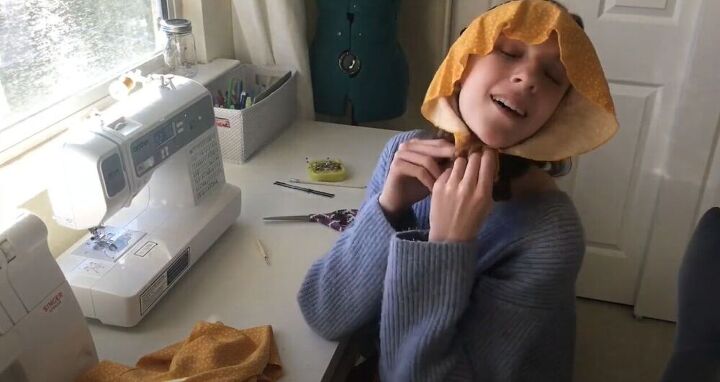
In the end, I seam ripped all the way to where the ruffle met the other ruffle and moved it down. What’s a sewing project without a “Little House on the Prairie” moment?
I seam ripped on the other side until I got to the part that I wanted to remove. Then I cut it off.
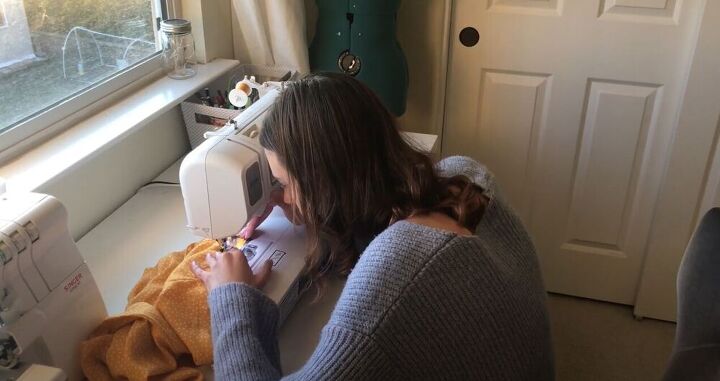
I sewed the pieces back together and serged the raw edge.
Then I matched my seams up and stitched the ruffle back onto the skirt. I also serged the raw edge and repeated the whole process on the other side of the skirt.
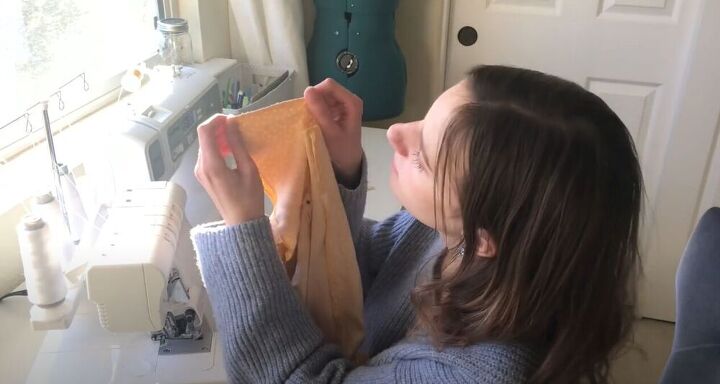
Earlier in the project, I removed the ties. To remove them I used my seam ripper to rip up a bit along the hem of the dress and then I removed them entirely. Now, I’ll show you how I reattached them! The edges of the ties were still raw from seam ripping them, so I hemmed them properly. I also cut them in half to make four ties, as I wanted one tie at the side seams and one at the ends of the skirt.
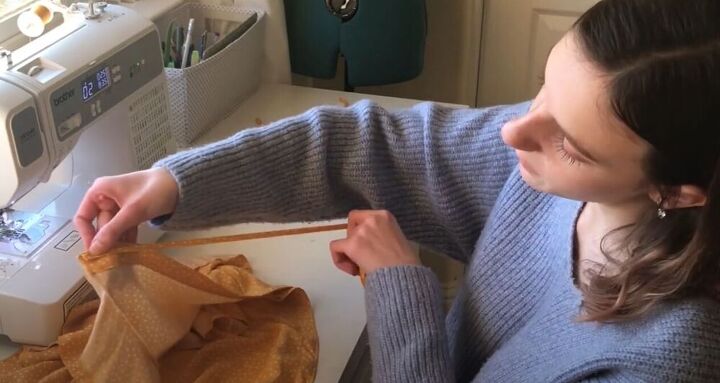
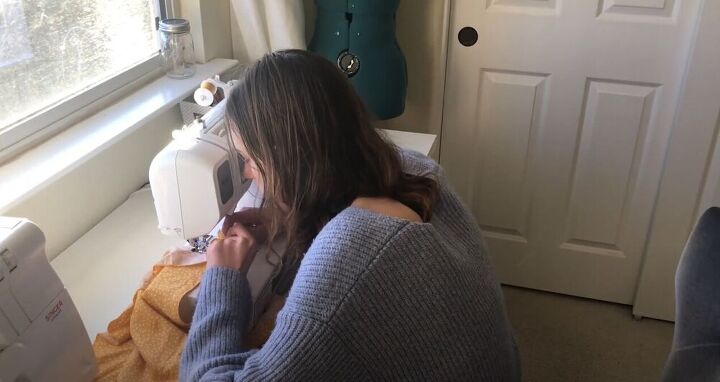
Then I determined which way I like to wrap my skirt and sewed the longer ties to the pieces that would be on the outside. For me, this was the left side seam and the right end of the skirt. I pinned them so that the finished end was showing and stitched them to the skirt.
Then I repeated the process on the opposite side of the skirt with the shorter pieces.

And now I have a gorgeous wrap skirt that I’m sure I’ll get tons of use out of! I styled my new skirt with my favorite pair of earrings, a plain white T, and a jean jacket. How have you upstyled your old clothes? Let me know in the comments below!
The author may collect a small share of sales from the links on this page.


Comments
Join the conversation