How to Make a Pencil Skirt

Hey guys! Today I will be showing you how to make a pencil skirt. This DIY is quick and easy and all you need is some medium/heavyweight stretch fabric and a skirt from your closet. Let’s get started on this no pattern pencil skirt.
Tools and materials:
- Skirt
- Fabric
- Scissors
- Pins
- Sewing machine
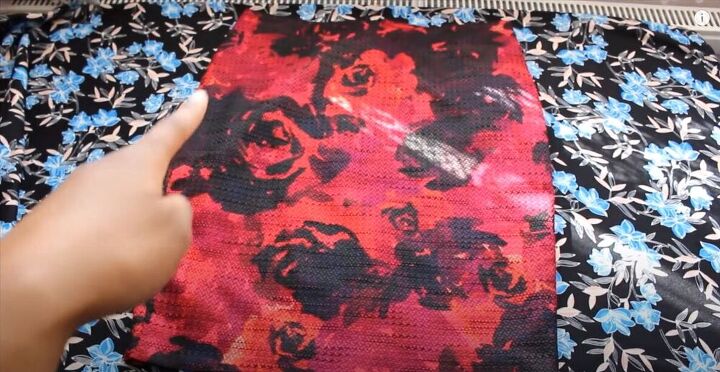
Trace a skirt
To start off, place your skirt on the piece of fabric and trace it. Make two copies, one for the front and one for the back.
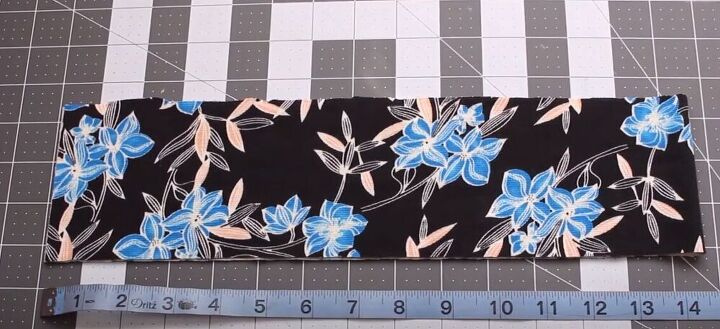
Cut the waistband fabric
Next, for your waistband, cut a strip of fabric that is 3.5 inches wide by your waist measurement minus 2.
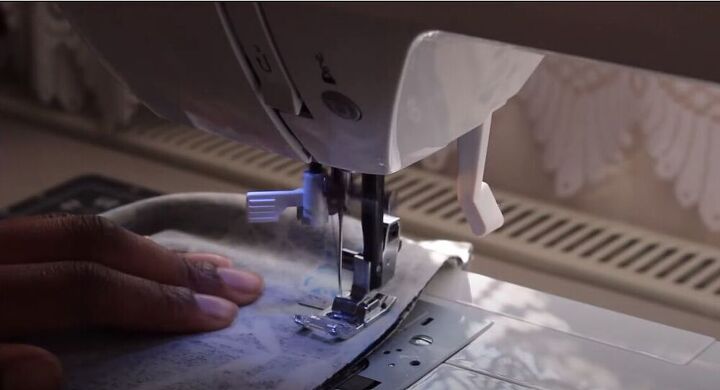
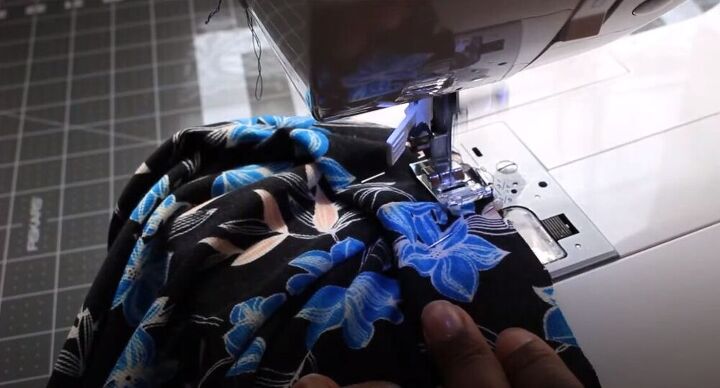
Sew the skirt together
Sew the skirt together using a long, narrow zig-zag stitch. Then go ahead and try on the skirt to see if you need to make any changes to make it fit.
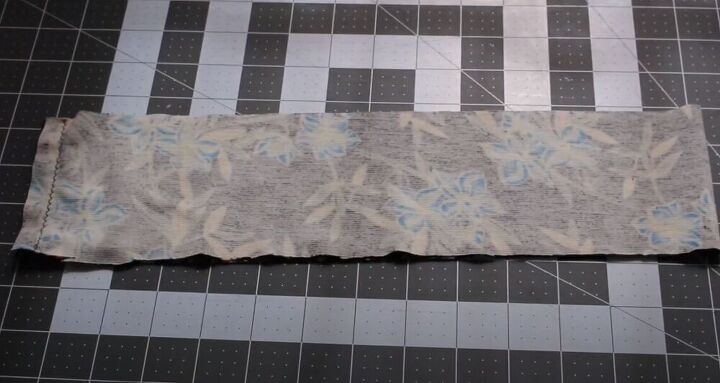
Attach the waistband
Moving on to the strip, sew the ends together with a zig-zag stitch leaving about half an inch for seam allowance.
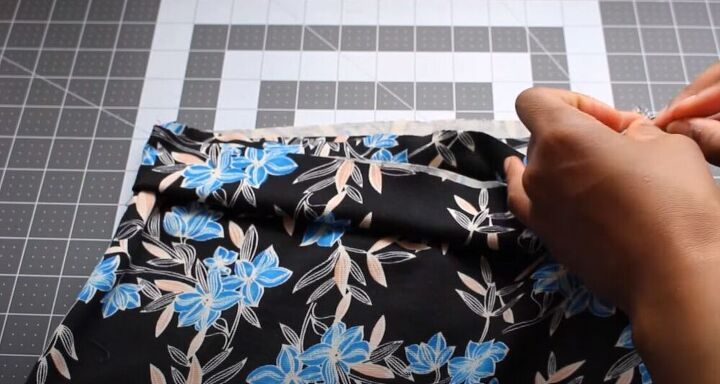
Fold the waistband so that the right side of the fabric is showing. Then mark the point opposite the seam. Pin the waistband onto the skirt, matching up the seams. Make sure that the raw edge of the waistband is lined up with the edge of the skirt.
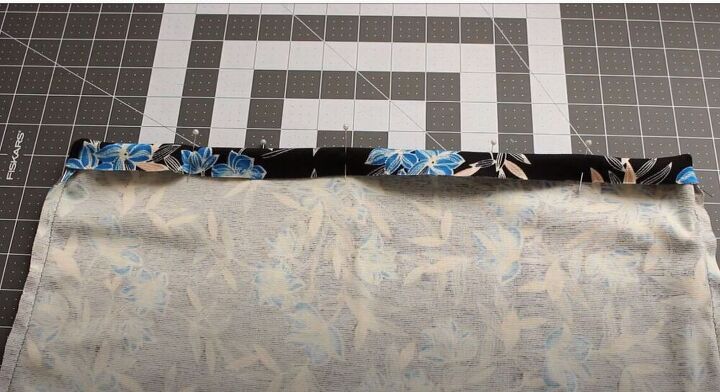
Pin all the way around and then sew the waistband onto the skirt with a zig-zag stitch.
Hem the skirt
All that's left to do is hem the skirt. Fold the fabric over once and sew with a straight stitch.
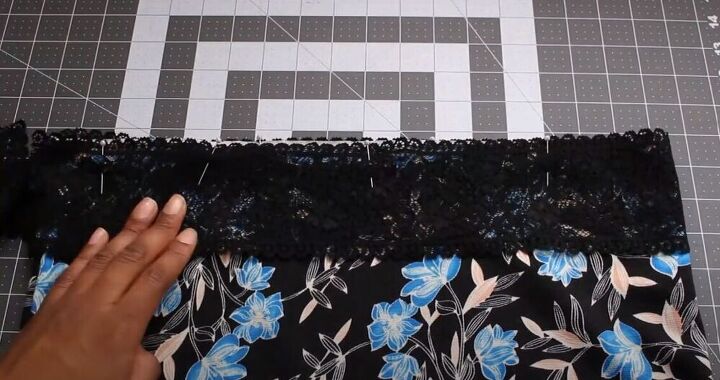
Add an optional lace trim
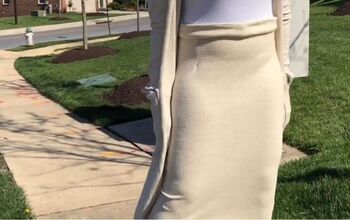
If you want to add a bit of interest to the skirt, you can always sew on a lace trim. Place the trim right sides together on the bottom of the skirt and pin it on. I preferred this skirt without the lace but feel free to add it!
This pencil skirt is a quick and easy fashion DIY! I would love to know if you would add any other details to this skirt! Let me know in the comments!
The author may collect a small share of sales from the links on this page.


Comments
Join the conversation
Great idea to add the lace trim!