Pretty and Simple: DIY Leather Clutch

Today, I’m going to show you guys how I make one of my favorite accessories - a DIY leather clutch. This bag is way easier than it looks and has such a professional finish no one will believe you made it on your own!
Tools and materials:
- Leather material
- Paper
- Ruler
- Pen
- Zipper
- Double-sided tape
- Rubber cement
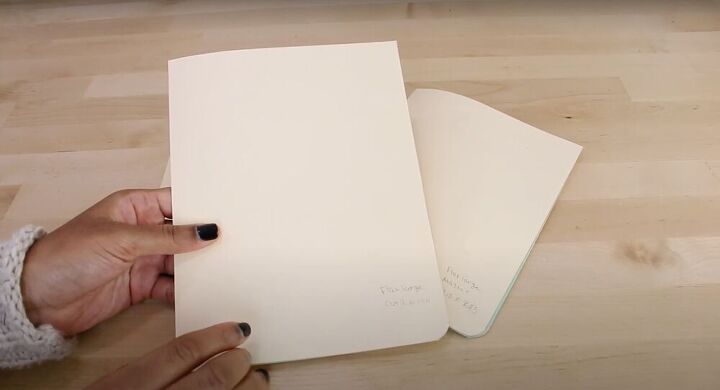
Make your pattern
For the first step, let’s make the measurements for the master pattern. They are 12.5 inches wide by 8.25 inches long. The master pattern represents the size your bag will be after it’s done. Once you’ve finished cutting out your master pattern, you can go on to create your other two patterns. For the outside and lining pattern, trace the (ready) master pattern and add ⅜ of an inch all the way around - this should leave your second pattern at 13.25 by nine inches. Finally, the final pattern is the one we're going to use for the Pellon. For this one, trace the pattern with seam alliance and then remove the seam allowance front the top. This will leave you 13.25 inches wide by 8 6/8 tall.
Prepare your fabric
Take your patterns and line them up with your fabric. Use a pencil to trace your pattern onto your leather/interfacing and then use some scissors to cut it all out. For the pattern with your seam allowance, mark on your fabric where your seam allowance starts. Additionally, make sure you have ⅝ of an inch marked off on either side for your zipper.
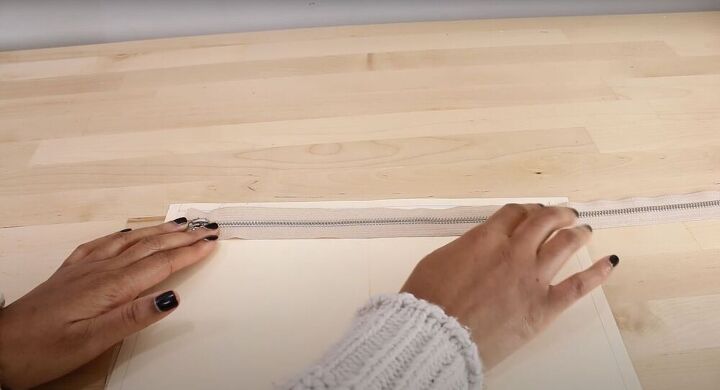
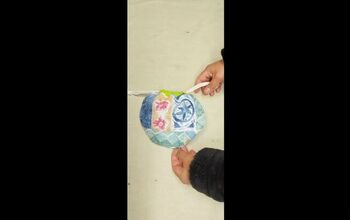
Prepare your zipper
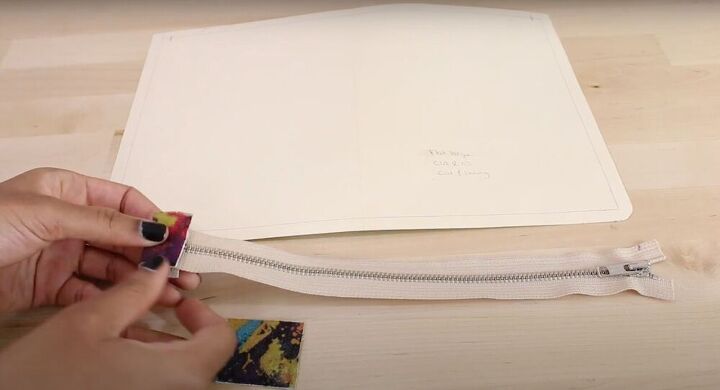
Place your zipper along the marked lines and cut it so it fits in between the two marks (remember, these marks are shorter than the length of the bag and your zipper should be too - otherwise it will bunch up and get bulky). If you’ve been following my measurements, your zipper should end up being 11 ⅞ inches long. Next, cut out small boxes (half an inch long on each side) and use them to secure the zipper. Simply, place the edge of the zipper in the middle of the box and fold it together, securing it with some double-sided tape.
Close the seam allowance
We’re first going to start by placing some rubber cement on the top edge of the front and back pieces (on the outside piece as well as the lining). Once you’ve put down the rubber cement, fold your top over by the marking for the seam allowance.
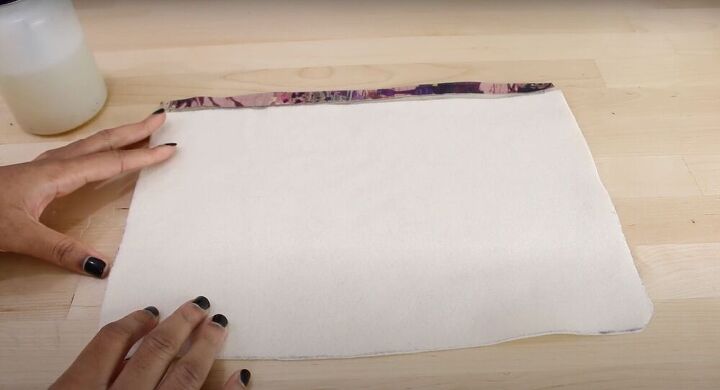
Place your Pellon
For those people who have decided to add that extra layer of Pellon, this is the time to glue it in. Take your rubber cement and smear it all over the front and back pieces. Next, place your cut-out Pellon directly beneath the seam fold. (Note that it is okay if your Pellon hangs a little lower than the body of your bag, simply grab some scissors and cut it off). Remember to do all these steps with both sides.
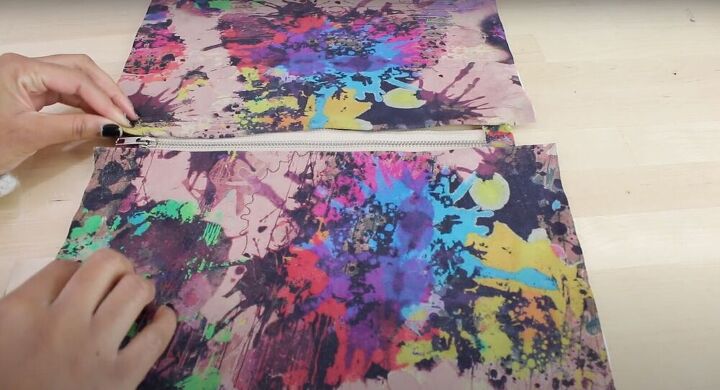
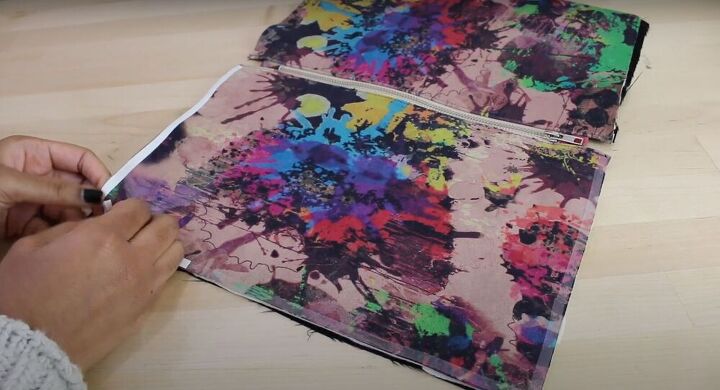
Attach your zipper
Place your zipper on a flat surface and then take your front and back pieces and have them rest on the fabric about ⅛th of an inch away from the teeth of the zipper. This is to make sure that the teeth never get caught on the fabric of your bag. To secure, stick the pieces together with some double-sided tape. Next, turn the fabric over and repeat the same steps on the inside of the bag, with the lining. After all that is done, do a straight stitch on either side of the zipper to finish.
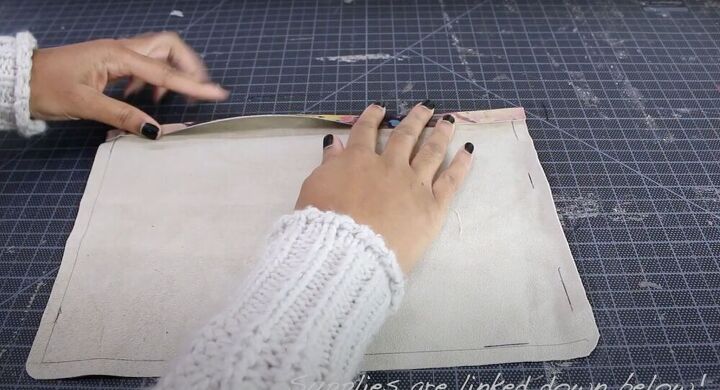
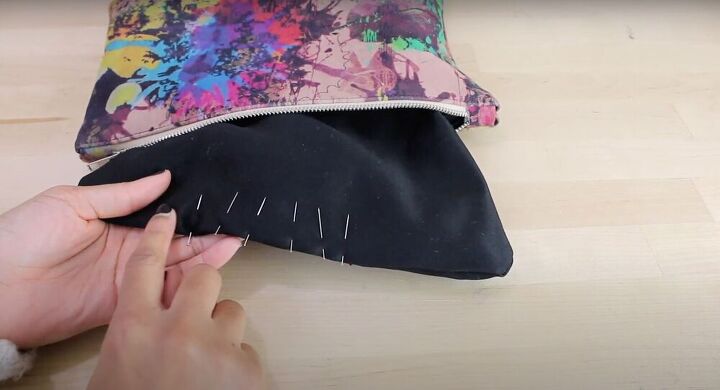
Sew your bag
Lay your bag out flat and cover one of the outside pieces with double-sided tape, then pull the other side over (so the bag is folded right sides together) and connect it to the tape. Next, pull your lining pieces in the other direction and place them right sides together. Use pins to connect them. Remember to leave a three to a four-inch gap in the lining so that you will be able to pull your bag right side out later on. Finally, use a sewing machine to sew your top pieces and lining. Make sure you keep your zipper open so that you don't accidentally sew it shut.
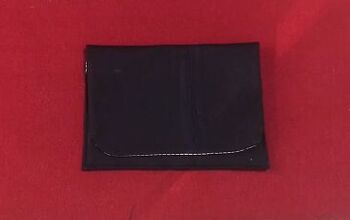
Finish the body
Turn the bag right side out (using the hole you left in the lining). Next, pull out the lining and fold it slightly for a clean edge and then hold it with straight pins. Finally, use a straight stitch across to close up the hole in the bag.
Make your tassel pattern
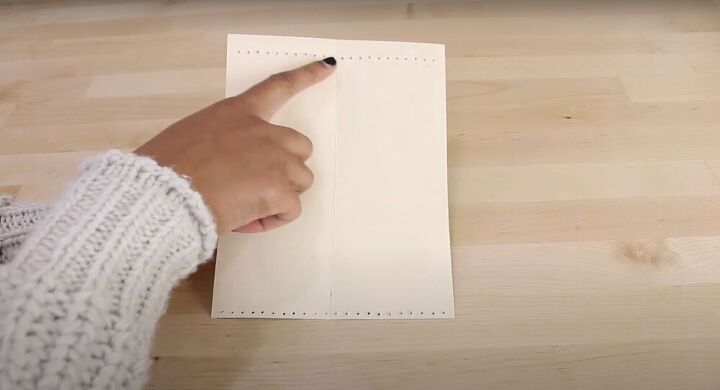
To make a tassel, go ahead and make yourself a pattern. Mine is 6 ¼ inches wide and eight inches long. This pattern also has about 22 holes, starting about half an inch from the top edge and 1/8th of an inch from the bottom. The holes run across the pattern. The holes are each ¼ of an inch apart. (The dots will help us keep the material super uniform and leave the bag looking super professional).
Make your tassel
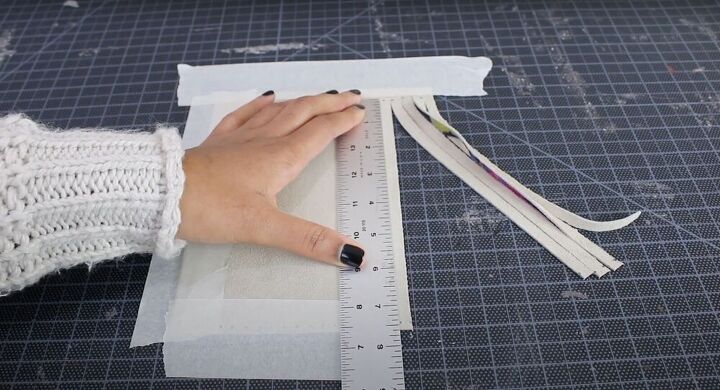
Once you’ve successfully cut out your pattern, transfer all the markings onto your material. Next, tape your leather down on three sides, the wrong side up. This will help keep the material in place while we’re cutting it. Finally, grab a ruler and line it up between the dots - making sure it is straight. Once you have it in place, grab a knife or rotary cutter and cut a straight line down to create your tassel. (Don’t push your knife down too hard so that the leather doesn’t shift).
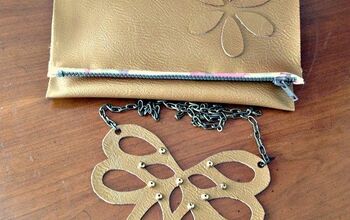
Attach your lobster clasp
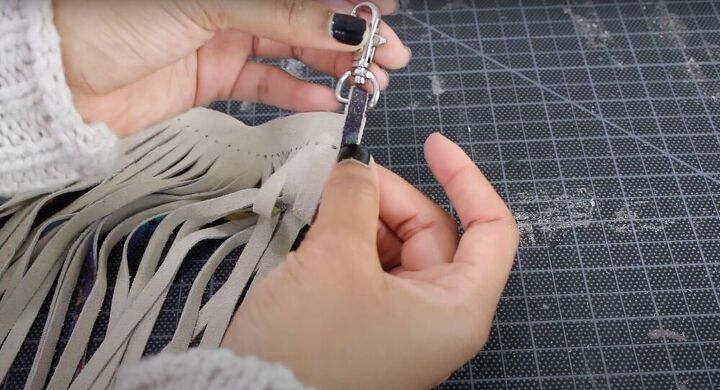
Take some glue and place it across the top edge of the tassel. Then, place some on one of the outer tassels, about half an inch down. Next, take the edge of that same outer piece and weave it through the lobster clasp. Pull it all the way through, leaving about ⅜ of an inch at the end. Secure the tassel with the right side against the wrong so that only the right side shows at the end. Finally, curl the glued edges around the tassel connected to the lobster clasp to form the tassel.
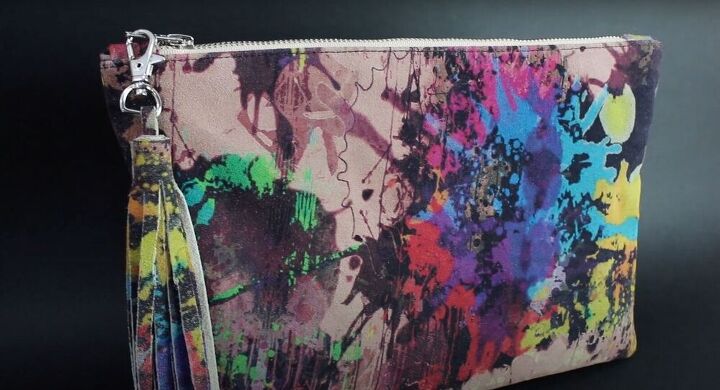
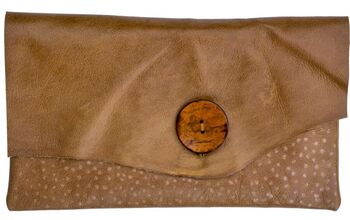
There you have it guys, a completed leather clutch with a cute tassel attached to the zipper. I love the way this material is so busy, but if you’re looking for something a little simpler any leather you like would do the trick.
The author may collect a small share of sales from the links on this page.


Comments
Join the conversation