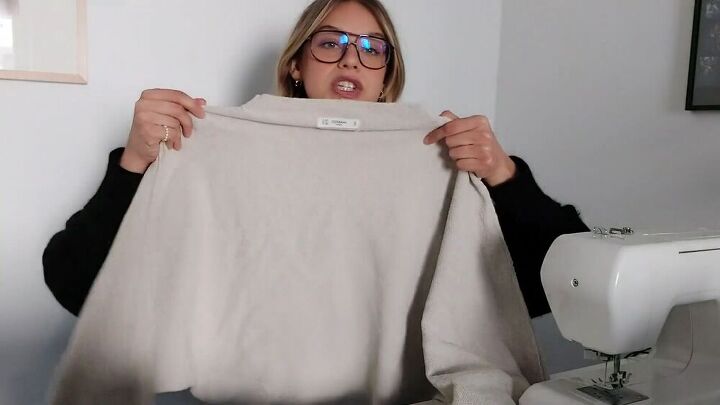
How to Upcycle Old Sweaters

In this tutorial, I will show you how I transformed some old sweaters into knit vests and cardigans. I'd never done this before, so I wasn't sure if it was going to work, but hey - no risk, no fun, right? Ready, get set, sew.
Tools and materials:
- Old sweaters
- Fabric marker/chalk
- Ruler
- Pins
- Fabric scissors
- Sewing machine
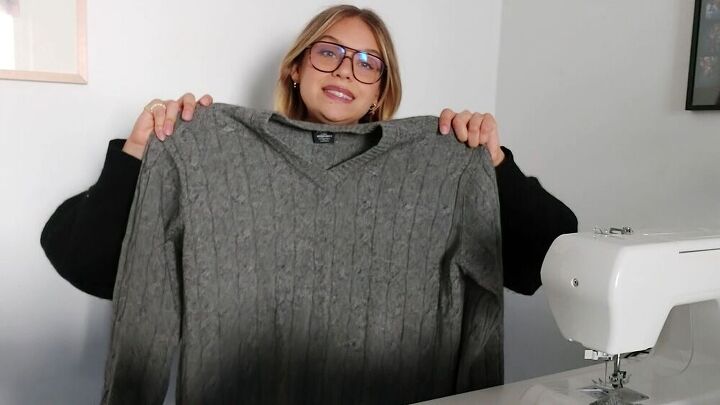
Sweater 1
The first sweater is this 100% vintage cashmere sweater, gray v-neck. I really love it, but it's got some holes where the elbows are. I'm not a fan of elbow patches, so I wanted to transform it into a knit vest.
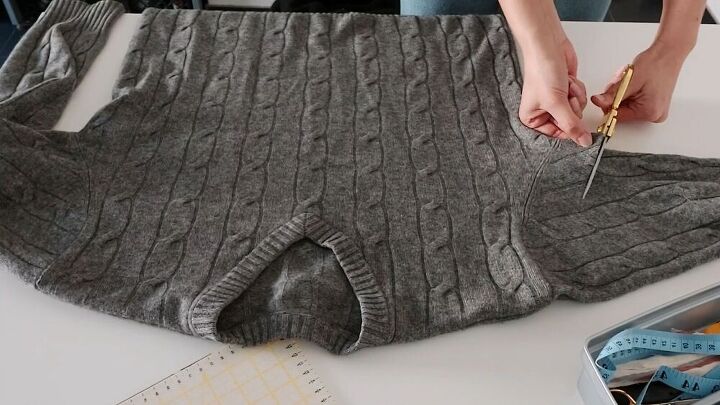
Cut
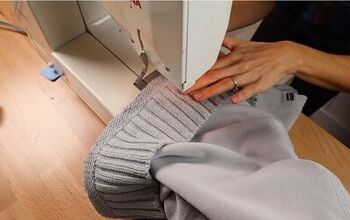
I started by cutting off the majority of the sleeves, leaving only 4cm at the top of the sleeves. When I had cut one side, I folded the sweater over to cut symmetrically on the other side.
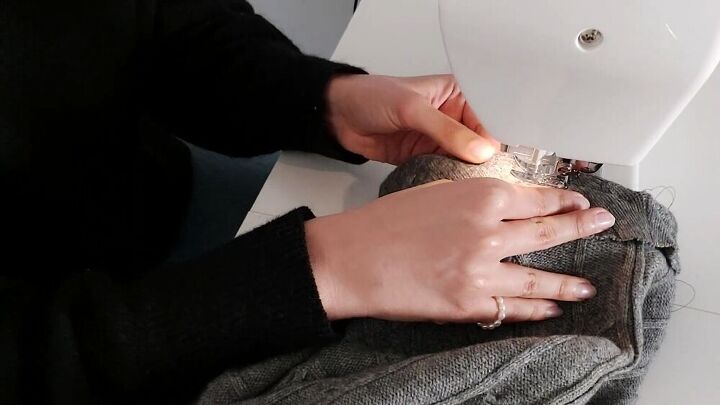
Pin and sew
Then I folded the 4cm sleeves up until the old shoulder seam, pinned them in place, and then sewed them down with a straight stitch.

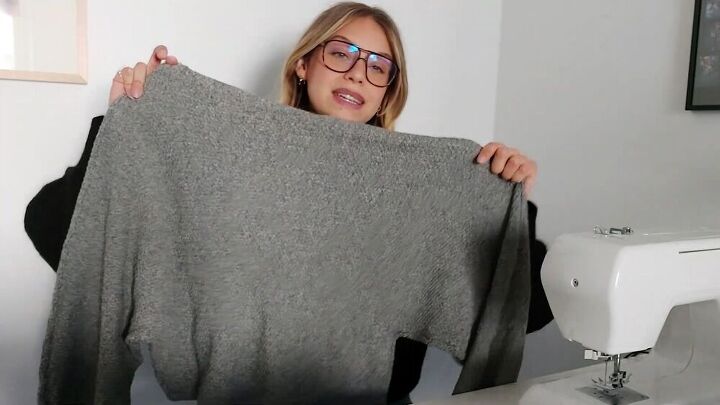
I'm really happy with how this knit vest turned out; it looks pretty legit. I would recommend not to cut the sleeves too short, though, because now, when you look at the sweater from the side from a certain angle, you can see the inside seam of the sweater.
Sweater 2
The next sweater doesn't have shoulder seams, so I really just mapped out visually and then with chalk where the adjustments would need to be - there is no higher science behind it!
Mark, sew, and cut the sleeves
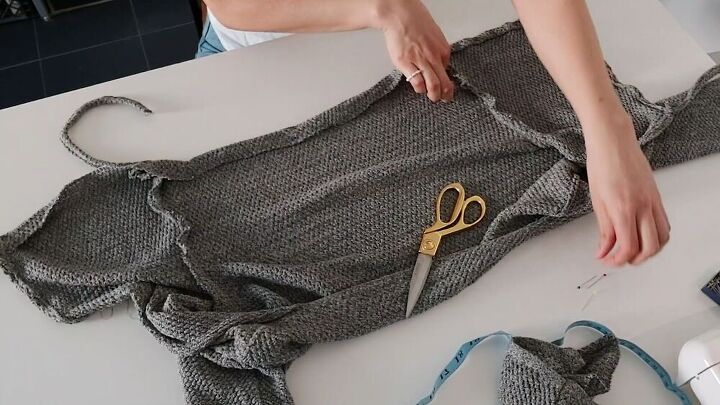
The sleeves are quite loose and baggy, so I wanted to take them in for a slimmer fit. I started by marking the new hemline on one of the arms. Then I did a straight stitch, and after that, I cut off the excess. Then I folded the sweater in half to use the side that I had already sewn and cut as a pattern to make it symmetrical. I repeated the process on the other side.

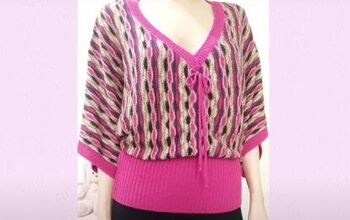
Turn into cardigan
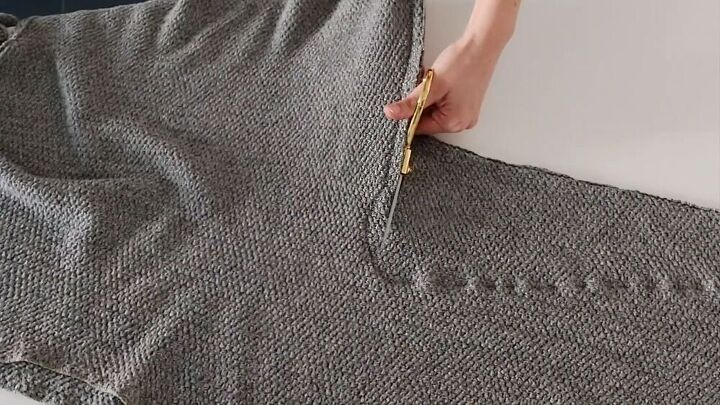
Then I transformed the sweater into a cardigan by cutting it open in the middle.
Adjust the neckline
I decided to go for a v-neck, so I cut the shape and then folded over the edges and pinned everything in place to create and sew a rolled hem.
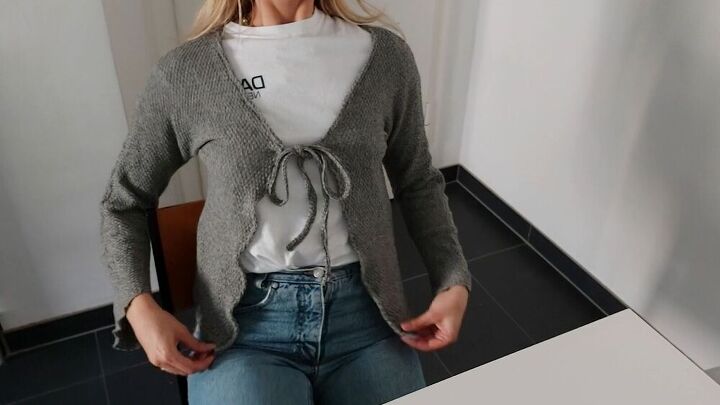
Make and sew strings
Using some of the fabric that I had already cut off (as excess material), I cut some strings because I wanted to make a tie at the front of the cardigan. I folded the material in half twice lengthways to create the strings and sewed it with a straight stitch. Then I pinned my strings in the front and tried my cardigan on to see if I liked the look of it. I decided that I did like the look of it, so I proceeded to sew everything in place.
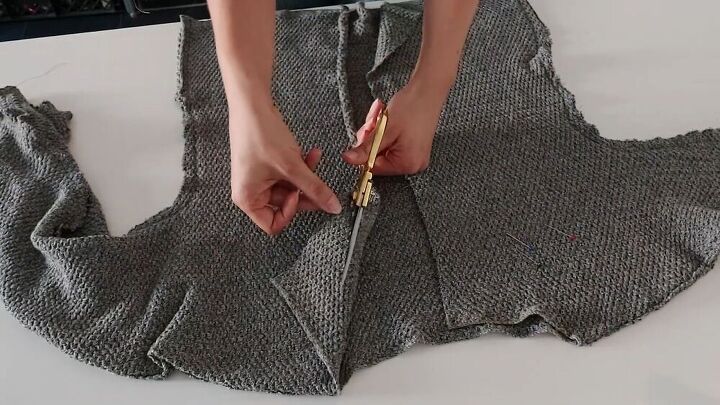
Crop
Lastly, I decided that I wanted my cardigan to be cropped, so I cut off the excess fabric, created a rolled hem at the bottom, and sewed it with a straight stitch.

Sweater 3
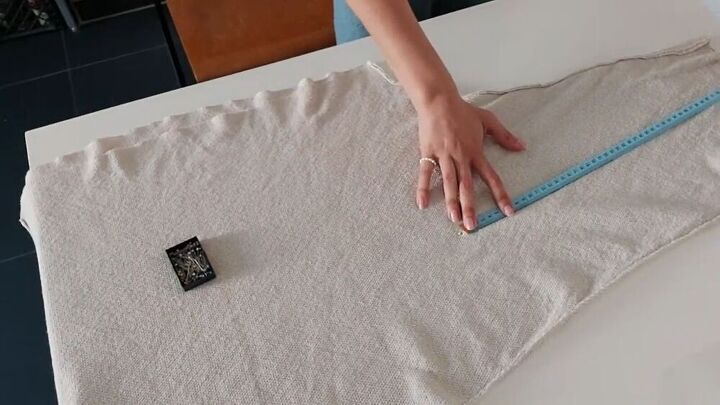
Adjust and cut
I started by repeating steps 1-4 of the previous cardigan. One difference from the other cardigan is that I didn't go with a v-neck. Instead, I just cut off the turtleneck neckline and finished off the edges with a rolled hem.
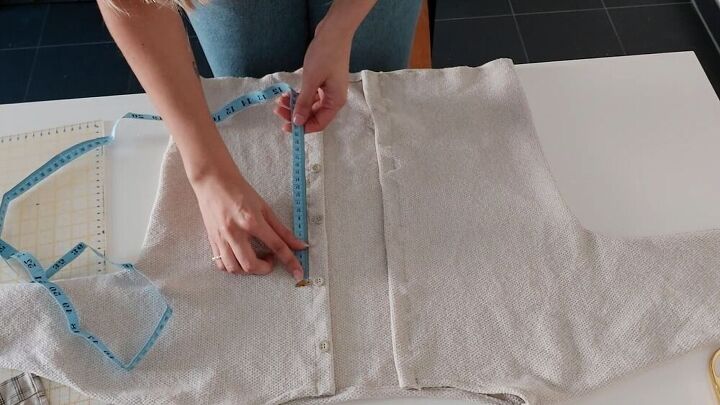
Sew buttons
I sewed the area where I will sew my buttons on top with a straight stitch. Luckily, I had an old shirt I didn't wear anymore, so I cut off all the buttons and reused them for my new cardigan. Before I sewed all the buttons on, though, I finished off the bottom of my cardigan with a rolled hem. Then I sewed the buttons on, being sure to measure the distance between each of them.
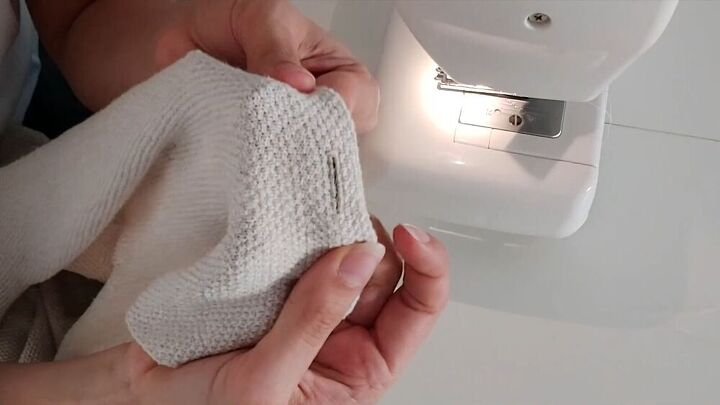
Sew buttonholes
Once I had done that, I pinned the other side where I wanted my buttonholes to be and sewed the buttonholes with the buttonhole foot on my sewing machine.

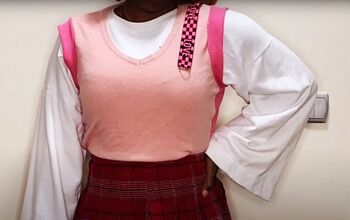
I hope you enjoyed this DIY as much as I did. I went for a different style with each of them and I feel as though I now have three brand new pieces of clothing! Upcycling and repurposing your clothes in this way is a great way to reduce wastage and get the most out of your clothes.
The author may collect a small share of sales from the links on this page.


Comments
Join the conversation
Great ideas for repurposing sweaters!
Beautiful! But you could probably rock a burlap sack!