How to Do DIY Dip Powder Nails at Home - Easy Beginner Tutorial

I’m really excited to show you how to do dip powder nails at home. This was my first time trying DIY dip powder nails and it was so worth it. Dip powder nails are super-affordable, easy, and honestly, if I can do it, anyone can do it!
What are dip powder nails?
Dip powder nails are created using the technique of dipping nails into colored powder. The dip powder can also be brushed onto the nail. Then, the powder is sealed with a clear top coat.
This creates a long-lasting, chip-free manicure for up to a month. Plus, there’s no polish smell!
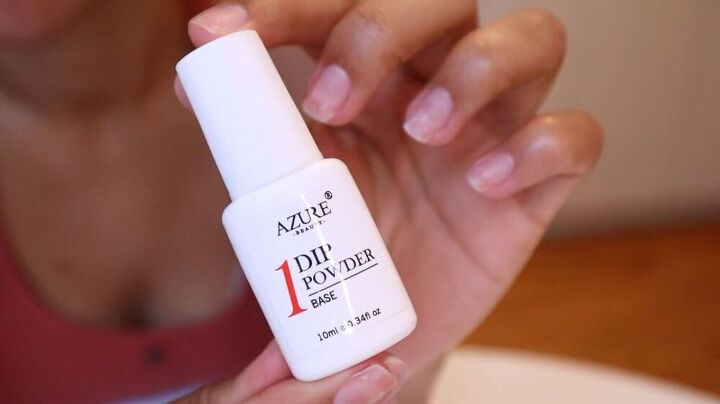
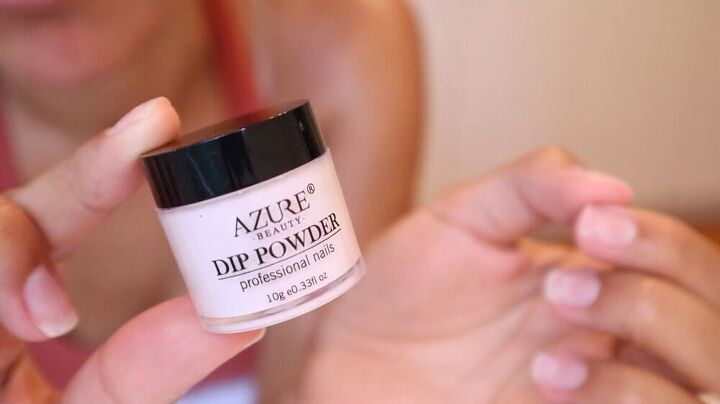
In a salon, you can pay up to $50 for a dip powder nail manicure. The AZUREBEAUTY DIY dip powder nail kit I used from Modelones is only $35.99. It comes with five colors and each color can be used multiple times, so I worked out that each manicure I do at home only costs me around $3!
So, let’s get started.
Tools/materials
- Dip powder base
- Dip powder activator
- Powder of choice
- Top coat
- Rubbing alcohol
- Brush
1. Prep your nails
Trim cuticles and file your nails (watch this video on how to do an at-home manicure here). Then, cleanse and dehydrate them to make sure there are no oils on the nail surface.
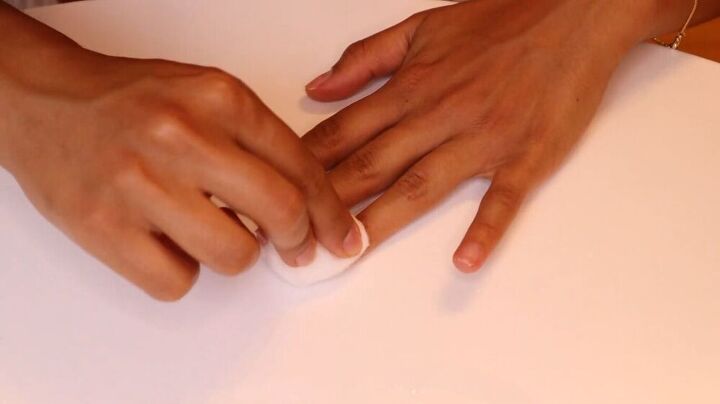
I also put down a piece of paper to catch any excess dip powder.
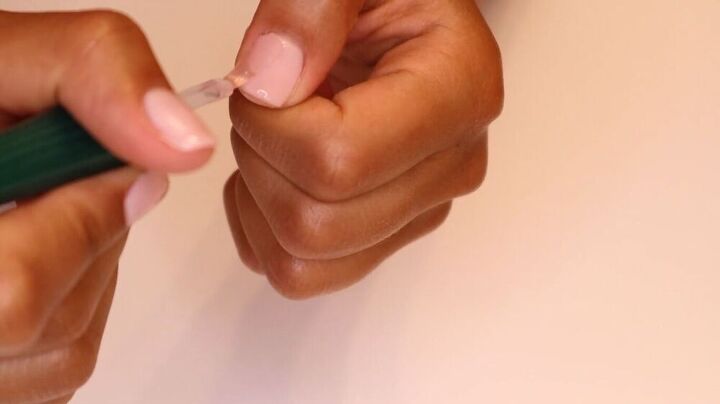
2. Paint a base coat and dip nails into the dip powder
Paint one nail with a thin, even base coat. Make sure not to get any on your cuticles or your skin because the powder will stick to that too.
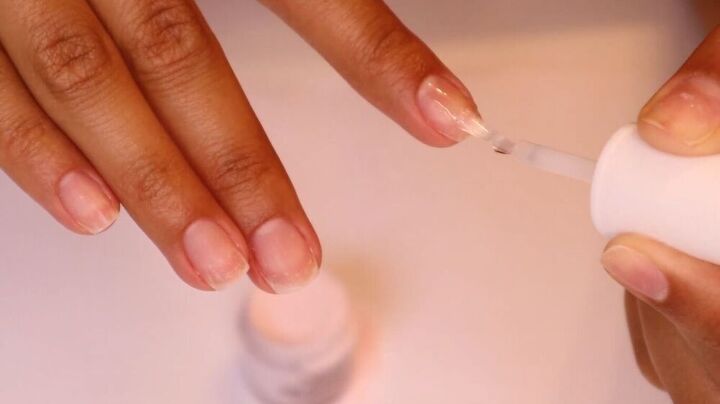
You want to do this fairly fast, then as soon as you’re done, dip your nail into the dip powder.
After dipping, tap your finger to remove any excess. Then, paint the next nail and begin the process again.
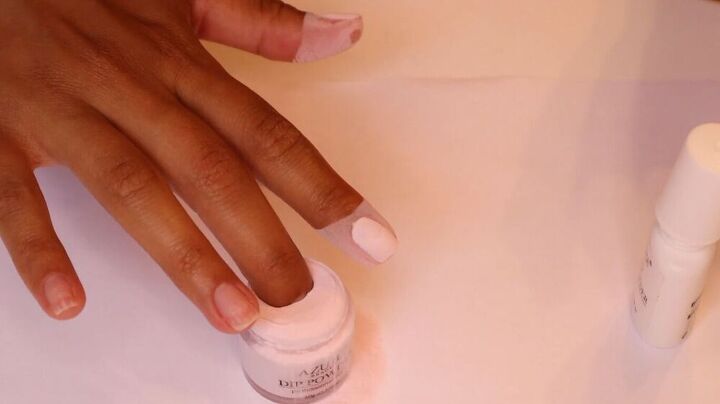
It’s best to paint one by one because you don’t want the base coat to dry, as the powder won’t stick properly.
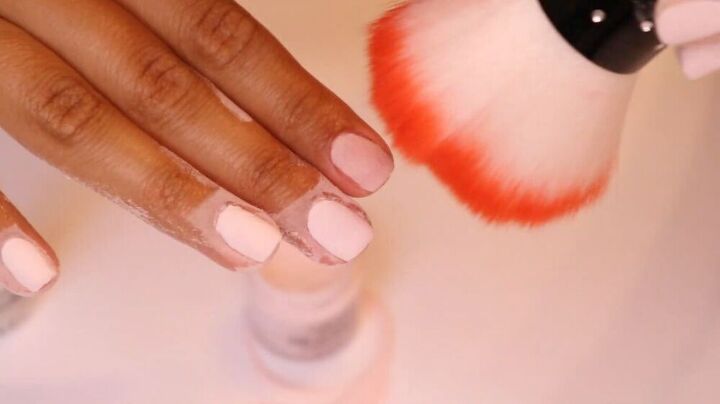
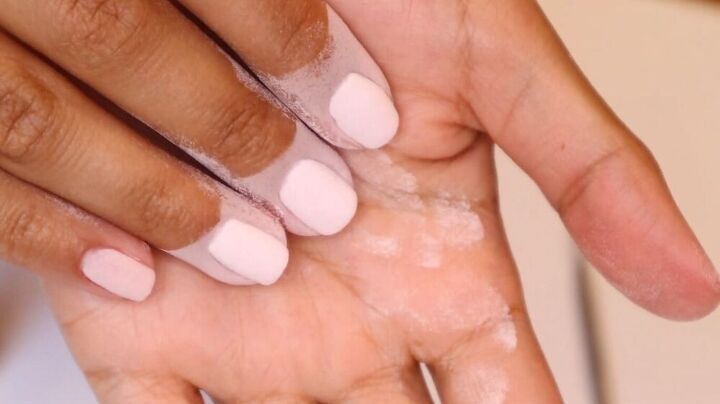
3. Dust away the excess dip powder
Once the dip powder has settled, use the brush to dust away the excess. If you have an old makeup brush, that works too.
4. Apply a second layer (optional)
I liked how the first layer looked on my nails, but I wanted to add a second layer to make my nails look a bit thicker.
If you want a more natural, transparent look, stick with one layer. If you want to add a second layer like me, simply repeat the process again by painting a base coat and dipping each nail in the dip powder.
I really liked how the second layer looked. I was worried it might bulk up and look too thick or uneven, but it came out beautifully. So, go for that second or even third coat, if you want a thicker look.
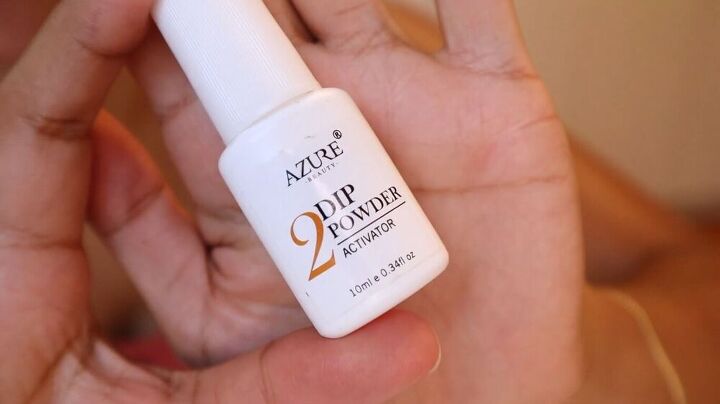
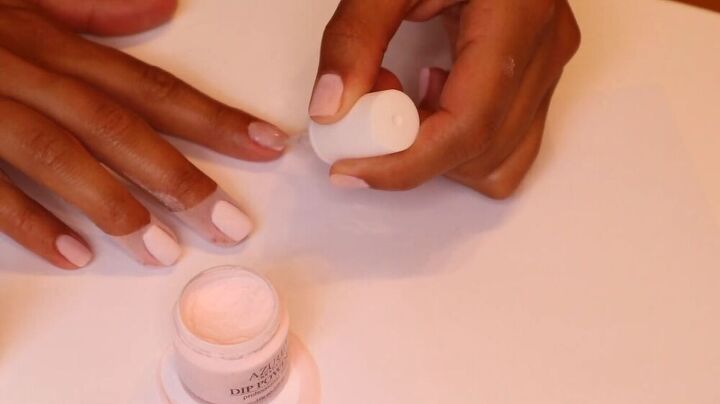
5. Apply the dip powder activator
Grab the activator and apply to each one of your nails.
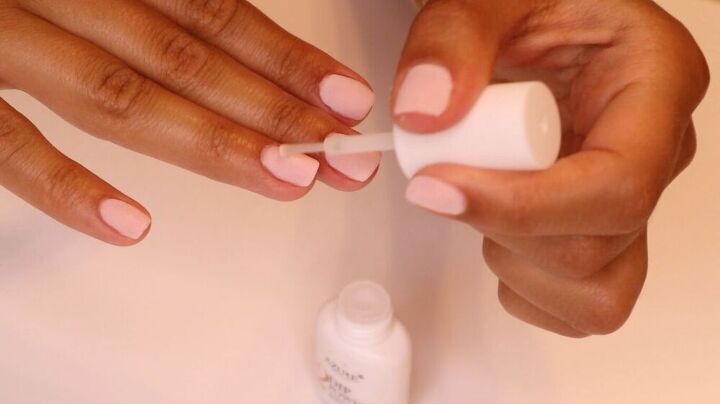
The dip powder activator “cures” or hardens the powder. It only takes two minutes to dry.

6. Shape your nails (optional)
Once the activator has dried, you can start playing around with the shape of your nails. Some people buff the top or shape them up.
Personally, I thought my nail shape looked good as is, so I only needed to match up a couple of edges, to make sure everything was even.
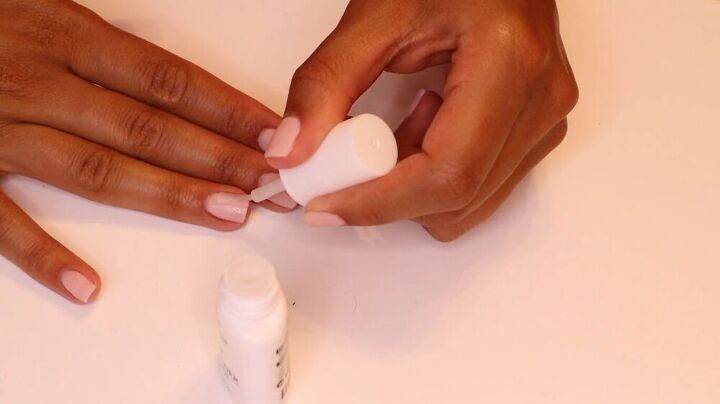
7. Apply a second coat of activator
After filing your nails and achieving the shape you want, you can dust off excess powder and go back in with the activator. This second coat of activator ensures everything cures properly.
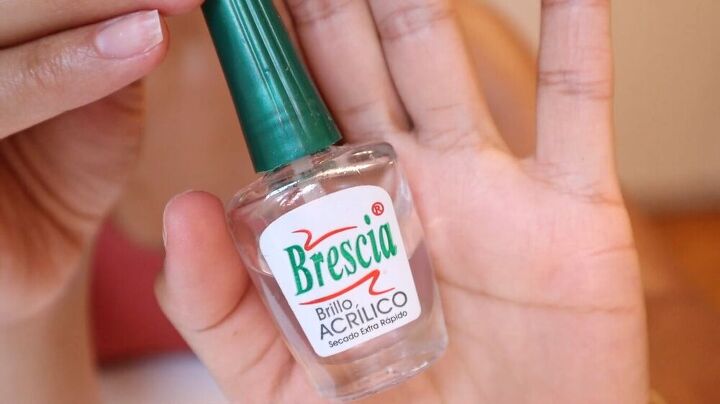
8. Apply a top coat
Wait a couple more minutes for the activator to dry, then use some rubbing alcohol to wipe away any debris, which makes the nail surface nice and dry for the final step.
Finally, apply a top coat. This is actually my regular top coat that I use for nail polish. I didn’t get a top coat specifically for the dip powder, but it works fine.
So, if you don’t have a dip powder top coat at home, you can still use your regular one.
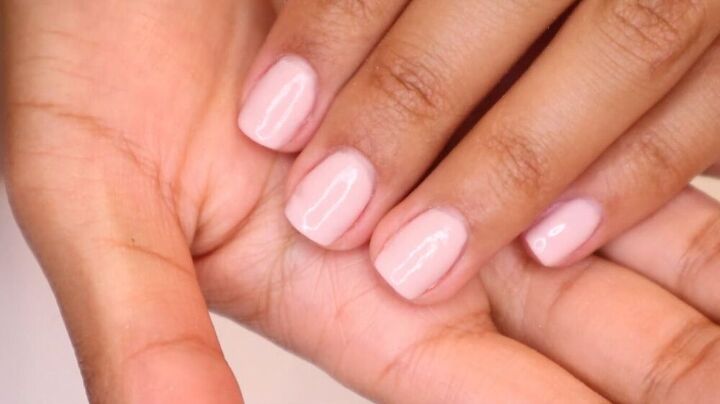
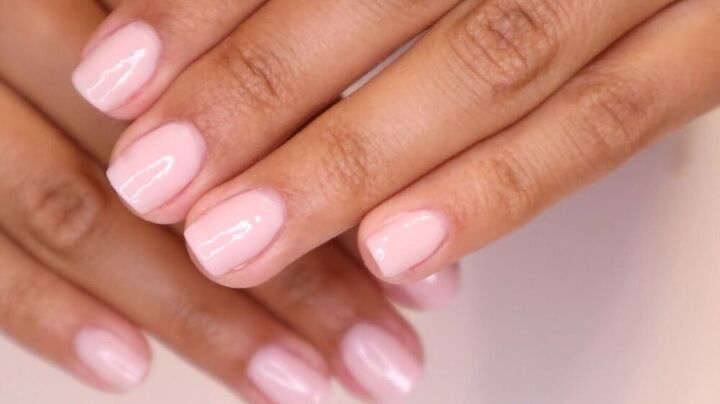
This was the final result. I was so happy with how my DIY dip powder nails came out.
How to remove dip powder nails
Dip powder nails are really durable. To remove them, file down the top coat, soak your nails in acetone (10 to 15 minutes), then wipe with a cotton ball.
I’d definitely recommend trying out dip powder nails at home. The dip powder technique was quick, easy, and this DIY dip powder set alone could last me more than a year.
By doing my own dip powder nails at home, I gave myself a salon-quality $3 manicure!
This tutorial is by Paloma.
The author may collect a small share of sales from the links on this page.


Comments
Join the conversation
Yes,😊
I am definately going to try this but where do I find all the supplies? You have beautiful nails too! Are all the bottles numbered in the order you use them?