DIY an Adorable Bib Apron

A bib apron is so important to have! It’s an extremely functional piece but that doesn’t mean it can’t be fabulous. I chose a gorgeous floral fabric and couldn't wait to start sewing. If you want to learn the ins and outs of DIYing the most amazing bib apron, this tutorial is definitely for you! Follow my simple and easy step-by-step guide and get started on sewing your own bib apron and the best part is, I give 3 different options for the neckband.
Before you get started on cutting your fabric pieces, a great tip is to remember that the deeper the curve is, the more comfortable your new bib apron will be!
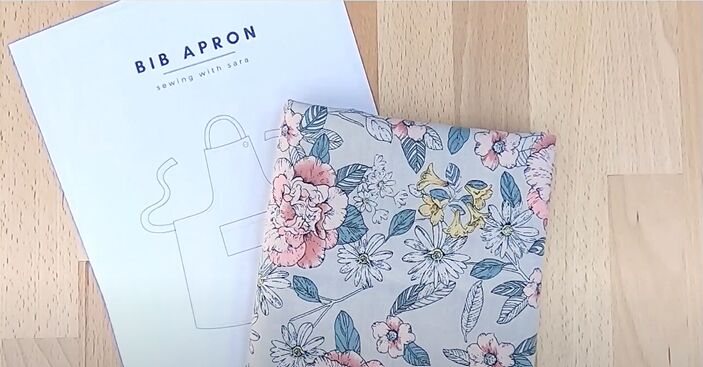
Start by cutting the pieces you will need for this bib apron. I chose to use this gorgeous floral fabric but you can use any fabric design or pattern you like! You will need to cut the front piece of the bib apron on the fold. You will also need to cut a big pocket, 2 waist ties, and one neckband.
Start by making one tidy end. To do this, fold one short edge, wrong sides together, and press over the fold.
Next, fold both edges to the middle line and then fold the fabric in half. Press the fabric and then make sure to edgestitch it. Set it aside for later. Repeat these steps for the other tie and the neckband.
To start working on this stunning bib apron’s pocket, double fold the top edge of the pocket panel and press it down. Then hop back over to the sewing machine and edgestitch the folded edge.
Fold the side edges and the bottom edge. Then press your folds and set your pocket panel aside for later.
Lay the bib apron flat and mark the center of the pocket and bib apron so that you can attach the pocket.
Once you have pinned the pocket in place, edgestitch the sides and bottom of the pocket panel. Sew down the center of the pocket as well to create the perfect double pocket.
To make sure that your bib apron has the perfect, professional finish, double fold the curve edges, press them to hold the folds in place, and then edgestitch.
Grab your waist tie and slip it under the fold on the side of the bib apron. Make sure to pin it in place and then edgestitch along the side edges.
Then pull the waist tie so that it is towards the outside and sew to hold it securely. This will definitely make your bib apron a lot more comfortable and aesthetically pleasing.
In order to complete the gorgeous bib apron, double fold the neckline and press the fabric so that it holds. I will be showing you three options for different neckbands. Feel free to choose whatever one you prefer!
For the first option, you can make a non-adjustable neckband. Cut the neckband to the length that you want and then slide the edges into the fold you made in the neckline. Make sure that your band isn’t twisted before you pin it in place and edgestitch at the fold.
Next, hold the neckband towards the outside, pin it and sew, just like you did with the waist tie earlier.
To attach the second option of the neckband, slip one end of the neckband into the folded edge. Then make sure to pin and edgestitch the folded edge. Repeat the step where you pull the band towards the outside and then pin and sew it.
Next, Mark on the bib apron where the adjustable button will go and make a buttonhole.
Next, attach 2-3 buttons onto the second end of your neckband.
For the last option which is also adjustable, mark on the bib apron where your snap buttons will go.
Poke a hole in the apron for the snap button and place the cap from the outside.
Next, place the male side on, from the inside of the bib apron, and make sure to press it with a plier. Repeat the same for the female side of the snap button on the neckband. You may want to add 2-3 for adjustability.
For the final step of this DIY, double fold the bottom of your bib apron to the desired length. Once you have folded the edge, press it and edgestitch.
I adore this floral bib apron! Which option would you choose for the neckband? Let me know in the comments below!
Enjoyed the project?
Suggested materials:
- Measurement sheet (https://sewingtherapy.net/wp-content/)
- Fabric
- Pins
- Sewing machine
- Pencil
- Buttons
- Snap buttons
- Pliers
The author may collect a small share of sales from the links on this page.


Comments
Join the conversation
Another option is to use Velcro instead of a button.
Imstead , make a tunnel from the top outer edges ot the dip right dowh the deep curves and out to the top edgeof both curves. Then make one very long band and feed throughone curve up through to the top edge of the bib, leave a long loop there to go around the neck then fee it down through th eother side of ther bib and out to the end of the curve. This makes it adjustable for a whole variety of fits and sizes.