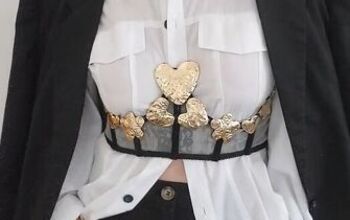
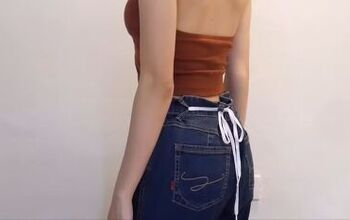
DIY OBI Belt

Everyone loves a good upcycle! Follow this simple tutorial to learn how you can upcycle a few old unused neckties into a cute new obi belt. Pair this belt with a loose shirt for something stylish and unique. Check out my step-by-step tutorial below!
Tools and materials:
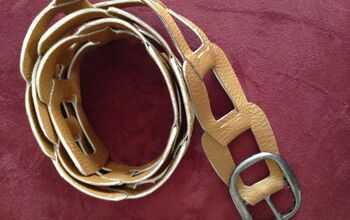
- Two neckties
- Thread
- Pins
- Sewing machine
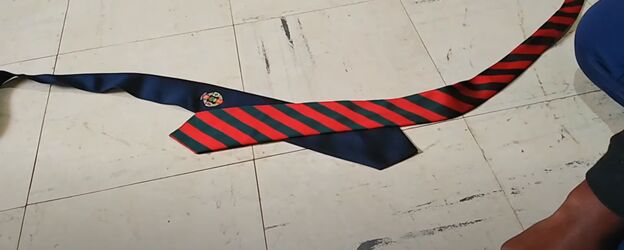
Position the neckties
Pick out two coordinating neckties from your closet and lay the bottom ends of them across each other diagonally, in the shape shown above.
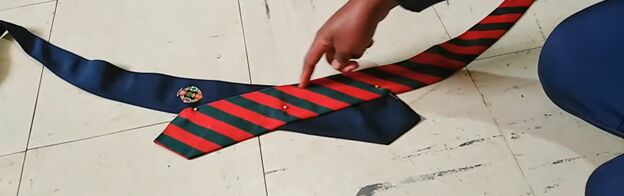
Pin the two neckties together where they overlap.
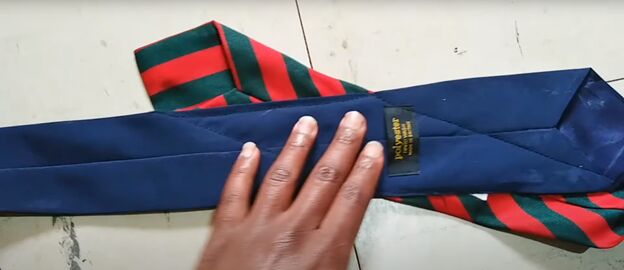
Attach the neckties
Now sew the ties together along the straight edges of each tie where they overlap. You’ll end up with a stitched parallelogram as shown in the image above.

Wrap and tie
To wear your new obi belt, wrap it around your waist from front to back and back to the front. Tie the thin ends of the neckties at the front.

That’s honestly all there is to it. Thanks for watching and I hope you share this tutorial with a friend!
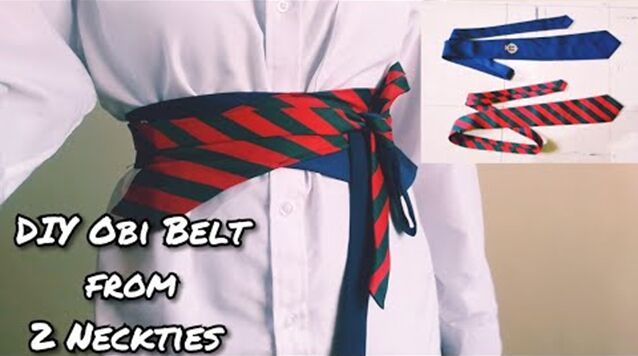
You can experiment with colors and prints, but I like the look of one plain necktie with one printed necktie. How would you customize this look for yourself?
The author may collect a small share of sales from the links on this page.


Comments
Join the conversation