How to Sew a Face Mask With a Filter Pocket

In this tutorial, I’ll show you two different types of face masks that you can make. There are quite a number of steps involved but don’t be phased; I’ve broken everything down to make it all crystal clear. You’ll come away with a functional and sophisticated looking mask; people won’t realize that you sewed it yourself!
Before starting the tutorial, I just want to say that these fabric masks are not a substitution for the n95 mask, however, they can be used as a last resort if all of the other certified options have run out.The first type of mask that I’m going to make is the classic pleated surgical face mask.
Tools and materials:
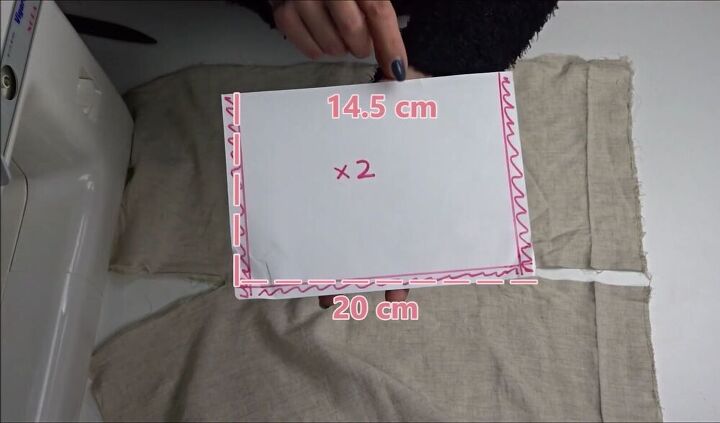
- 100% cotton tightly woven fabric. (If you’re not sure what this looks like, just hold the fabric up to the light - you should not be able to see through it). You’ll need two 14.5x20 cm [6x8 inch] pieces.
- Ribbon ties - 25cm [10 inches] long, or elastic ties (the measure will be determined by whatever fits comfortably around your head)
- Scissors
- Pen to mark the fabric with
- Sewing machine (or a needle and thread if you choose to do it by hand)
Measure and cut the fabric
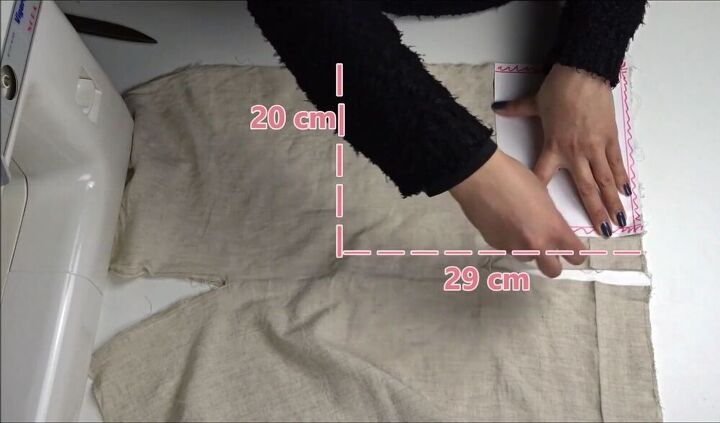
I’m using the fabric of a cotton skirt that I don’t wear anymore and have unstitched, but you can use any 100% cotton tightly woven fabric. As you can see, I’ve made a pattern for the size of material that you need to cut (14.5x20cm/6x8 inch). You’ll need to place two of these patterns on top of the fabric, or use the same one twice, in order to get a double measurement (20x29cm/8x11.5 inch). Mark the fabric so that you’ll know where to cut, and then proceed to cut around where you have marked.
Tip:
If the fabric is wrinkled, I recommend giving it a quick iron before you start sewing
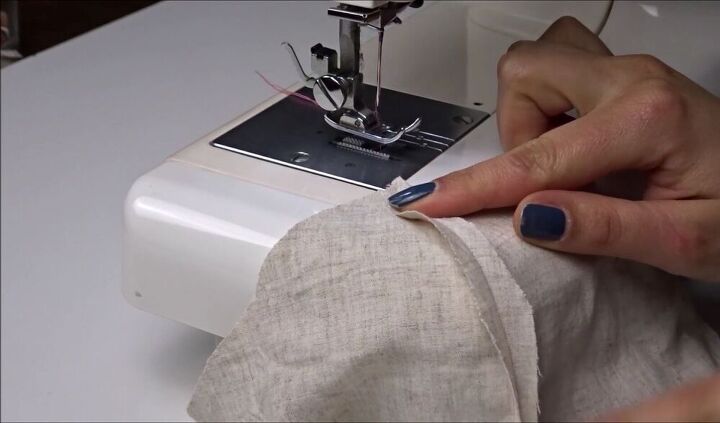
Sew the sides
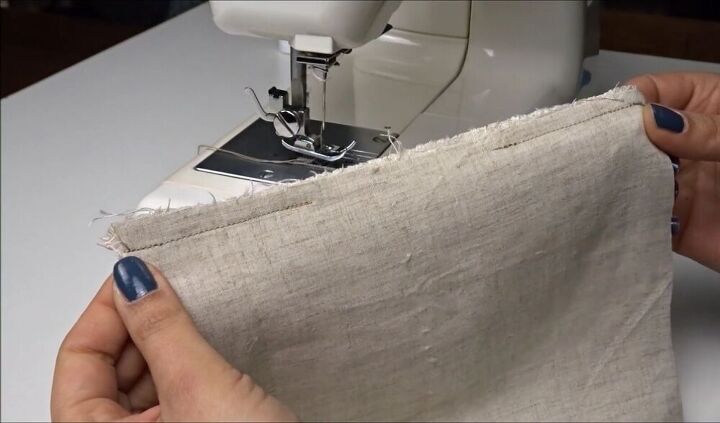
Fold the fabric width-ways and sew a straight stitch along the long side. You will need to sew 7cm (2.75 inches) into the fabric, then leave a gap of 6cm (2.4 inches), and then continue to sew the remaining 7cm (2.75 inches)until the end of the fabric.
Tip:
Remember to always backstitch when you start sewing and when you end to secure the seam. Make sure to do this at every stage of the sewing process.
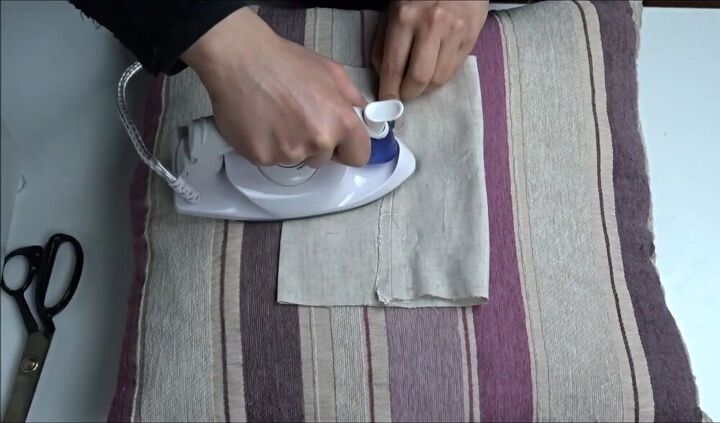
Iron flat
Arrange the seam into the center of the mask, open it up, and press down with an iron.
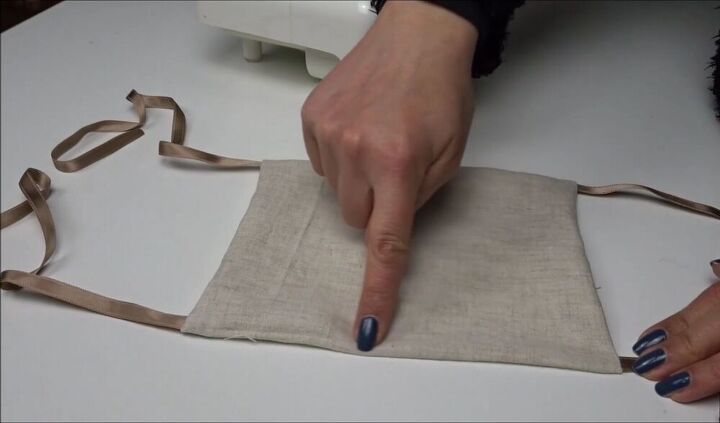
Add the ribbon
Cut four pieces of ribbon, 25cm (13.8 inches) in length or longer. Place the four ribbons inside the mask in each corner, leaving 1cm (0.4 inches) sticking out. Now sew a straight stitch along the width sides (again, make sure to backstitch when you start sewing and when you end to secure the ribbons and seam).
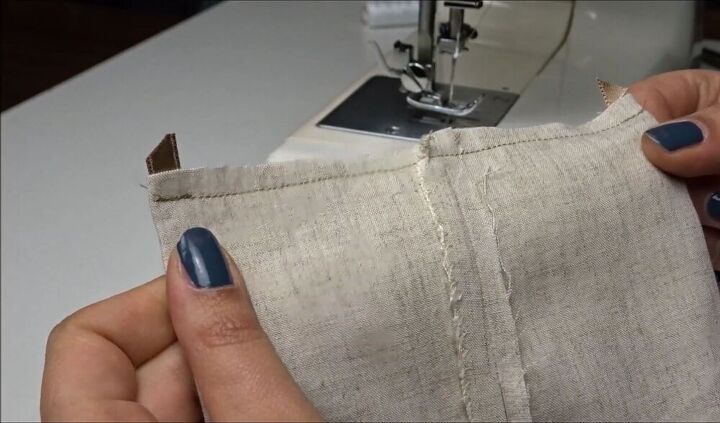
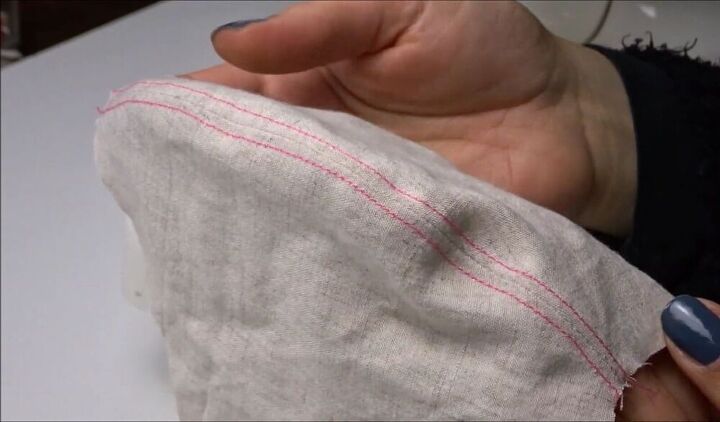
Turn and stitch
Turn the mask right side out and topstitch along the long sides.
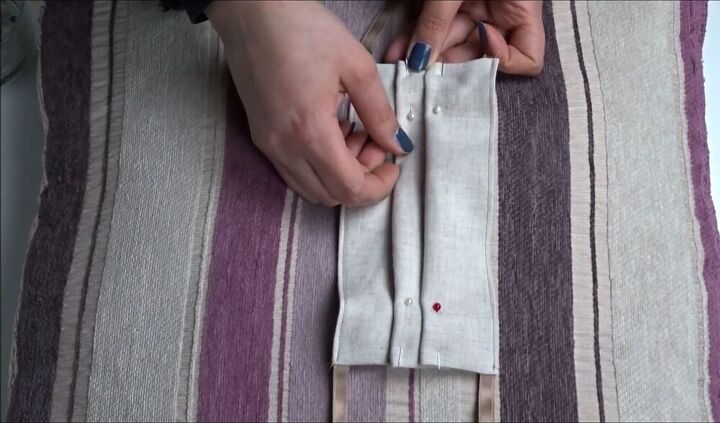
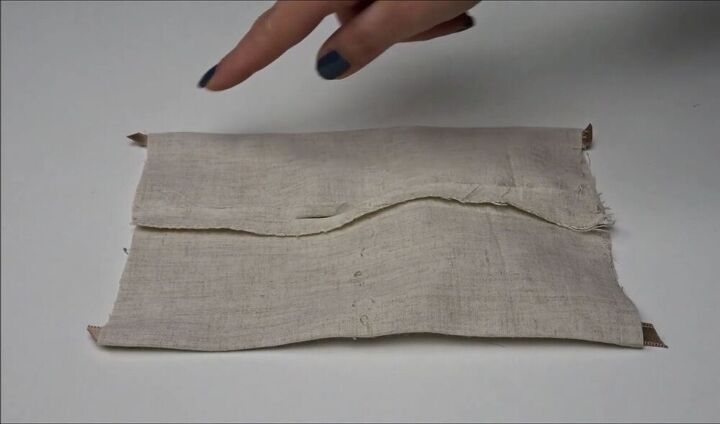
Fold and pin
For this stage, you need to fold down the top of the mask and pin the fabric in place on both sides. Then repeat this process to make a second fold.

Final stitches
To end, sew a straight stitch along both width sides of the mask. And there you have it - your usable face mask with a filter pocket.
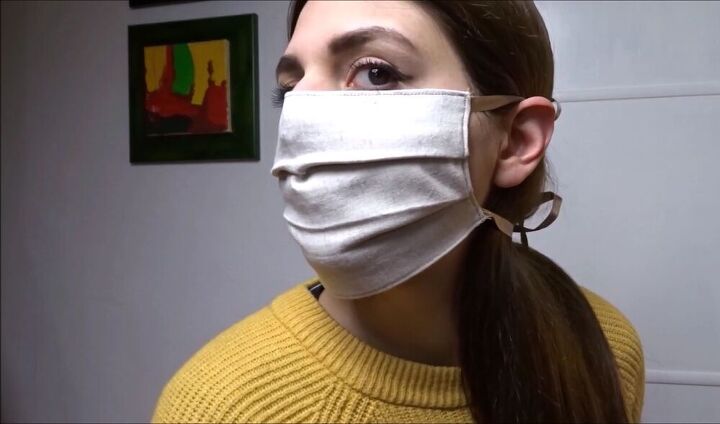
Now I’m going to show you how to make a close-fitted face mask.
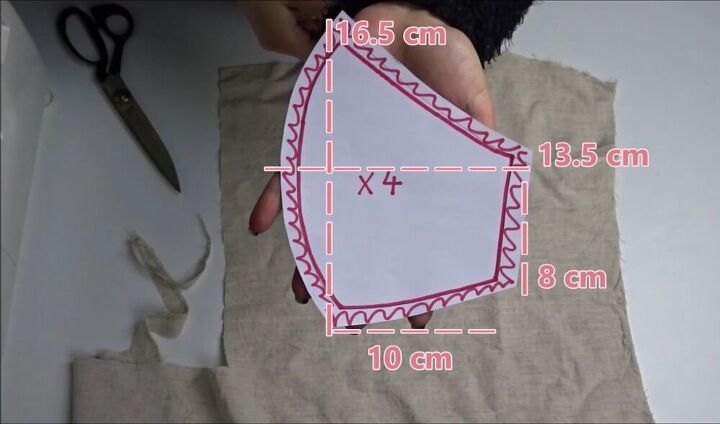
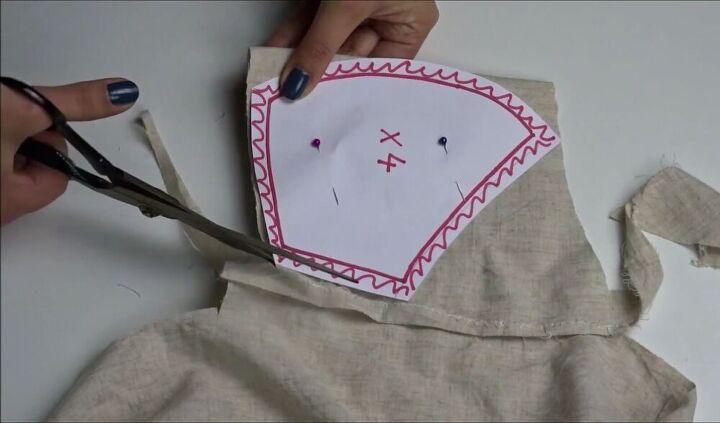
Measure and cut the fabric
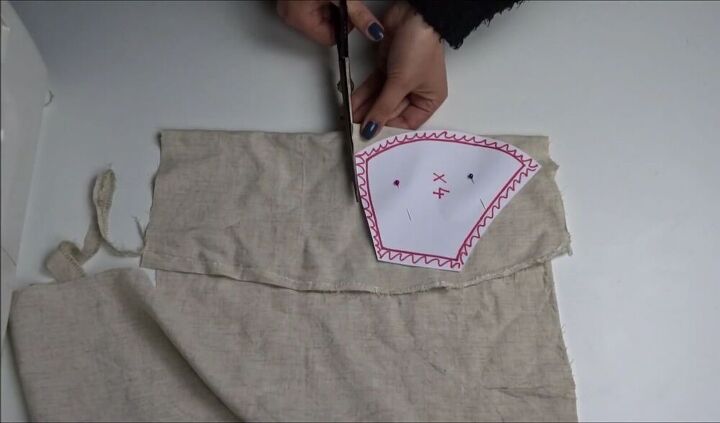
To make this mask, I am using the remaining fabric from the same skirt, but you can use any 100% cotton tightly woven fabric. See the picture for the pattern with the measurements that I’ve made. You’ll need to make your own pattern to use to cut the fabric. Fold the fabric in half, pin the pattern to the fabric and cut around it.
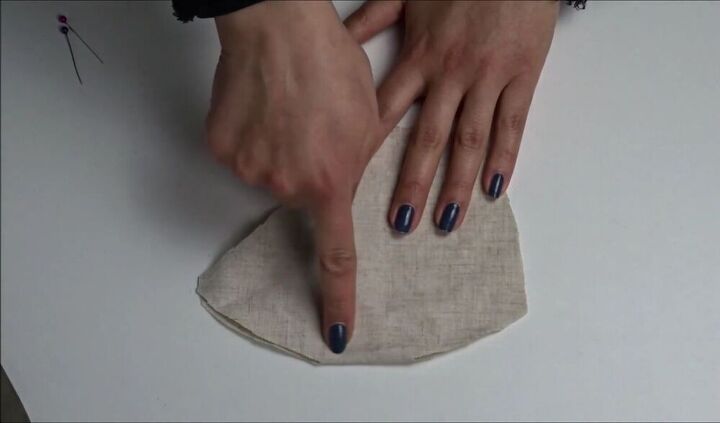
Sew sides together
Now take the pins out. You have two layers of fabric for the outside part of the mask. Sew the long curved sides together with a straight stitch.
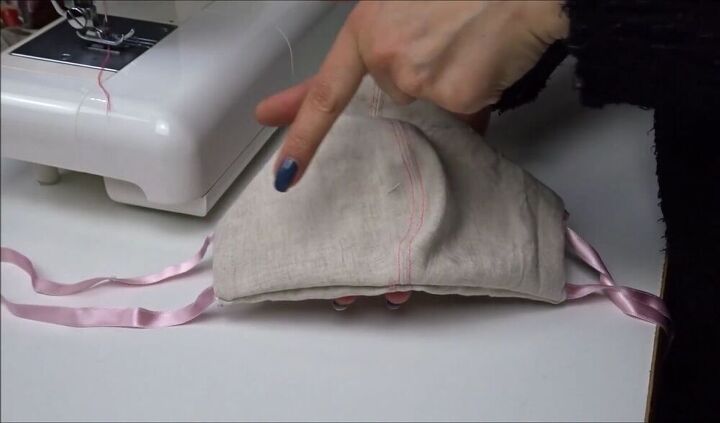
Sew the middle
Open up the face mask and topstitch down the two sides of the middle part (as shown in the picture).
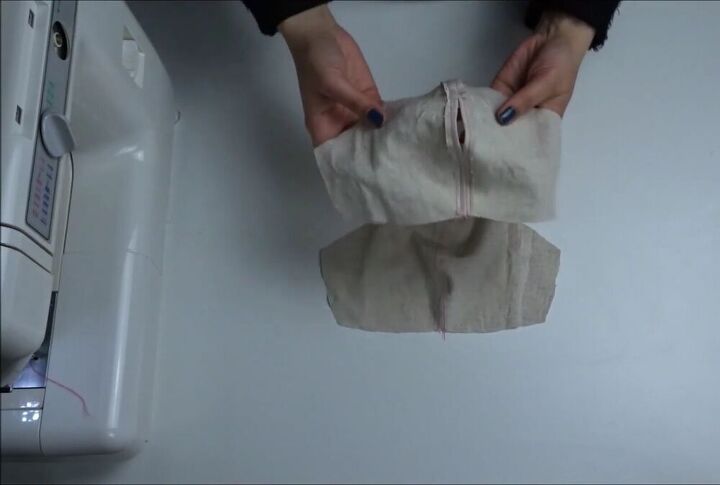
Measure and cut the fabric again
What you’ve made until now is the fabric for the outside part of the mask. Now we need to make the fabric for the inside part of the mask. Fold the fabric in half, pin the pattern to the fabric, and cut. Repeat stages 2 and 3 for this piece of fabric, although when sewing the long curved sides together, this time leave an opening in the center.
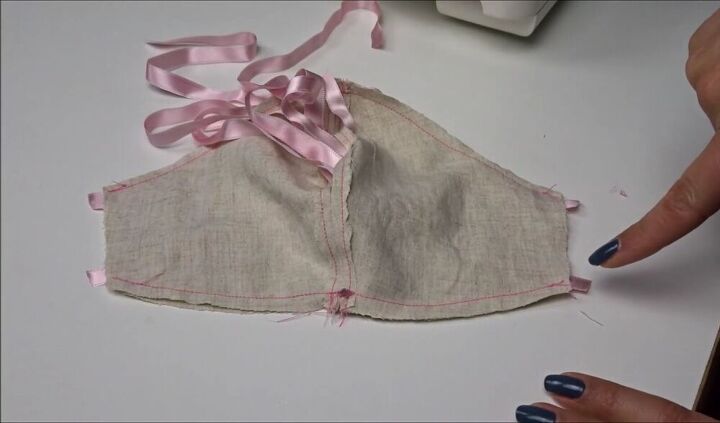
Bring the two pieces together
Place the two pieces of the mask together so that the good sides are facing each other and make sure that the center seams are lined up. Sew a straight stitch along the top and bottom sides of the mask but keep the other sides open.
Add the ribbon
Place the four ribbons inside the mask in each corner, leaving 1cm (0.4 inches) sticking out. Now sew a straight stitch along these sides.
Final stitches
Lastly, turn the mask right side out and end by sewing a straight stitch all the way around the edges of the face mask.

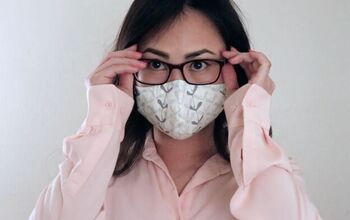
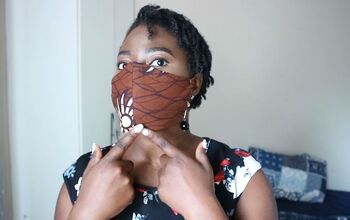
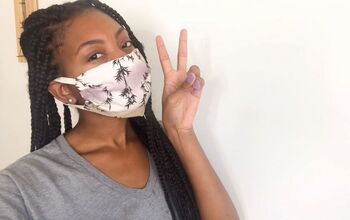
Voila! Two functional, trendy face masks made by you! The ribbons tied at the back as a pretty feminine element. If, like me, you have a tightly woven cotton garment that you no longer wear, this is an excellent idea of something that you can make with it.
The author may collect a small share of sales from the links on this page.


Comments
Join the conversation
Love an adjustable face mask strap :)