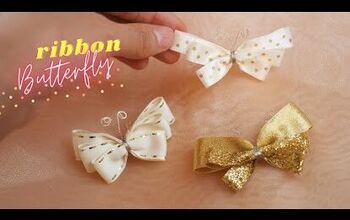
How to Make a Cute DIY Flower Hair Clip

Do you have some ribbon lying around? Why not turn it into a lovely DIY flower hair clip! In this quick and straightforward tutorial, I’ll show you how to make hair clips with ribbon and a few other materials. Let’s get to it.
Tools and materials:
- 2.5cm-wide (0.98 inches) ribbon
- 1cm-wide (0.39 inches) velvet ribbon
- Glue gun
- Hairpin
- Adhesive ribbon
- Pearl embellishment
- Leaf lace trim
- Flower accessory
- Ruler
- Scissors
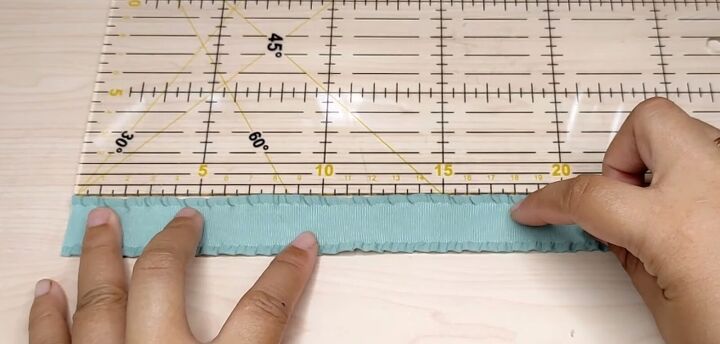
1. Cut the ribbon
The first thing you want to do is measure and cut your ribbon. It should measure 2.5cm (0.98 inches) in thickness and 15cm (5.90 inches) in length. Cut a second piece measuring 18cm (7.08 inches).
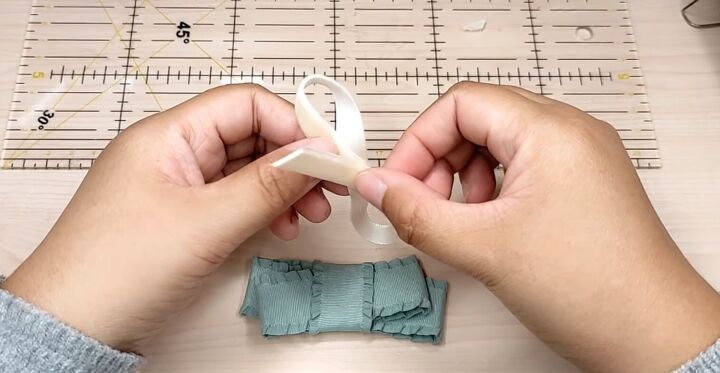
2. Create loops
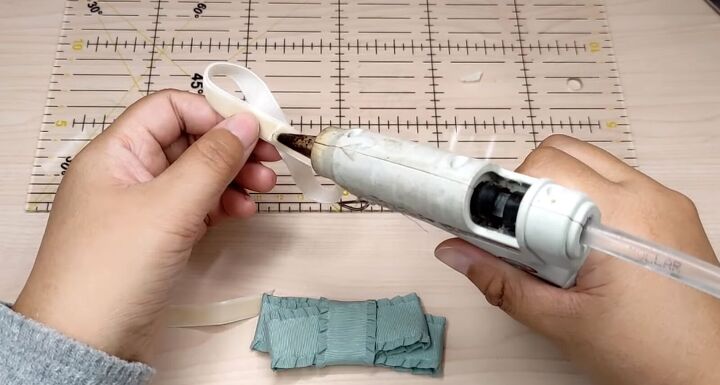
Apply glue to one end of the ribbon with a glue gun.

Stick the other end to create a loop.
Repeat on the second piece.
3. Glue both pieces
Apply glue to the outer side of one of the pieces and stick the other piece on top at an angle. Press down immediately after.
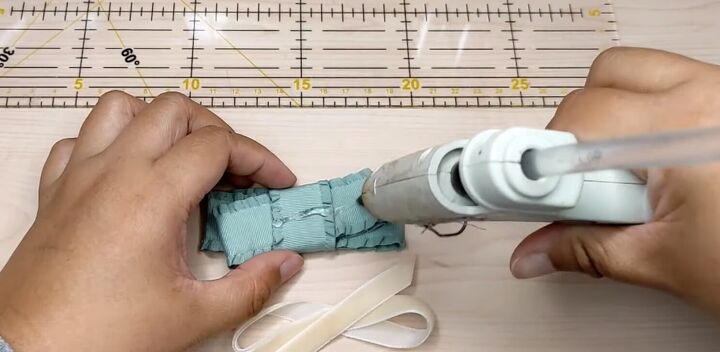
4. Close the ribbon
Next, apply glue to the middle and wrap a piece of ribbon around the center of the bow.
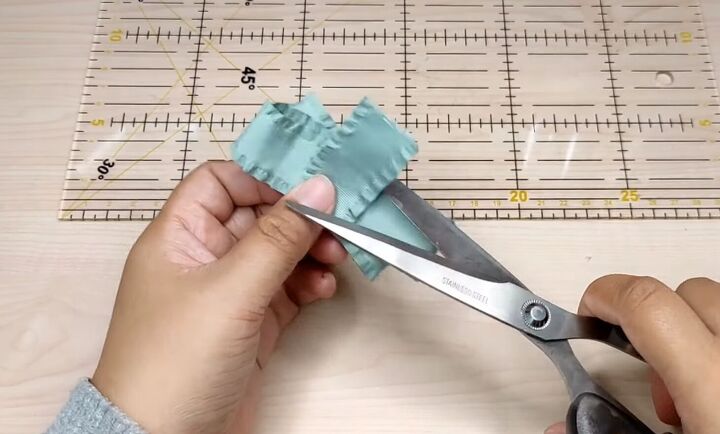
Cut off the excess.
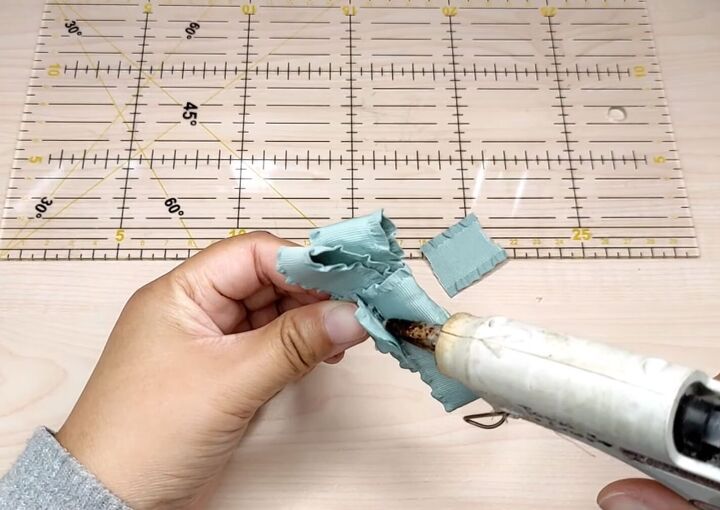
Then, glue down the edge.
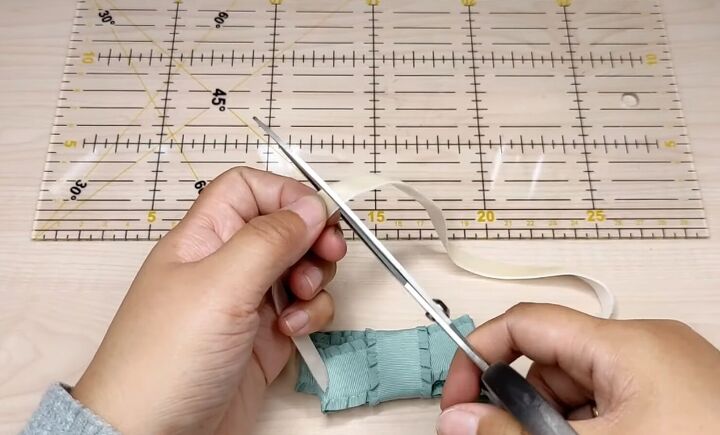
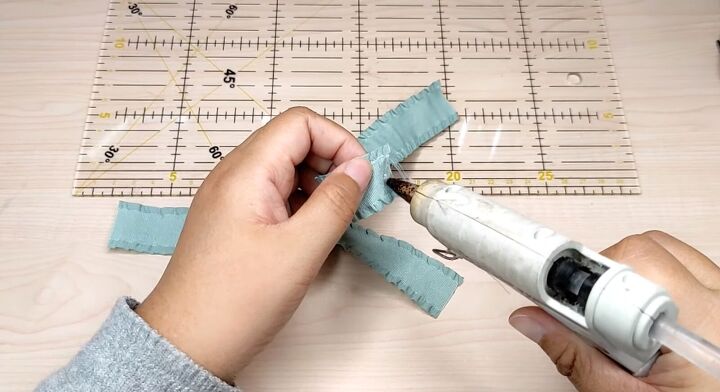
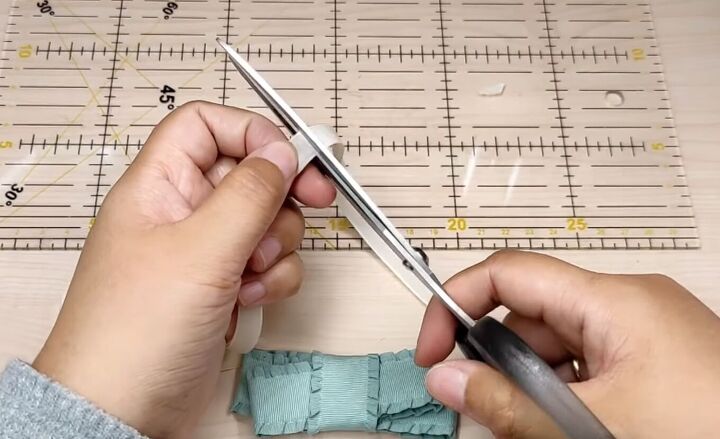
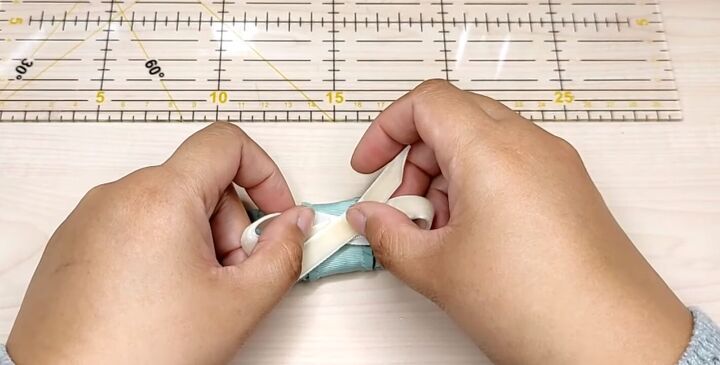
5. Make a smaller bow tie
Now, measure and cut a piece from the 1cm-thick (0.39 inches) velvet ribbon, it should be 9cm (3.54 inches).
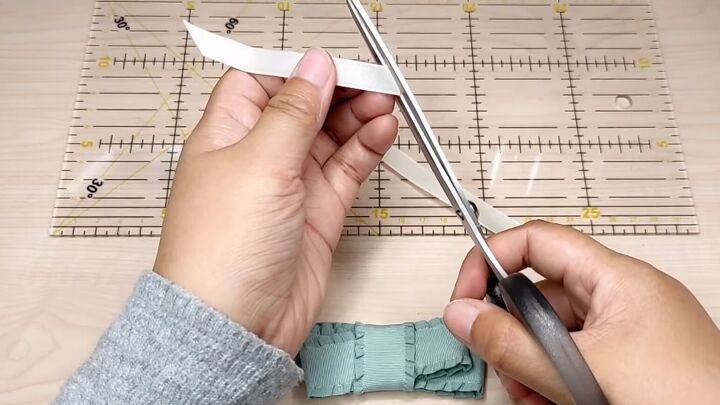
Snip the ends for a lovely angled finish.
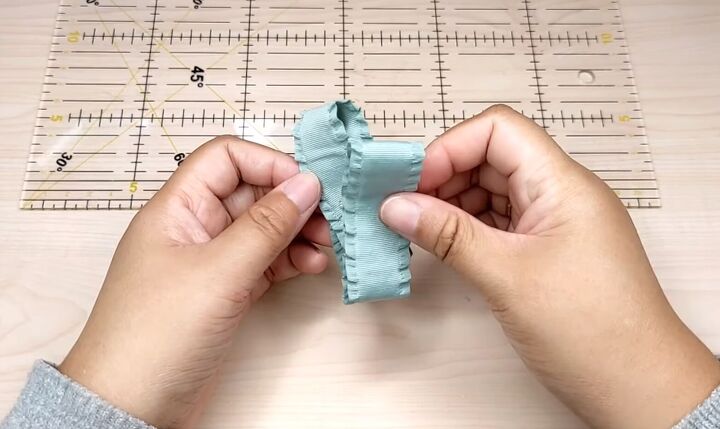
Now, cut another piece measuring around 18cm (7.08 inches).
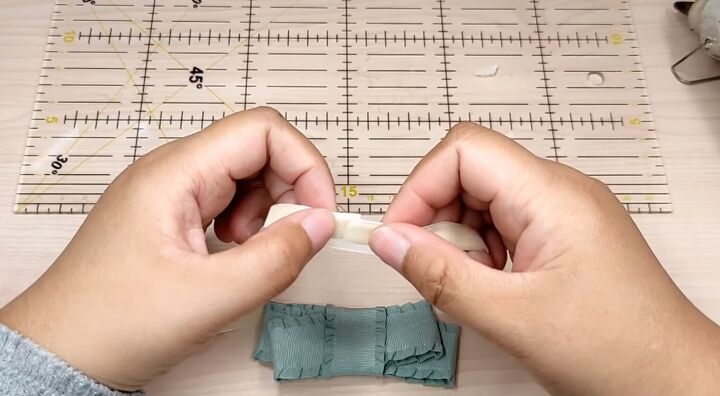
Glue the ends of the longer piece together.
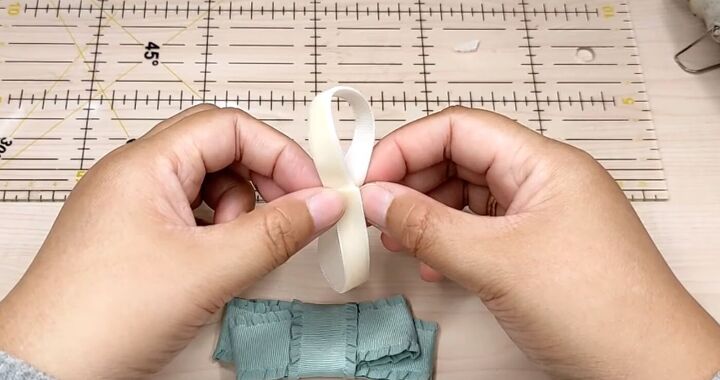
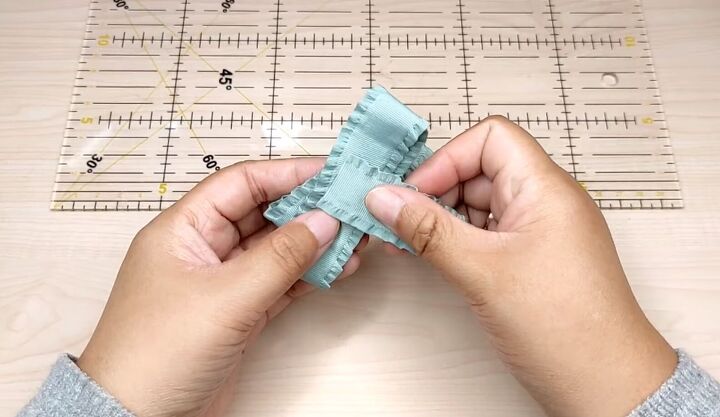
Then, place glue on the inner side and place the center together to form a bow.
Add a little more glue to the bottom of the bow and stick the 9cm (3.54 inches) ribbon piece at the bottom at an angle.
6. Combine both bows
Add a dab of glue to the center of the main piece, and then stick the thinner bow in the middle.
Place it at a slight angle.
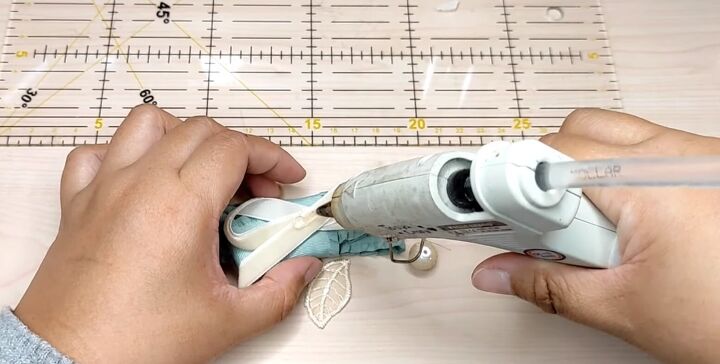
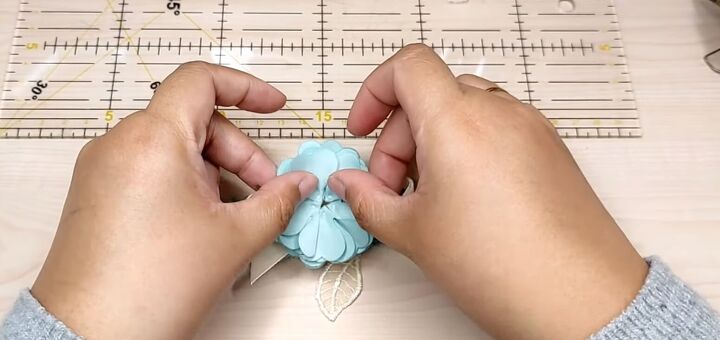
7. Add the accessories
Now, add a little more glue to the center and place your flower directly on top.
Next, place your lace trim leaf and a pearl embellishment.
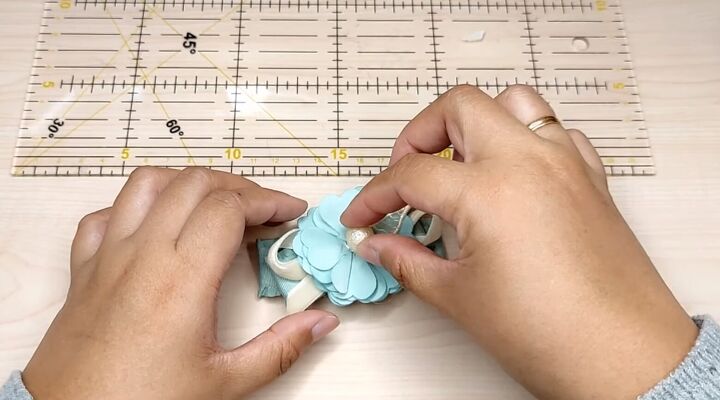
8. Attach the hair clip
Place an adhesive ribbon onto the front side of the hair clip. Ensure that each edge of the clip is enveloped, too.
Cut the excess and stick down the ends.
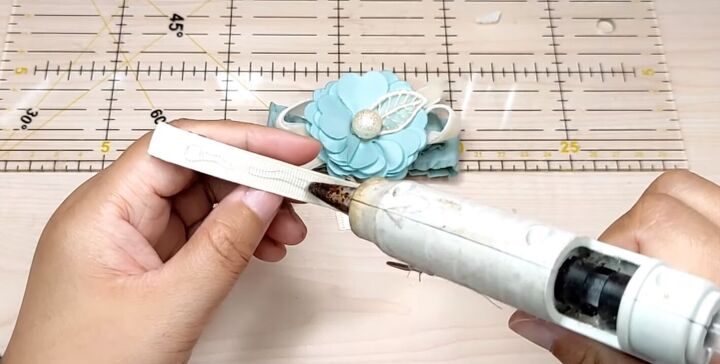
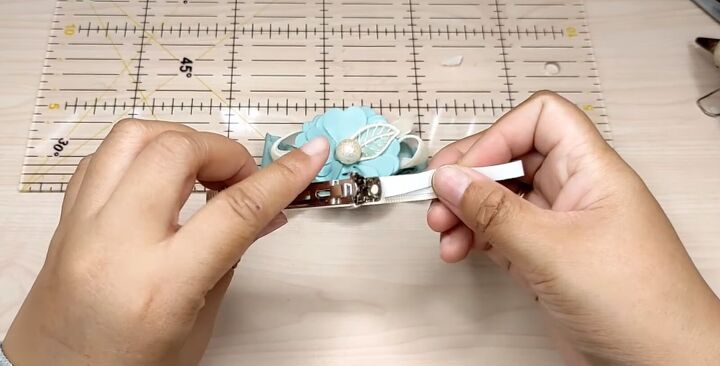
Apply glue along the length of the hair clip.
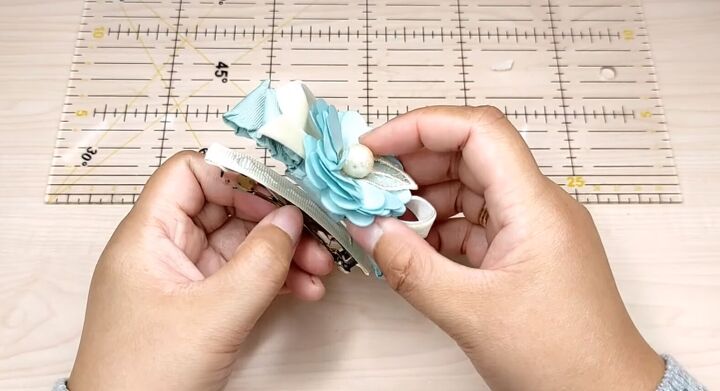
Stick down the DIY flower piece on top.

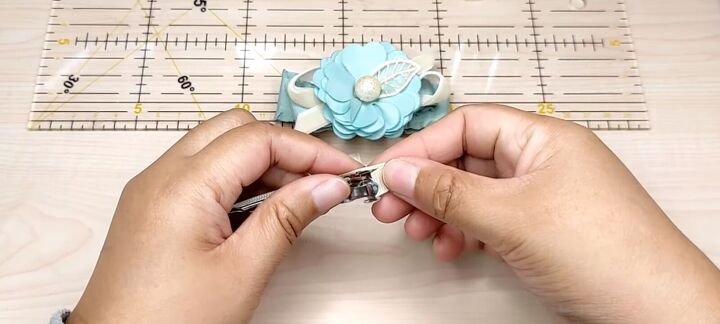
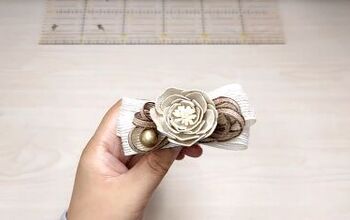
DIY flower hair clip tutorial
Your DIY flower hair clip is complete! It’s so easy and straightforward and the best part is, you can play around with different textures and colors!
I hope you enjoyed this tutorial on how to make hair clips and that you now have the inspiration to make your very own DIY hair clip the way you like!
The author may collect a small share of sales from the links on this page.


Comments
Join the conversation