How to Make a DIY Hair Clip and Scrunchie With Dollar Store Supplies

Today we’re going to do two hair accessory DIYs. I actually managed to make both of these projects using only dollar store products. The first project I’ll be showing you is how to make a sparkly DIY hair clip with one of those big snap clips that have been making a huge comeback recently. The other will be a hair scrunchie with tails, which is a great, fun way to spice up an outfit and add some color to it.
Tools and materials:
- Large snap clips
- E6000 glue
- Toothpicks
- Flat-backed jewel stickers
- Thin scarf
- Sewing elastic
- Scissors
- Sewing machine
Basic DIY Hair Clip
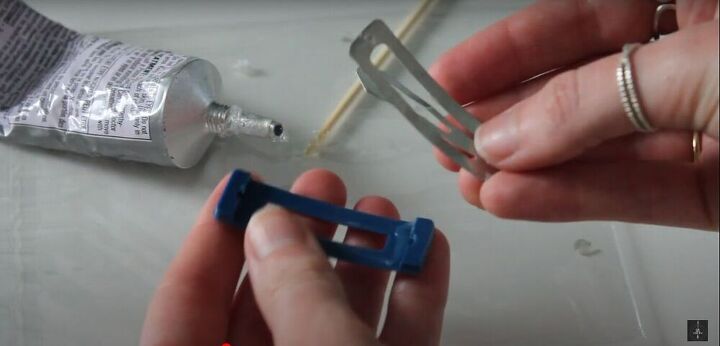
Remove any coverings
The hair clips I bought had a plastic covering on them which I removed, leaving me with a plain silver clip.
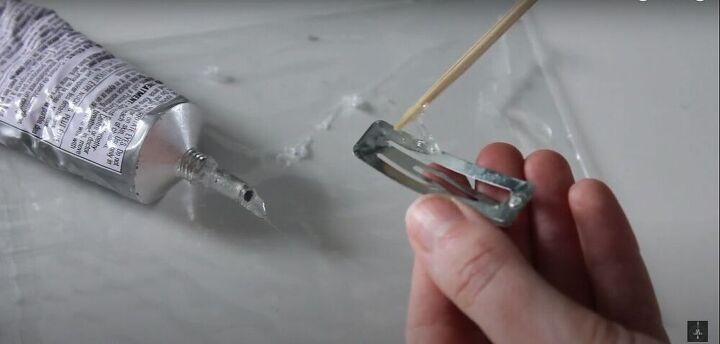
Apply glue
Using a toothpick to make the application easier, I spread E6000 glue all over the top of the clip, while the clip was in the open position.
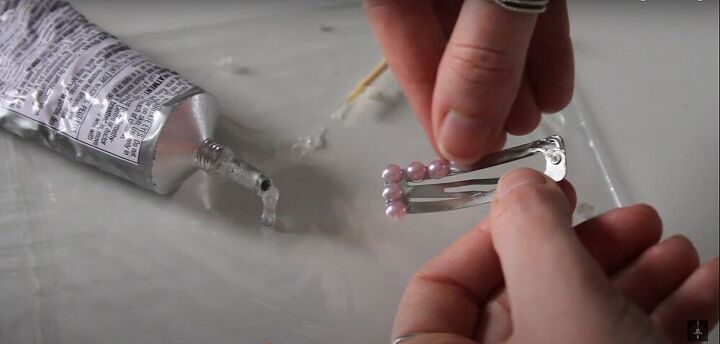
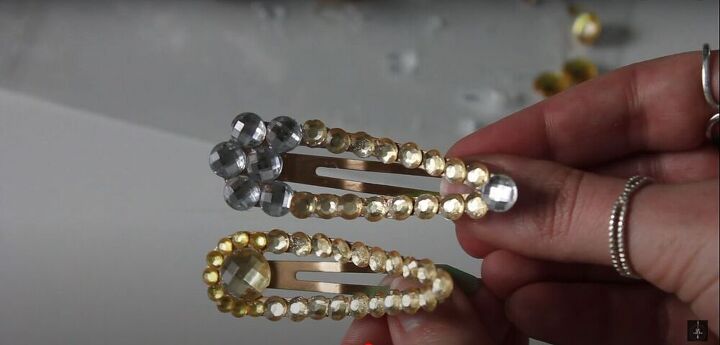
Attach the jewels
I attached the jeweled stickers to the clip, laying them as evenly and close together as possible, and making sure the edges of the stickers weren’t hanging too far over the edge of the clip.
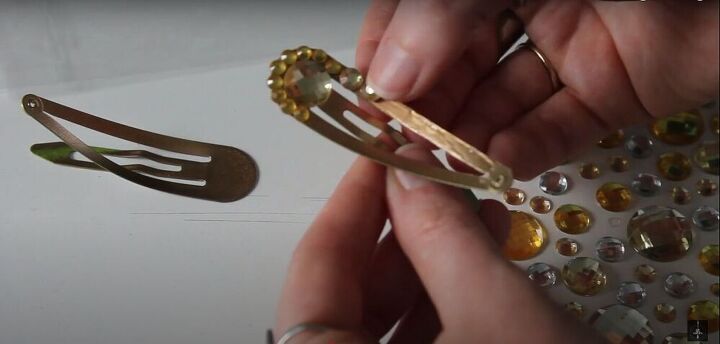
Repeat
I made a few more hair clips by following the same steps and using triangular-shaped clips, and gold-toned jewel stickers. These clips were originally green and purple, so I spray-painted them gold before attaching the jewels.
Let them dry
Allow the glue to dry overnight, keeping the clips in the open position while they’re drying. Once they’re completely dry, they should be able to open and close easily.

Scrunchie with tails
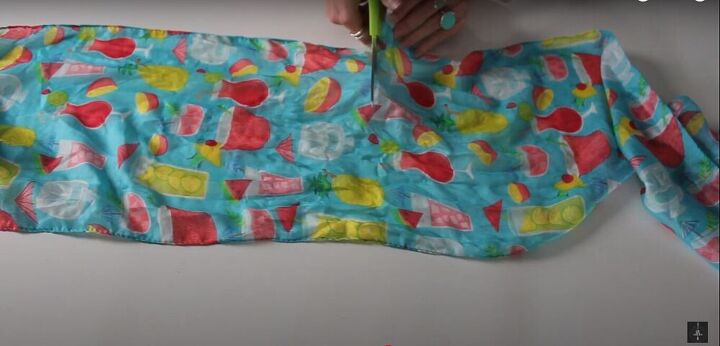
Cut the scarf in half
The scarf I bought from the dollar store was quite long, so to start my project, I cut the scarf in half.
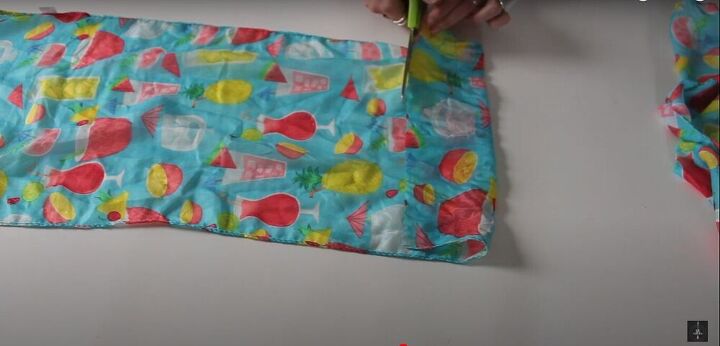
Fold over one side
I folded the raw edge over about four inches and then used the raw edge as a guide for where to cut the scarf to create a strip of fabric for the scrunchie.
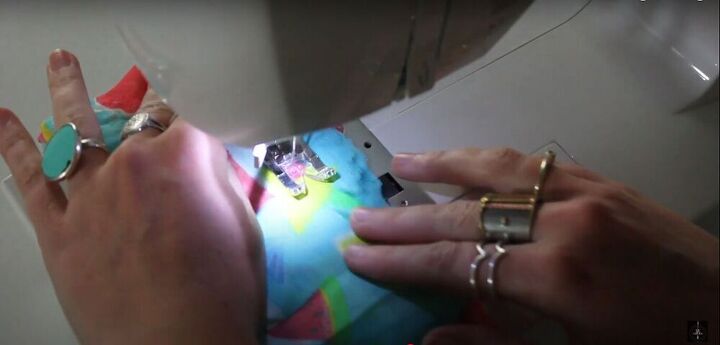
Sew the fabric
I created a tube of fabric by sewing the long edges of the fabric together and leaving the short edges open.
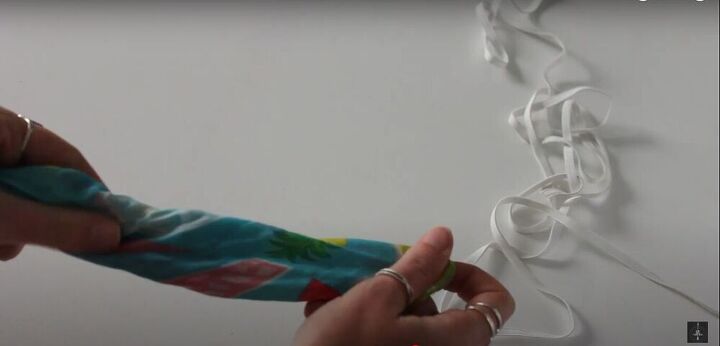
Turn the tube right side out
Next, I pulled the fabric through one of the open ends of the tube so the seam was hidden on the inside.
Cut a piece of elastic
I measured a piece of elastic about the size of an average hair elastic, and cut it.
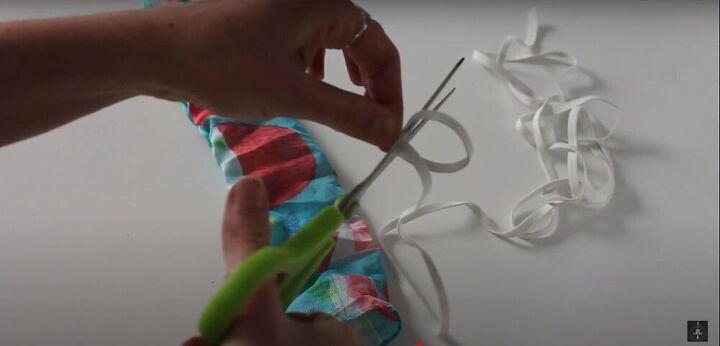
Insert the elastic into the tube and close up the ends
I pulled the elastic through the tube, attached the ends of the elastic together, and then sewed the open ends of the fabric together to make a scrunchie.
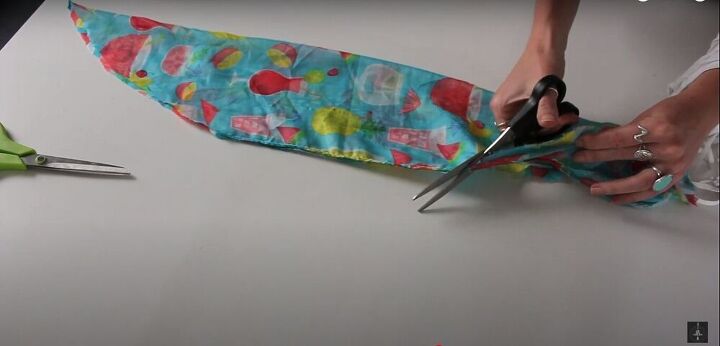
Cut fabric for the tails
With the rest of the fabric, I folded it in half lengthwise and cut across the corners to create two pointed ends.
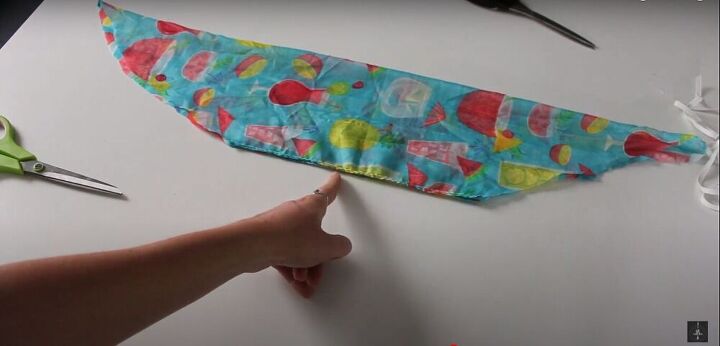
Sew the edges
Then I sewed all the open edges together but left a gap of a few inches open in the center.
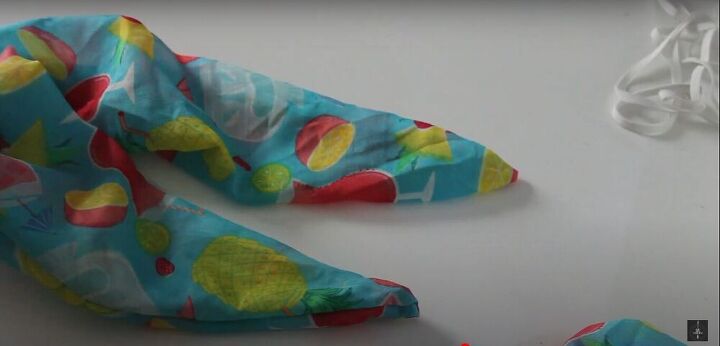
Turn the fabric right side out
Once the edges were sewn together, I pulled the fabric through the gap I left in the center of the stitching so the right side of the fabric was on the outside and the seams were hidden inside.
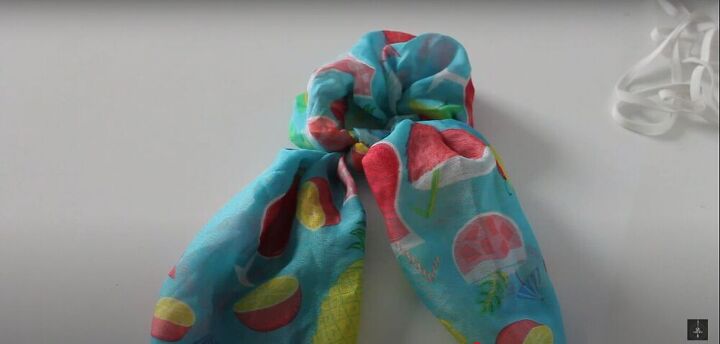
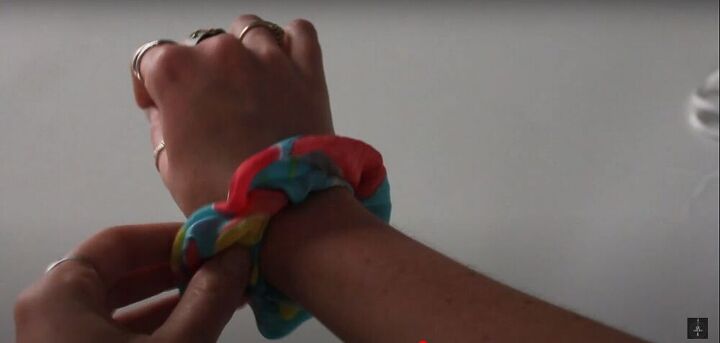
Tie the tails to the scrunchie
Finally, I tied the tails onto the scrunchie, and I had an adorable new hairpiece!
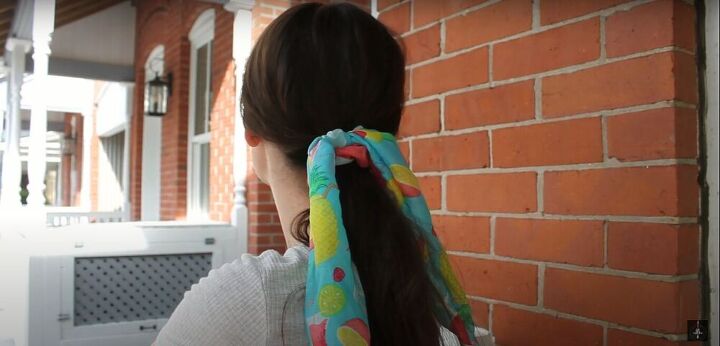
I’m sure I’m going to get a lot of use out of these hair accessories. Let me know which of these DIYs is your favorite. And, of course, if you make any of these projects, I’d love to see how they turn out.
The author may collect a small share of sales from the links on this page.


Comments
Join the conversation
This is great i'm always on the hunt for cute bobbypins since my hair is so thin but I always go back to those boring hair clips no more thanks!♡