How to Make a Cute DIY Knotted Headband With Embroidery

If you love vintage style, and you like doing embroidery, then follow along with this DIY knotted headband tutorial. The headband and embroidery pattern are included, along with the instructions for hand-sewing this floral embroidery headband.
If you love creating your own designs, you can swap out my floral pattern for one of your own. If you don’t want to embroider at all, then just make a plain knotted headband!
Tools and materials:
- Basic wire hairband
- Linen fabric
- Embroidery needle and thread
- Embroidery hoop
- Scissors
- Knotted headband pattern
1. Download the headband design pattern
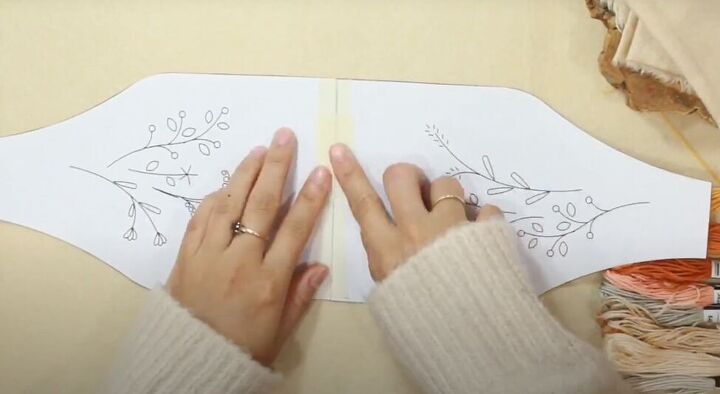
Download, print, and cut out the headband pattern. Note that the pattern is made on A4-sized paper, which is 8¼ x 11¾ inches. If you do not have that size paper, print the pattern on legal-sized paper, which is 8½ x 14 inches.
Tape the two pattern pieces together along the straight ends.
2. Transfer the design pattern
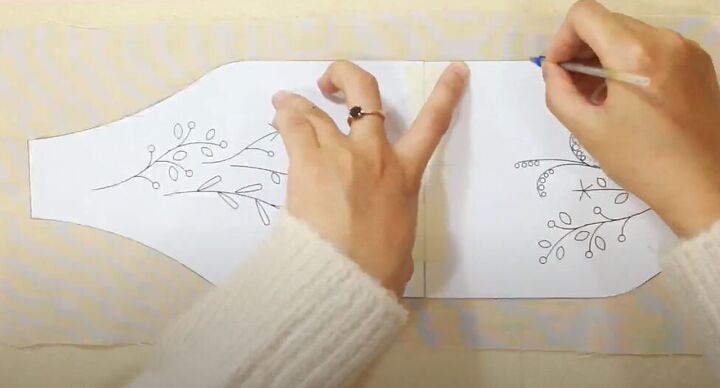
Fold your linen fabric and trace the outline of the design pattern onto the linen (but not on the fold – you want two pieces of linen once cut.)
Cut the fabric and then copy the floral pattern onto one of the pieces of fabric.
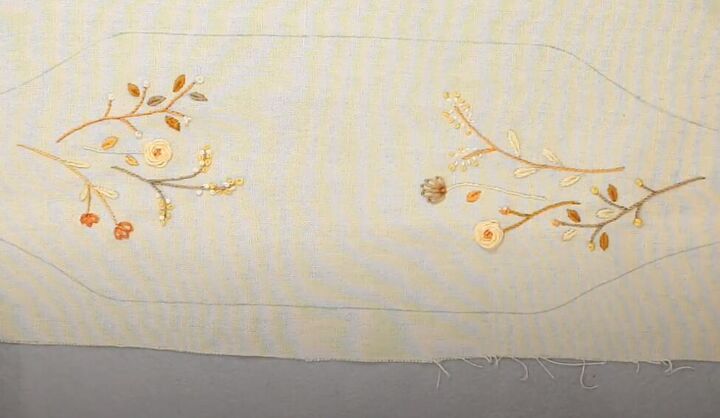
3. Embroider the pattern
Embroider the floral pattern using the stitches suggested in the video from 1:00 to 1:27.
4. Sew the headband
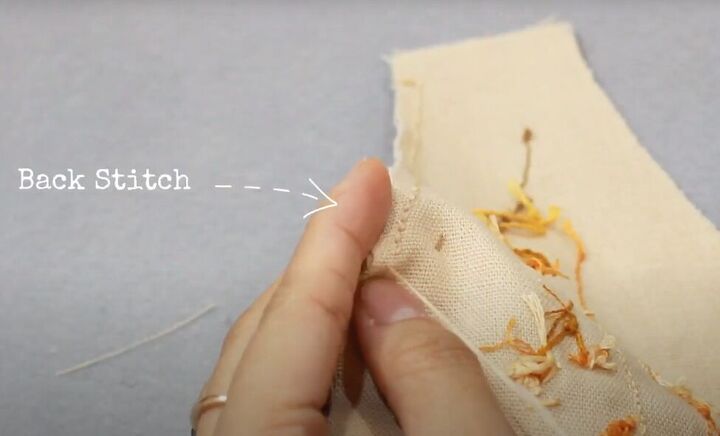
With right sides facing in, use a backstitch to sew the two headband pieces together along all sides, leaving a gap on one long side to turn the headband right side out.
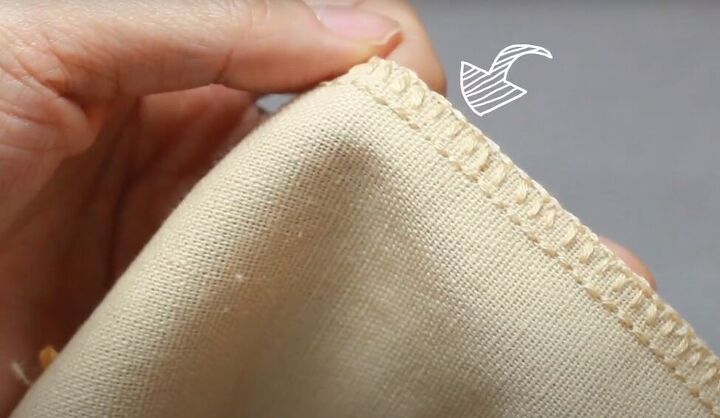
Then blanket stitch the sewn edges to prevent any fraying.
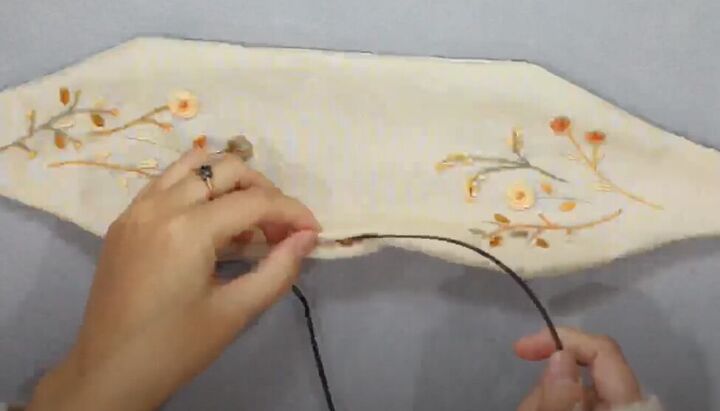
Turn the headband right-side out and insert your hairband through the gap, lining it up so that the top of the hairband is in the center top of the headband fabric.
When the hairband is in the correct position, pinch the fabric around the center of the hairband and stitch the gathered fabric together.
5. Make the headband knot
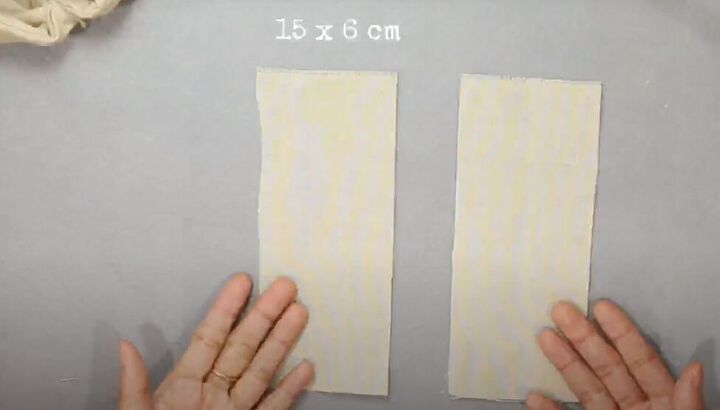
Cut two 15 x 6-centimeter (5.9 x 2.4-inch) rectangles of linen fabric.
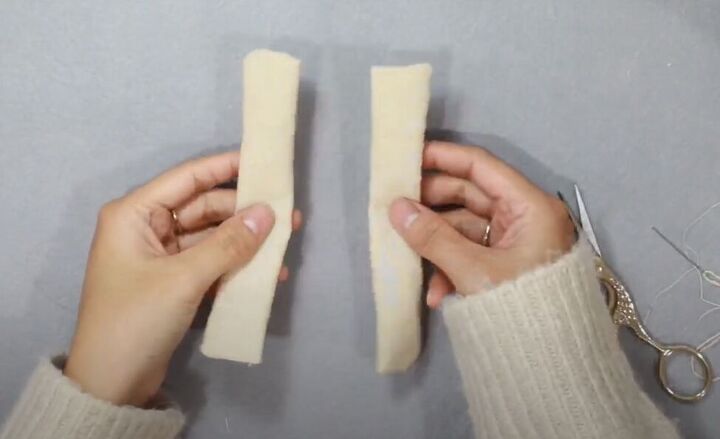
Fold each rectangle in half lengthwise with the inside facing in. Sew the long edge and one short edge closed on each rectangle.
Then, turn the rectangles right side out and fold in and finish sewing the last short edge.
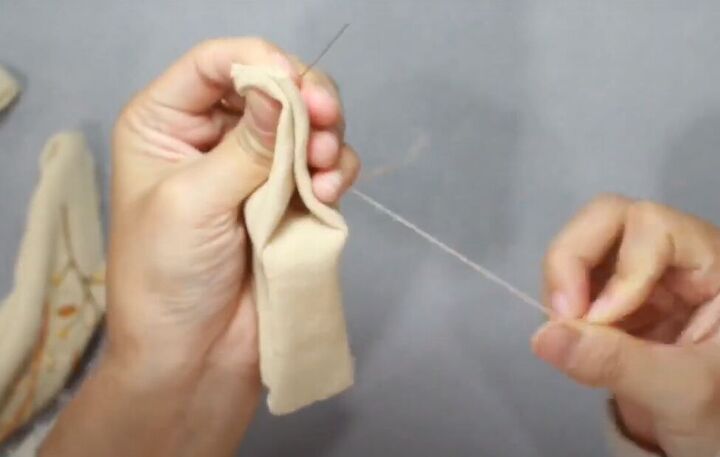
Fold one rectangle over the other to form a link and sew the open ends of both rectangles closed.
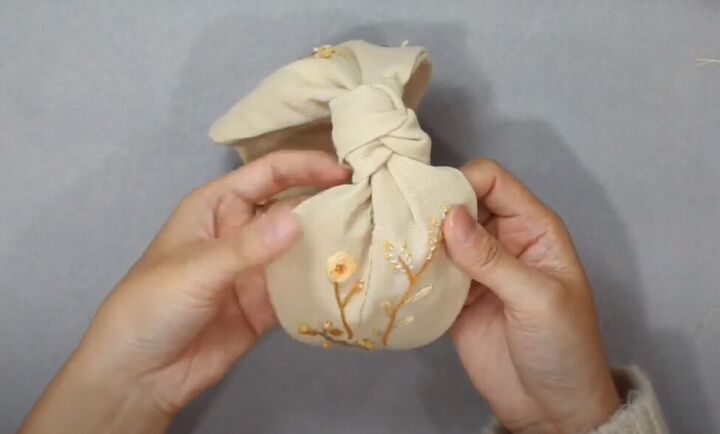
When you twist the link so that the sides are flat, the linked part will look like a knot.
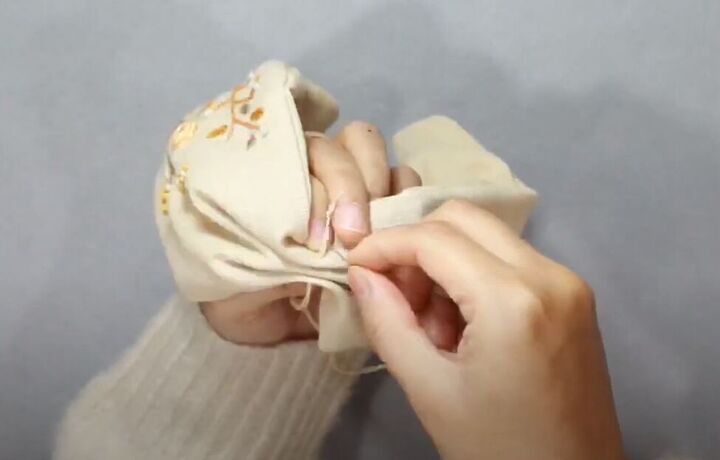
Wrap the links around the center of the headband so the knot is positioned at the center top and sew the open ends of the link together on the underside to close it.

DIY knotted headband tutorial
It’s all done, and the finished result is such a pretty, one-of-a-kind headband. You can use this same pattern with different colors of fabric and embroidery thread to make headbands to match lots of different outfits.
Of course, you could also use the same basic headband outline and design your own needlepoint pattern. Let me know in the comments if you liked making this DIY embroidered knotted headband.
The author may collect a small share of sales from the links on this page.


Comments
Join the conversation
You are adorable and the headband is lovely, Thank you for sharing your project.