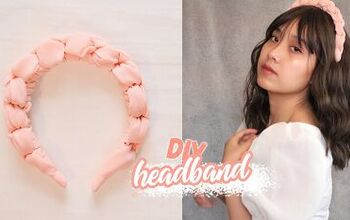
How to Make a DIY Chiffon Headband With a Cute Scrunchy Style

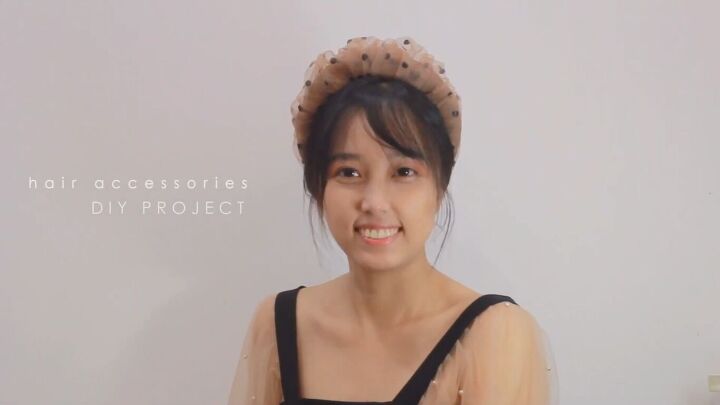
Today I’ll show you how to make a DIY chiffon headband. I’ve chosen to use polka-dot chiffon, but you can choose any color or pattern you wish. You might want to make several of these DIY headbands to coordinate with different outfits! Let's get started.
Tools and materials:
- 1-inch-wide plain plastic headband
- Solid colored silk fabric
- Patterned chiffon fabric
- Biochemical cotton (like a sheet of stuffing)
- Sewing needle
- Thread
- Hot glue gun and glue
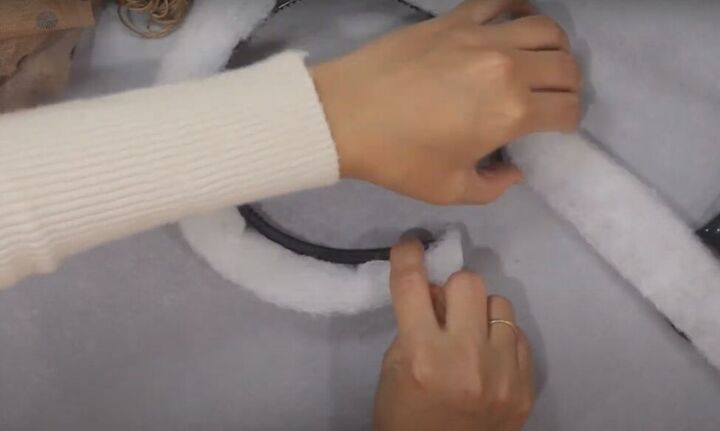
1. Attach cotton stuffing to the headband
Cut a 1-inch-wide strip of cotton stuffing to fit around the outside of your plastic headband.
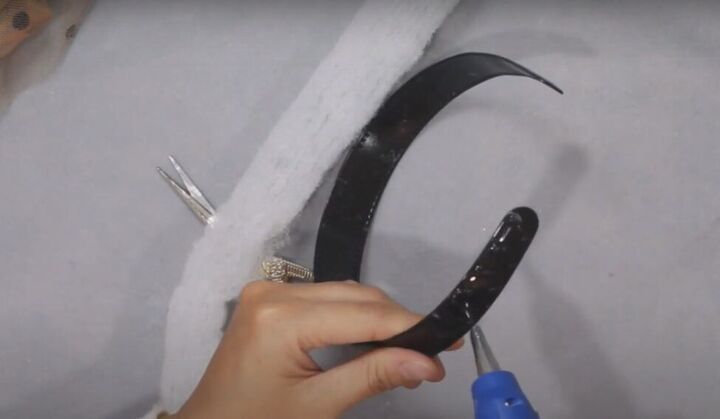
Attach the stuffing to the headband with hot glue.
Trim off excess stuffing around the bottom corners of the headband.
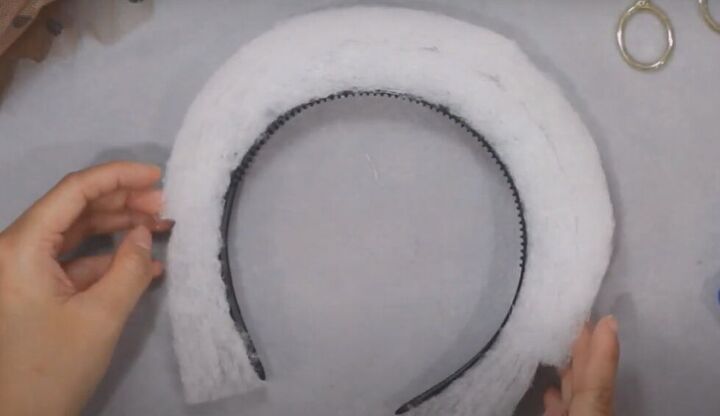
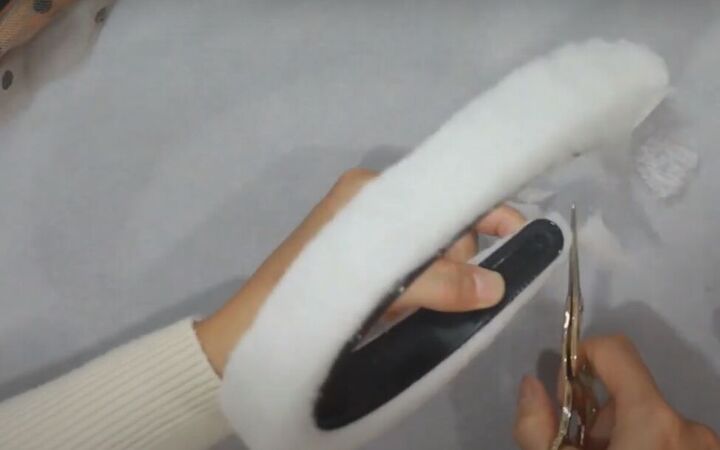
Glue a second, 13-inch piece of stuffing centered on top of the first piece.
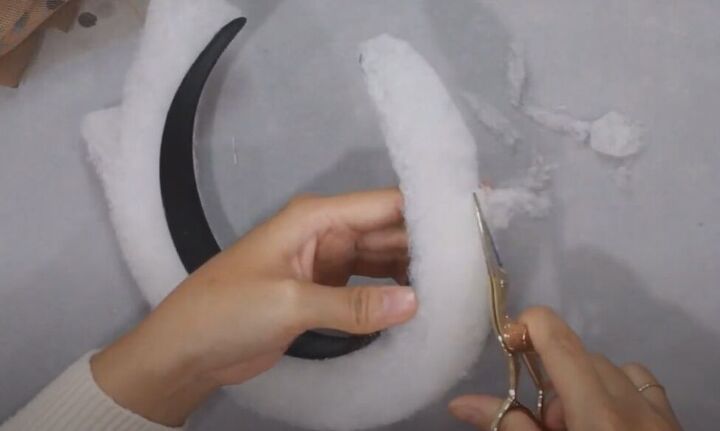
Trim the bottom edges so they blend into the first layer of stuffing.
2. Wrap the headband
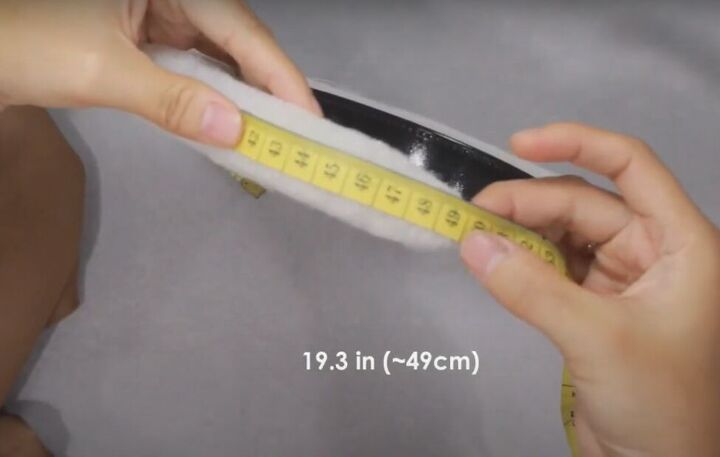
Measure the circumference of the hairband at its widest and measure the length of the headband. My headband was 4.3 inches in circumference and 19.3 inches long. Cut a strip of silk fabric to those measurements.
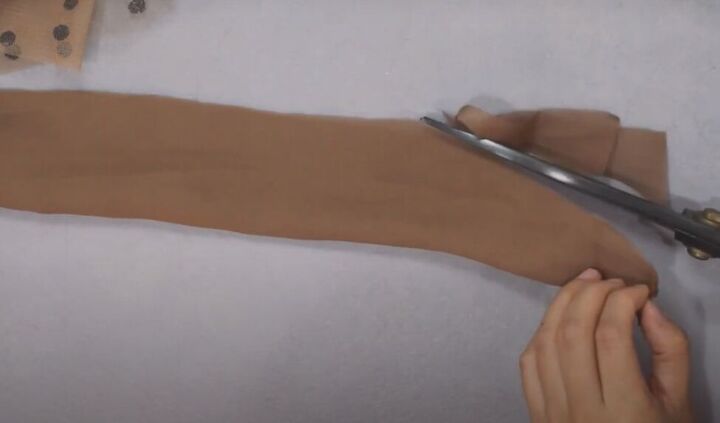
Fold the strip of silk in half lengthwise with the right-side facing in. Trim the ends so they taper according to the shape of your headband.

Hand-stitch a basting row along the straight open edge of the strip.
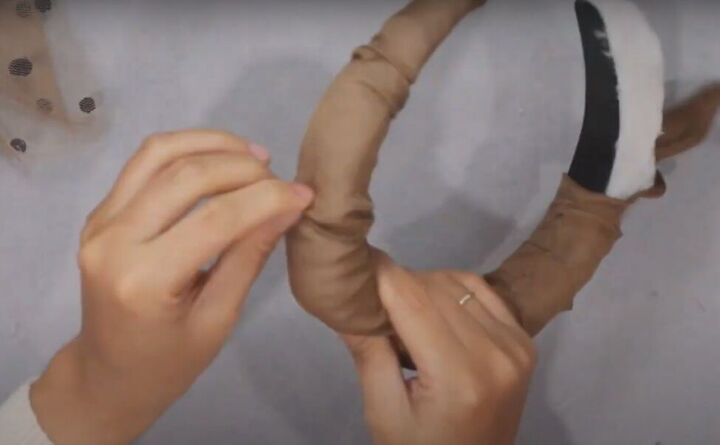
Turn the strip right-side out and feed the headband through the silk cover.
Hand-stitch the ends of the silk cover closed.
3. Add chiffon
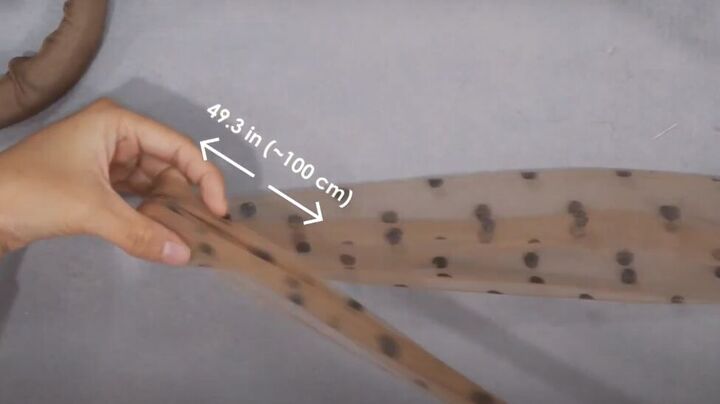
Cut a strip of chiffon 7.9 inches wide and 49.3 inches long
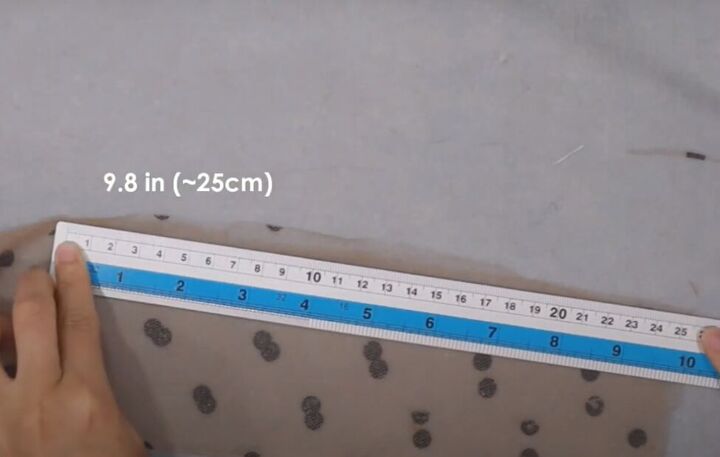
Mark the long open edge 9.8 inches from the end.
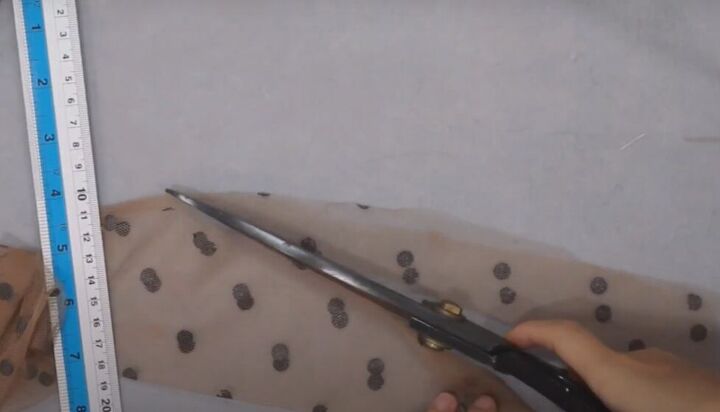
Make a diagonal cut from the middle of the side edge to that mark on the top edge.
Trim the other end of the chiffon to match.
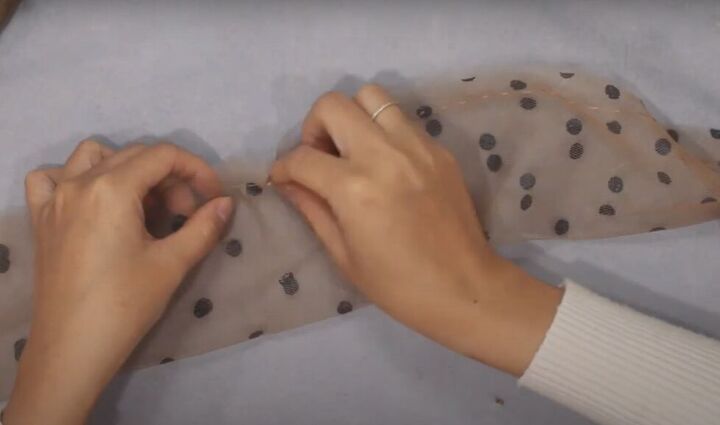
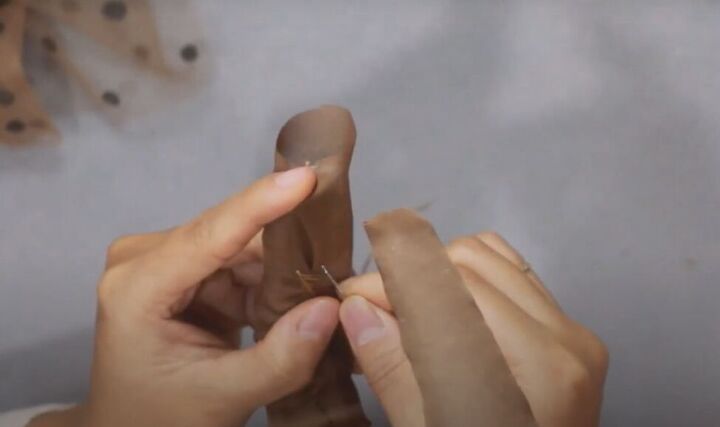
Fold the chiffon strip in half lengthwise with right sides facing in and hand-stitch the long straight open edge of the chiffon.

Turn the strip right side out and feed the headband through it. Gather the chiffon at the top of the headband to create the puffiness.
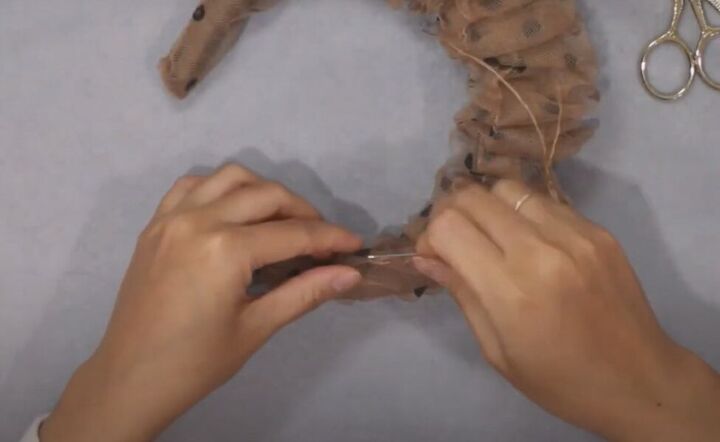
Hand-stitch the ends of the chiffon closed.
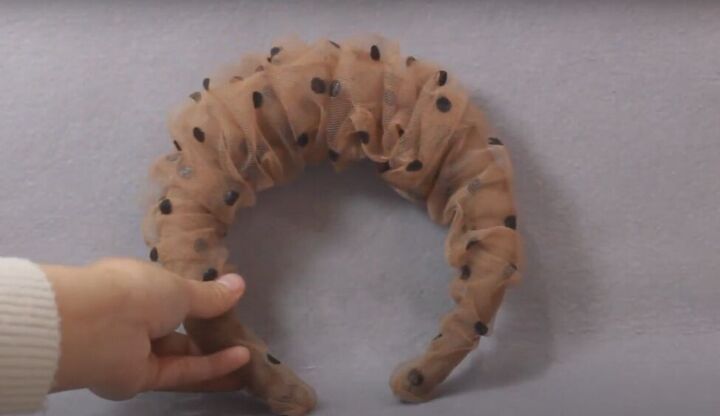
DIY chiffon headband tutorial
Your elegant DIY chiffon headband is all done. Now that you know how easy these are to make, you can get started on your own.
Leave a comment to let me know what colors and patterns you chose, and how your DIY headbands turned out.
The author may collect a small share of sales from the links on this page.


Comments
Join the conversation