Easy Dollar Store Headband Update
I love the dollar store, and it's so easy to give one of their basic headbands an update. Here is just one example of how I updated one of their black satin headbands. You can see more of my crazy creations here
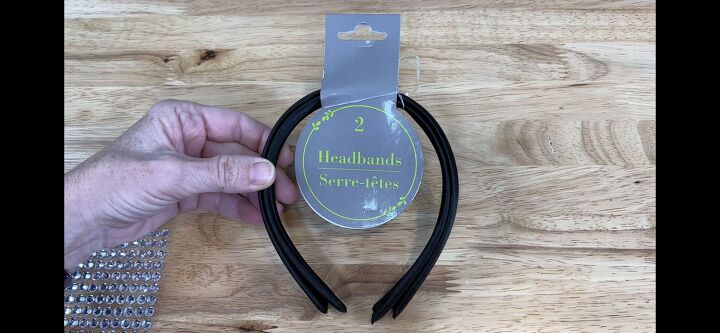
You'll need some headbands of your choice. I used this 2 pack of satin headbands from Dollar Tree and some adhesive stickers.
Here are some other options for clips and stickers:
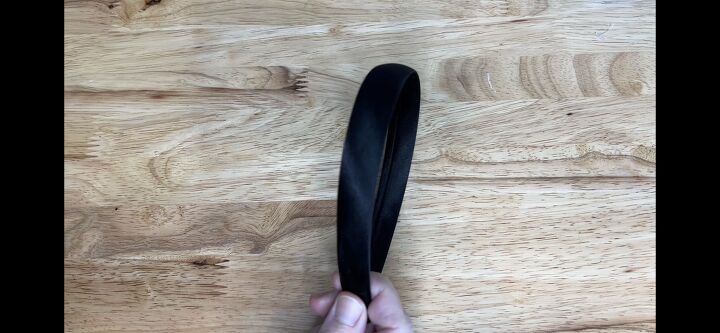
Here's a quick look at the plain headband. This headband is nice and you could leave it as is.

I’m going to start at the bottom and place them in the center or you could do if you want a solid row of stickers you could easily do two side-by-side or perhaps even three. I’m just going to aim at the center and I’m just going to continue doing this grabbing another row and then continuing over the top centering that up as I go over the headband until I get to the other side. I’ve got at least one more row to grab here and if I end up with some extra on the other side I will just simply trim it up.

You could easily do more than one row if you like. I’ve just given a very plain headband a nice little facelift.
I would love to have you stop by my blog Chas' Crazy Creations for the full tutorial as well as sign up for my latest creations, posts, recipes, exclusives, and more...
I would love for you to subscribe to my YouTube channel to see more of my crazy creations
I would love to have you stop by my blog Chas' Crazy Creations for the full tutorial as well as sign up for my latest creations, posts, recipes, exclusives, and more...
I would love for you to subscribe to my YouTube channel to see more of my crazy creations
The author may collect a small share of sales from the links on this page.


Comments
Join the conversation
Thank you
I'd love to invite you to join me ...
Chas' Blog - https://chascrazycreations.com/
Chas' YouTube - https://www.youtube.com/c/chascrazycreations
Thank you
I'd love to invite you to join me ...
Chas' Blog - https://chascrazycreations.com/
Chas' YouTube - https://www.youtube.com/c/chascrazycreations