How to Make Cute Polymer Clay Hair Clips With Unique Designs

In this tutorial, I’m going to be showing you how to make polymer clay hair clips. I’ll show you the different designs that I created, but the beauty of this DIY is that you can really do whatever you want with the clay.
I’m working with plain clay, but you can work with colored clay if you prefer. If you do, you may choose not to paint the clay, but you also have the option to do so if you want!
Tools and materials:
- Polymer clay
- Paint
- Hair clips (pop open clips and/or alligator clips)
- Superglue
- Clay molding tools
- Sandpaper
- Paintbrush
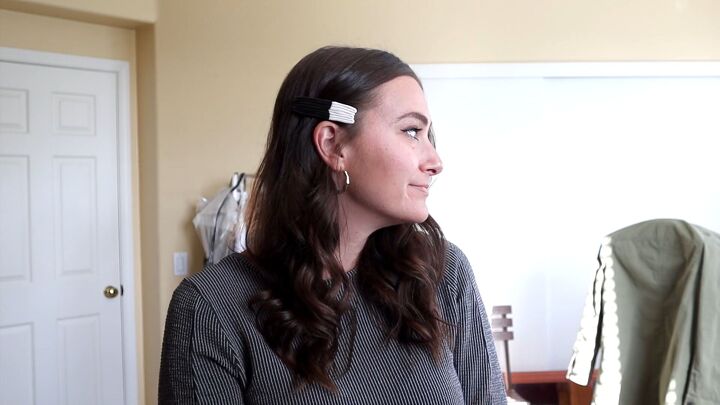
Polymer clay hair clip design 1
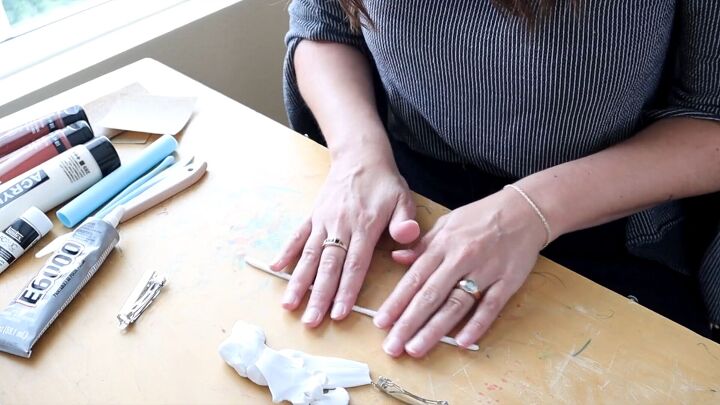
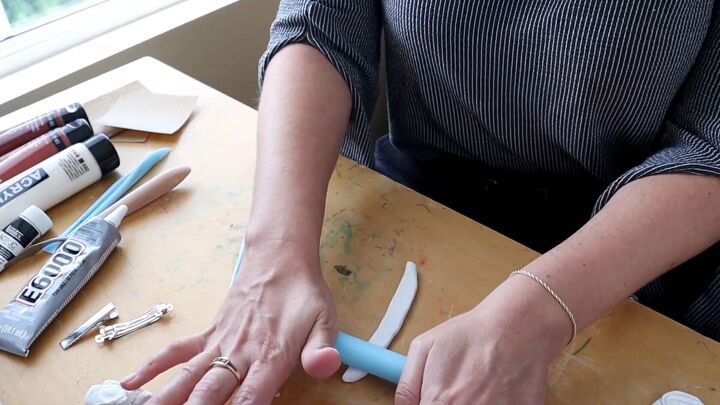
Roll the clay
Take some pieces of clay and roll them out super skinny. Try to keep it an even consistency all the way along.

Zigzag it
Once the clay is all rolled out, line it up against the clip to determine the length, you want your finished design to be a little bit longer than the clip so that it covers it.
Then, proceed to zigzag the clay, creating a concertina-like effect. If the clay isn’t the width you want it to be once you’ve done that, you can always repeat the process and add more on.
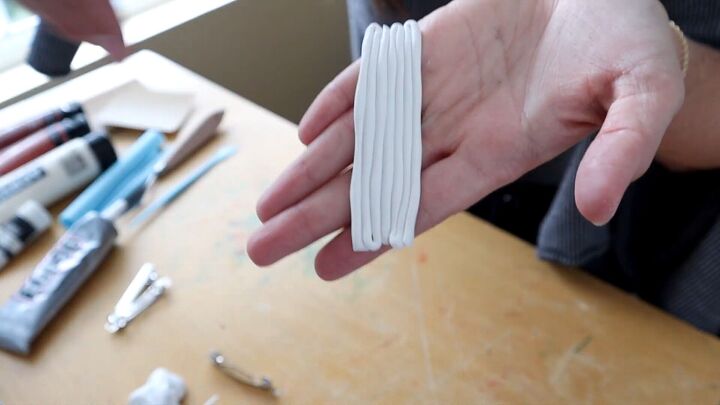
The finished design will look like a stripey piece.
Polymer clay hair clip design 2
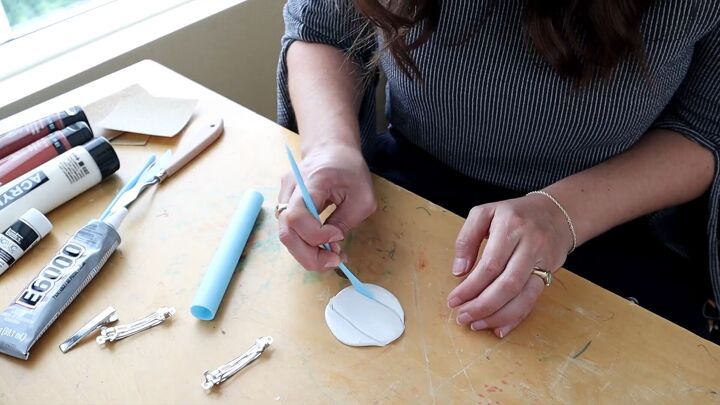
Shape the clay
For the next clip, I’m going to roll out a ball of clay with my hands and then roll it with a rolling pin to create a flat oval shape. I used some of my clay molding tools to help me get the exact shape that I wanted.
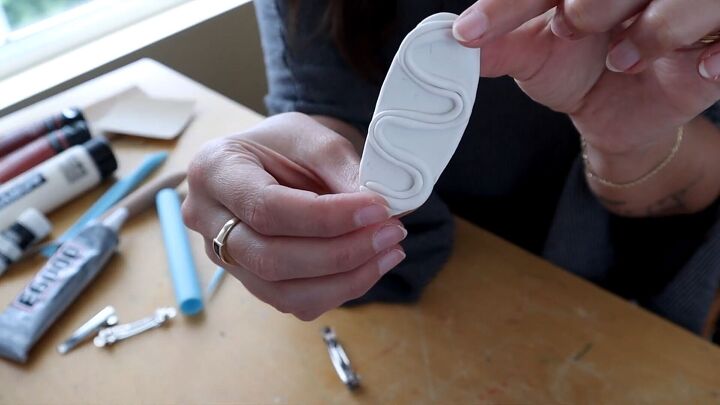
Decorate it
I want to put some shapes on the top to decorate it. So I decided to roll out two lines, and I placed them on top, curving them to create a wave effect.
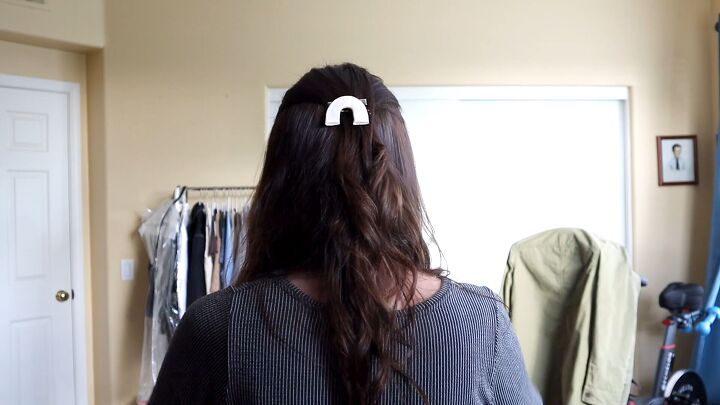
Polymer clay hair clip design 3
Shape the arch
Next, I’m going to shape a flat arch. I rolled out a little sausage with a rolling pin and then arranged it into an arch.
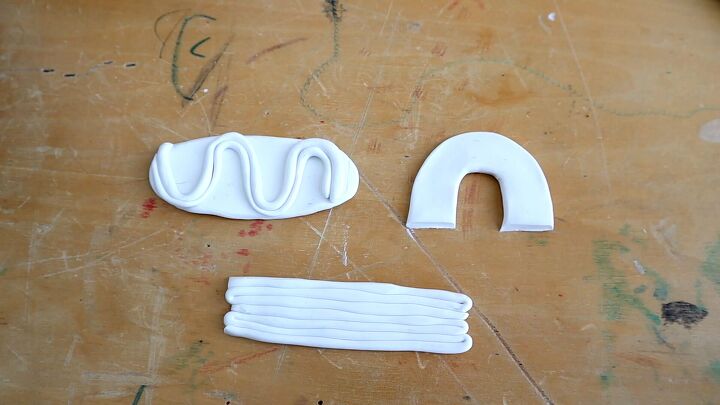
Here are all three of the designs together!
Bake the clay
When you have your designs complete, pop them in the oven at 275°F. They’re pretty thin, so probably 10 minutes is all they’ll need.
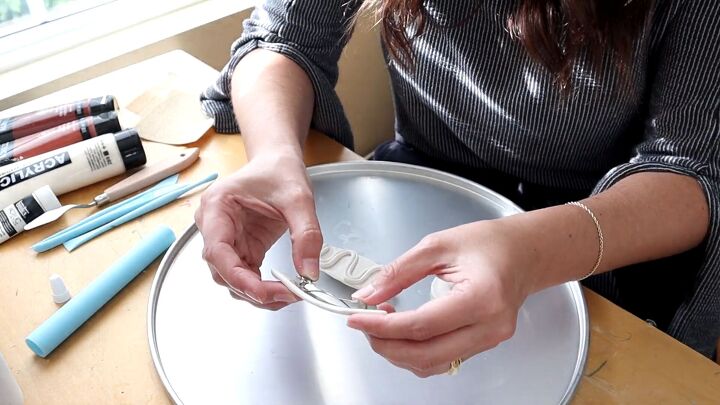
Bend the clay and glue down
When they come out of the oven, and they’re still warm and malleable, you’re going to want to arch them a little bit on top of your clip because the clips are arched a little bit. So you’re just going to mold them to the clip.
Take your glue and glue while they’re still warm so that they don’t pop back up. Apply a line of glue to the hair clips and place the clay on top, holding it down for a bit. Set aside and leave them to dry.
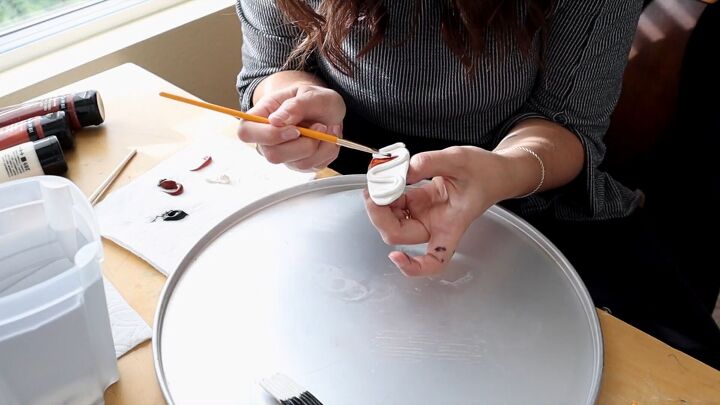
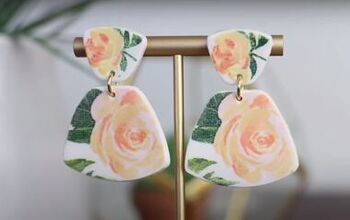
Paint
Go wild with whatever colors and patterns take your fancy.
How to make polymer clay hair clips tutorial
These polymer clay hair clips are a really cute little hair accessory. I love the fact that they are so unique and personal to me. I also think that these clips would make really great gifts if you’re looking for something that won't break the bank.
If they look a little wonky, then no worries, that’s the beauty of homemade, learn to embrace it.
The author may collect a small share of sales from the links on this page.


Comments
Join the conversation