DIY a Basic Hat With Some Paint

Hi everyone. How are you doing?
If you’re looking for an easy and fun, fashion DIY that’s suitable for all ages, this one's for you!
Follow along with this simple, step-by-step tutorial to DIY a personalized baseball hat.
Tools and materials:
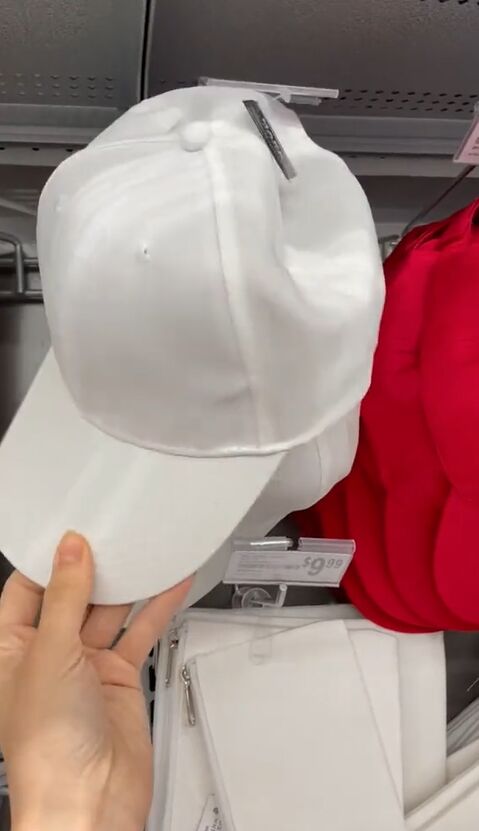
- White baseball hat
- Stencils
- Acrylic paint
- Scissors
- Round sponge brush
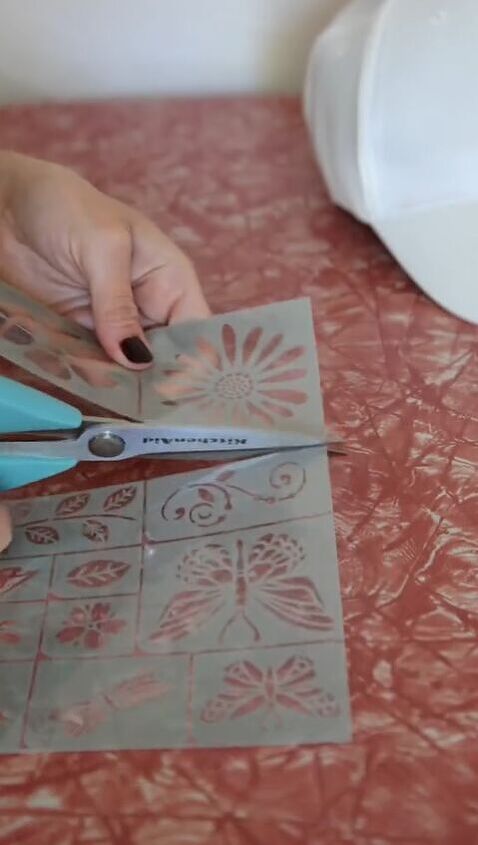
1. Cut your stencil shapes
Cut out the individual shapes from your stencil sheet. You can play around with the composition on the hat this way.
2. Paint through the stencils
When you’ve settled on your design, lay your first shape in place on the hat and dab some acrylic paint on it. Use the colors you love.
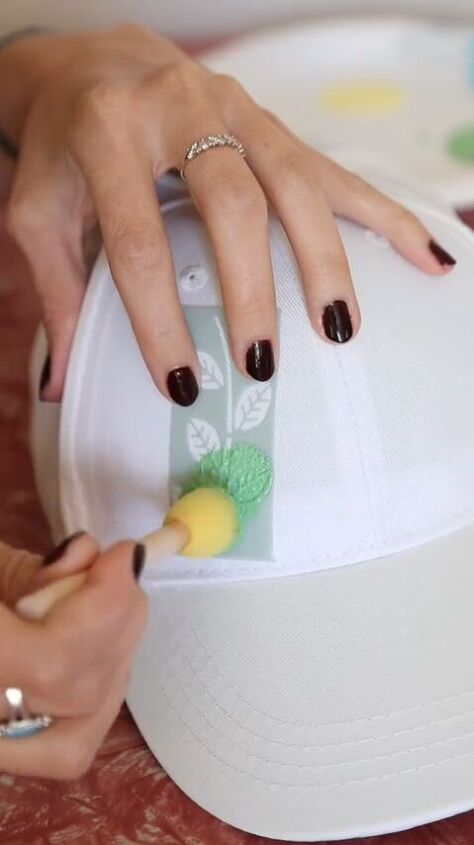
Make your composition as busy or as plain as you’d like.
Just be careful not to smudge any shapes that are still wet!
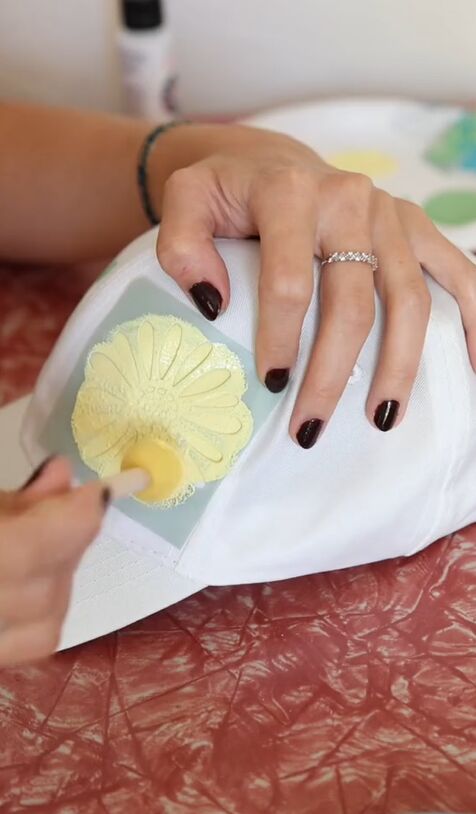
Once the paint dries, your original piece is ready to wear!

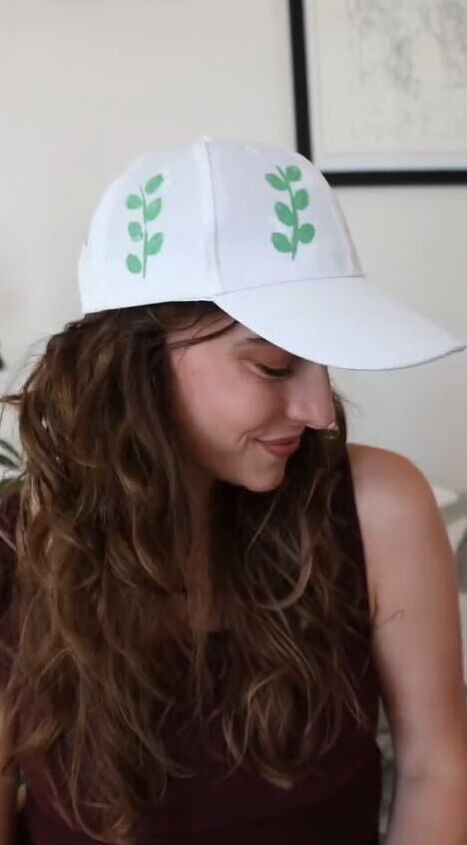
DIY a basic hat with some paint
Make these simple, painted hats at your next event or just DIY at home.
Let me know how you get on in the comments down below. I love to hear from you all.
Next up, turn 99 cent bandanas into this cute accessory!
See you next time! Bye for now.
The author may collect a small share of sales from the links on this page.


Comments
Join the conversation