Turn 99¢ Bandannas Into THIS! 😍

Turn your $.99 bandanas into this adorable bag. I love a good DIY. Bags are an easy way to get your creative juices flowing.
This project takes conventional bandanas and repurposes them in a fun and interesting way.
Upstyle Recommends!
Tools and materials:
- 4 bandanas
- Scissors
- Sewing machine or needle and thread
1. Cut
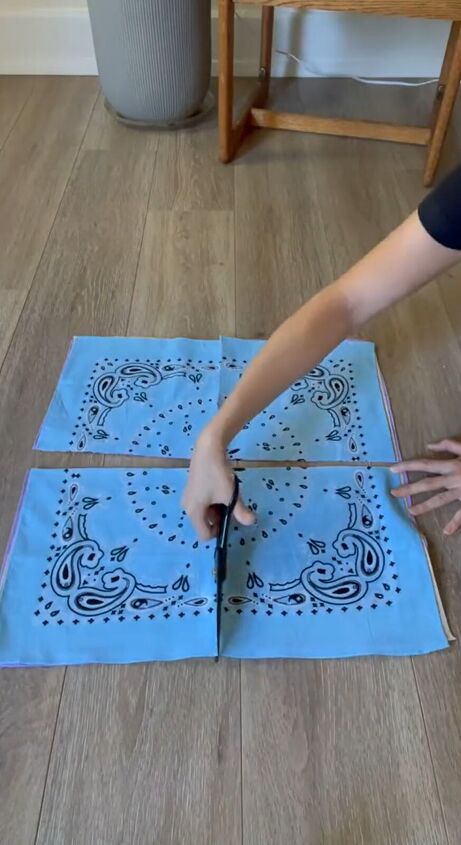
Lay 4 bandanas on top of each other and cut them into 4 equal squares.
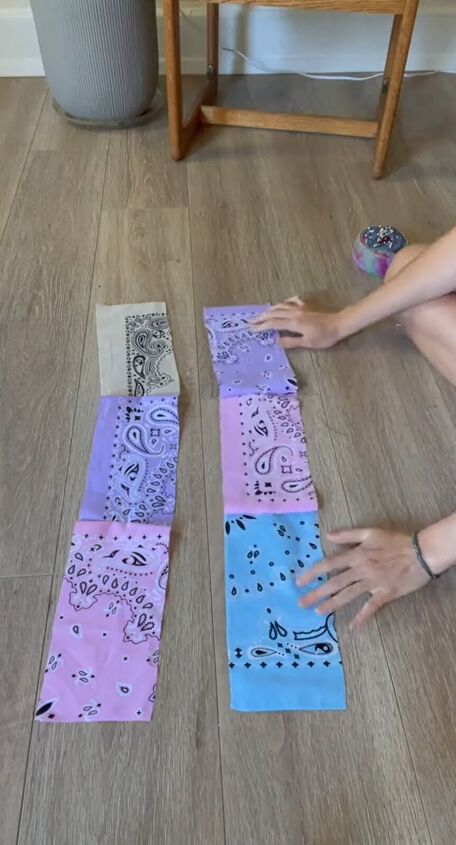
Sew 4 of those squares together in one bigger square and do the same with another set of 4 squares.
Take 6 of the cut squares and cut them in half. These will make up the straps.
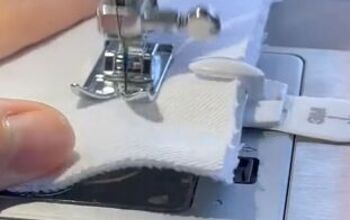
2. Sew
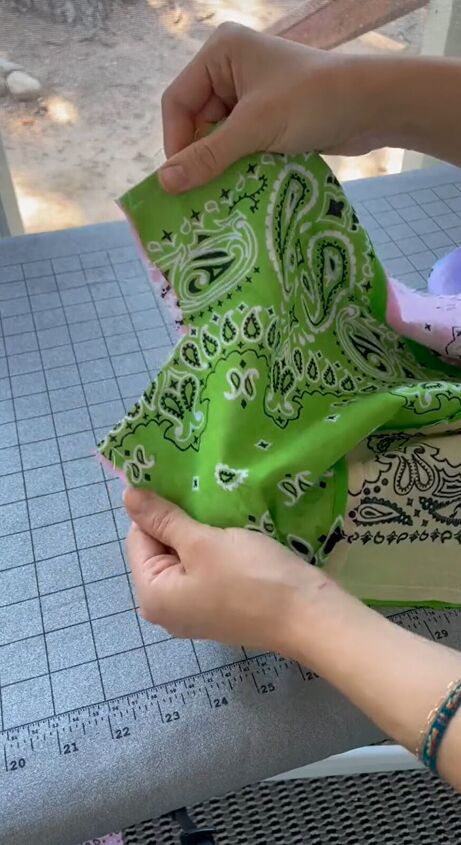
Take 3 of the 6 half squares and sew them together at the width, and do the same with the other 3 pieces.
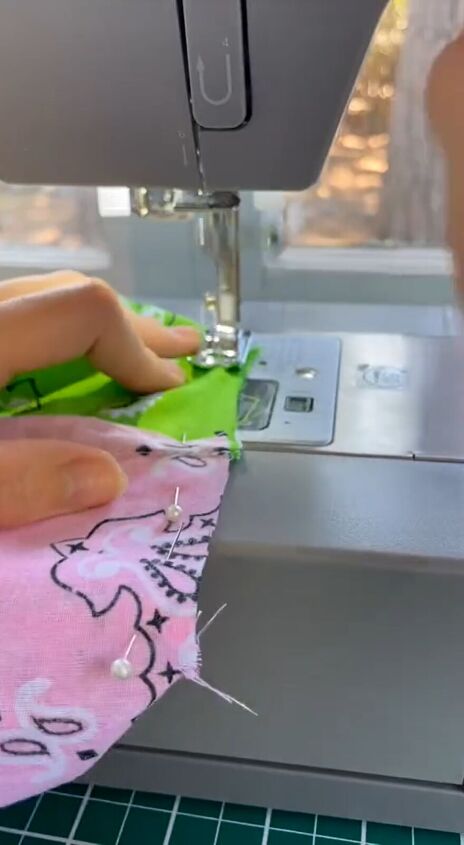
Take one of the strips you sewed and fold both sides halfway in lengthwise. Then sew along the edge. Do the same with the second strip.
3. Put it all together
Now sew the front of the bag to the back of the bag with the right sides facing in.
Then cut out about 2 square inches from the bottom corners.
Pull the sides around the cut to line the edges. Pin them together and sew them closed.
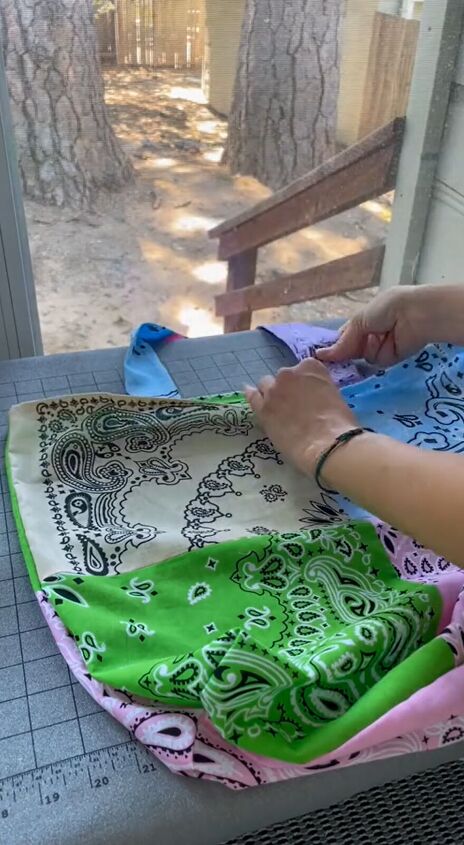
Sew the handles to the bag and you’ve got a super cute bandana bag.
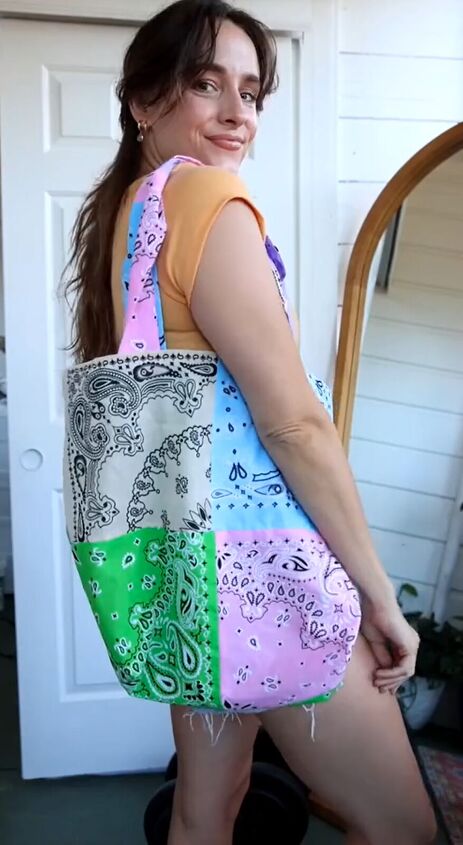
DIY bandana bag
You can customize this idea with any colors that you like. Do them all the same color, or mix and match.
Leave me a comment and let me know how your bag comes out.
Next, check out The Shocking Way a Band-Aid Can Help With Your MANICURE.
The author may collect a small share of sales from the links on this page.


Comments
Join the conversation
Cute!! I would recommend a woven iron-on stabilizer to strenghtthd fabric.