DIY Reversible Bucket Hat in 30 Minutes
When you need a casual but stylish hat, the bucket hat is your best option. It’s great for adults and kids alike, and you can wear it for almost any occasion.
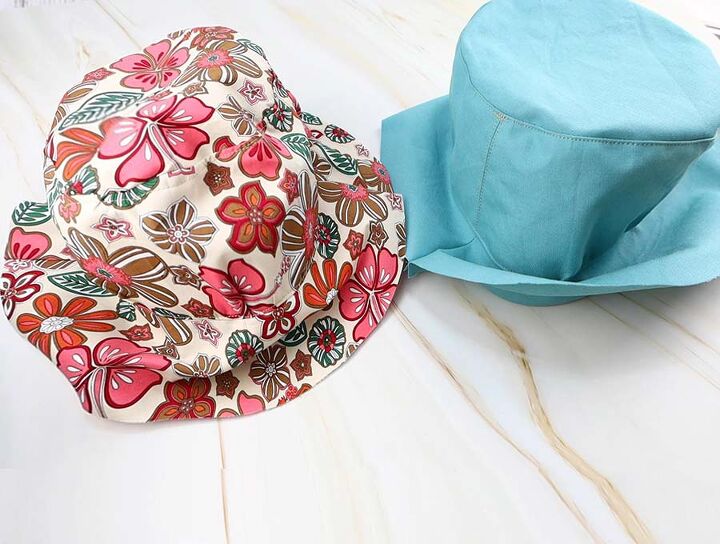
This tutorial will teach you how to make a bucket hat easily and quickly. The best part about this pattern is that it’s reversible, so you get two hats in one! Just turn it over and there’s the second bucket hat!
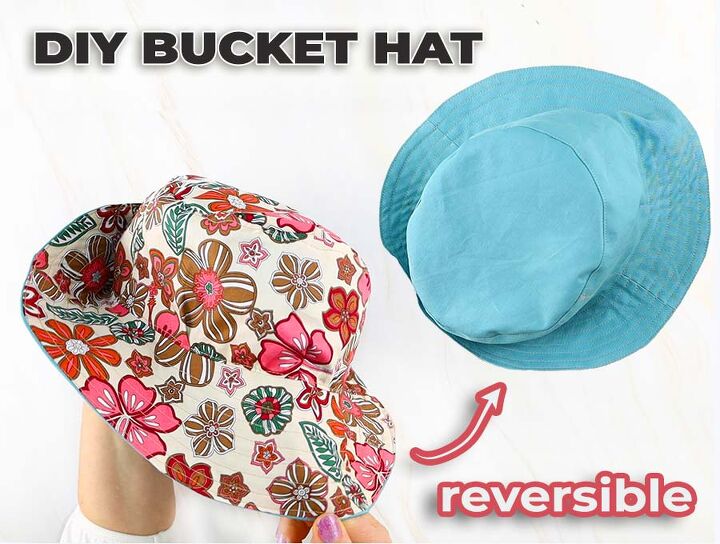
The DIY bucket hat pattern is fully lined and has stitching on the rim – a tough little hat that will last a long time.
Cut out the fabric
Download the free bucket hat pattern over at HelloSewing.com and cut out its parts.
You'll also need
- 2 coordinating fabrics - 1/4 yard of each
- matching thread
- scissors
- standard sewing notions
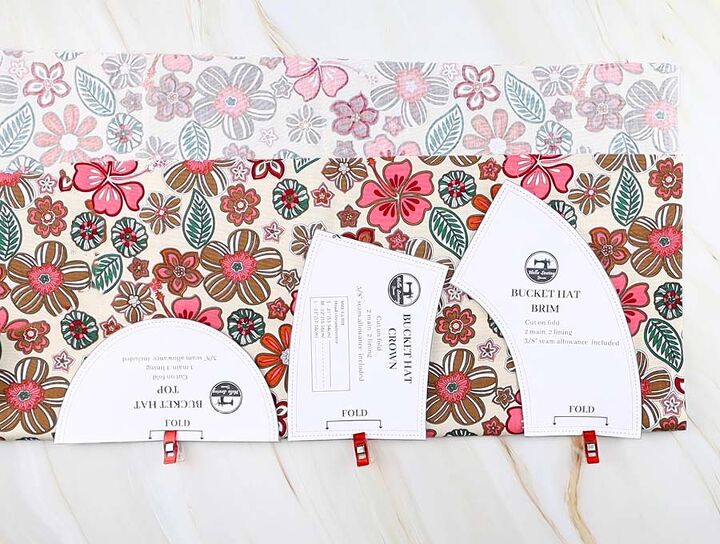
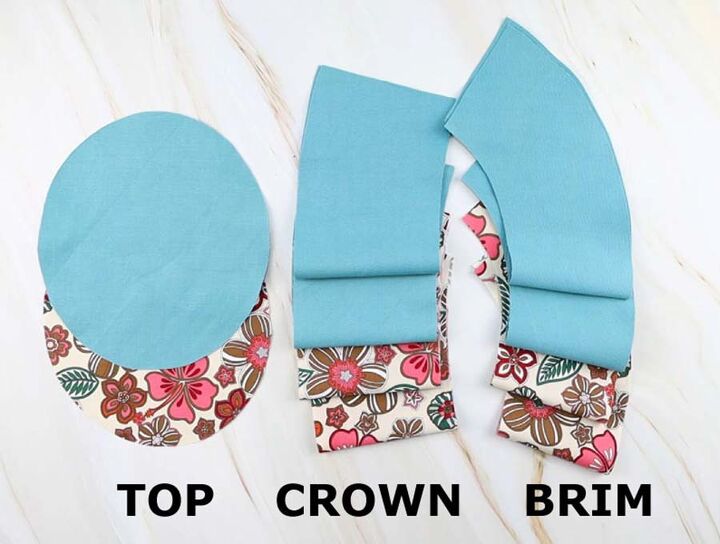
To do that, fold the lining fabric in half and place the bucket hat pattern pieces on the fold, according to the markings on each piece. Cut through both layers. Repeat for the main fabric
You will need one top pieces and two crown and brim pieces from both the lining and the main fabric.

Form the bucket hat parts
Place the two lining brim pieces on each other with their right sides facing inward. Sew both short edges. Press the seam allowances open. Do the same with the lining crown pieces.
Turn the crown piece inside-out and topstitch both sides of the seams.
Repeat the entire process with the main fabric crown and brim pieces.
Fold the top part in half so that its oval points meet. Mark the crease. Unfold the piece and fold it so that the crease overlaps itself. Mark the new crease as well. Repeat with the second top part.
Assemble the top of the hat
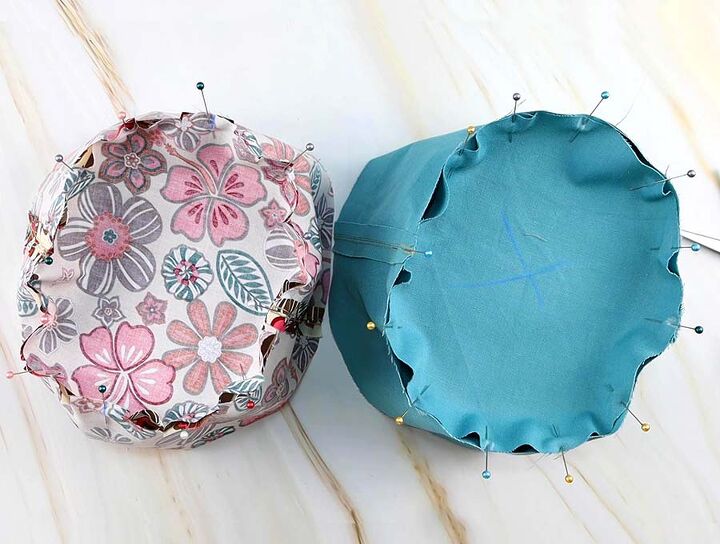
Match the seams of the lining crown piece and pin them. Make sure that the right side is facing outward.
Mark the creases at the ends of the crown.
Join the lining top part with the lining crown part. The markings on the pointy ends of the top part should align with the markings on the crown part.
Match the seams of the crown with the other two markings on the top. Pin the parts together and clip the curves.
Sew the parts together. Press the seams towards the crown and topstitch.
Repeat with the main fabric top and crown parts.
Finish the hat
Attach the lining brim to the lining top just as you attached the crown to the top, mark, pin, sew, and the rest.
Press the seam allowance towards the crown and topstitch.
Do the same with the main fabric top and brim.
Put the lining part in the main part with their right sides facing each other. Align their seams and pin the parts together.
Sew all around, leaving a small unstitched section for turning.
Clip the curve and turn the hat inside out. Fold the edges of the opening in and pin them. Press the entire brim.
Topstitch around the edge of the brim. Topstitch in concentric circles around the brim, all the way to the crown.
The author may collect a small share of sales from the links on this page.


Comments
Join the conversation
Love the project! Thank you for inspiring!
Love this! Can't wait to try making one.