How to Make a Glove, Scarf & Beanie Set Out of an Old Knit Dress

In this tutorial, I'll show you how to make gloves, a beanie hat, and a scarf from an old knit dress. It's the perfect winter DIY. If you have old clothing you don’t wear anymore, then turn it into something else you will wear!
Follow this tutorial to learn how to turn your old clothing into a matching gloves, scarf, and beanie set!
Tools and materials:
- Old clothing
- Scissors
- Sewing needle and thread
- Wool for pompom
- Sewing machine
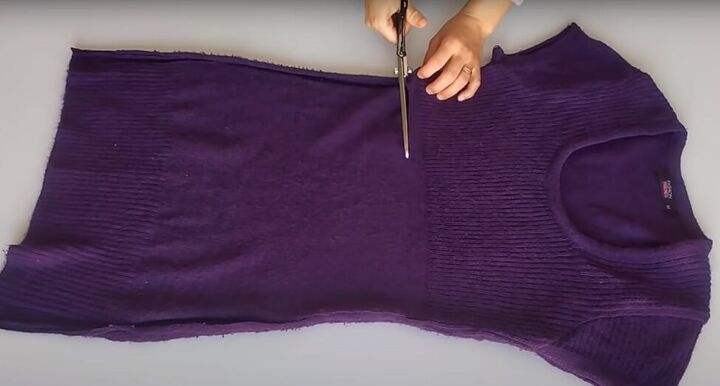
1. Cut the hat
Cut open both side seams of your dress and cut off the front of the dress at the waist. My dress had a ribbed hem, which was perfect as a headband for the hat.

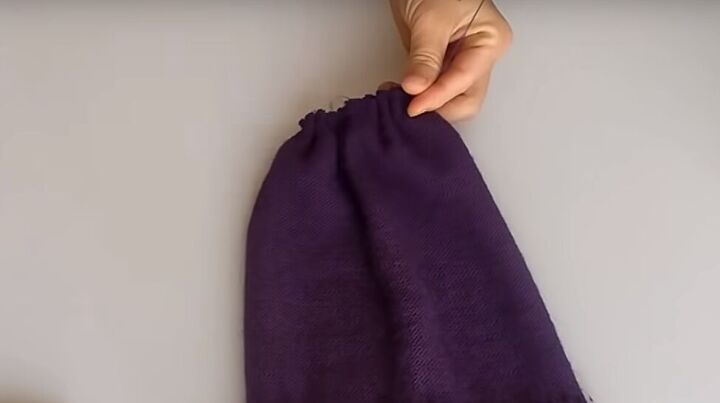
Fold your cut piece of fabric in half lengthwise and then trim it along the open edge to form an elongated hat shape.
I'm eyeballing the shape here because this knit fabric is stretchy, so I don't need exact measurements.

Pin the long open side together.
2. Make the scarf
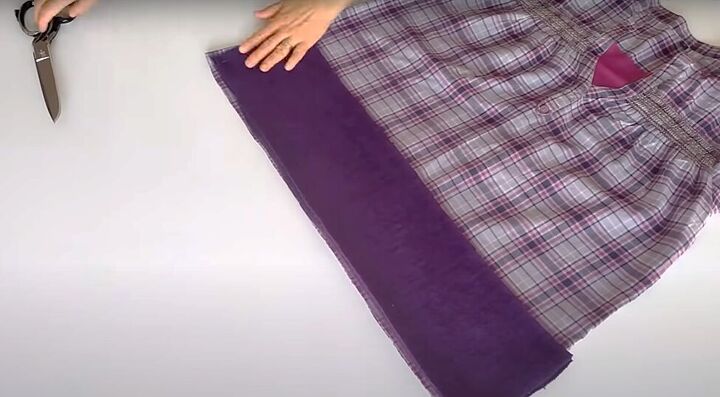
Cut out both arms and front of the dress from the wool fabric. Now you have a full dress back to work with.
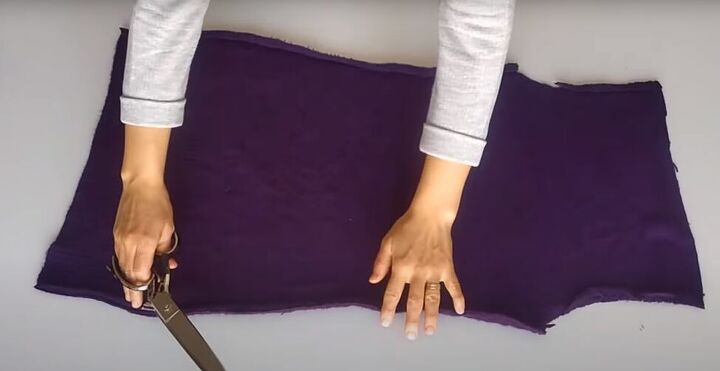
Cut off the bottom portion of the dress if it’s different from the bodice. Now fold the remaining fabric in half lengthwise.
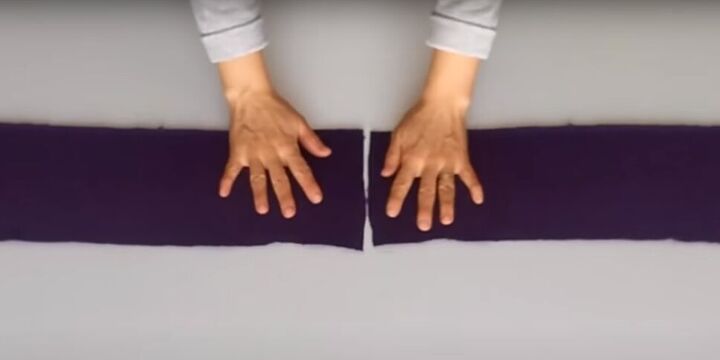
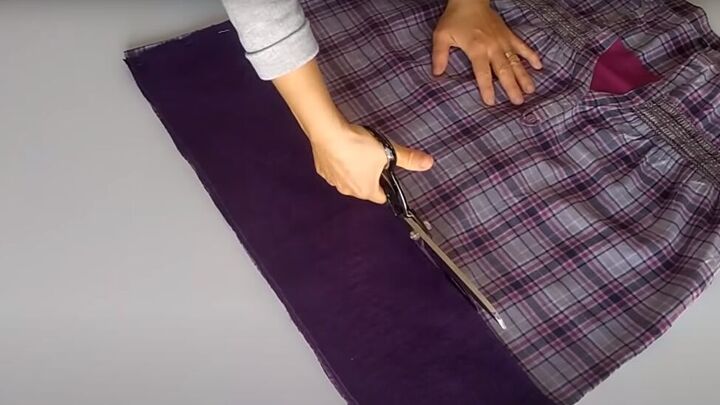
Trim the curvy edge of the fabric off and then cut the fabric open on the fold so you have two equal rectangles of fabric.
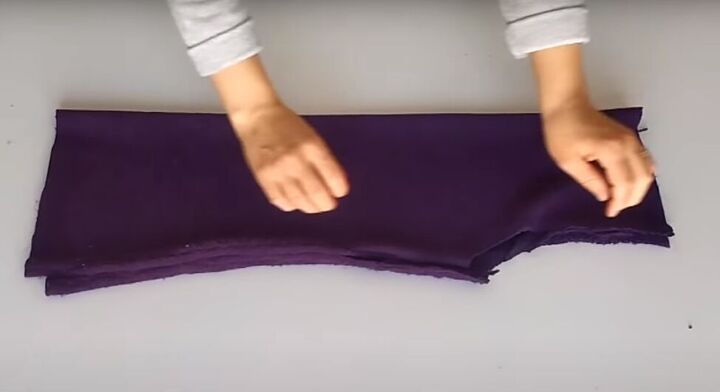
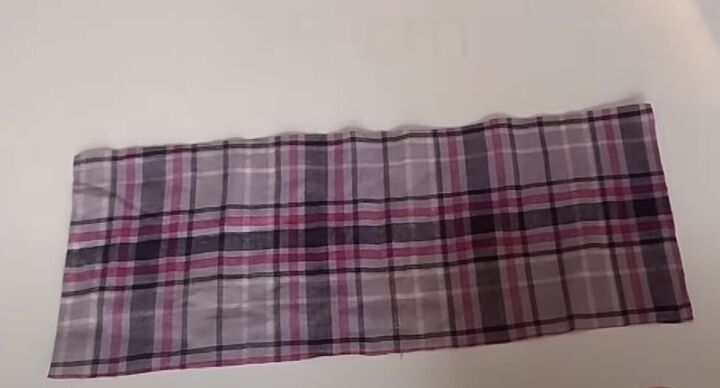
Pin the two rectangles together on a short edge and fold it on that pin line. Now, lay the double rectangle on top of a coordinating piece of non-wool of clothing.
Cut the coordinating fabric to match the rectangle.
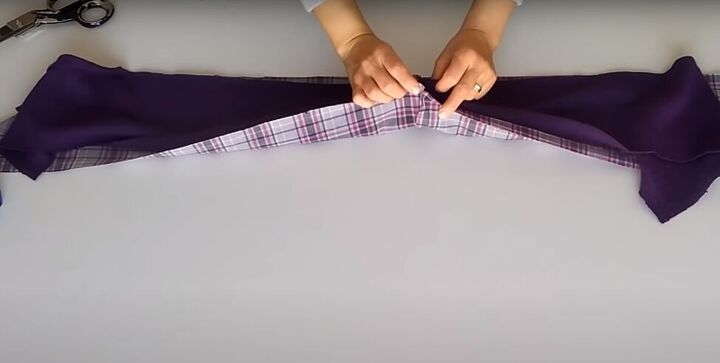
Open the long rectangle of coordinating fabric and place it, right sides facing, on top of the long wool rectangle.
Sew the wool coordinating rectangles together along both long sides and one short side.

Turn the scarf right-side out, fold in the open short end and topstitch it closed.
Topstitch both long edges and the other short edge as well to keep the two fabrics of the scarf properly in place.
3. Finish the hat
Sew the side seam of your hat. Now fold up the headband of your hat and hand-stitch it in place at the seam.
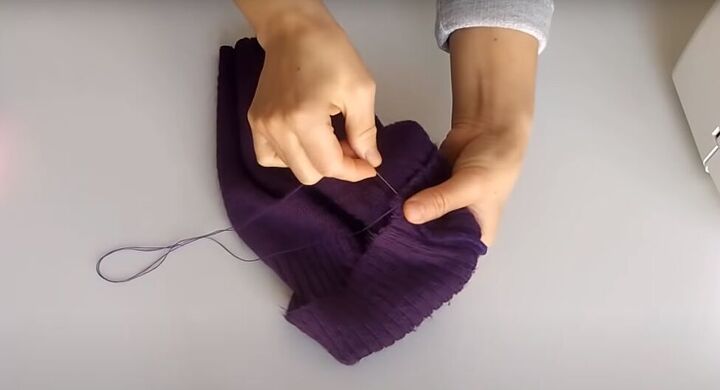
Hand-sew a wide basting line around the top of the hat, gathering the fabric as you go to make a scrunch at the top.
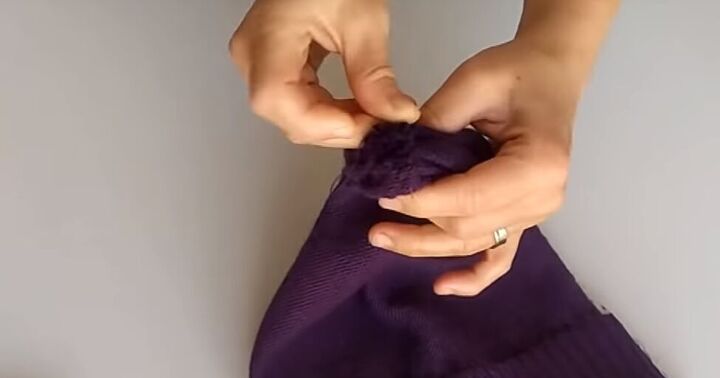
Pull the scrunch tight and pass your needle through it a few times to secure it in place.
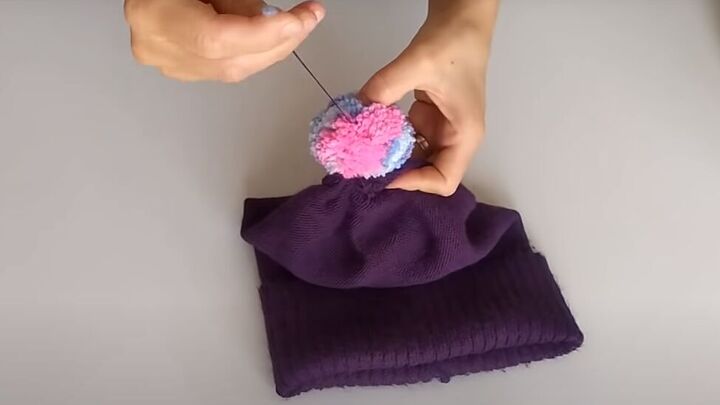
To make a pompom for your hat, follow the video from 4:30 to 6:08.

If there are some embellishments from the reversible scarf material, like the button tab I used in this tutorial, add them to your hat to make it more decorative!
4. Add a bow to the scarf
Cut a piece of the coordinating fabric for an 11 x 25-centimeter (4.3 x 9.8 inch) rectangle.
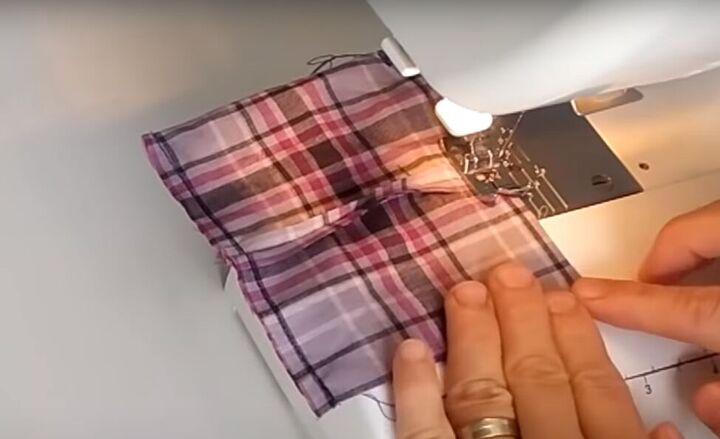
Fold the rectangle in half widthwise and, with right sides facing in, sew the short open edge closed. But leave a small section in the middle open so you have a way to turn it right-side-out later.
If you sew in from both ends it will be easy to leave the gap in the middle. Then sew the long edges closed with the short-stitched side in the middle of the piece of fabric.
Make sure to open the seam allowance so it lies flat as you sew across it.
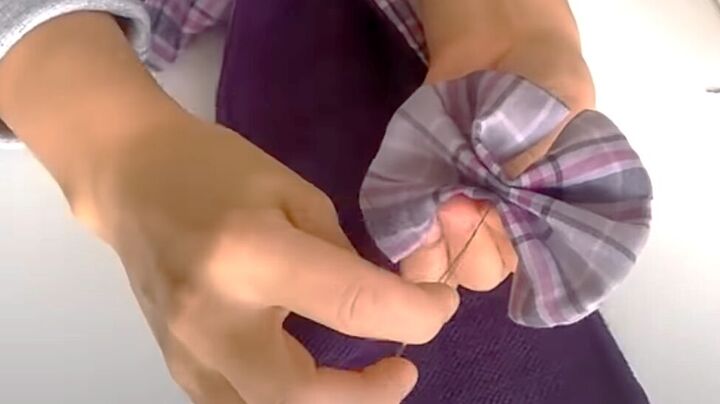
Pinch the square in the middle so you have a bow and hand-stitch the center of the bow to hold the pinch in place.
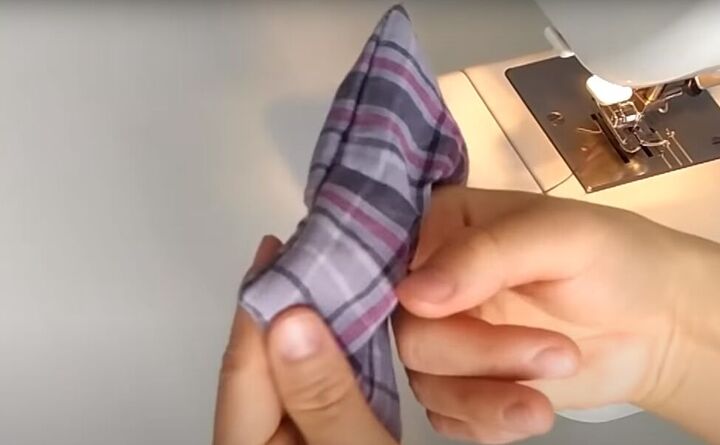
Now turn the fabric right-side out through the small gap you left in the first seam.
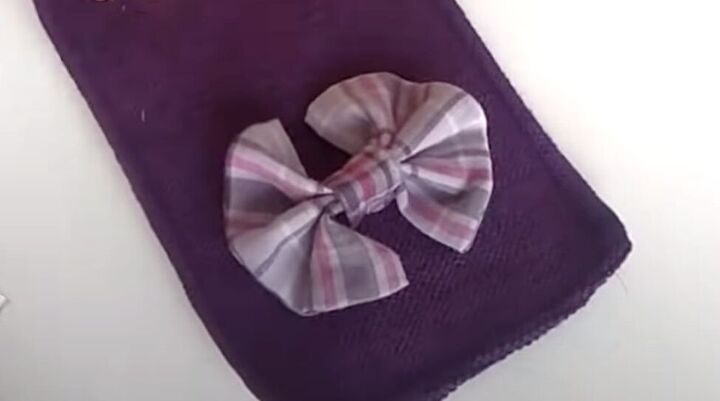
Use another small rectangle of fabric to wrap around the middle of the bow and sew it closed. Then sew the bow to your scarf.
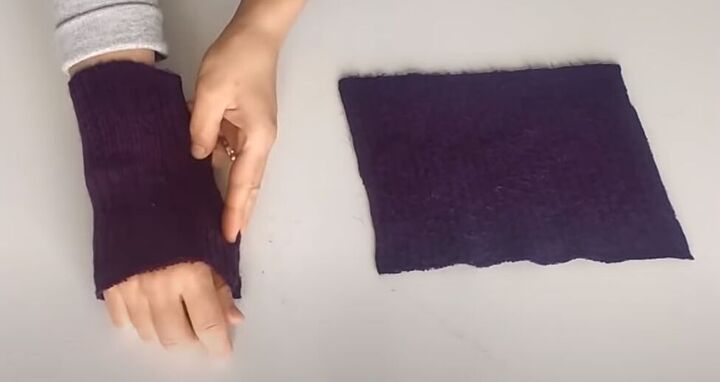
5. Make the gloves
Cut two squares of wool fabric for gloves, and trim them to fit the circumference of your lower arm and top half of your hand.
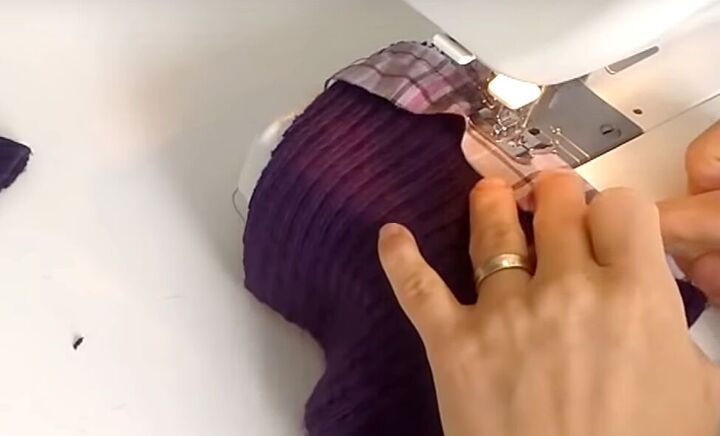
Now, cut a 4-centimeter (1½-inch) wide strip of coordinating fabric and sew it to one long edge of your armband.
Make the coordinating fabric a bit longer than the wool piece and pull the wool tight as you sew to make the two pieces line up end to end.
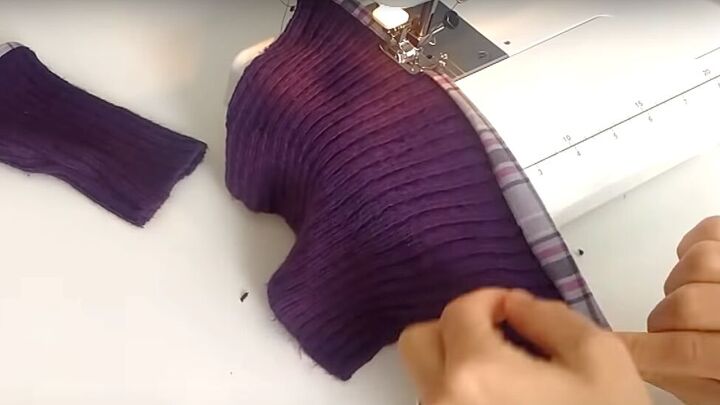
Fold in the coordinating fabric twice so you have a thin band of it and sew to secure it.
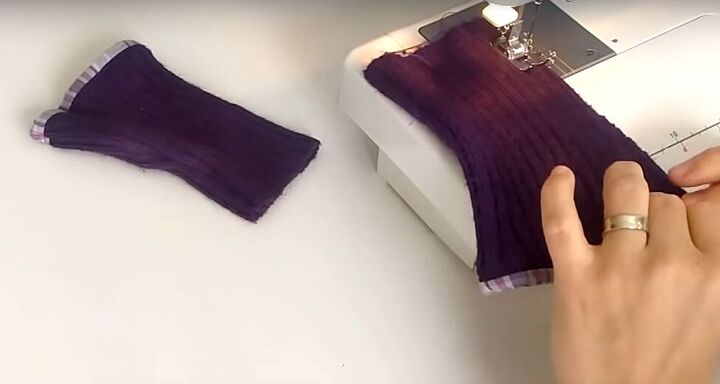
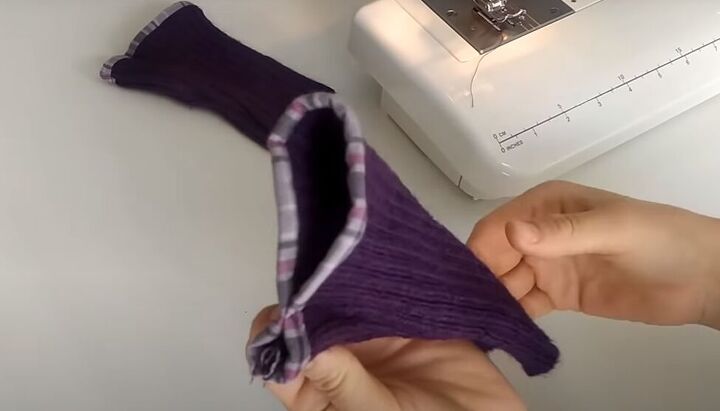
Fold the armband in half so the trim is all around one end and sew the side seam.
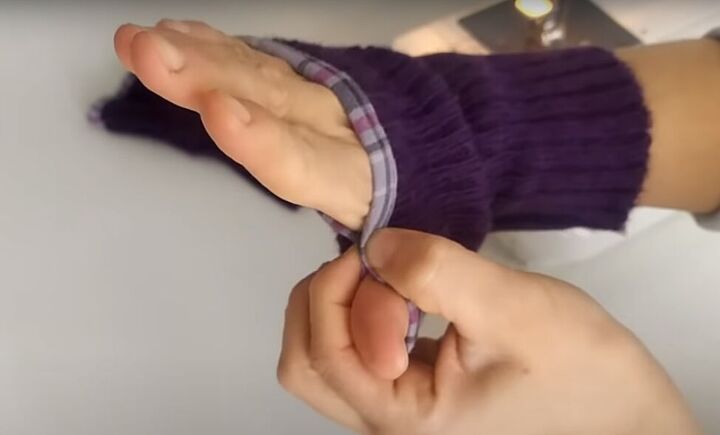
Turn the band right-side out, slip your hand in, and mark the spot between your thumb and fingers.
Stitch down that spot so you have a thumbhole.
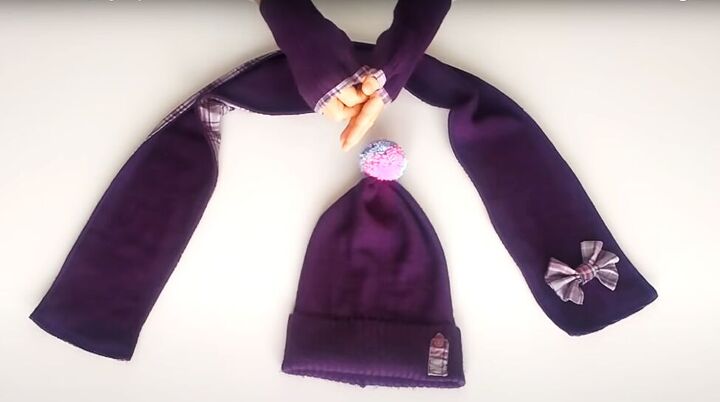
How to make a glove, scarf, and beanie set
Now you have a really cute, coordinated set to keep you warm and stylish! Leave me a comment to let me know how your DIY scarf, gloves, and hat worked out. Thanks for joining.
To see more of my DIY sewing tutorials, follow me on TikTok @tugbaisler.
The author may collect a small share of sales from the links on this page.


Comments
Join the conversation
Not too clear but love the idea.
Oh, now this is sooo cleaver! I have a sweater dress I purchased to wear during my skinny days. Now that I have become older ( and heavier) your reuse idea I'm sure to try. I just hated getting rid of it. I only wore it twice. It's tan with some light gray triangles at the ribbed waist. The sleeves are slightly puckered at the shoulders with ribbing around the arm. Thanks again for your example.