3 Pretty DIY Wedding Veils You Can Make in Just 15 Minutes

Wedding veils can get so expensive! Sometimes it is better to actually make your own DIY wedding veil.
I recently got married and made my own veil for the wedding. So, I decided to make this tutorial to show you how to sew a wedding veil yourself. I’ll be sharing three different types of wedding veils as inspiration. Let’s go!
Tools and materials:
- Tulle material
- Measuring tape
- Lace trim
- Pins
- Needle
- White thread
- Headpin
- Comb
- Mesh fabric
- Scissors
- Marker
- Ribbon
- Fabric glue
1. Drop veil
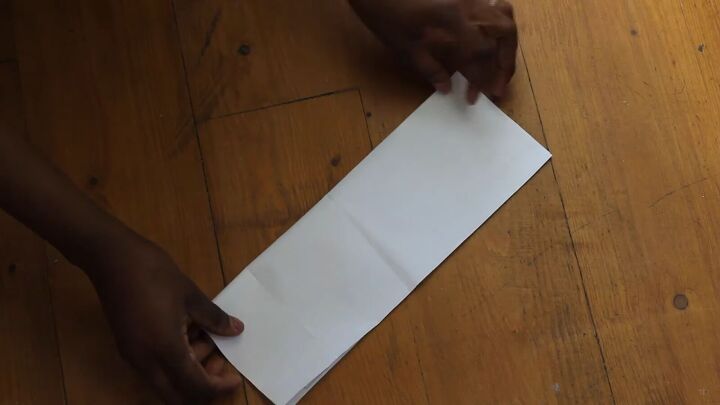
Let’s start with the classic drop veil. I’m using a piece of paper to show you how to do this. Fold your tulle lengthwise, and fold again, width-wise.
Cut the edge, so it curves.
When you round the edge, your tulle will look something like this.
Next, wrap some tulle fabric around a comb and use a headpin to secure it.
Take your comb, and put it exactly where you want it to be on your head.
Put the veil over your head and adjust the length as desired.
Then, weave the headpin through the tool and the hair comb while still on your head.
Now, you may kiss the bride! Wasn’t that the easiest DIY wedding veil pattern?
2. Mantilla veil
Now, I’m going to show you how to sew lace on a wedding veil. But first, let’s make the pattern. Fold your tulle widthwise and fold again.
Now, you need to make a circle. So, starting from the folded corner, measure the same length all the way around and trace it.
Then, cut it out. By the time you unfold it, you should have a circle!
Now, take a really lovely lace trim. There are so many you can choose from!
Pin the lace trim around the circumference of your tulle. There are no shortcuts here; you have to pin it.
Then, hand-sew it with an invisible stitch. Don’t use glue because it will end up being tacky.
Attach a comb to the edge. It should be facing inward.
That’s how you make a gorgeous mantilla wedding veil. You can also wear this veil as a drop veil if you like. What do you think of this style?
3. Birdcage veil
If you’re looking for a more classic veil, you’ve got to try this one! This is the easiest of the three.
All you need to do is measure the circumference of your head, cut out that length, fold that length widthwise, and cut at an edge.
Then, sew all the way around the raw edge. It’s so easy; you can make it in your sleep!
Make sure to go through where the nets intersect. Also, make sure you do running stitches that you can pull at the end.
Check that it’s the same length as your comb. Wrap some tulle around the top of your comb.
Secure it at the end and cut off the excess.
Now, connect the birdcage veil to the wrapped end of the tulle.
To neaten the edge, make a simple bow from a ribbon. Then, glue it on the rough edge.
Put it on your head and secure it with bobby pins on the side.
DIY wedding veils
That’s it. Three stunning DIY wedding veils you can seamlessly make yourself! I hope you enjoyed this DIY wedding veil tutorial and comment below on which style you like best.
Thanks for joining me, and good luck!
How to clean a wedding dress
Enjoyed the project?
Suggested materials:
- Tulle material
- Measuring tape
- Lace trim
- Pins
- Needle
- White thread
- Headpin
- Comb
- Mesh fabric
- Scissors
- Marker
- Ribbon
- Fabric glue
The author may collect a small share of sales from the links on this page.


Comments
Join the conversation
Brides-to-be: having worked with many, many brides ( I make wedding dresses), I personally think veils are the biggest rip-offs in the wedding industry! This shows you how easy they are to make. Do make your own!