Quick & Easy Reversible Tulip Hat Sewing Pattern

Today, I’m going to show you how to make my free tulip hat sewing pattern. It’s reversible and pretty easy to make. I actually made many variations of this DIY tulip hat as it’s so straightforward. If you want to try it, then page down to see how to make it! Let’s start.
Tools and materials:
- Cotton fabric
- Linen fabric
- Fusible cotton interfacing for light to medium-weight fabric
- Free tulip hat sewing pattern
- Paper
- Iron
- Needle
- Thread
- Ironing board
- Pencil
- Scissors
- Fabric clips
- Sewing machine
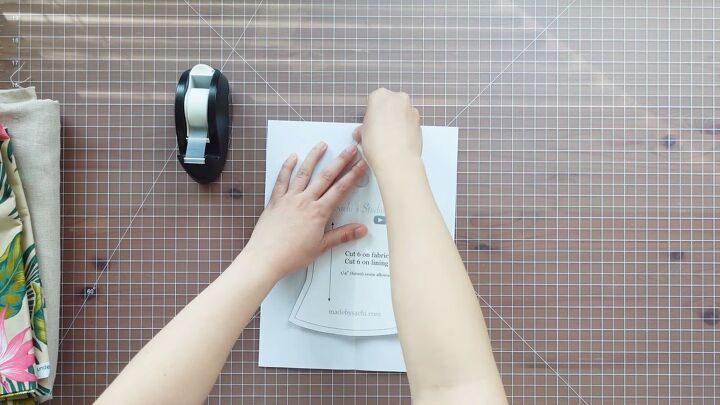
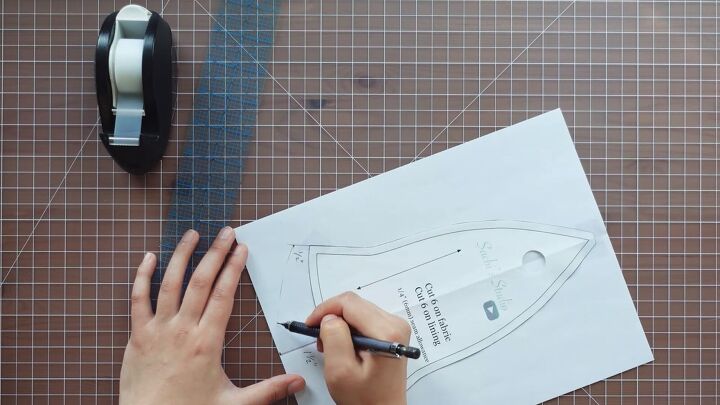
1. Adjust the pattern
Fold the pattern and paper in half to find the center line. Then, line up both center lines.
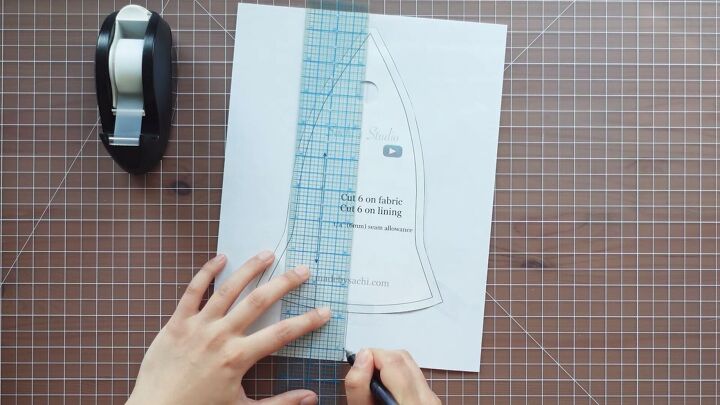
From the edge of the cutting line of the pattern, measure 1½“ down the center line.
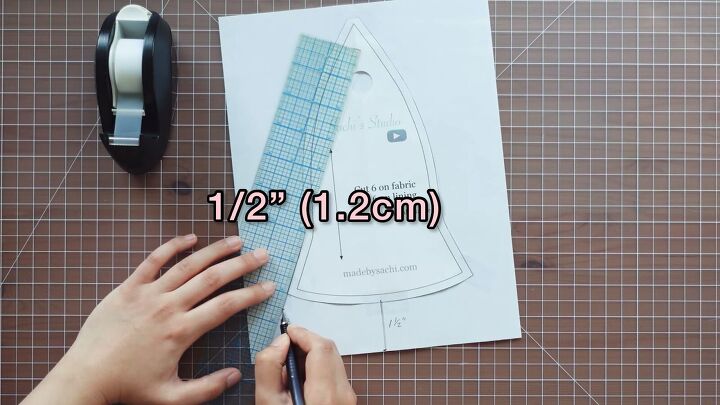
Extend the sideline by ½“.
Connect these two points with a curved line.
Fold the paper in half and cut.
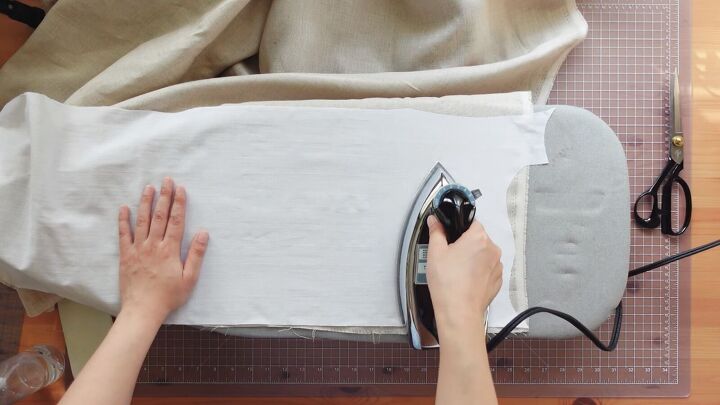
2. Fuse the interfacing
I prefer to fuse the interfacing to the fabric before cutting out small pieces like half patterns. It’s easier and more accurate to add interfacing to smaller pieces.
To do this, face the wrong sides of the fabric to the rough side of the fusible interfacing. Use the hottest iron setting your fabric can endure. Also, put your weight on the iron to add heat and pressure to fuse both layers.
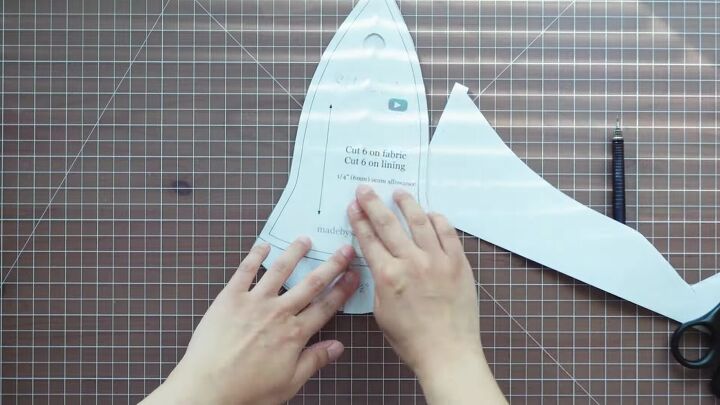
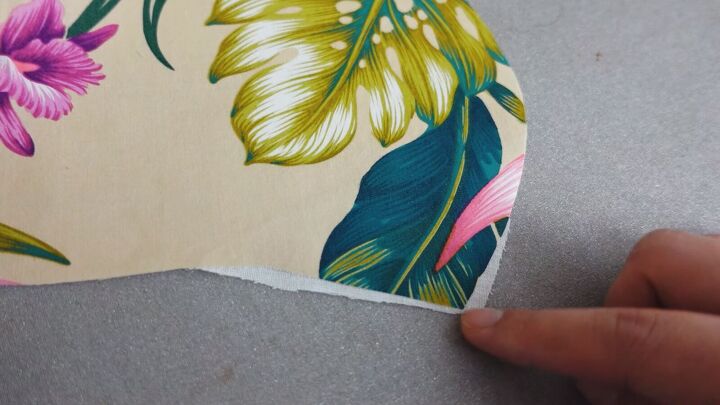
3. Cut the DIY tulip hat pieces
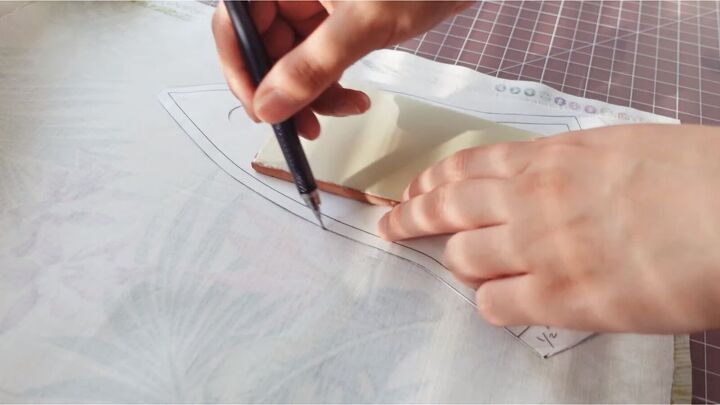
Once your fabric has cooled, start cutting out your pattern pieces. You’ll need 12 pieces of the same shape, which means using the pattern 12 times.
If you cut directly next to the pattern, you might slice off small pieces of the pattern. After 12 times of doing this, you may end up with smaller pattern pieces. To avoid this, always trace your pattern to the fabric.
Should a corner not be covered entirely with interfacing, then add small interfacing pieces as needed.
Cut off any excess interfacing, and you’re good to go!
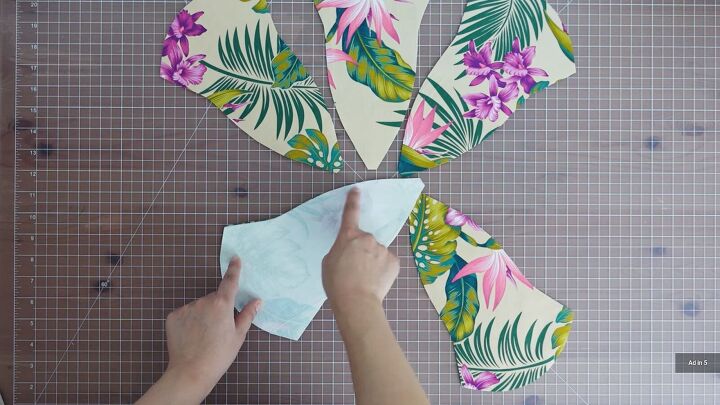
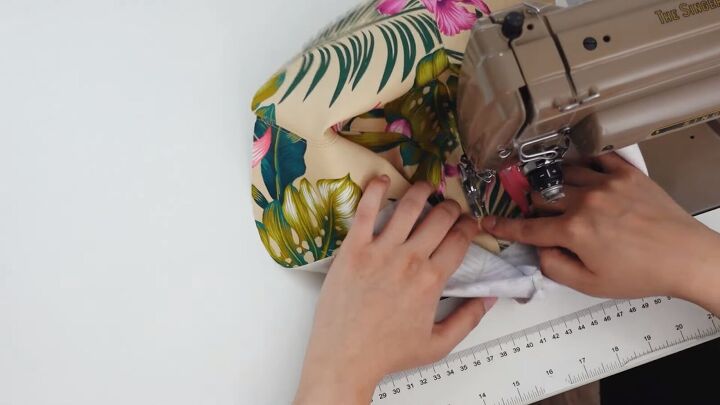
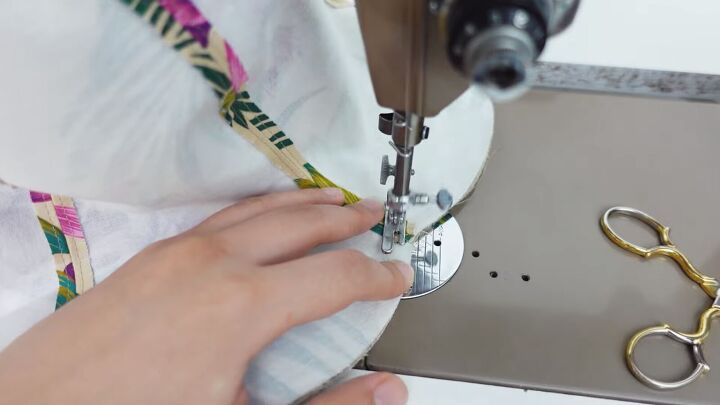
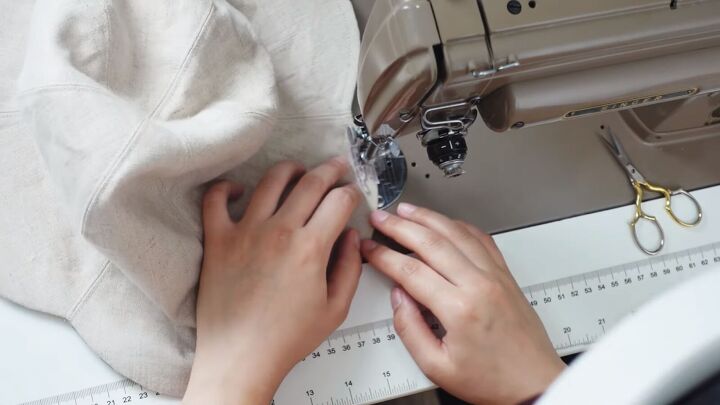
4. Sew the DIY tulip hat
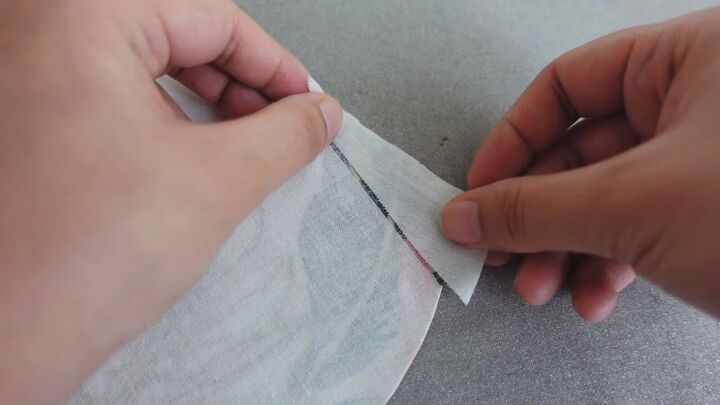
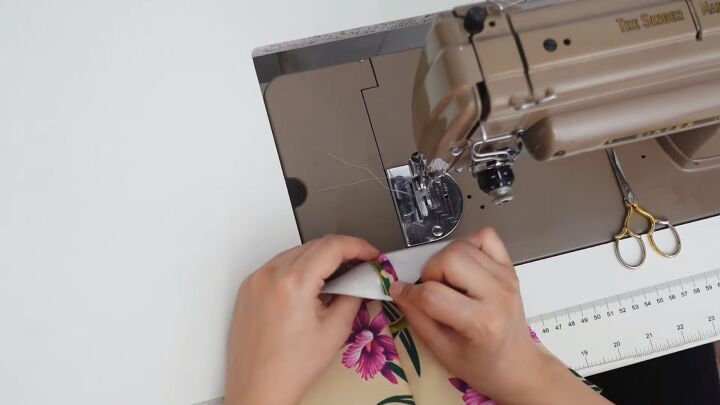
Now, it’s time to make the tulip hat! Start by attaching 3 pieces with one long stitch. Place two pieces of the same fabric right sides facing and start sewing from the top edge. Then, stop ¼“ from the bottom edge.
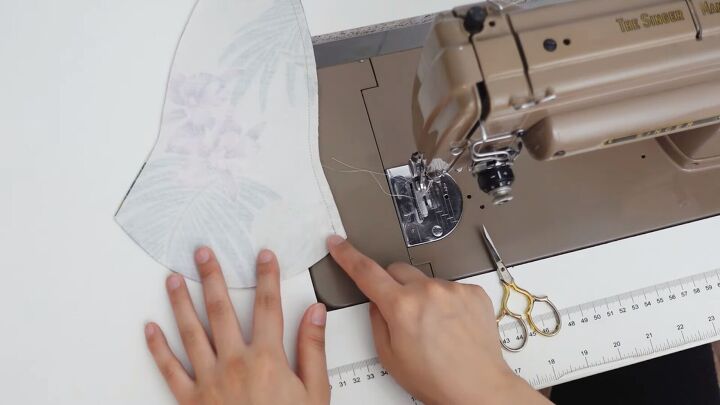
Sew with a ¼“ seam allowance throughout.
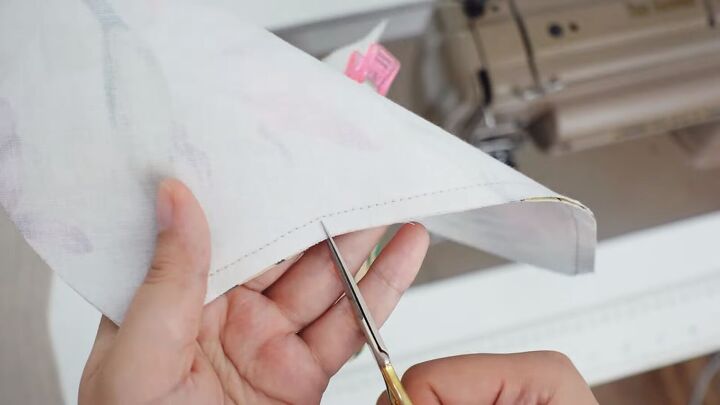
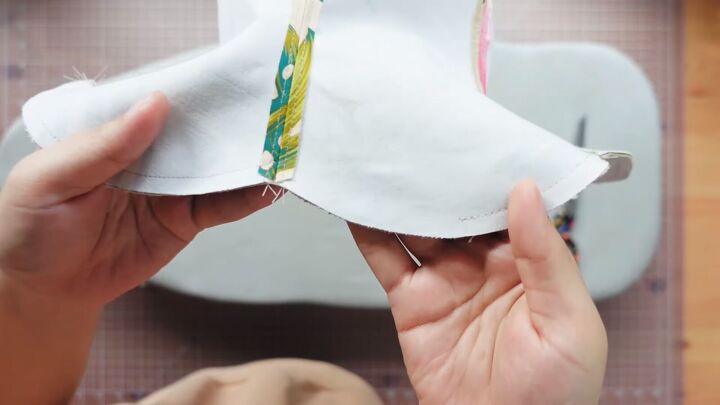
Clip the seam allowance on this curve before stitching it down. This will help the seam allowance lay flat on the wrong side.
Open the seam allowances on the wrong side and stitch about ⅛“ to the side, on both sides of the center stitch.
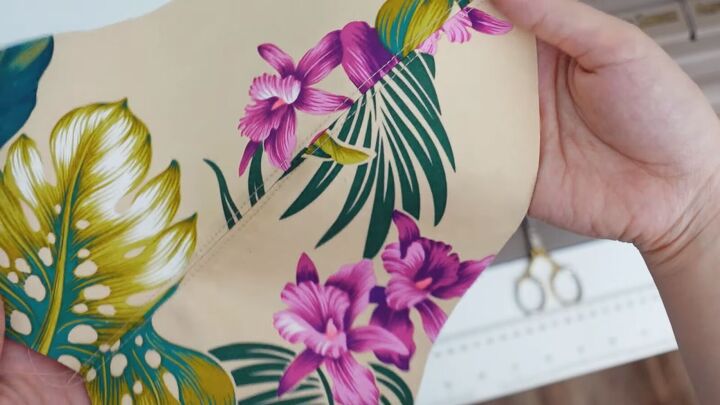
Do this with the right sides of the fabric facing up.
Now, repeat the same step with the third piece. Also, repeat the whole process for the remaining three pieces.
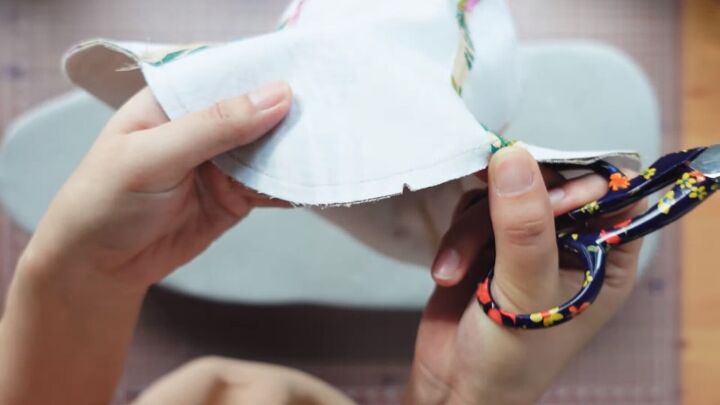
Now that you have two pieces attach both with one long stitch. Place them right sides facing and leave ¼“ at the bottom edges. Then, clip the curves.
Stitch down the seam the same way you did when attaching the individual pieces.
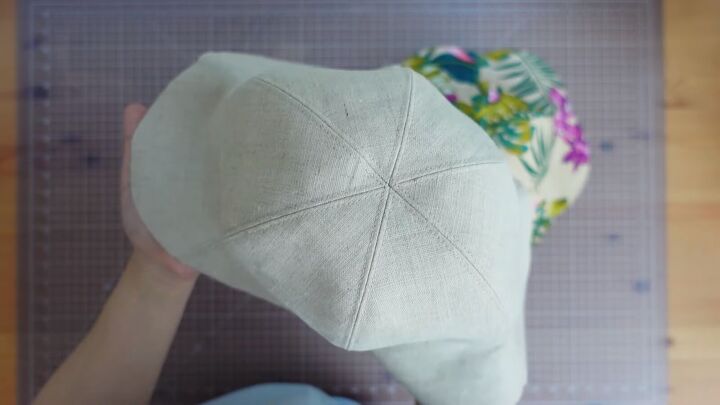
Next, repeat the process with the other fabric.
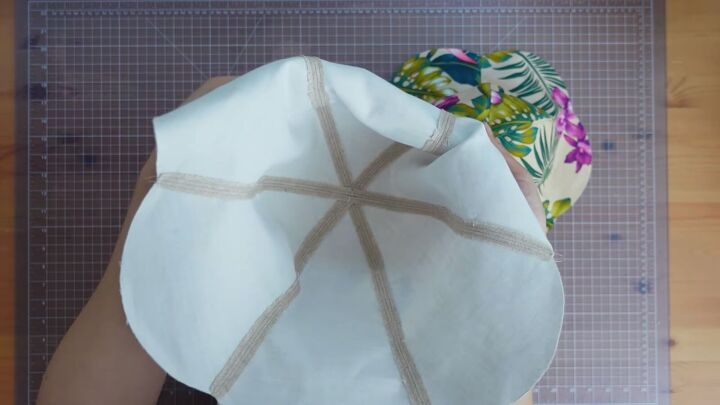
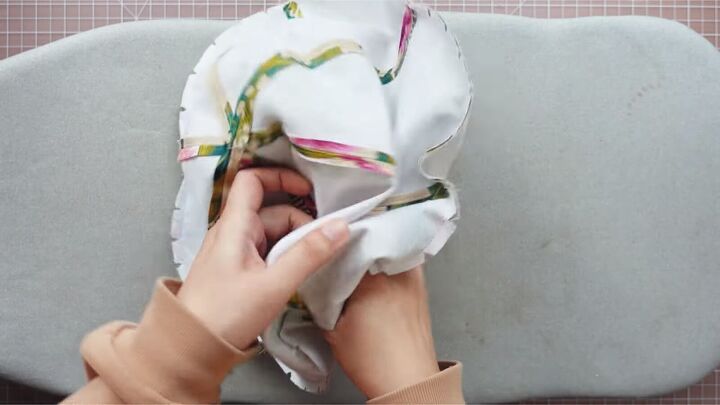
5. Assemble the reversible DIY tulip hat
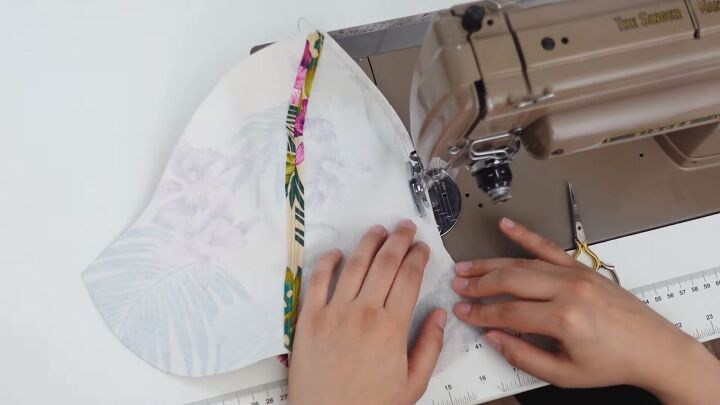
Flip one of the pieces wrong sides out and place it on top of the other (right sides facing).
Align the seams and sew around the brim with a ¼“ seam allowance.
Leave 3“ open so you can flip the hat right sides out.
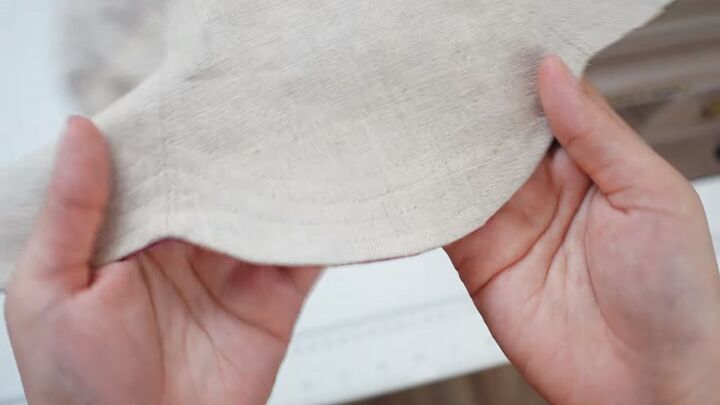
Clip V-shapes every inch or so. This way, the seam allowance will lay nicely when you flip the DIY tulip hat the right sides out.
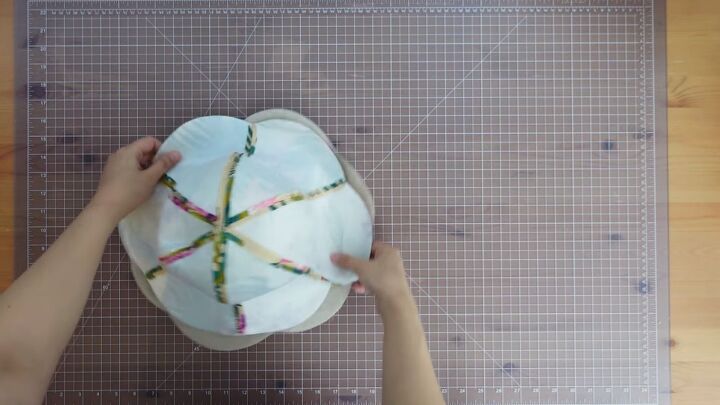
6. Turn to the right side
Once done, flip your hat.
Roll out the seams, so they come to the edges.
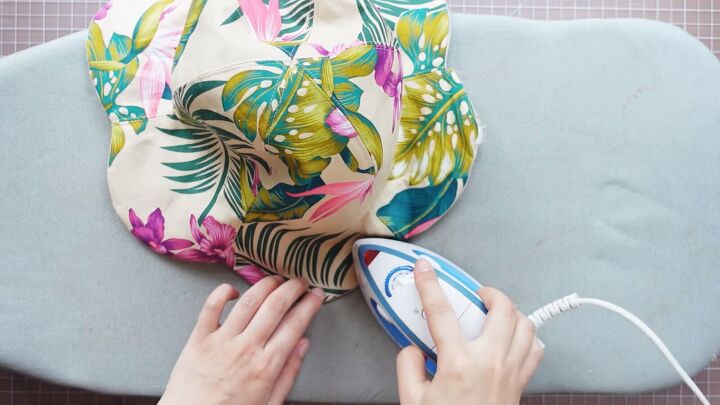
7. Press
Then, iron from both sides.
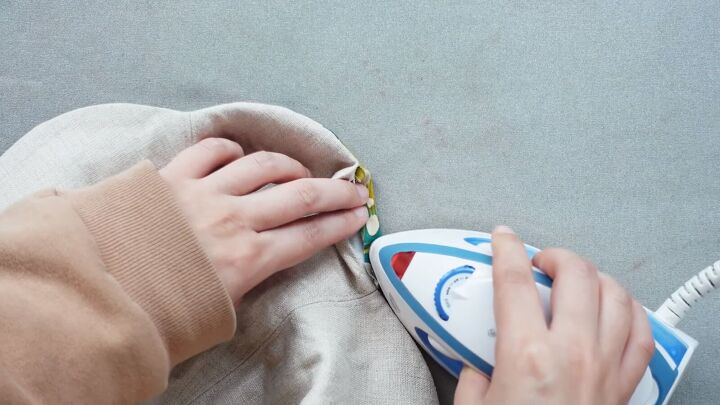
For the opening, fold the ¼“ seam allowance inside.
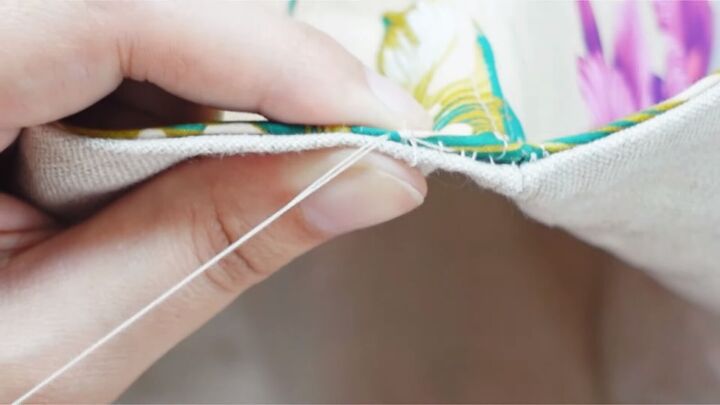
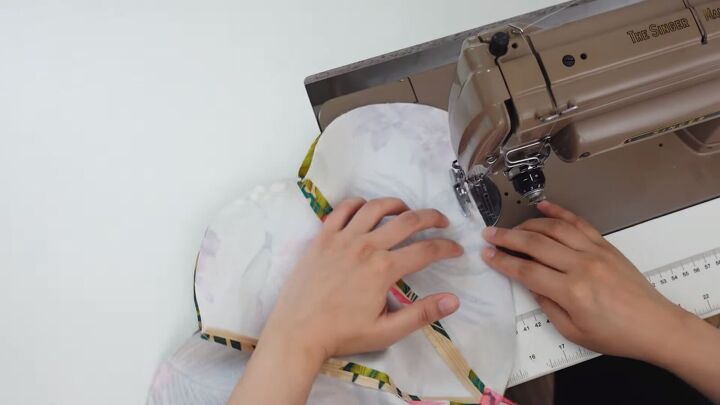
8. Sew the opening closed
Hand stitch the opening closed. I used a ladder stitch.
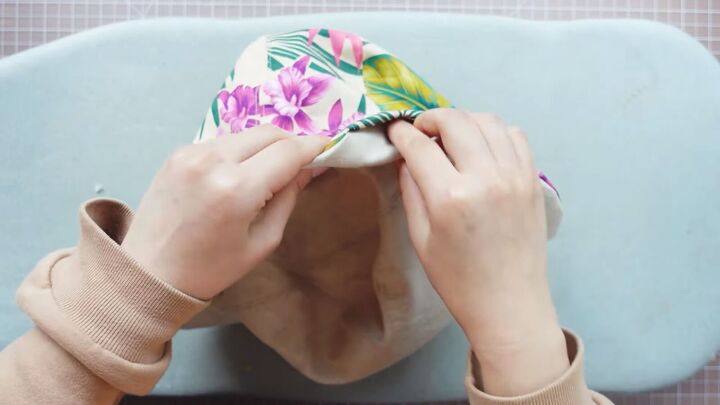
9. Add decorative stitches
This is optional; I made four rows of decorative stitches around the brim, a ¼“ apart.
These stitches definitely stiffen the brim a little more.


Reversible tulip hat sewing pattern tutorial
I love how this DIY tulip hat came out. What I love the most is that I can throw it in my bag when I’m not using it. I hope you enjoyed this tulip hat tutorial. Good luck!
The author may collect a small share of sales from the links on this page.


Comments
Join the conversation