6 DIY Thrift Flip Hacks You Should Know: How to Alter Thrifted Clothes

Sometimes you find something amazing at a thrift store, but it's too big or needs alterations. If you want to learn how to alter thrift store clothes or some DIY thrift and flip hacks, this is the tutorial for you!
Tools and materials:
- Sewing machine
- Serger or overlock machine
- Scissors
- Chalk or marking pen
- Pins
- Needle and thread
- Shoe polish
- Buffing brush
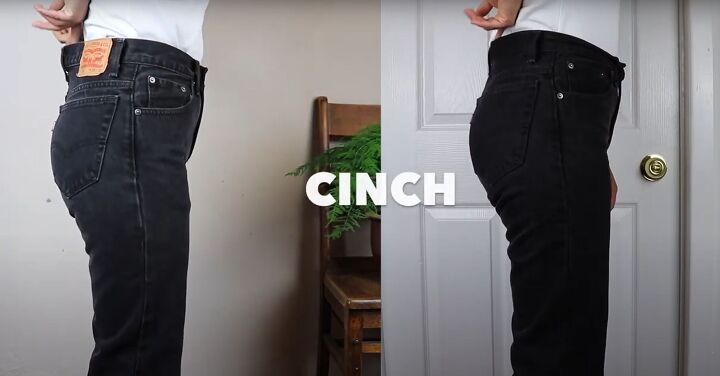
How to downsize jeans
1. Take in the waist
Pinch the waistband at the spot that fits best. Mark it.
Remove the center back loop. Open up the center back seam about 4 inches. Move over the back seam and reduce it by 1½ inches. Pin it into place.
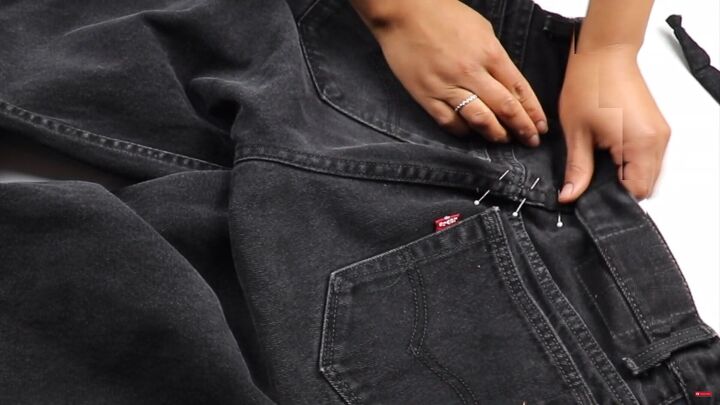
2. Sew the jeans
Topstitch where the original stitches were, then resew the waistband to the pants, easing it in. You can watch my video How to Take in Jeans at the Waist to see how I do this in more detail.
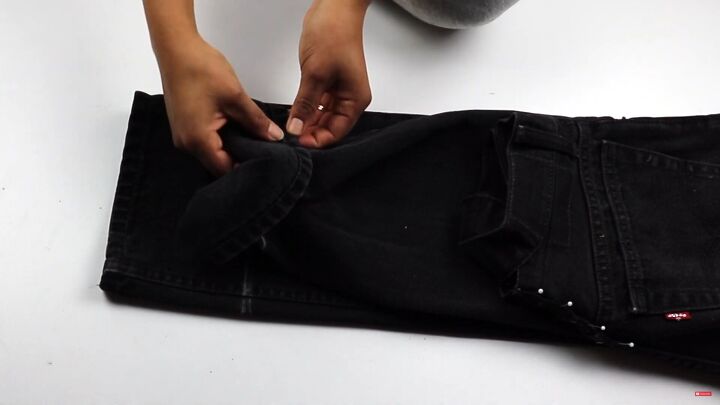
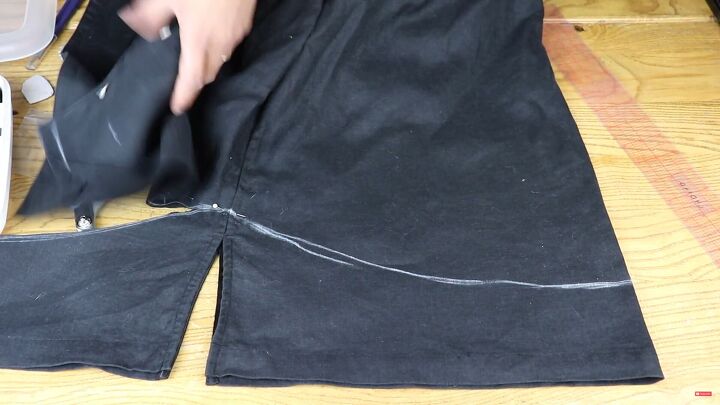
3. Euro hem
Euro hem is where you hem your jeans so they look like they weren’t hemmed at all. Mark the new hemline on both legs. Pin the current hem along this line.
Use a zipper foot to sew as close to the hem as possible. Cut off the excess, leaving about ½ inch. Cut the inner seam closer - no more than ¼ inch to reduce the bulk at the hem.
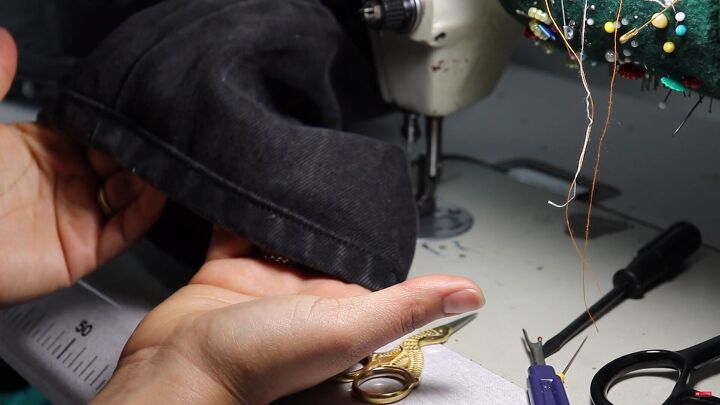
Use the seam ripper to open the original hem. Insert the raw edge of the seam allowance. Sew it up. This technique preserves the original hem instead of a double fold.
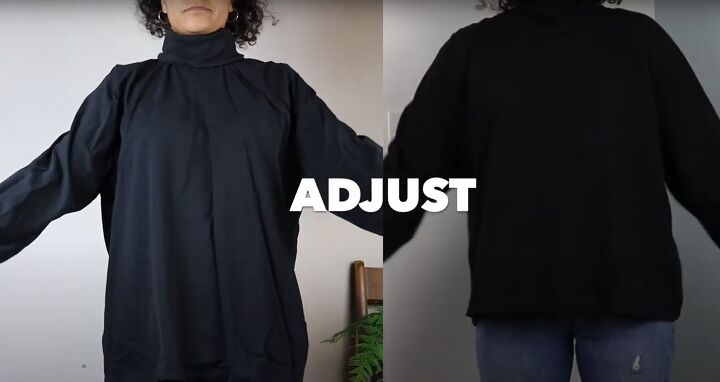
How to downsize a sweater
I want to reduce the overall length, sleeve length, and have cuffs that fit better on this oversized shirt.
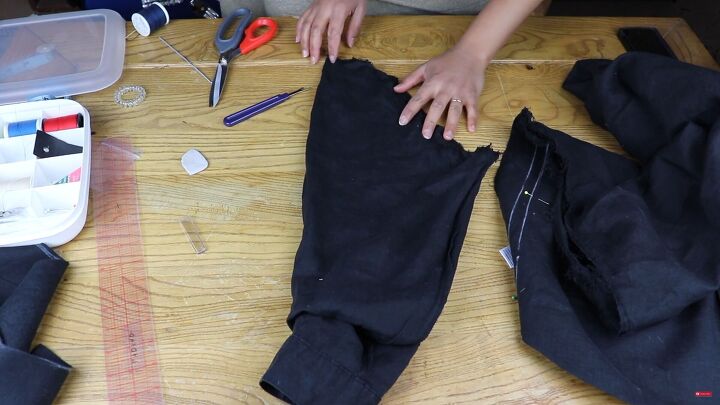
1. Shorten the sleeves
Mark the sleeve to the desired length. Seam rip the cuff. Cut the sleeves shorter.
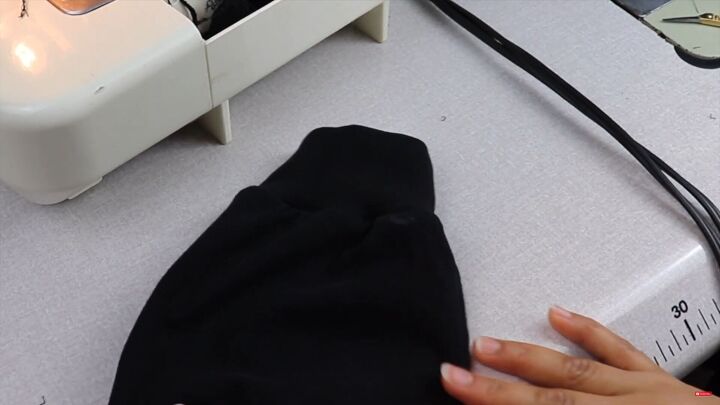
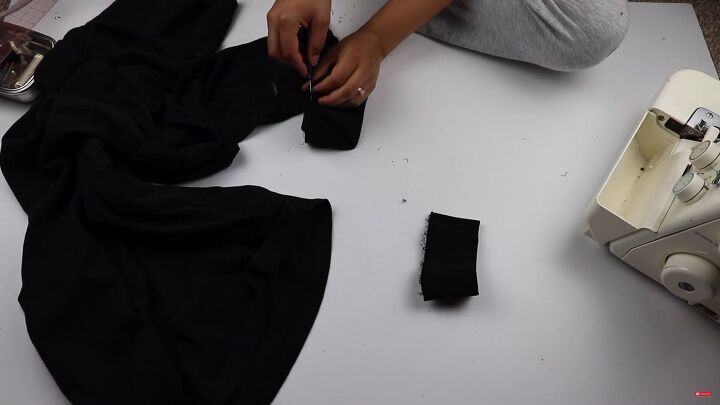
2. Revamp the cuff
Cut 1 inch off the cuff width. Serge the raw ends. Reapply and pin the cuff, right sides facing into the sleeve, and serge in place. If you don’t have a serger, zigzag stitch the ends and then zig-zag sew them in to allow flexibility.
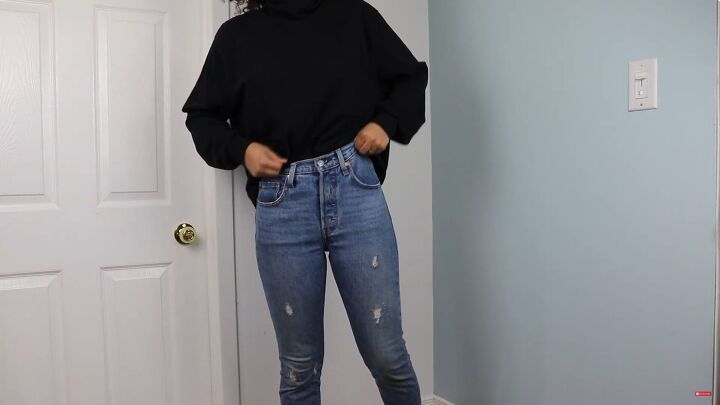
3. Shorten the top
Cut 2 inches off the hem of the top, leaving a 1-inch seam allowance. Cover stitch to finish the ends.

How to restore boots
All these leather boots need is some shine! Gently work the polish into the boot using rounded strokes. After applying the polish, use a soft-bristle brush to buff them and keep the leather supple.
Tip: If your shoe polish is cracked, heat it for a few seconds to soften.
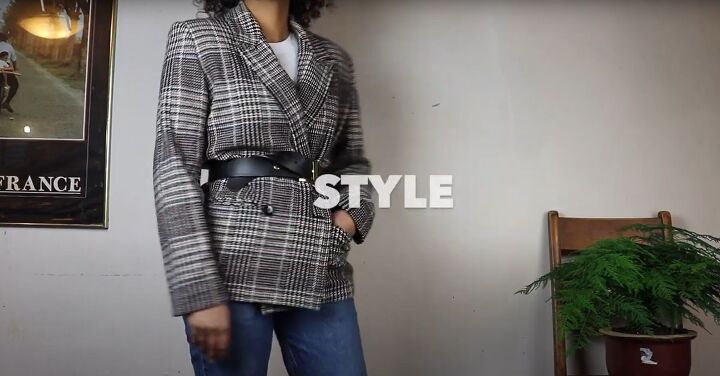
How to adjust jacket buttons
You can always belt a big jacket, but if the buttons are in the wrong spot, here's how to move them.
Certain fabrics will pull if there isn’t a button shank. Button shanks provide space between the button and the fabric. This allows whatever you’re wearing to drape nicely whenever the garment is buttoned up.
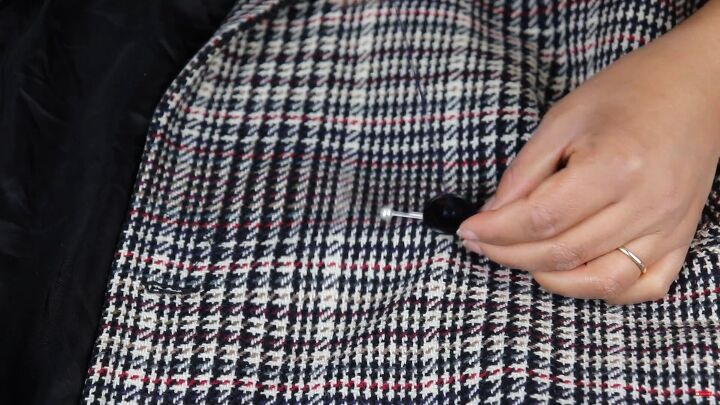
1. Create a button shank
Place 2 thick pins crosswise where the button is supposed to go.
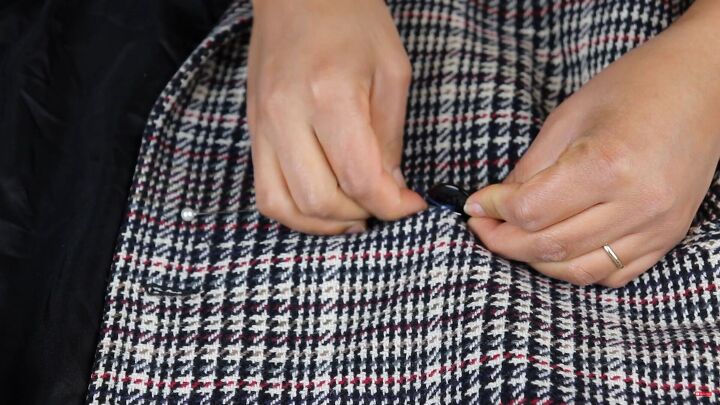
2. Sew the button
Sew the button on top of the 2 pins. Wrap the thread around the shank and tie it off. Remove the pins once the button is attached.
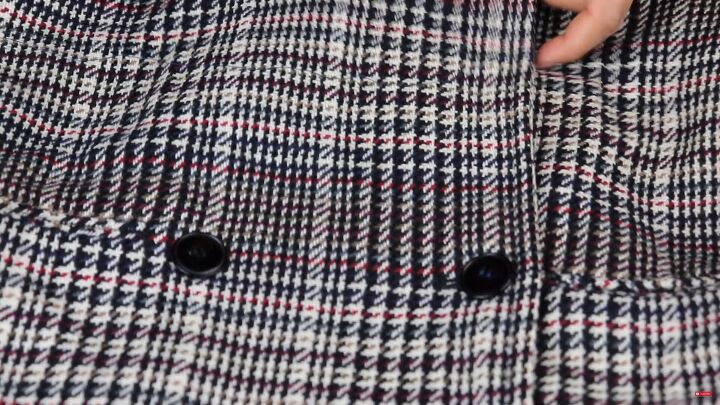
The button is in the right spot!
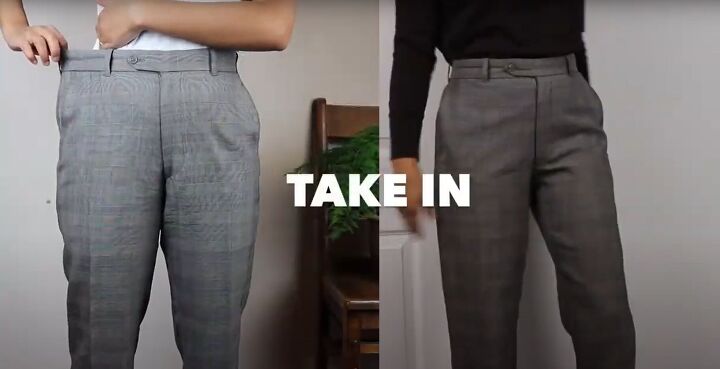
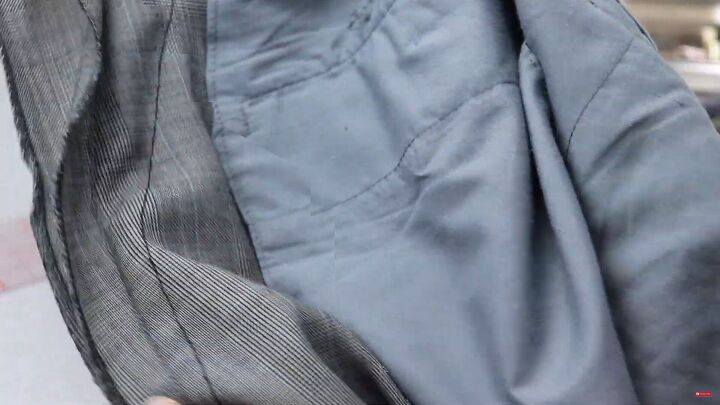
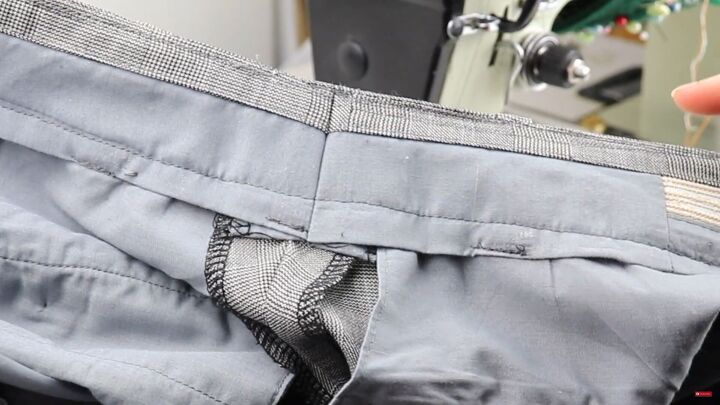
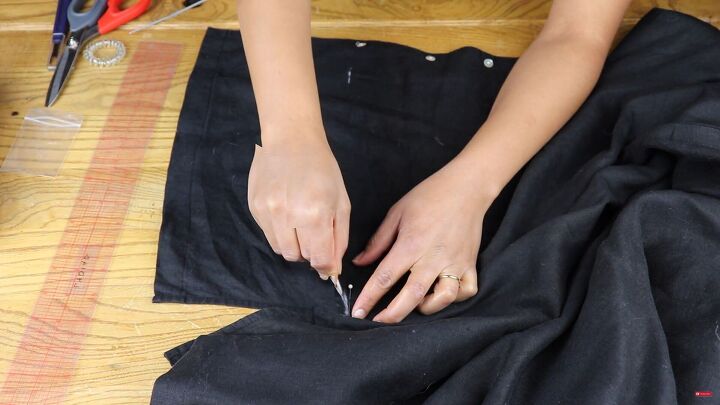
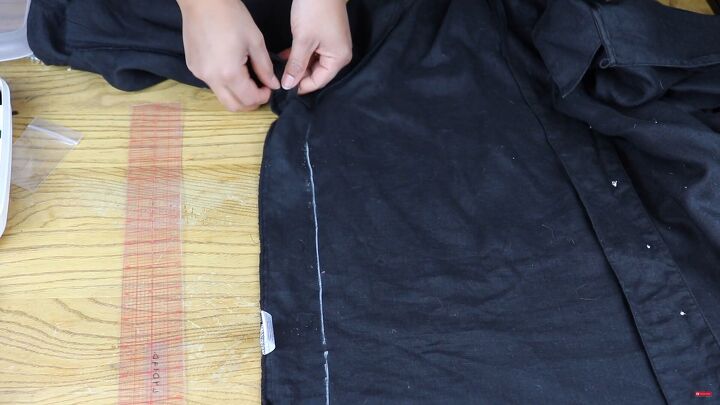
How to take in pants
These 100% fine wool pants were too big in the waist.
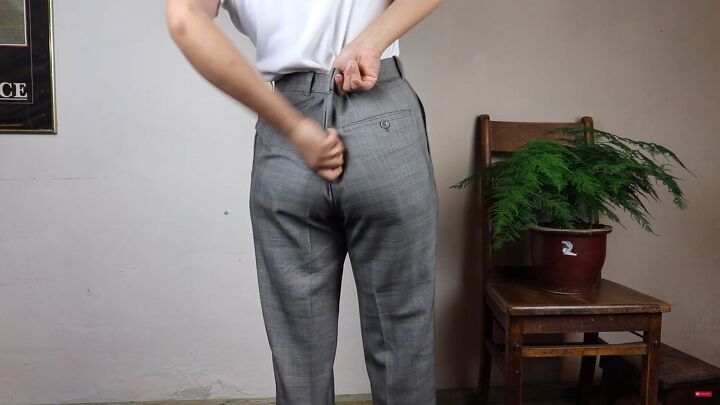
1. Take in the waist
Pinch the back of the waist to get the right fit. Pin in place. Mark where the pins are with chalk.
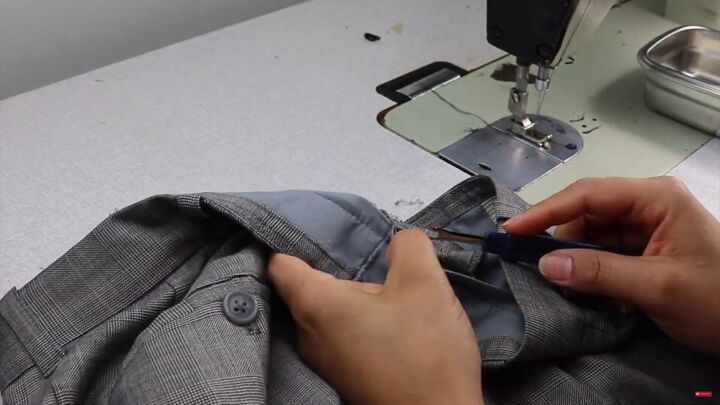
Open up the back seam about 6 inches. Remove the back belt loops. Open up the waistband. Mark the reduction in size on either side of the center seam. For me, that was 2½ inches so I reduced each side by 1¼ inches.
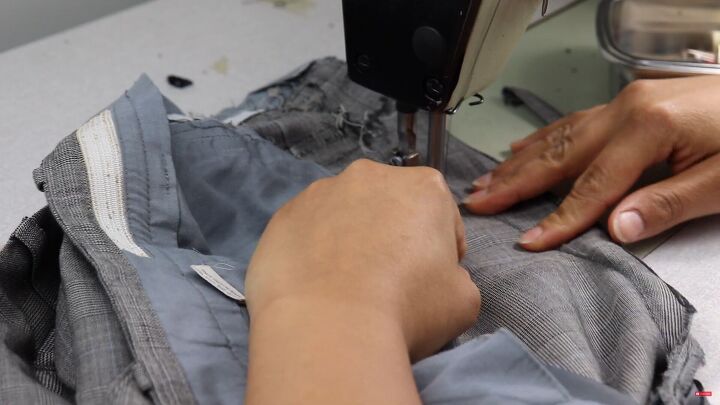
2. Sew the new waistband
Sew the center seam starting at the top, working downward, gradually reducing to finish on the original center seam on a gradual smooth line.
Trim the excess.
Sew the waistband together.
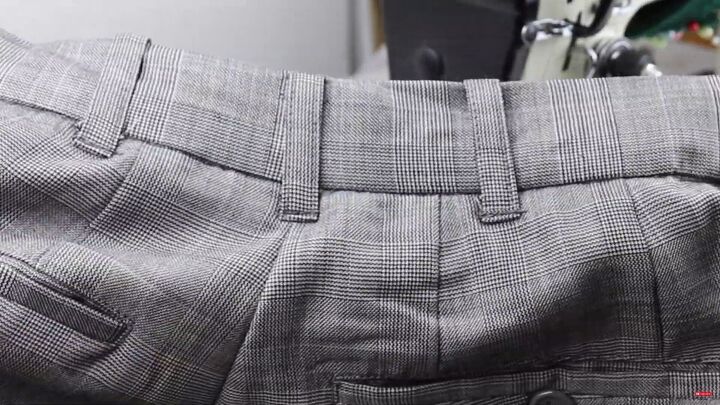
Open the seam allowance and serge the ends. Sew the waistband down. Reattach the belt loops at the center. Make sure the back pockets aren’t too close when you take trousers in. You may need to reduce side seams as well.
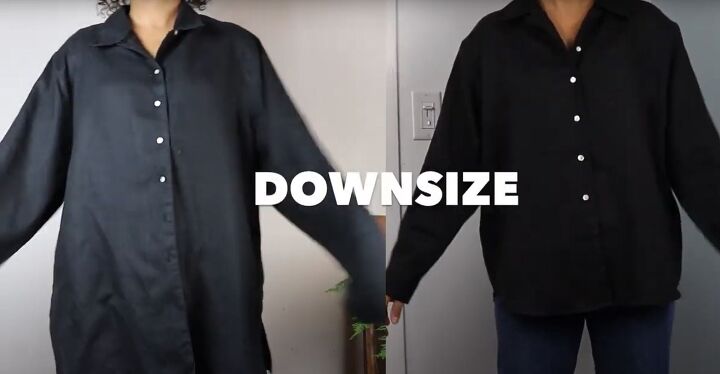
How to downsize a shirt
This beautiful shirt was just too big!
1. Shorten the shirt
Mark off where to cut the excess with the chalk. I rounded the edges to make a curved bottom.
Cut off the excess with a ½-inch seam allowance for hemming.
2. Narrow the width
Open the side seams. Reduce them by 2 inches with ½ inch seam allowance.
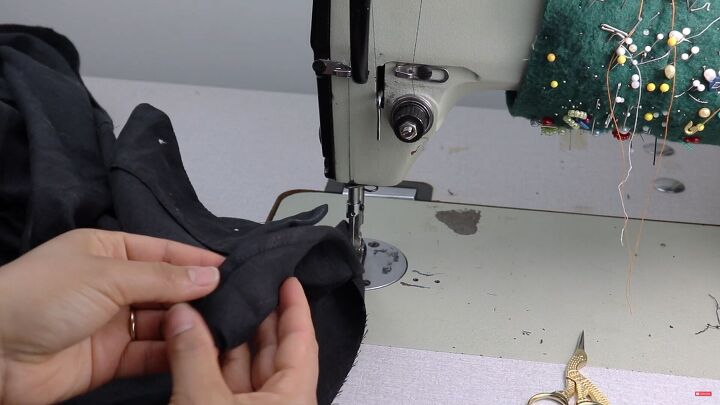
3. Shorten the sleeves
Remove the sleeves at the shoulder opening. Use a seam ripper to open the armhole seam and measure how much to reduce the sleeve. Transfer that measurement to the sleeve cap.
I made a drop shoulder with a straight line rather than the curved line at the top of the sleeve.
Serge all the raw edges.
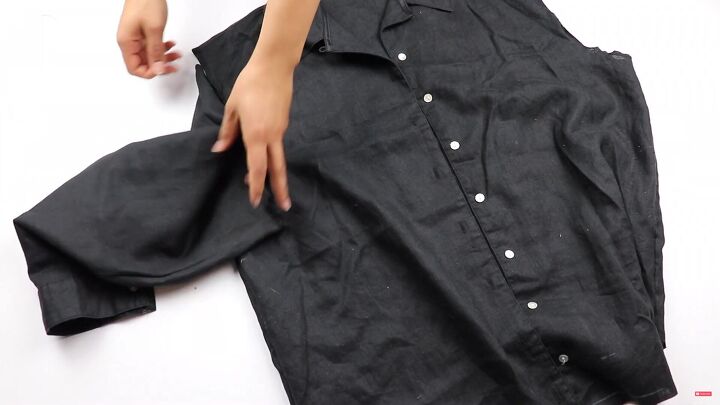
4. Sew the shirt
Sew the side seams. Insert the sleeves and sew them in.
Hem the shirt by double folding it by ¼ inch and then one more ¼ inch and sew down.
How to alter, thrift, and flip tutorial
Thanks so much for watching this tutorial! I love hearing from you so please leave comments on these thrifting hacks or if you want to see any additional tutorials on altering thrift store clothes!
How to measure clothes
The author may collect a small share of sales from the links on this page.


Comments
Join the conversation
Excellent tutorial! I am the granddaughter of an Italian dress designer & you are exceptionally talented!
Susan W.
how do you make a t shirt smaller?