Try This Fun & Scary Belle From Beauty and the Beast Halloween Makeup

Ready for a tale as old as time? Today, I'm sharing my Belle of Beauty and the Beast Halloween makeup from my Happily Never After series. If you're looking for some scary Belle makeup for Halloween or cosplay, then this gory Beauty and the Beast Halloween makeup look is for you!
If you haven't seen my other Disney Princess Halloween makeup ideas, take a look at my scary Cinderella Halloween makeup and Ariel Little Mermaid Halloween makeup tutorials too.
Tools and materials:
Pretty Makeup
- Foundation
- Contour
- Brow powder in brunette
- Eye primer
- Eyeshadow in neutral colors
- Brushes
- Gel eyeliner
- White eyeliner
- Mascara
- False eyelashes and glue
- Blush
- Lip liner
- Spoolie
Special Effects Makeup
- Witch hazel
- Cotton pads and buds
- Spirit gum
- Kryolan FX wax
- Metal spatula
- Kryolan sealant
- Kryolan burn wheel
- Brushes
- Wound fill
- TV blood
- Tissues
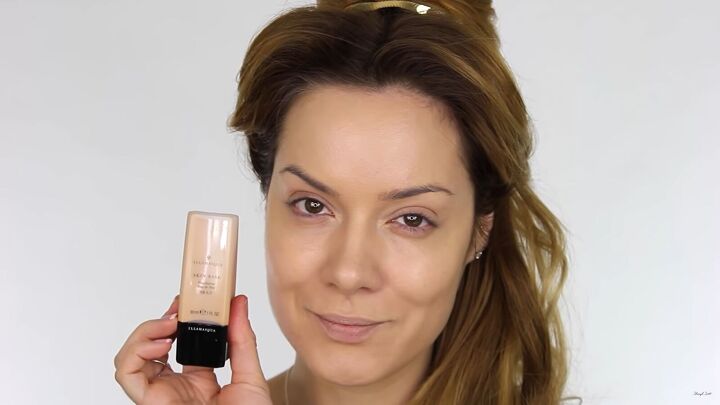
1. Foundation
Apply foundation all over the face, except for one cheek if you're doing the FX wound.
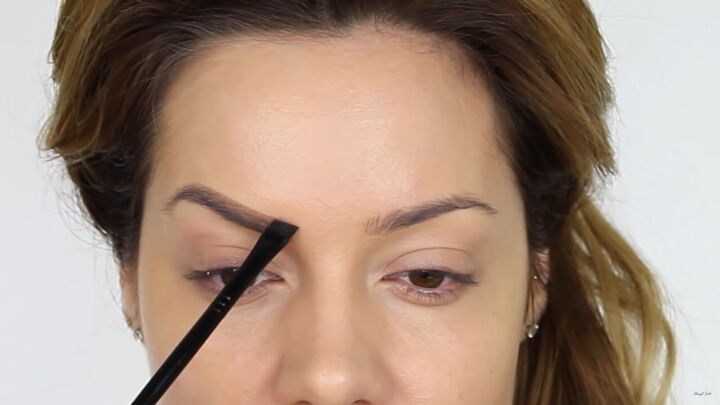
2. Brows
Fill in the brows from the front to the tail in a dark brunette, feathering the color all the way through. Once they’re filled, I run a spoolie over to soften them.
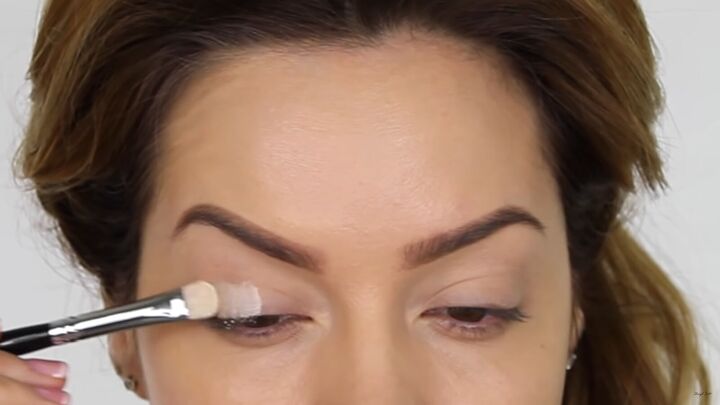
3. Eye makeup
First, apply an eye primer. Next, apply a pale cream matte shadow with a flat brush from the lash line up to the crease, then lightly, from the crease to the eyebrows.
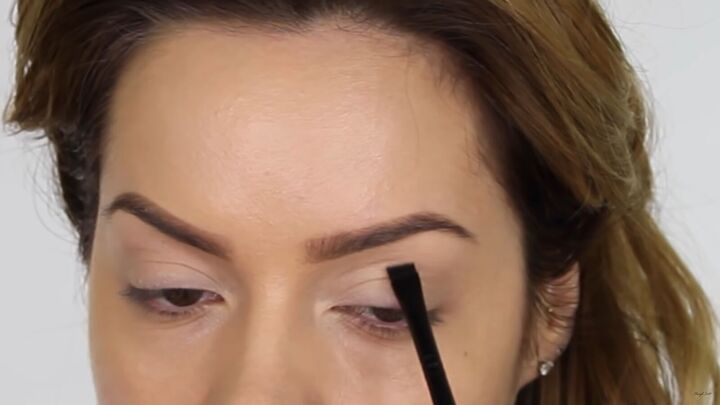
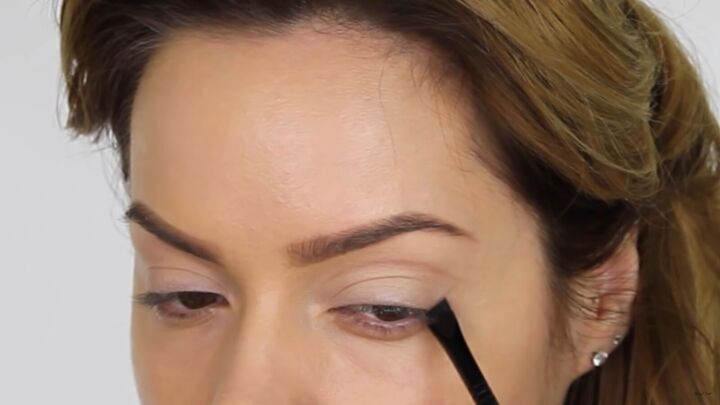
Now use a taupe shade to create a false crease to make the eyelid look bigger. Use the eye’s natural crease as a guide, but go a bit higher on the fixed part of the eyelid.
I used the brush to add color and the tip of the pencil brush to blend. Do this several times to build the new crease.
Next, I used a cocoa color to trace over the new crease line I just made, using the same process of layering the color and blending
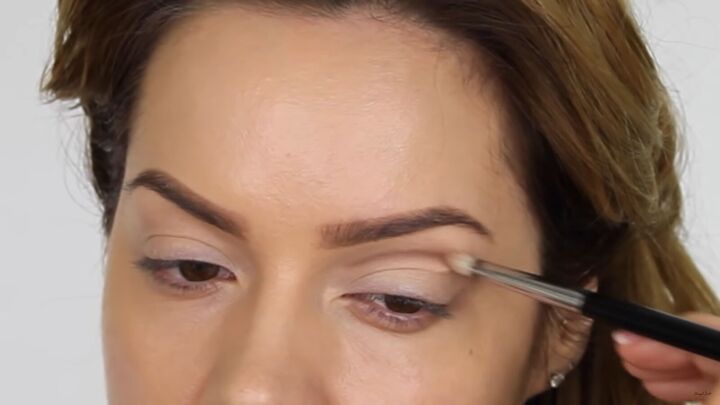
Mix cocoa and black to line the new crease. It's crucial to use the very tip of the brush with a light hand. Gently deposit the color on the line and blend it softly.
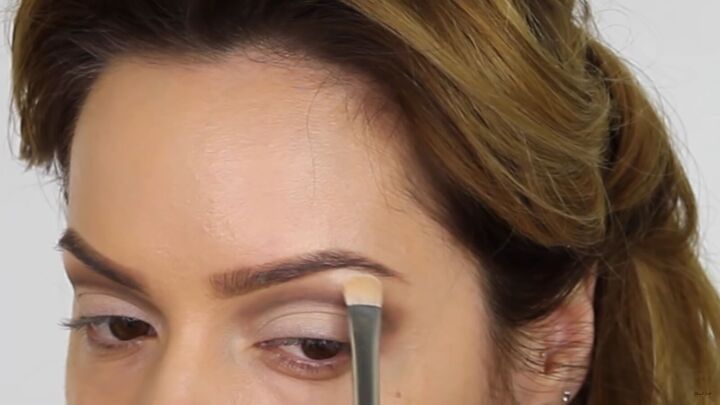
Once the new eye crease is done, reapply the palest eyeshadow with the flat brush just up to the new crease. Add a small amount directly underneath the eyebrow.
4. Line the eyes
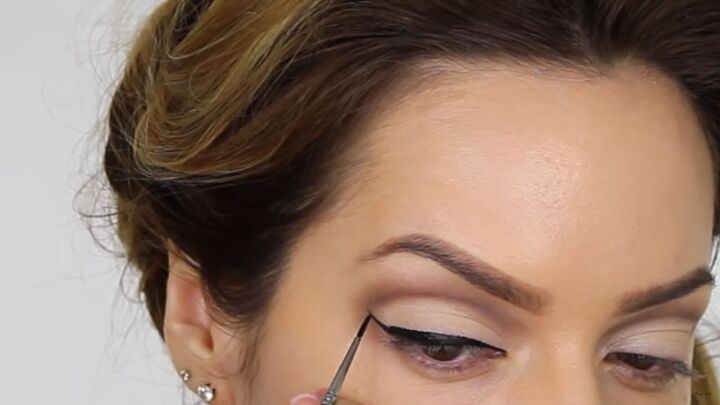
Use a gel eyeliner with an angled brush and start at the innermost corner of the eye and thicken it towards the edge. At the outermost edge, I flicked the brush upwards so the end of the flick meets the edge of the new crease.
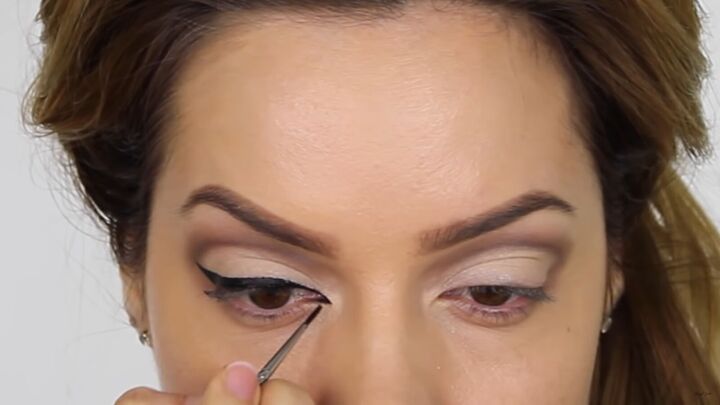
I also made a sharp triangle at the inner corner of my eye.
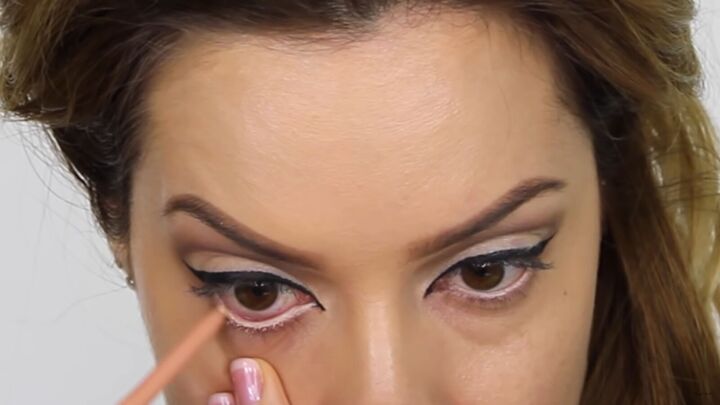
Line the waterline of the bottom of the eye with a pale nude or white eye pencil.
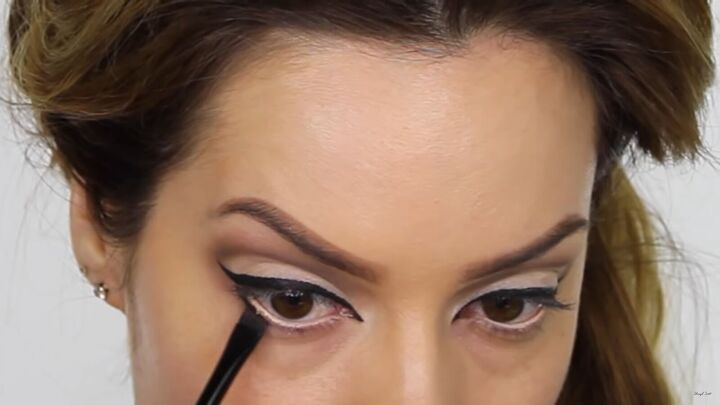
Mix the cocoa and black again, and apply the eyeshadow under the lower lashes to frame the eyes.
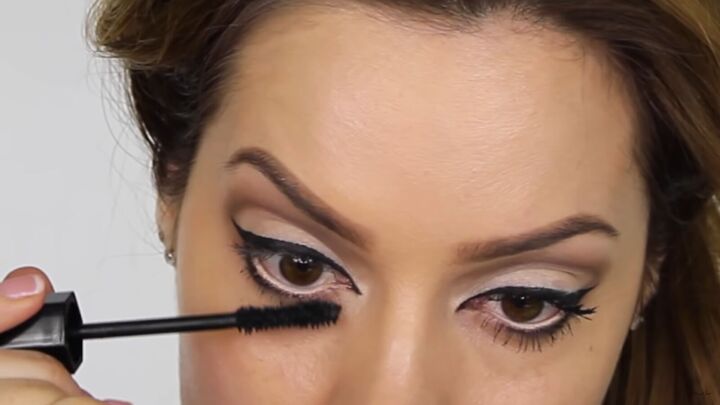
5. Lashes
Use mascara on both the top and bottom lashes.
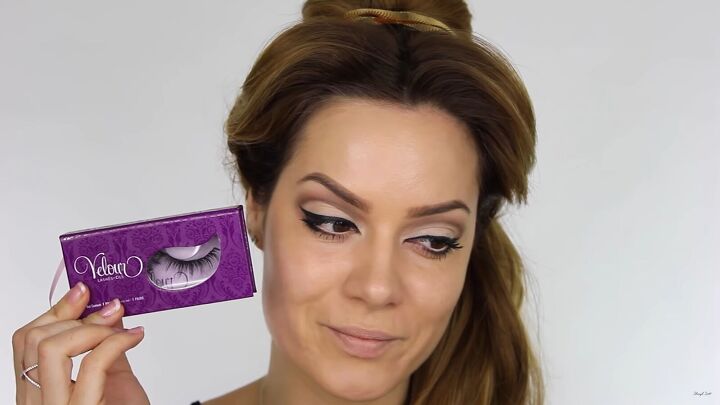
I also added false eyelashes.
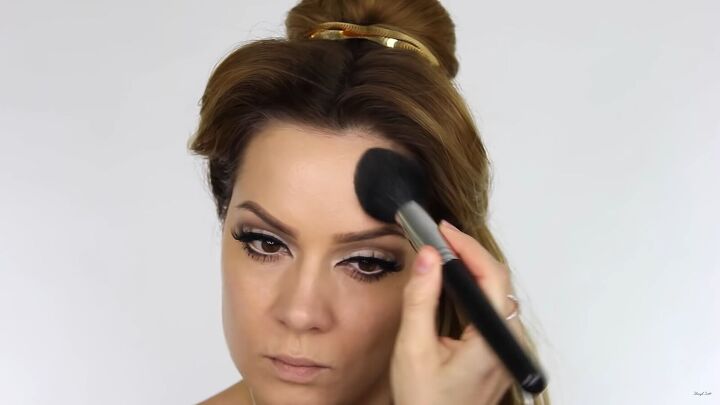
6. Contour
Use a medium contour shade on the outer corners of the forehead, in the hollow of the cheek, and down the sides of the nose. I used a smaller brush to add more contour to the cheek and temples.
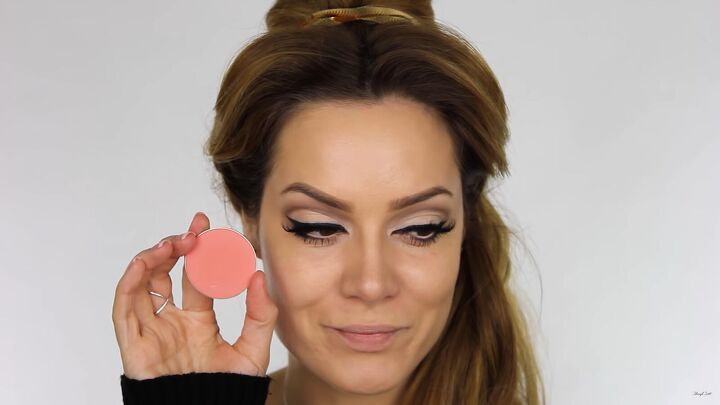
7. Blush
Apply pink blush to the rounded part of the cheek.
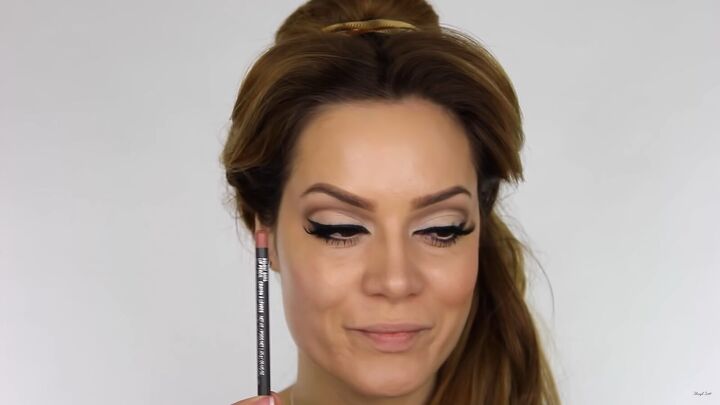
8. Lip pencil
Apply a pink-nude lip pencil over the entire lip.
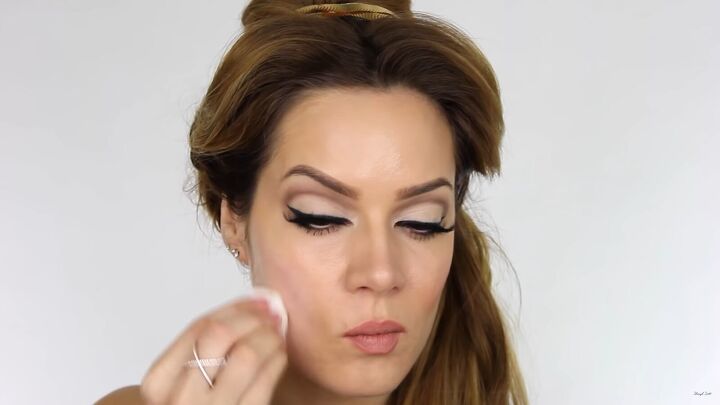
9. Prep the skin
Now onto the fun part - the gory FX makeup! First, clean the cheek with witch hazel on a cotton pad.
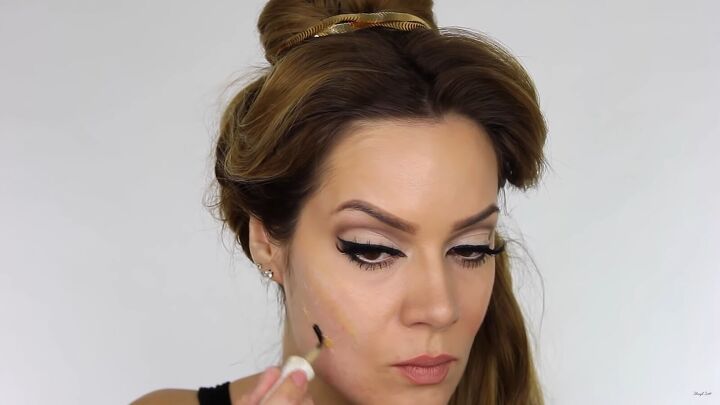
10. Apply spirit gum
Apply spirit gum in 2 stripes across the cheek: one on the cheekbone and the other below it. It goes on liquid and then goes tacky.
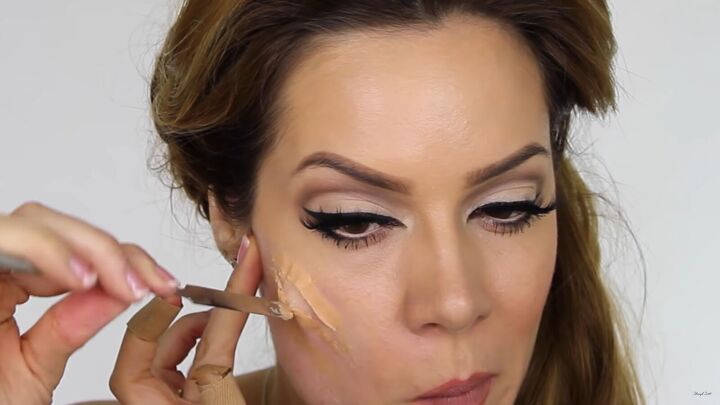
11. Apply FX wax
Use the spatula to apply a small amount of FX wax to the cheek. I applied a top and bottom section, keeping a split in the middle to create the illusion of a tear.
I used the tip of the spatula to pull away at the center of the wax to look like torn skin. Don’t use fingers as they are too warm!
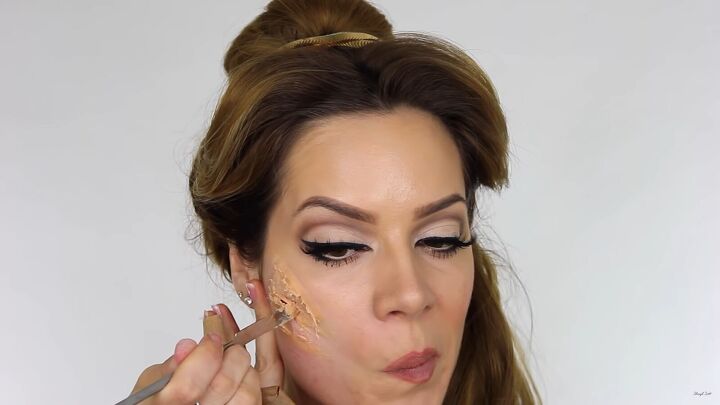
I did the second slash following the same technique, then smoothed out the edges. Be patient - it takes time to do it right!

Add sealant with a cotton bud and dab it over the top. This hardens the wax so it stays in place. Let it dry before moving on.
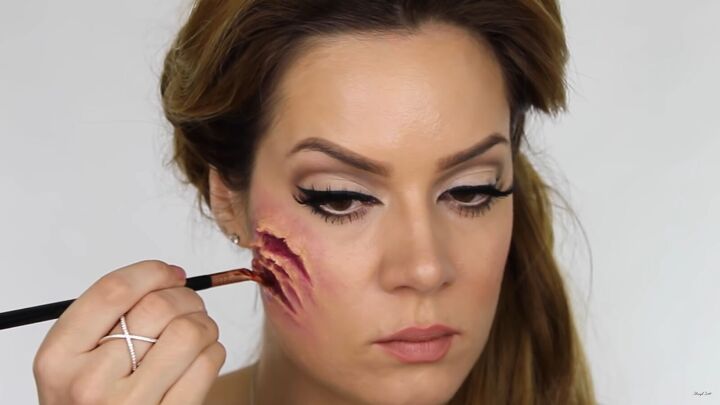
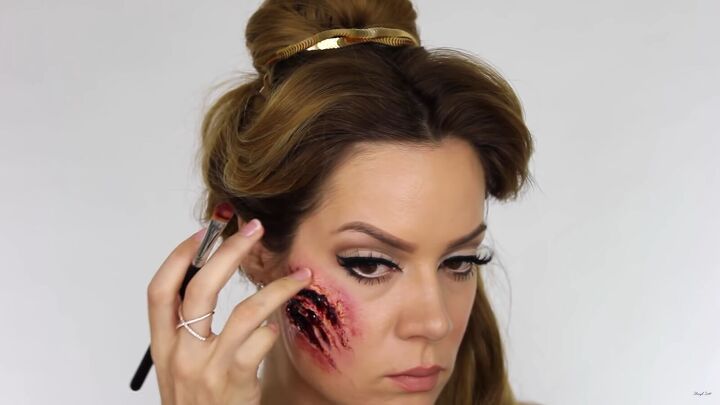
12. Add color
First, add foundation so the wax matches the skin tone. Then, use the red color from the burn wheel on a synthetic brush. Put it inside the slits to form the base.
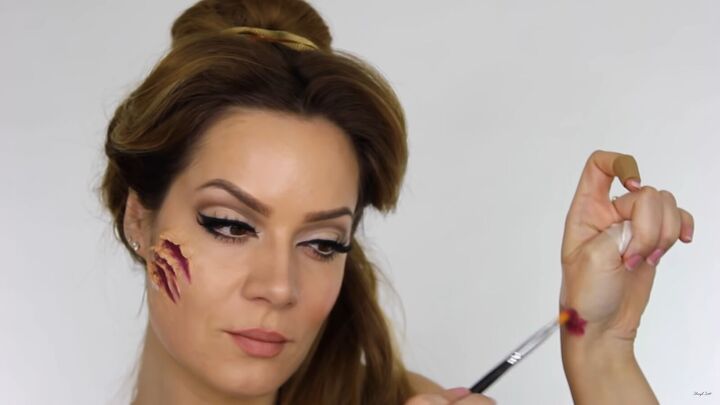
It's best to pat the color away and use what’s left on the brush to build color on the skin outside the slashes.
Slashes from the Beast would leave the skin sore and red. Keep stippling to add color and dab with fingers to soften. Make sure to do the area close to the ear and on the bottom of the wound.

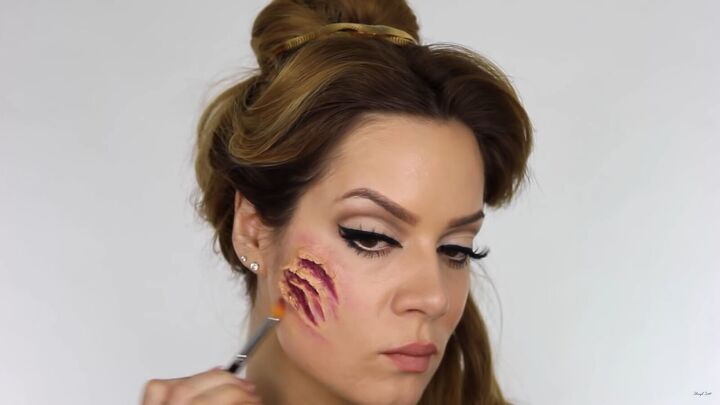
Add black from the burn wheel and stipple the color in small areas to create depth and make it look like deep, congealed blood. Add a bit more red to the outside if needed.
13. Apply wound filler
Add wound filler with the spatula and place it in the wound. Whatever is left on the spatula, place it on the skin for a grazed look.
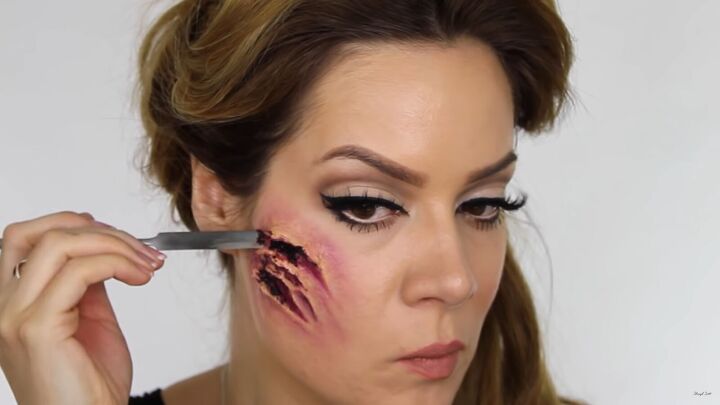
14. Add TV blood
The last step is to add TV blood. Use the synthetic brush to put it into the wound.
Apply enough so some drips down. With whatever is left on the bristles, apply it to the outside of the wound and pat it in with a finger.

Smear any dripping TV blood with a tissue.
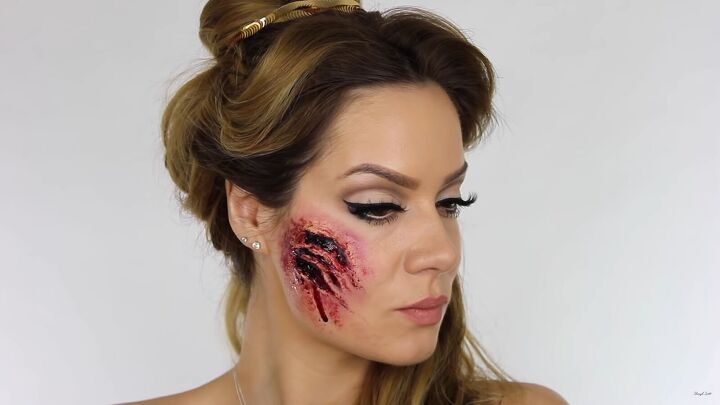
Beauty and the Beast Halloween makeup tutorial
That's how to do your scary Princess Belle Halloween makeup, complete with slash marks from the Beast! Let me know what you think of this Belle Halloween makeup and please share photos if you try out the FX makeup too.
Products used
- Illamasqua Skin Base Foundation
- Anastasia Beverly Hills Brow Duo Powder - Brunette
- Bobbi Brown Gel Liner - Ink Black
- Velour lashes
- MAC Mineralize Skin Finish Natural - Medium Plus
- MakeUp Geek Blush - Bliss
- MAC Subculture Lip Pencil
- Spirit gum
- Kryolan F/X Wax
- Metal spatula
- Kryolan Burn Wheel
- TV blood
The author may collect a small share of sales from the links on this page.


Comments
Join the conversation