3 Cute Thrift Flips That You Can Easily Try at Home

Here are three different ways to transform clothes you already have at home into cute thrift flips! If you want some instant inspiration to turn an old clothing item into a cute DIY, then you’ve come to the right place! I can’t wait to get started and show you the results.
Tools and materials:
- Heart shape cut-out
- Scissors
- Sewing machine
- Thread
- Pins
- Interfacing
- Iron
- Measuring tape
- Chalk
- Seam ripper
- Ruler
- Stretchy t-shirt
- Buttoned-up shirt
- Dress
Heart cut-out t-shirt
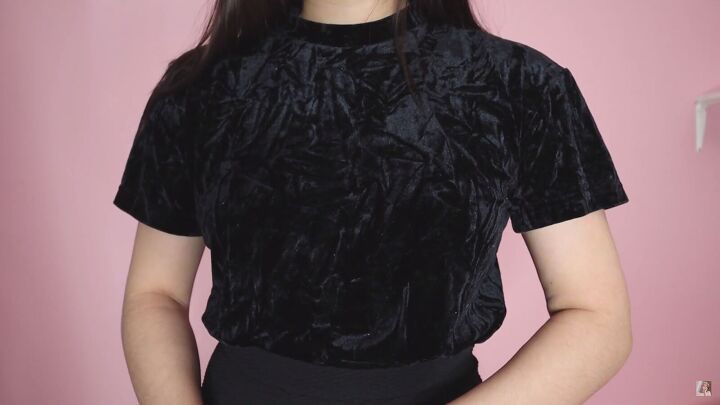
For the first DIY, I will use this lovely black crushed velvet t-shirt.
Tip: Make sure to use something stretchy for this thrift flip.
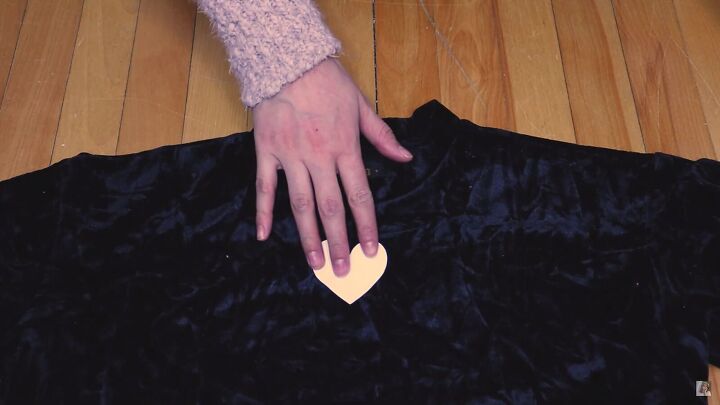
Cut a heart-shaped pattern and place it in the center of your top.
Then, trace the outline with chalk.
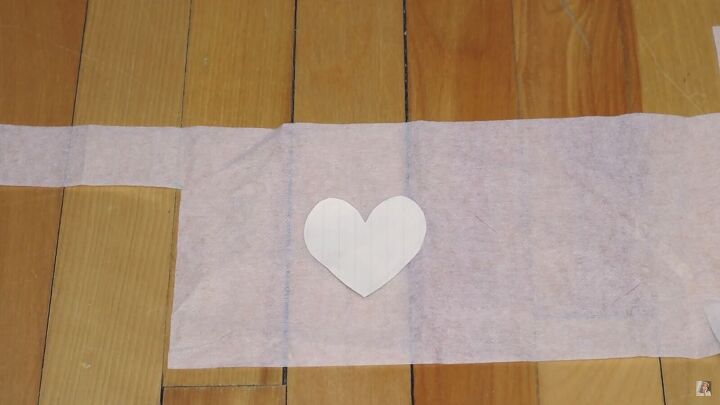
Use the same heart template and put it on some interfacing. Using the interfacing will make the heart cut-out hold its shape.
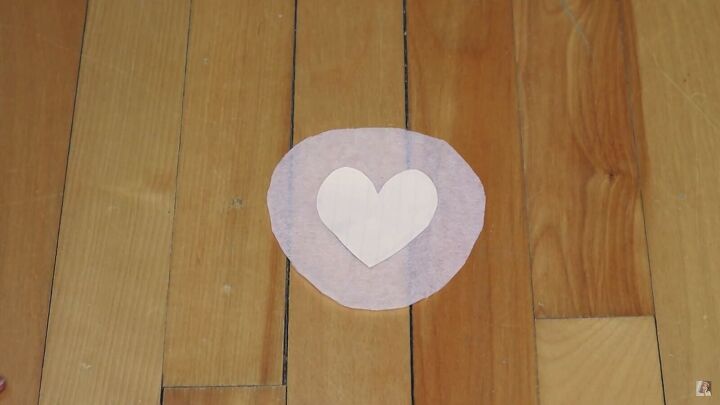
Cut 1 inch around the heart shape.
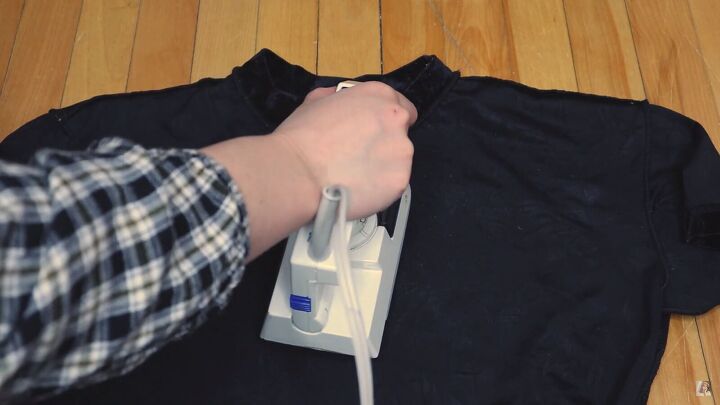
Turn the shirt inside out and connect the interfacing by ironing it.
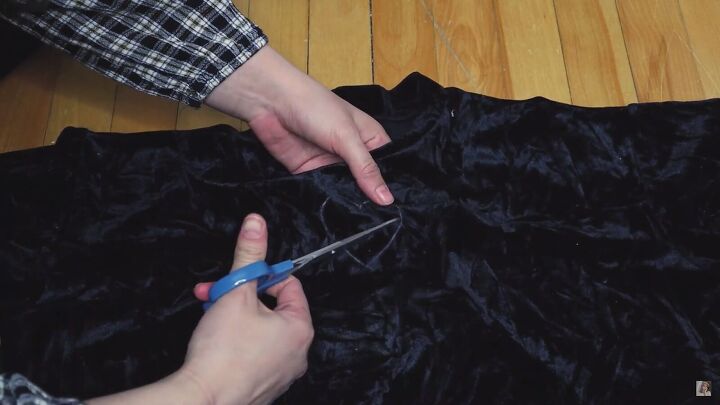
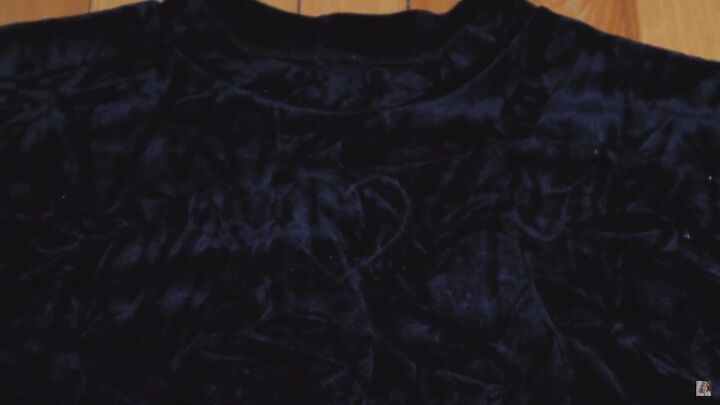
Lastly, cut out the heart.
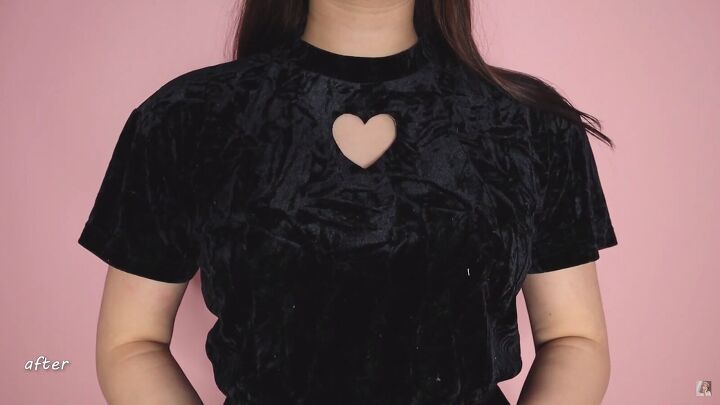
What a quick and straightforward thrift flip! It’s perfect for beginners and really takes the t-shirt to another level of cuteness and style!
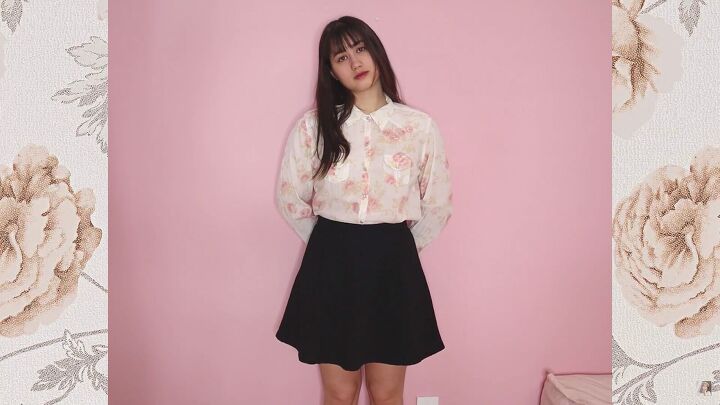
Ruffled blouse
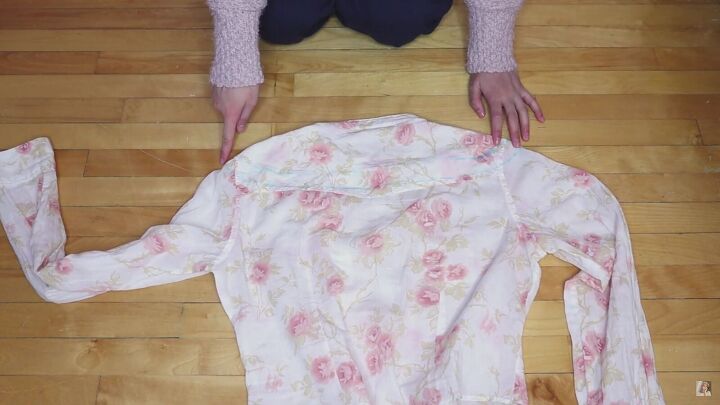
The following DIY thrift flip is to place ruffles across the front and back of this soft rose pattern buttoned-up shirt.
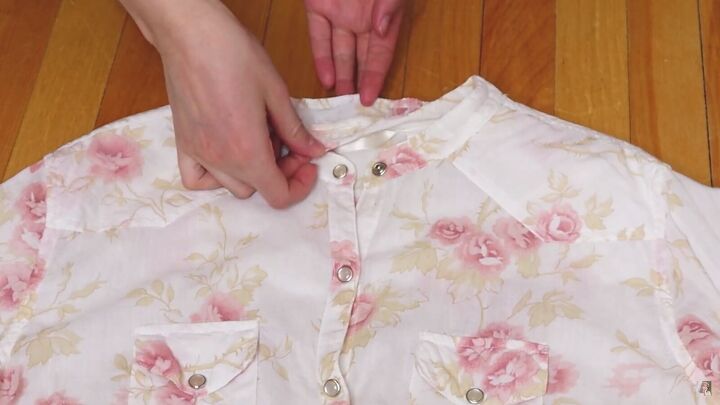
The first step is to seam rip the collar; you’ll be left with this gap between the two layers of fabric. Sew the two layers together to close them up.
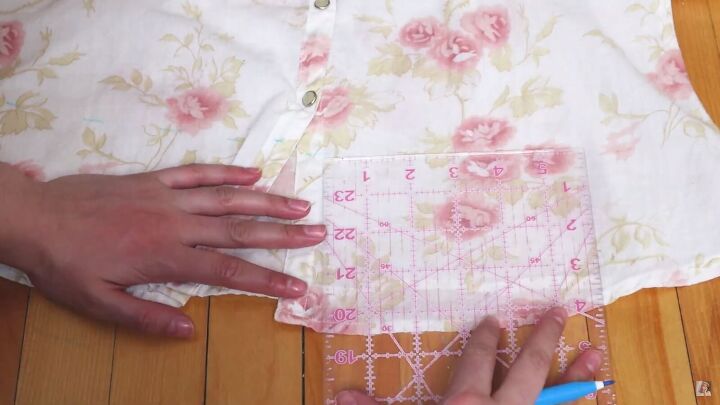
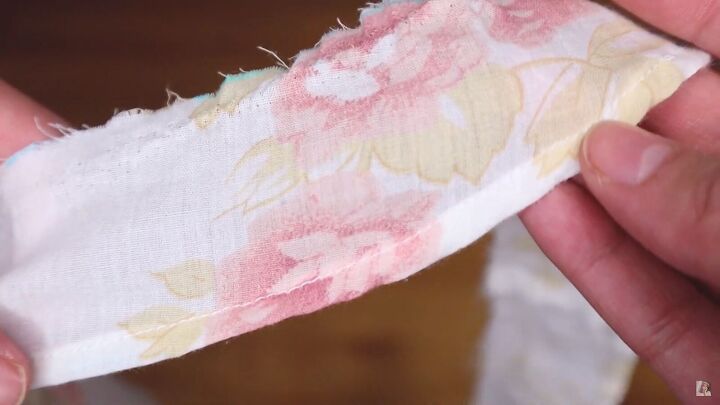
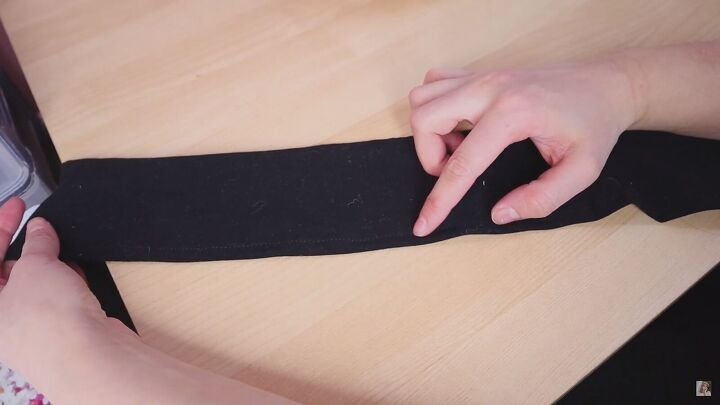
For the ruffles, mark 4.5 inches from the bottom to make a long rectangle. Then, cut it out.
To make it even longer, cut the rectangle in half lengthways to get two thin rectangles.
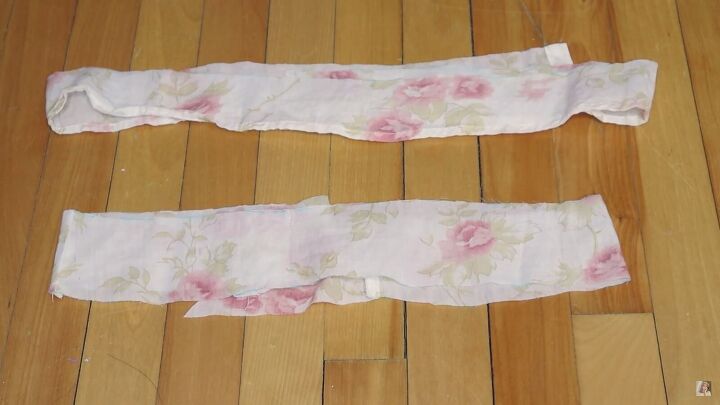
To make one long piece, place them right sides together and sew the short ends.
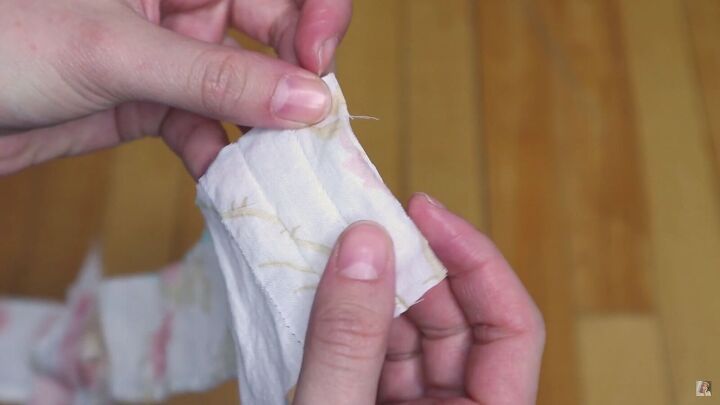
Hem one side by folding it over twice.
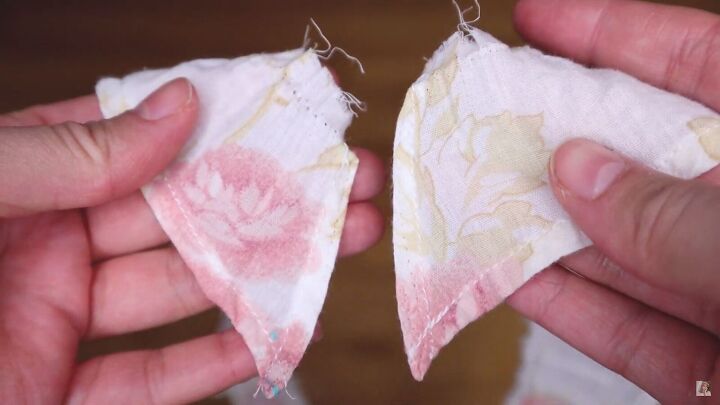
Also, hem the two ends in a triangle shape.
Mark where you want the ruffles to be in the front and back.
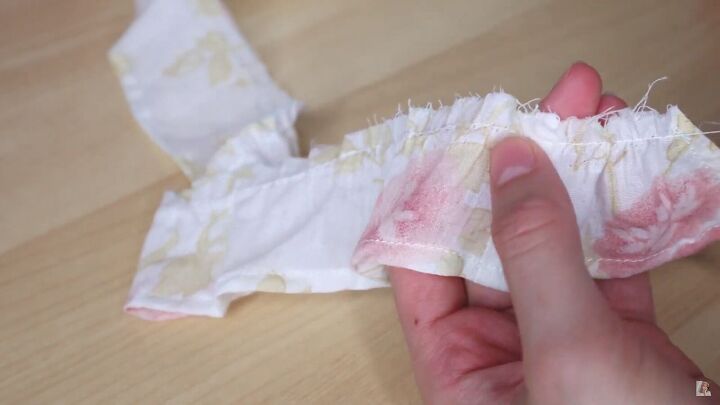
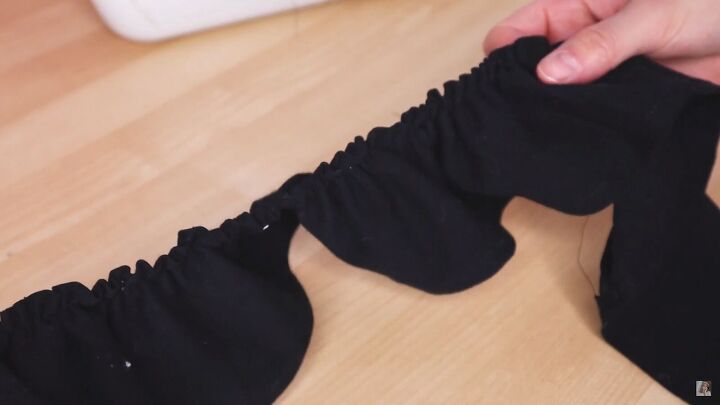
To gather the ruffles, sew a basting stitch (long stitch) across the raw edge, then pull the threads. Gather the fabric until it fits the markings on the shirt.
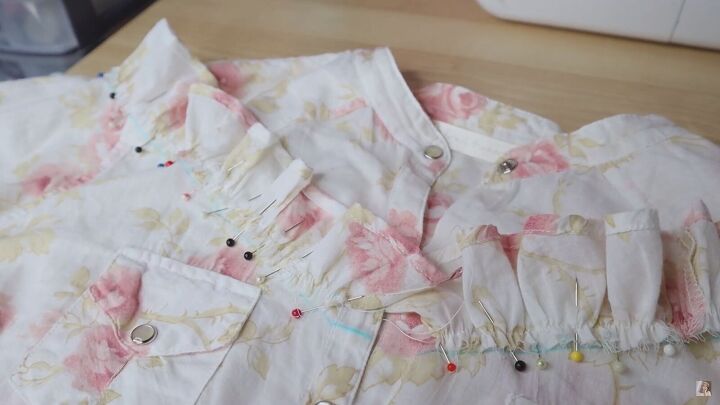
Place the ruffles on the shirt, and right sides together. The ruffled ends should be right on top of the markings.
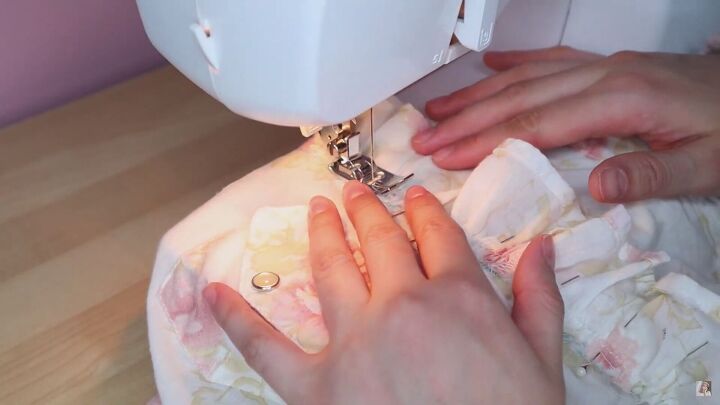
Sew on top of the basting stitch (the stitch you used to gather the fabric).
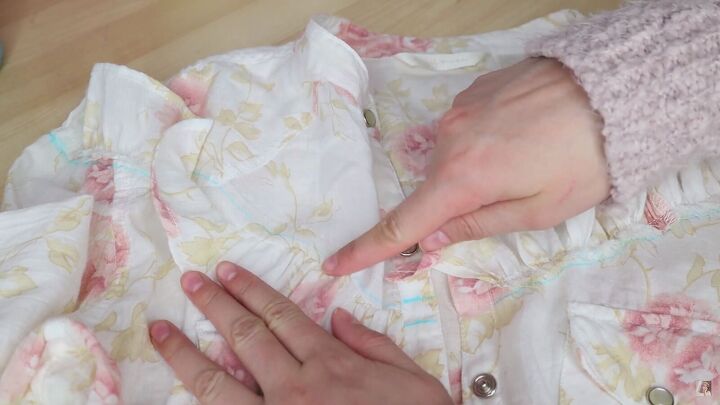
Lastly, flip the ruffles and topstitch the ruffles down. Also, sew down the end of the ruffled strip.
Tip: Pull on the ruffles while sewing, so they stay flat and lay nicely on the shirt.
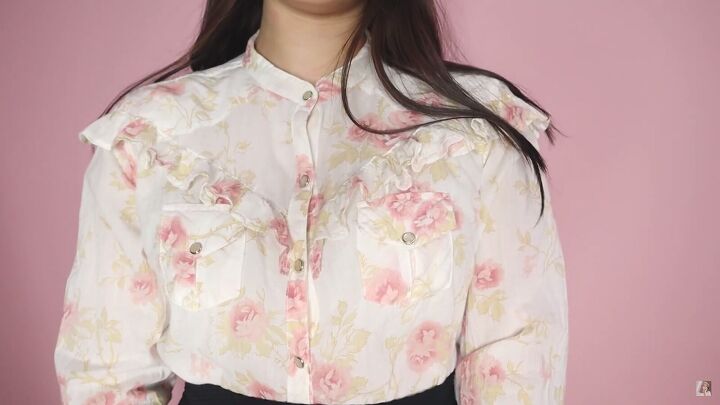
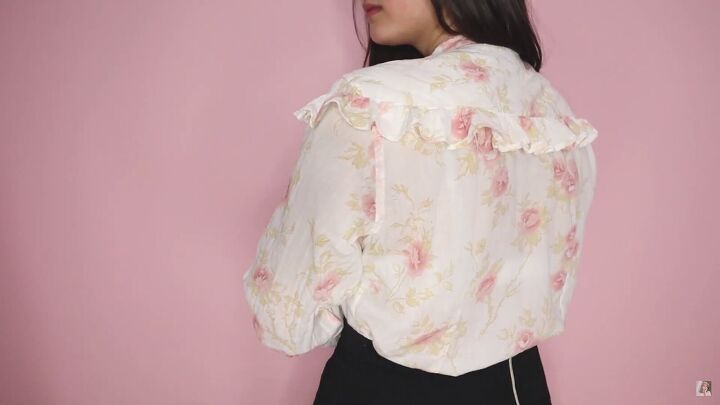
How do you like this lovely transformation? A little cropping and ruffling really go a long way.
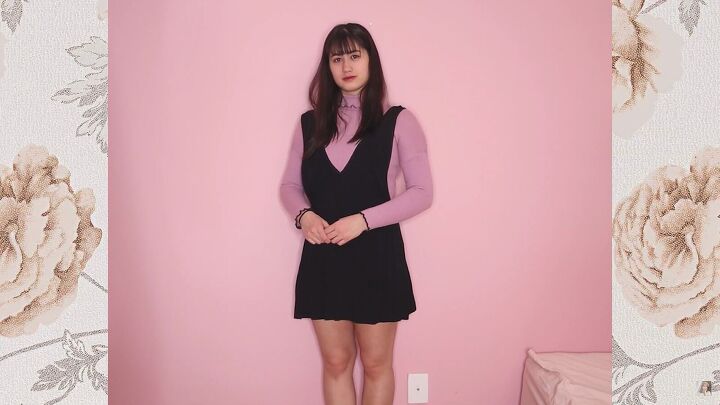
Ruffled dress
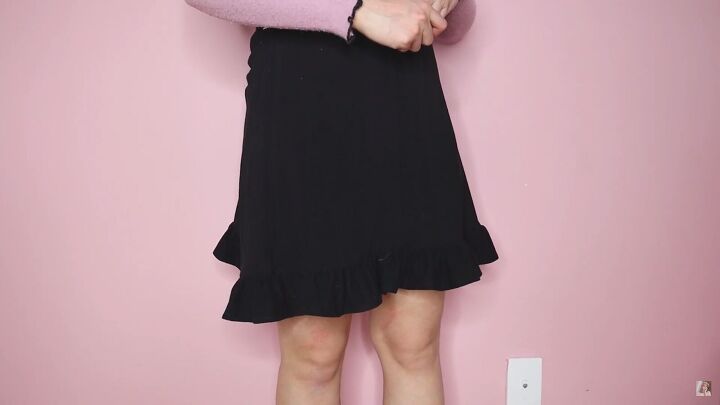
For the last DIY, I’ll be using this jumper dress. I feel it’s too short, so I’ll be adding a ruffled layer on the bottom.
To do this, cut a long rectangle of 4 inches x 1.5 times the circumference of the dress.
Fold the two ends together to create a loop. Then fold one edge over and hem.
To make the ruffles, do the same thing as in the previous DIY. Sew a basting stitch along the raw edge. Then, pull the threads to gather the fabric.
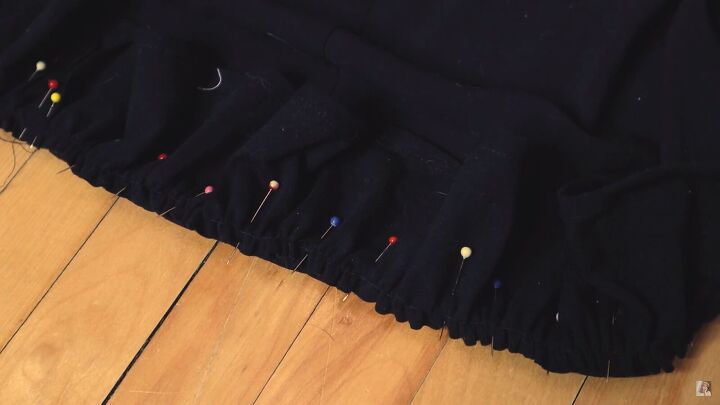
Place it right sides together to the end of the skirt and sew.
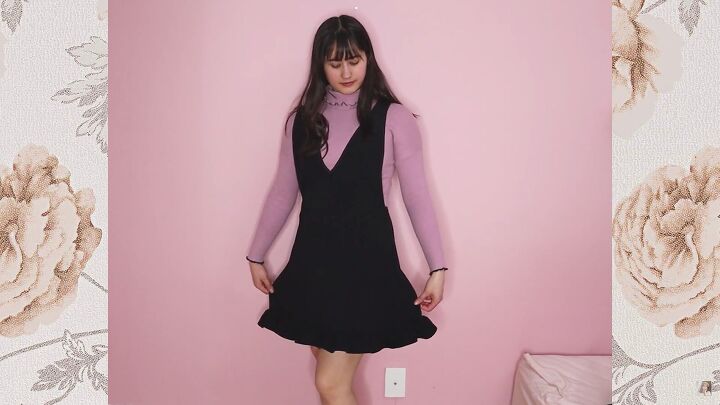
Cute thrift flips
It’s amazing how a minor add-on can really transform a dress. The next time you want to lengthen your dress or skirt, then you know what to do!
I hope you enjoyed these quick and cute thrift flips! From a simple heart cut-out to cute gathered layers, you can do a lot to your clothes with a few simple steps. Thank you for watching, and good luck with your next DIY transformation!
The author may collect a small share of sales from the links on this page.


Comments
Join the conversation